Chapter 1
Setting up the company and its first car park
The first time someone opens Parking without a company, it asks them to set one up.
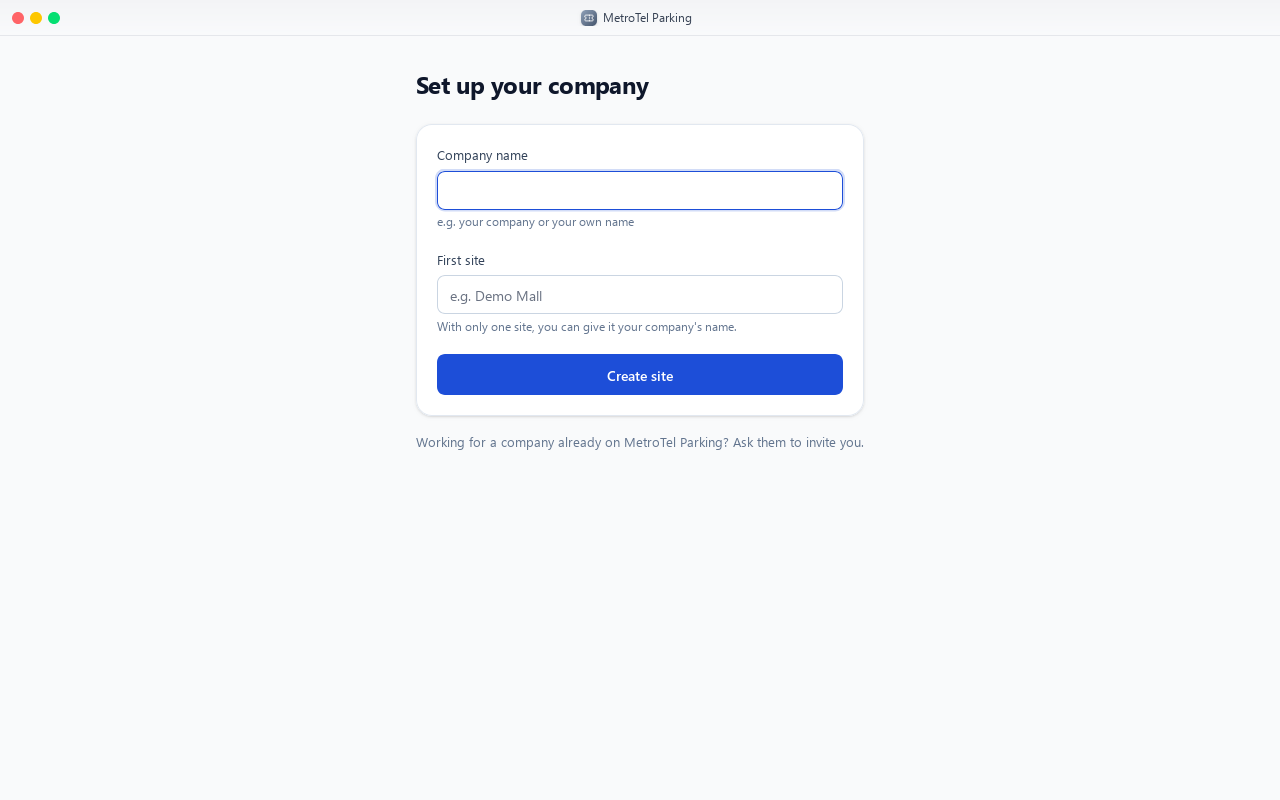
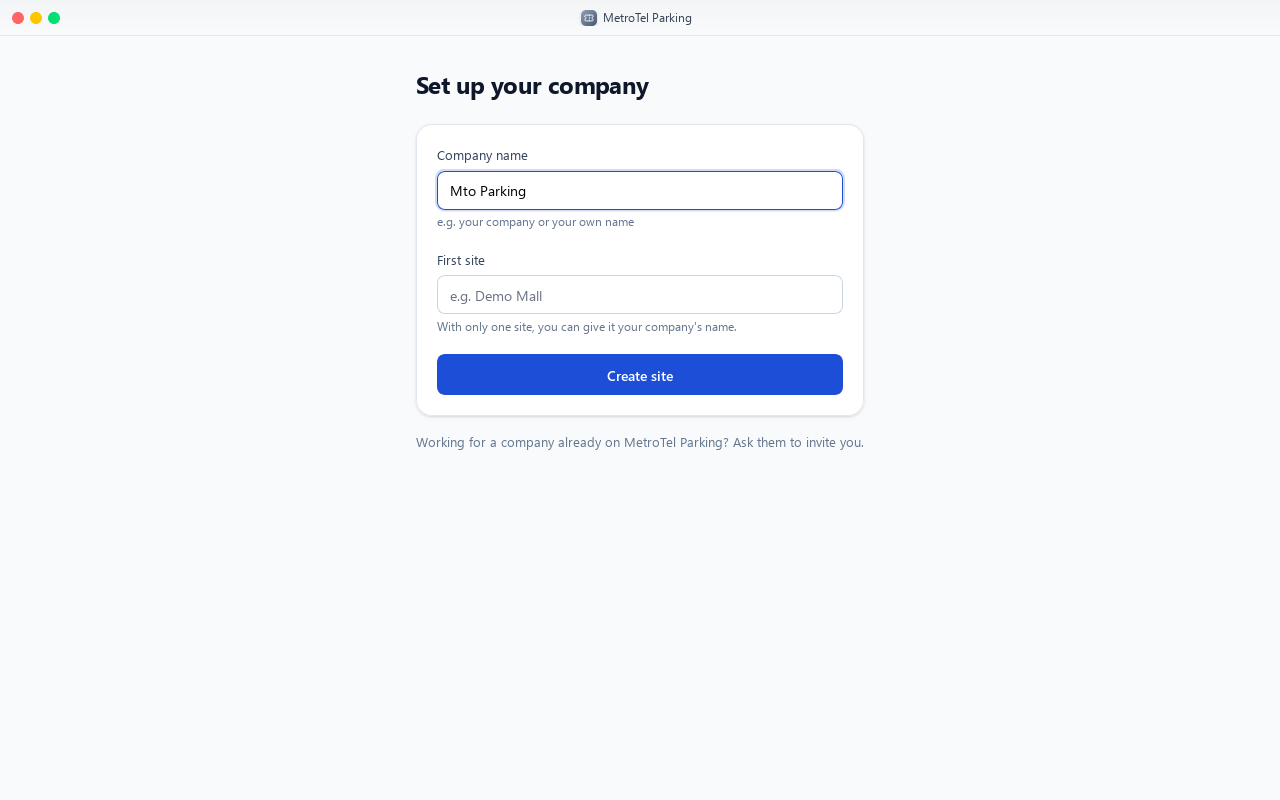
Type the company's name. It can be a business, or your own name.
Then the first site, the car park itself. With only one site, it can have the company's name.
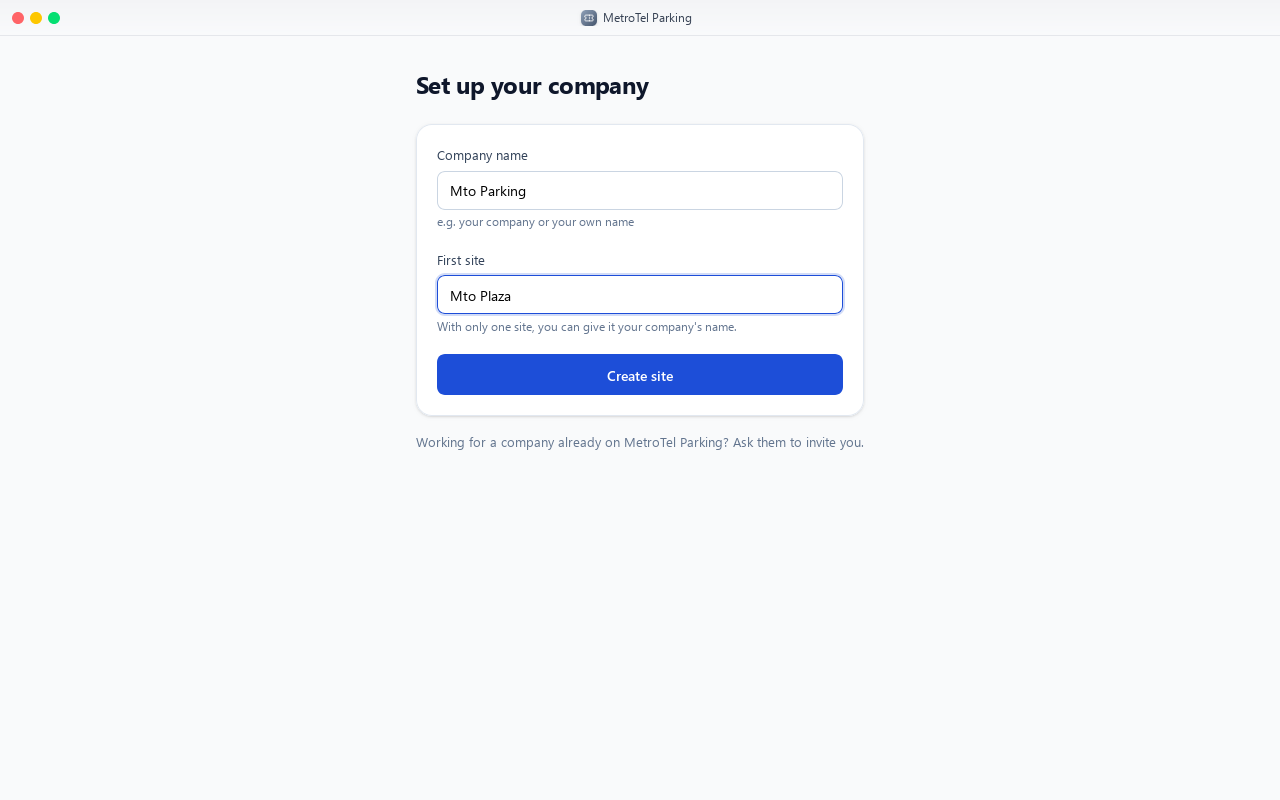
Choose Create site.
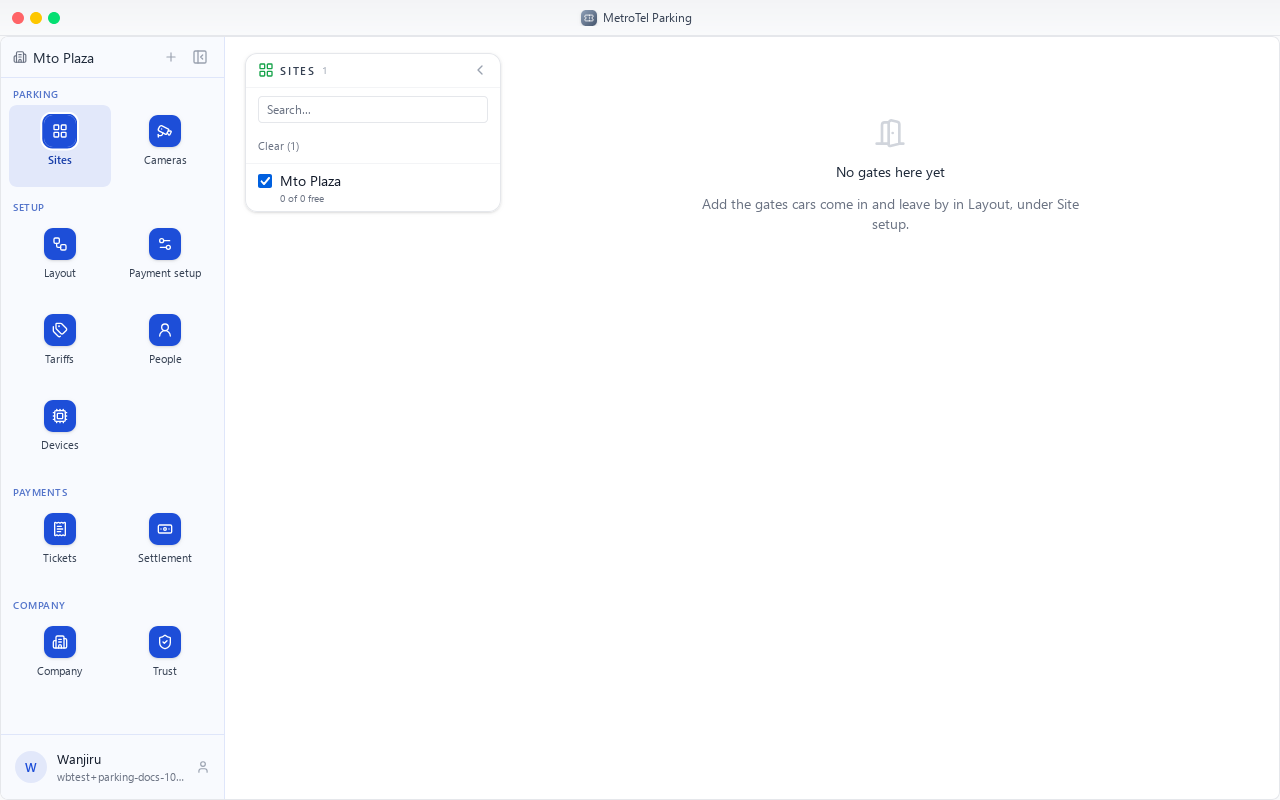
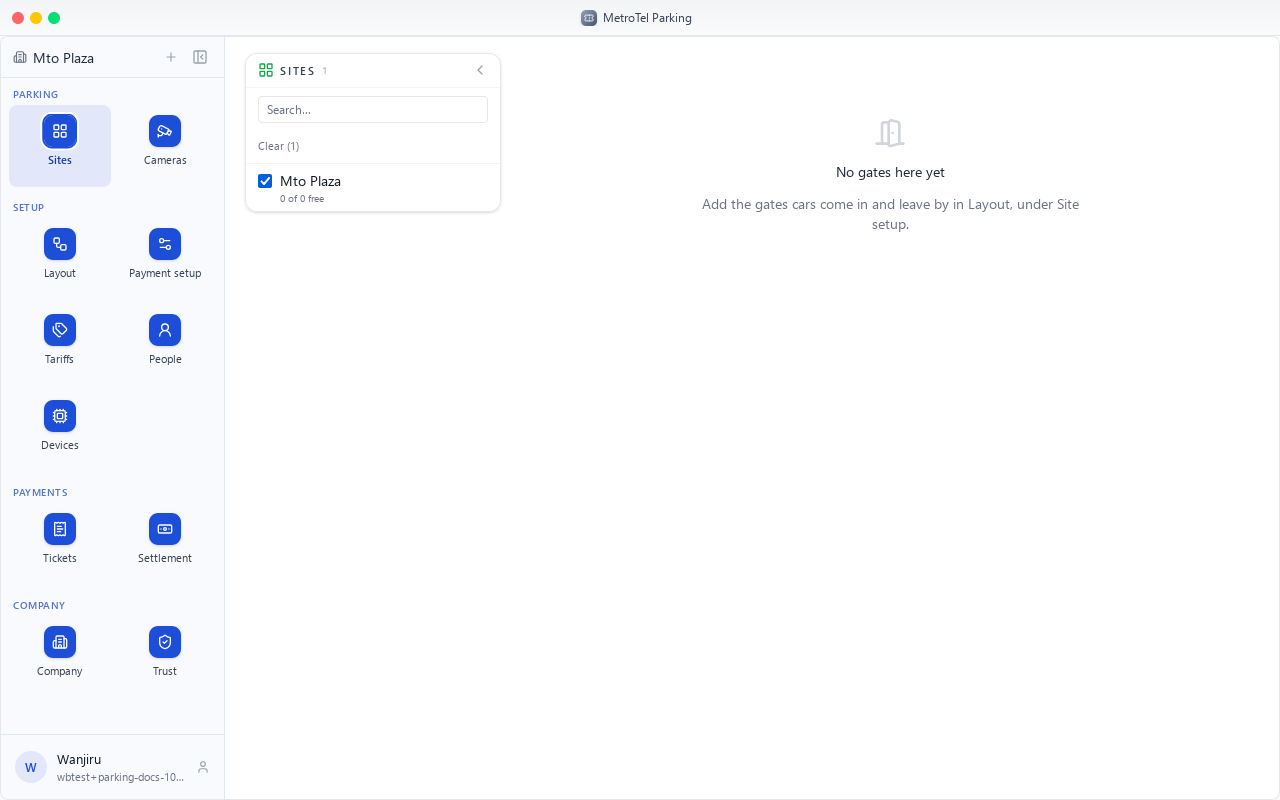
Done. Parking opens on Sites, and the new site has no gates yet.
Chapter 2
Gates, areas, how many cars fit, and which way each gate goes
A site's gates and areas are set up in Layout, step one under Setup.
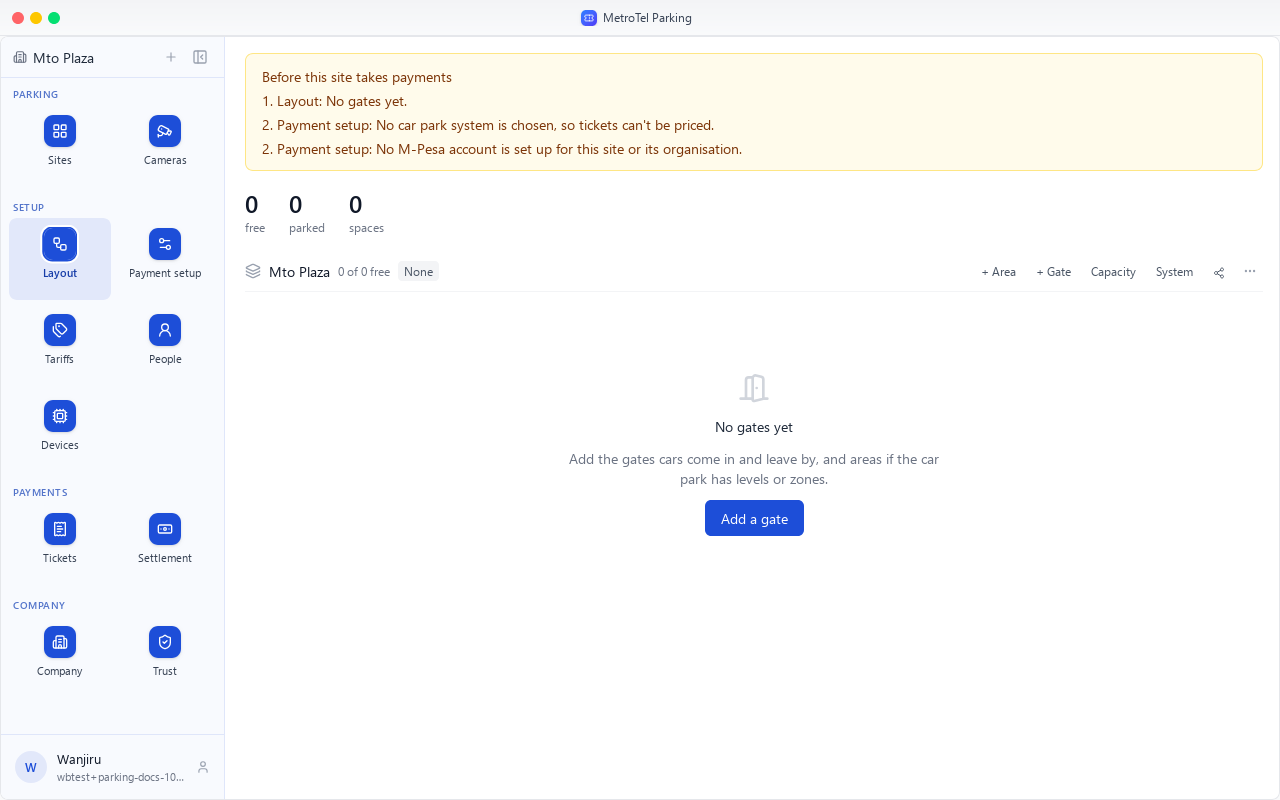
A new site has none. Choose Add a gate, and name it.
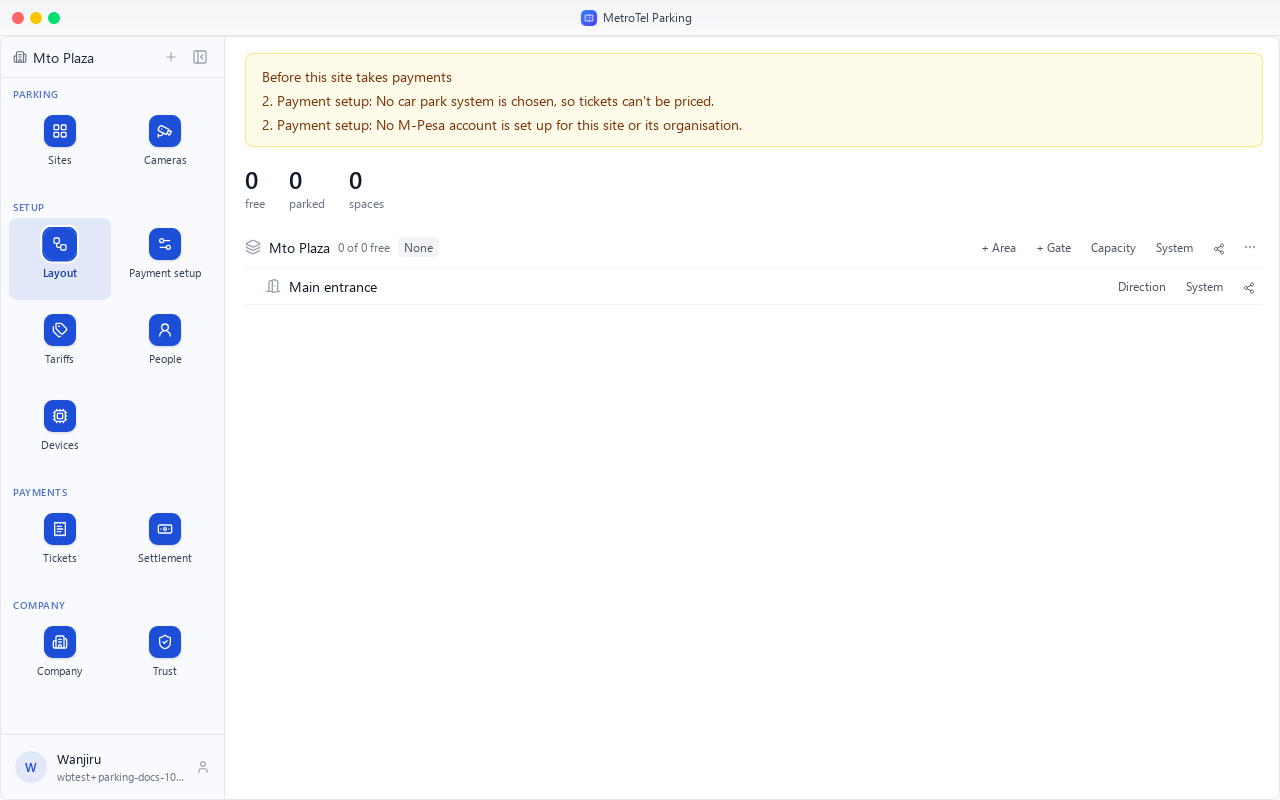
Each row has its own buttons. Plus Gate on the site adds another, here the exit.
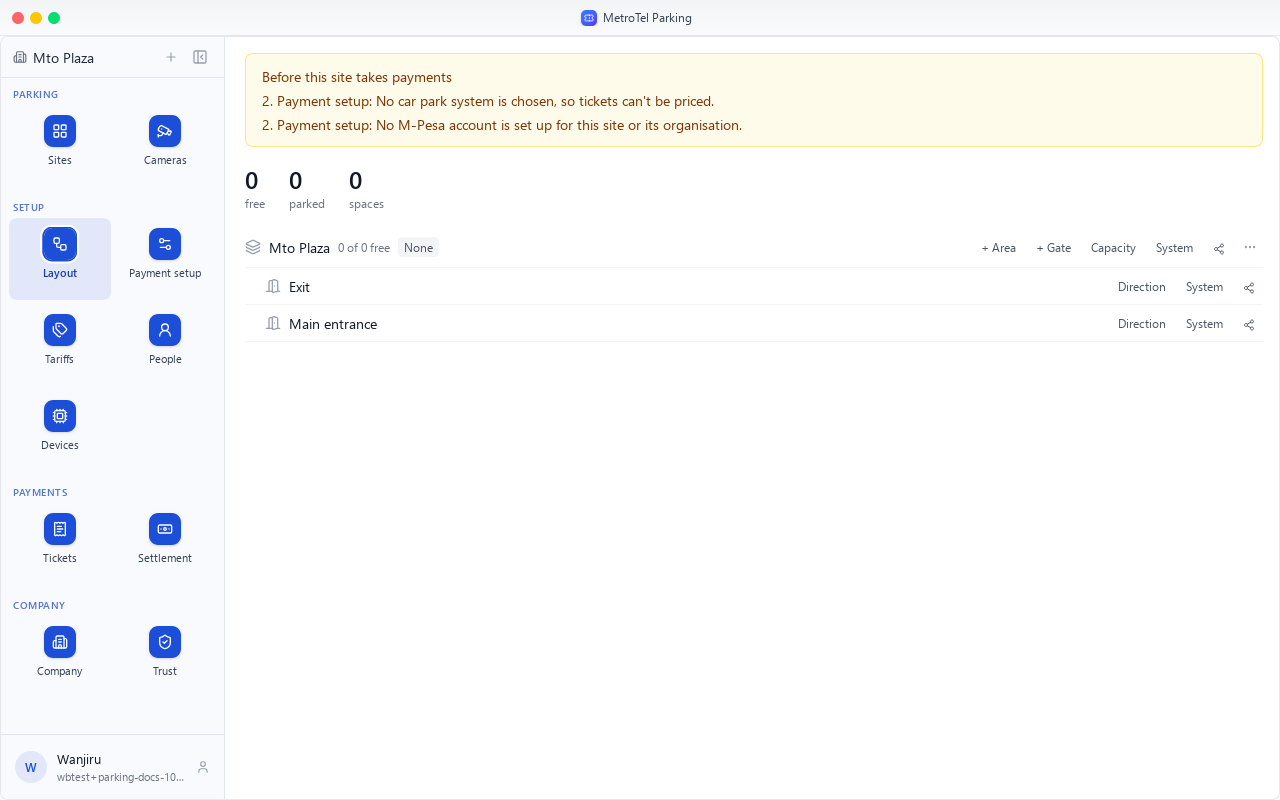
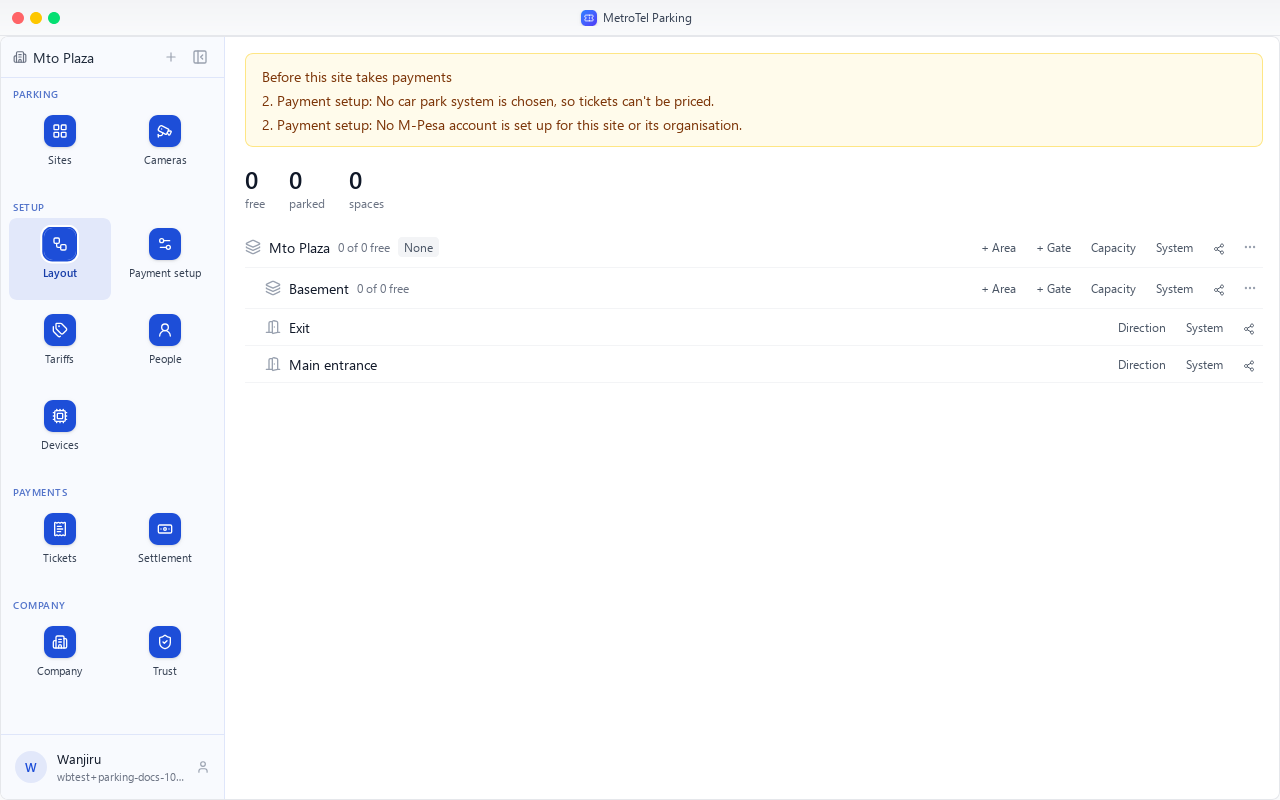
Plus Area adds a counted part of the site, such as a floor or a zone. Areas can hold their own areas and gates.
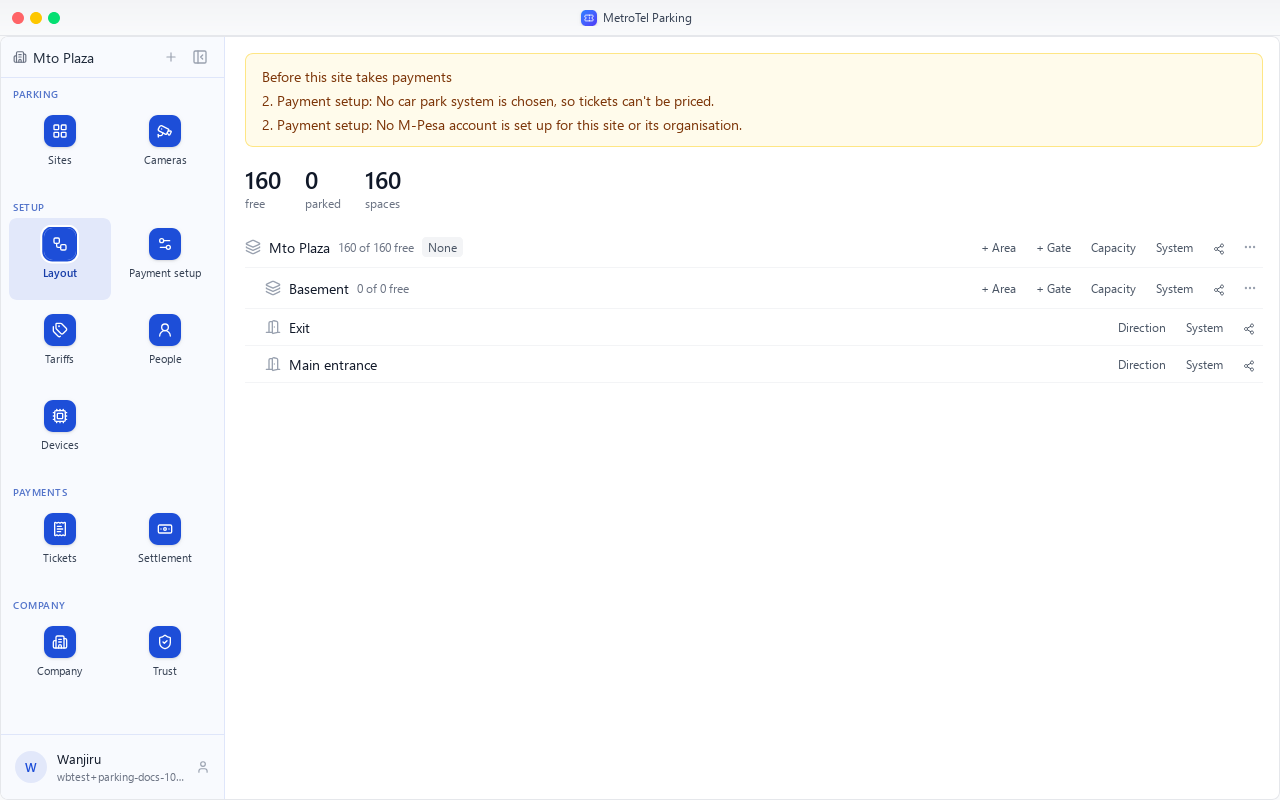
Capacity is how many cars fit in the whole site. Mto Plaza has 160.
An area holds part of that: here, 40 in the basement. The rest are outside any area.
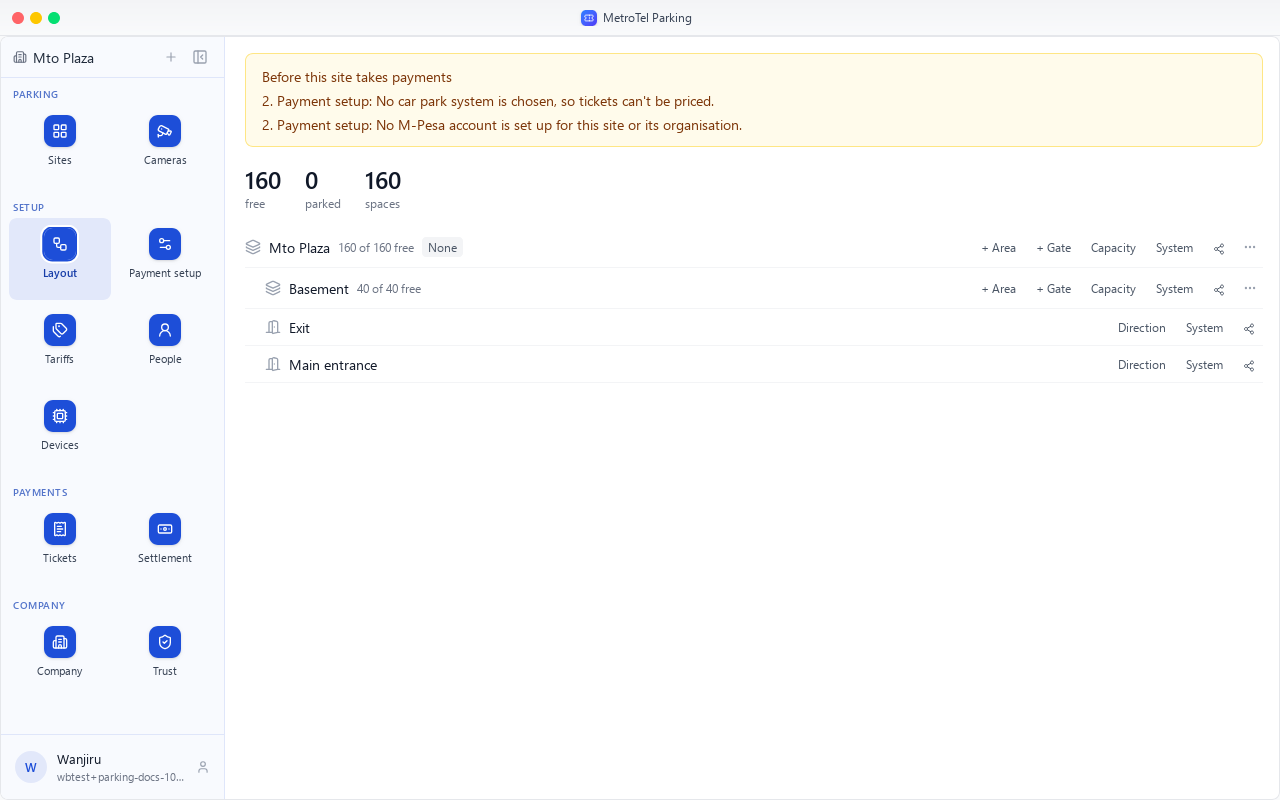
The totals at the top show the spaces free, the cars parked, and all spaces.
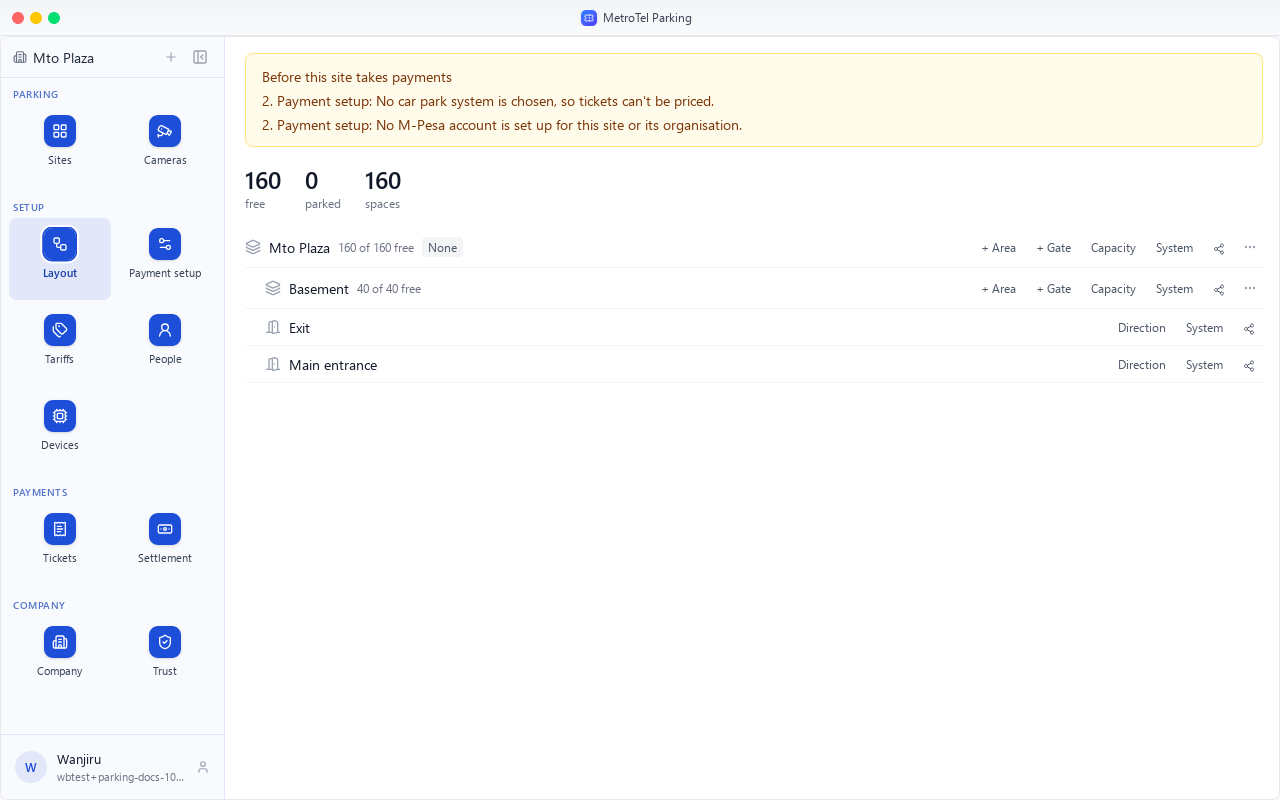
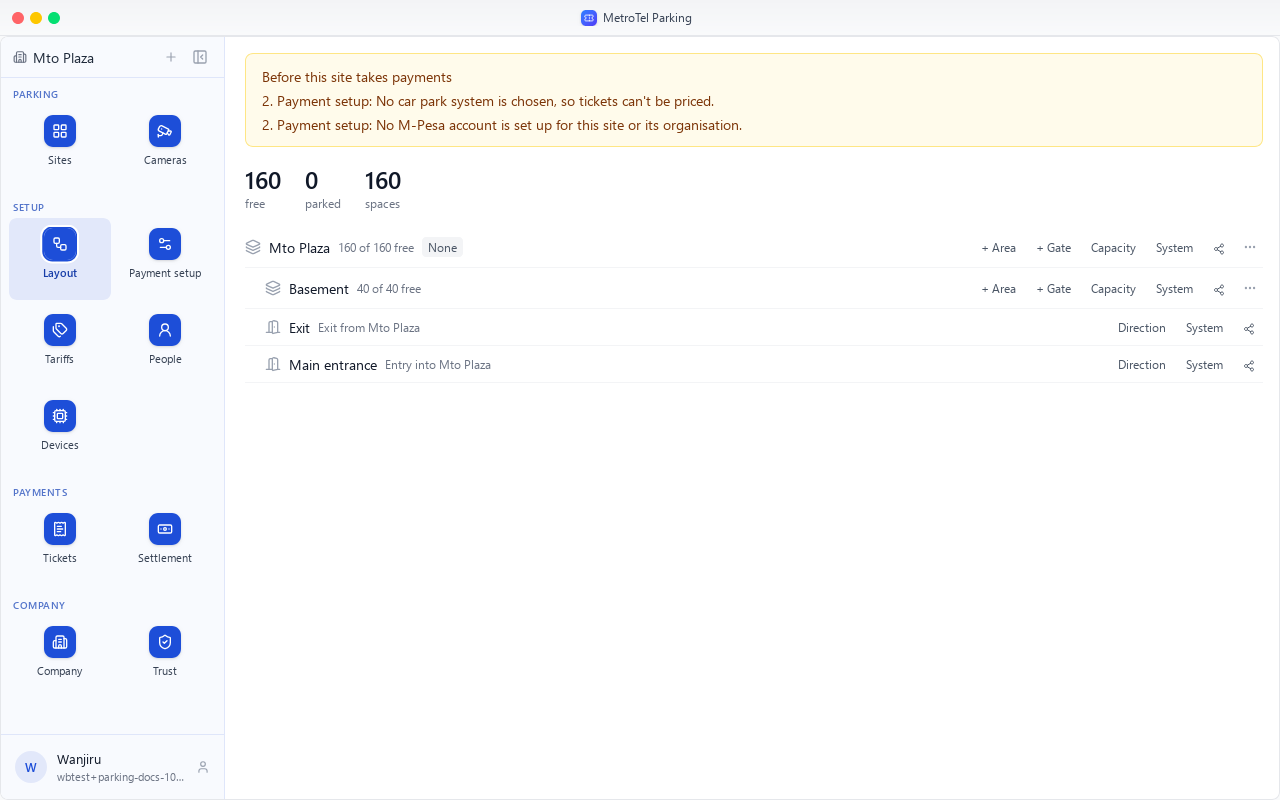
Direction says which way a gate goes. The main entrance is an entry, from outside into the site.
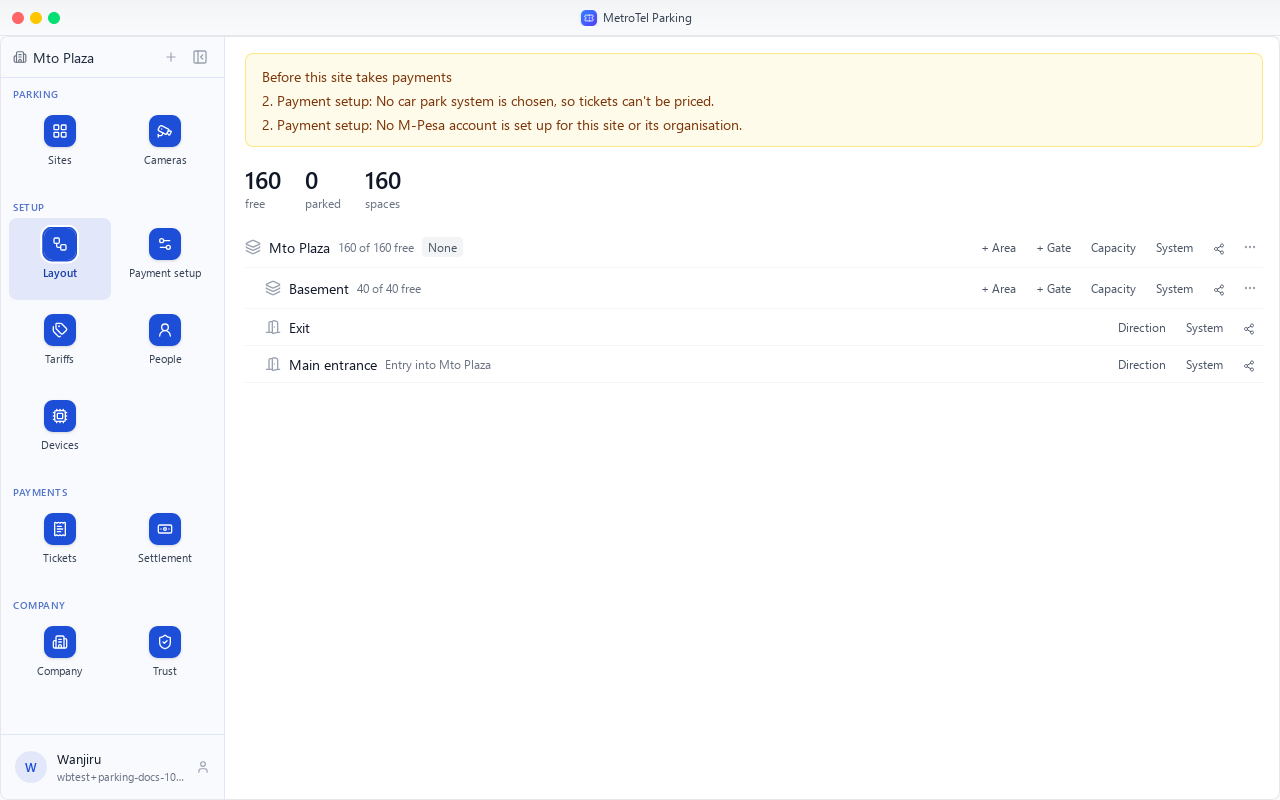
The exit goes from the site to outside. With directions set, a car through a gate moves the counts.
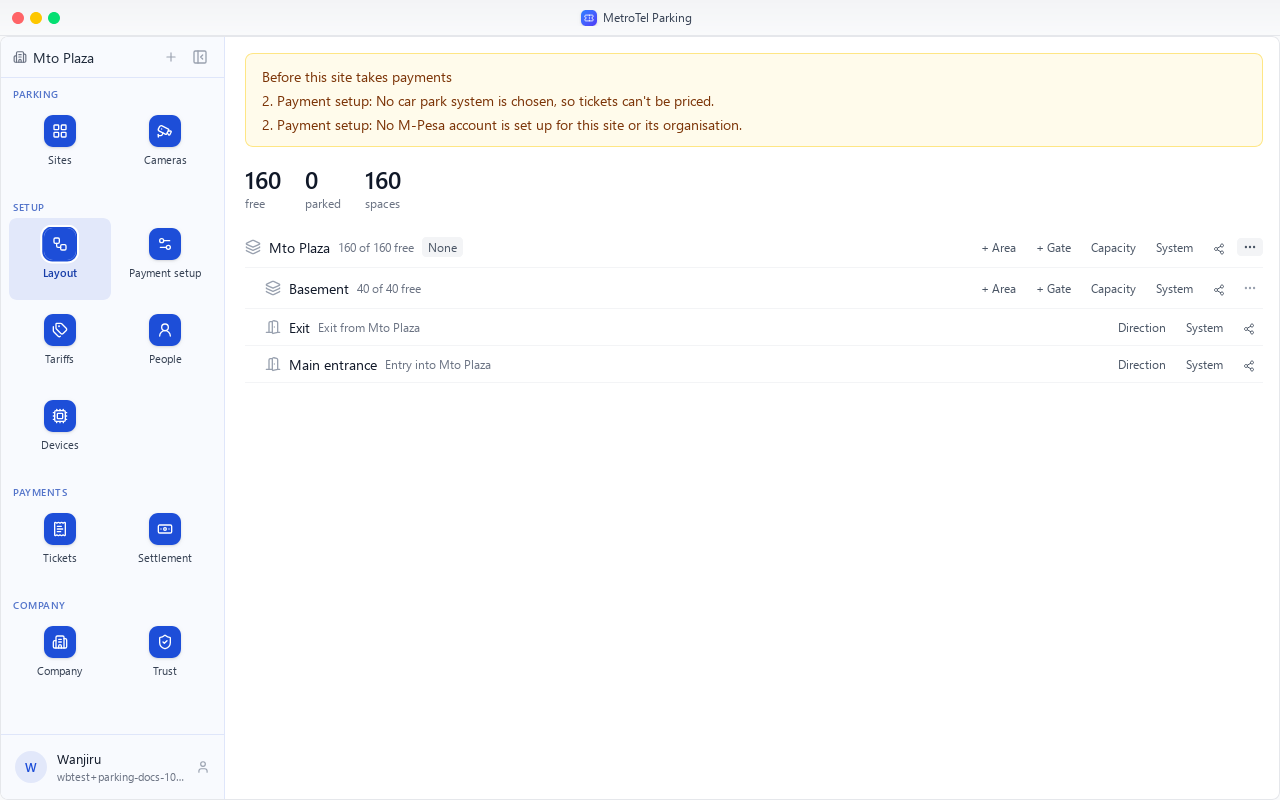
If a count is ever wrong, the menu at the end of a row has Correct the count. Each correction is logged.
Chapter 3
The car park system, where M-Pesa money goes, and what still stops a site taking money
Payment setup, step two under Setup, holds what a site needs before drivers can pay.
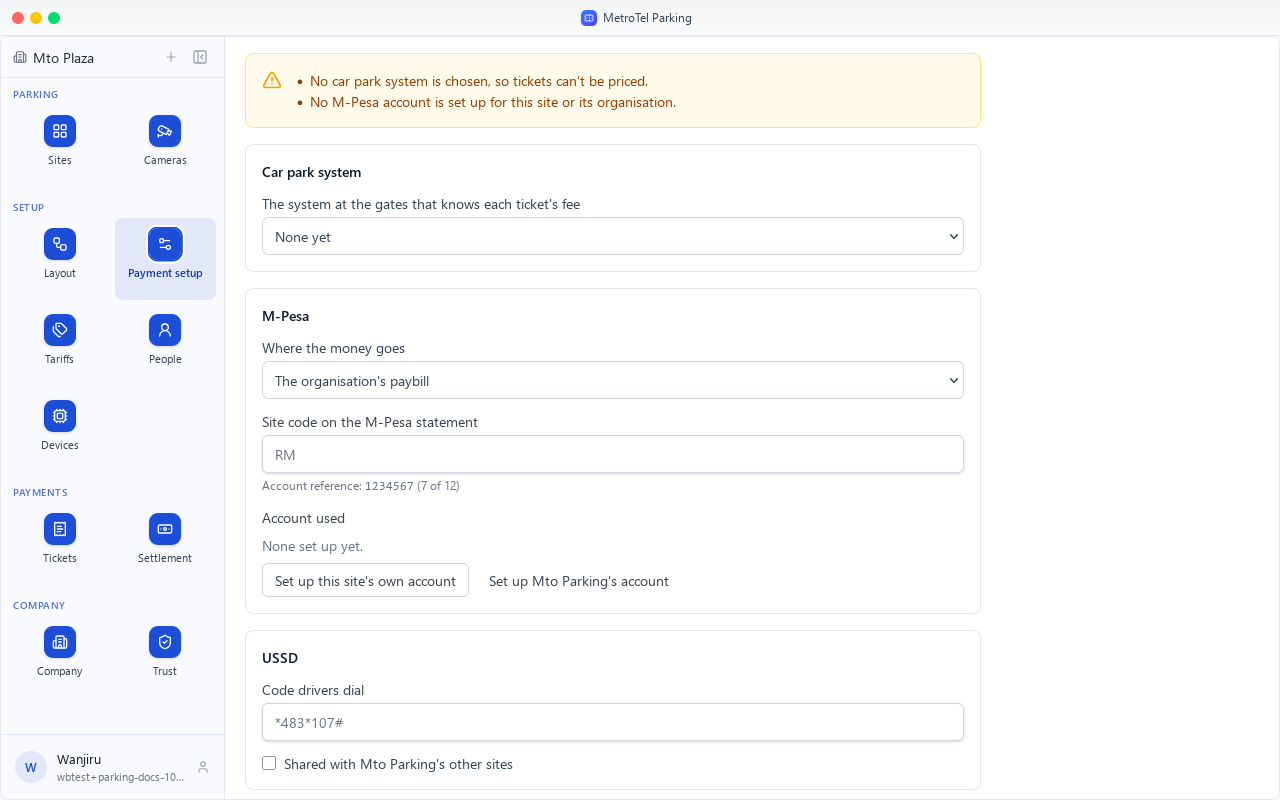
The yellow box lists what still stops this site taking money. Until it is empty, drivers can't pay here.
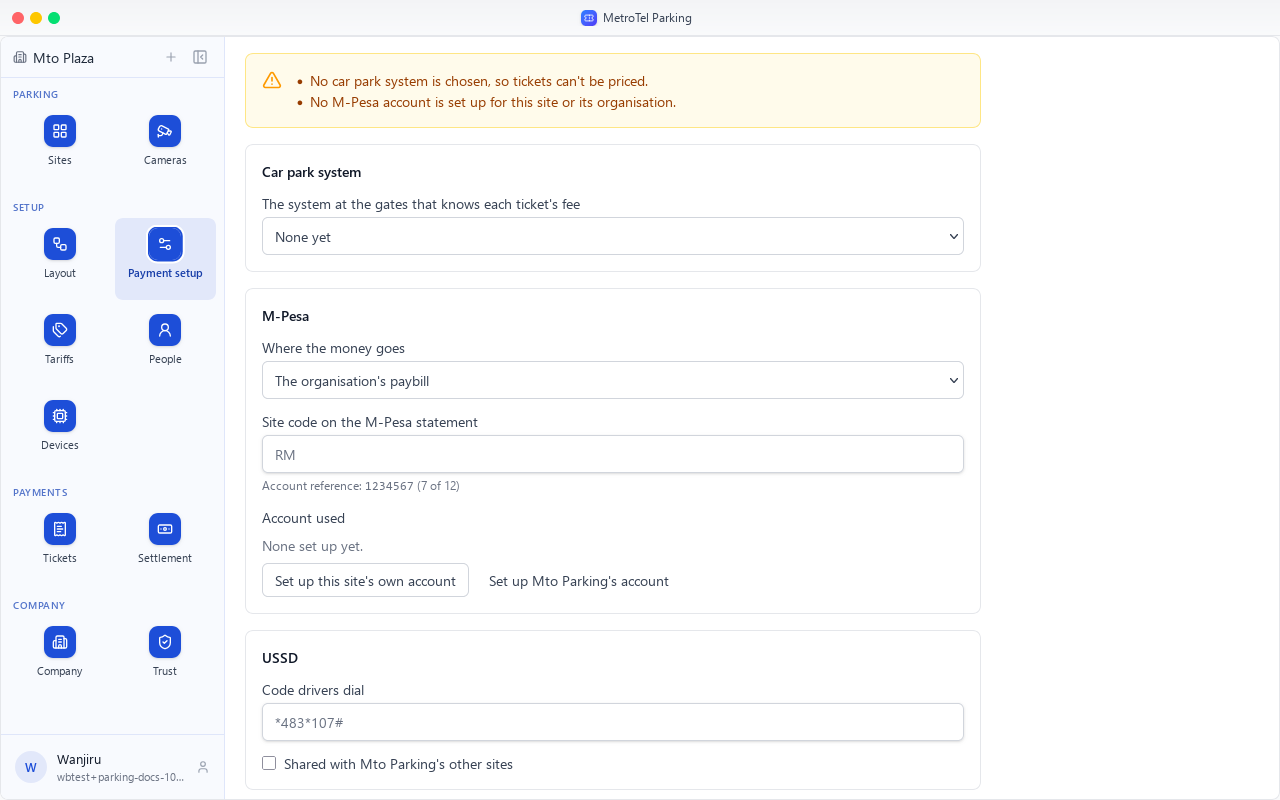
First, the car park system: the one at the gates that knows each ticket's fee. Mto Plaza has CAME.
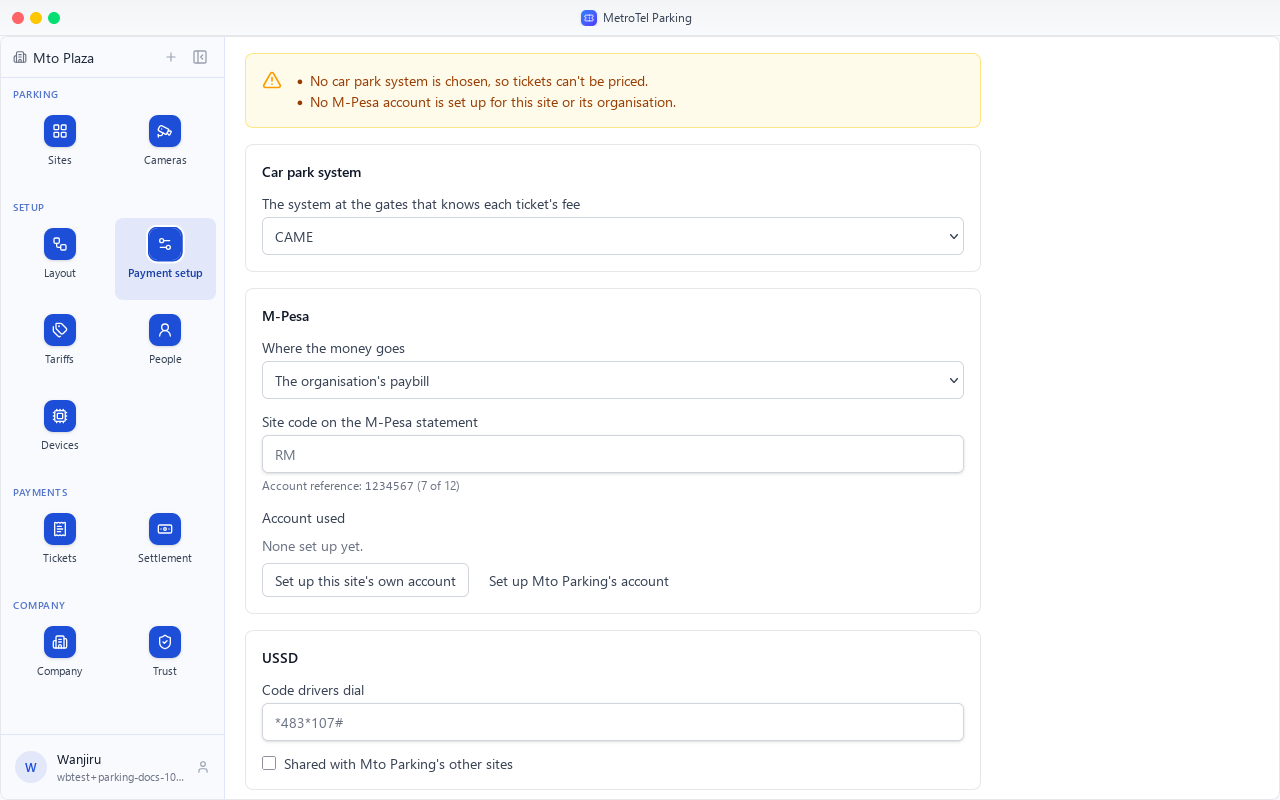
Where the money goes: the organisation's paybill, a store number of the site's own, or a till.
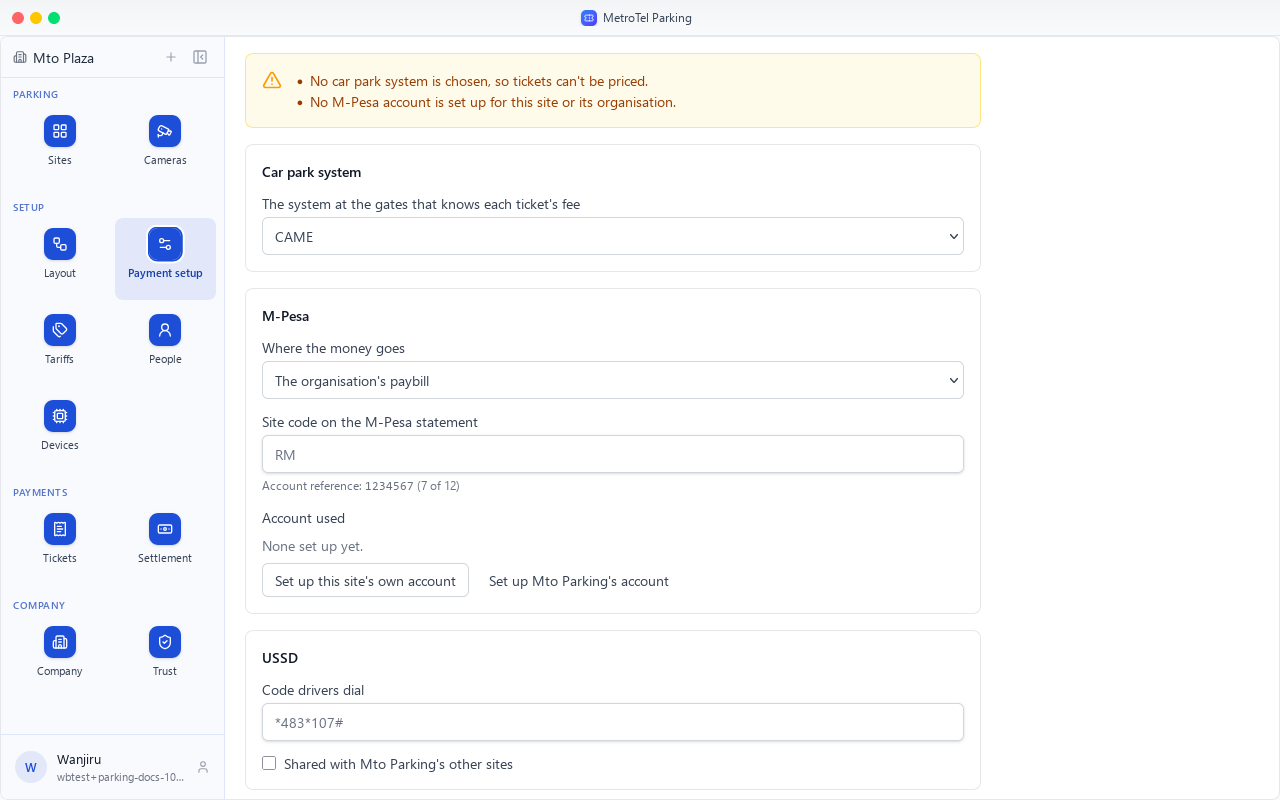
The site code goes in front of each ticket code, so the statement shows which site was paid.
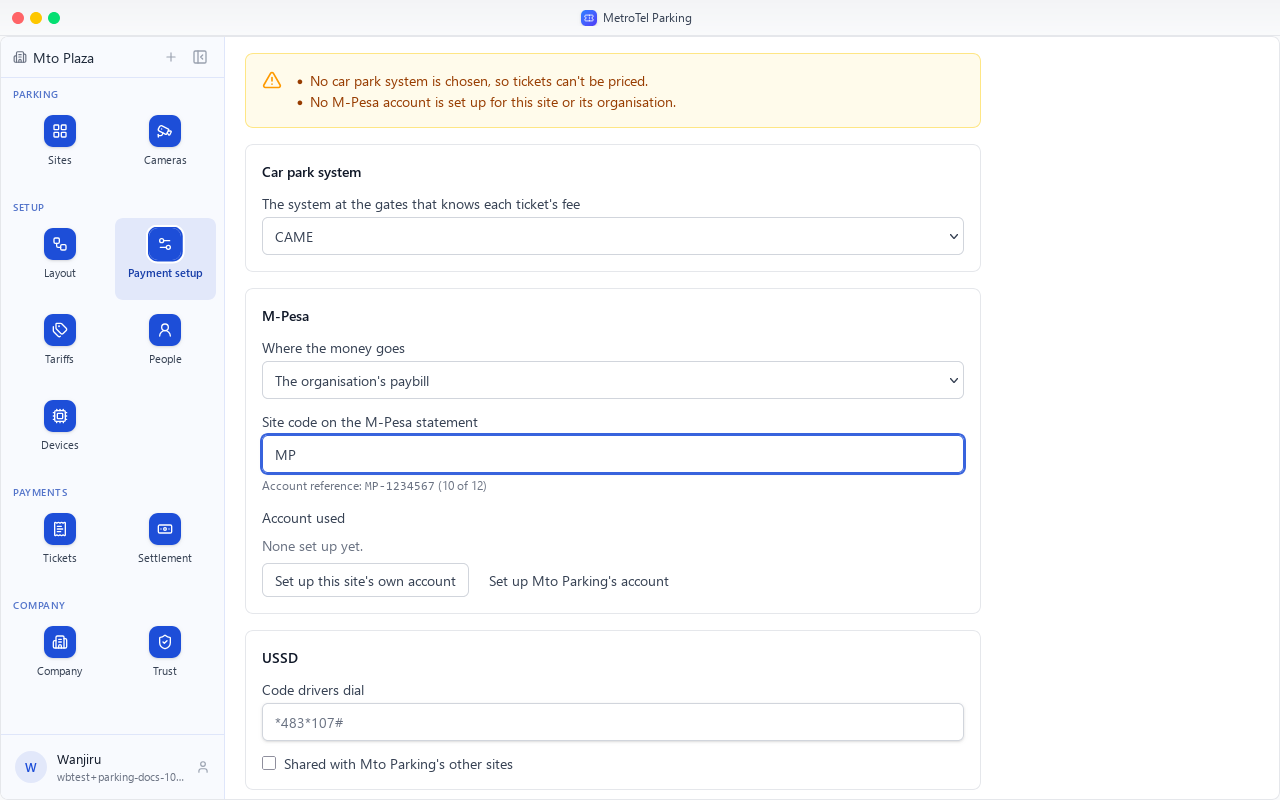
Twelve characters is the most M-Pesa takes, and this reference uses ten.
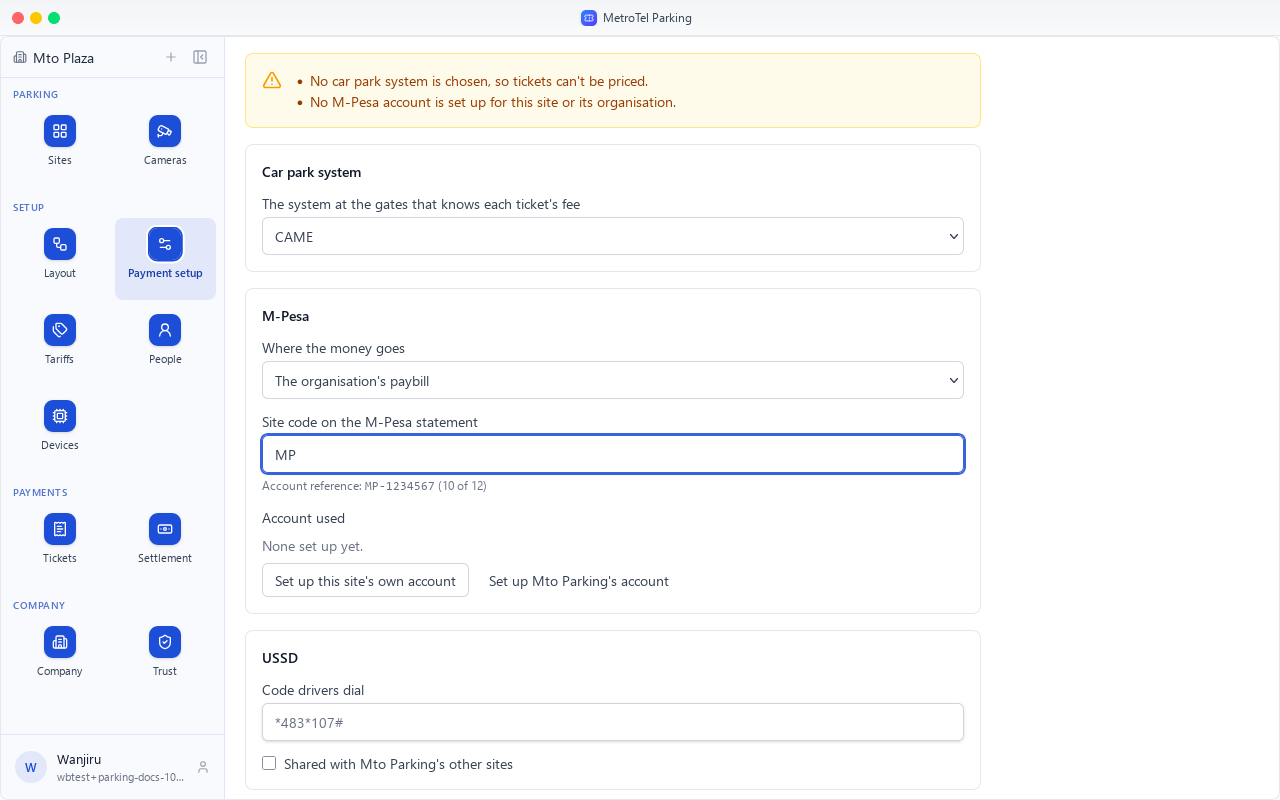
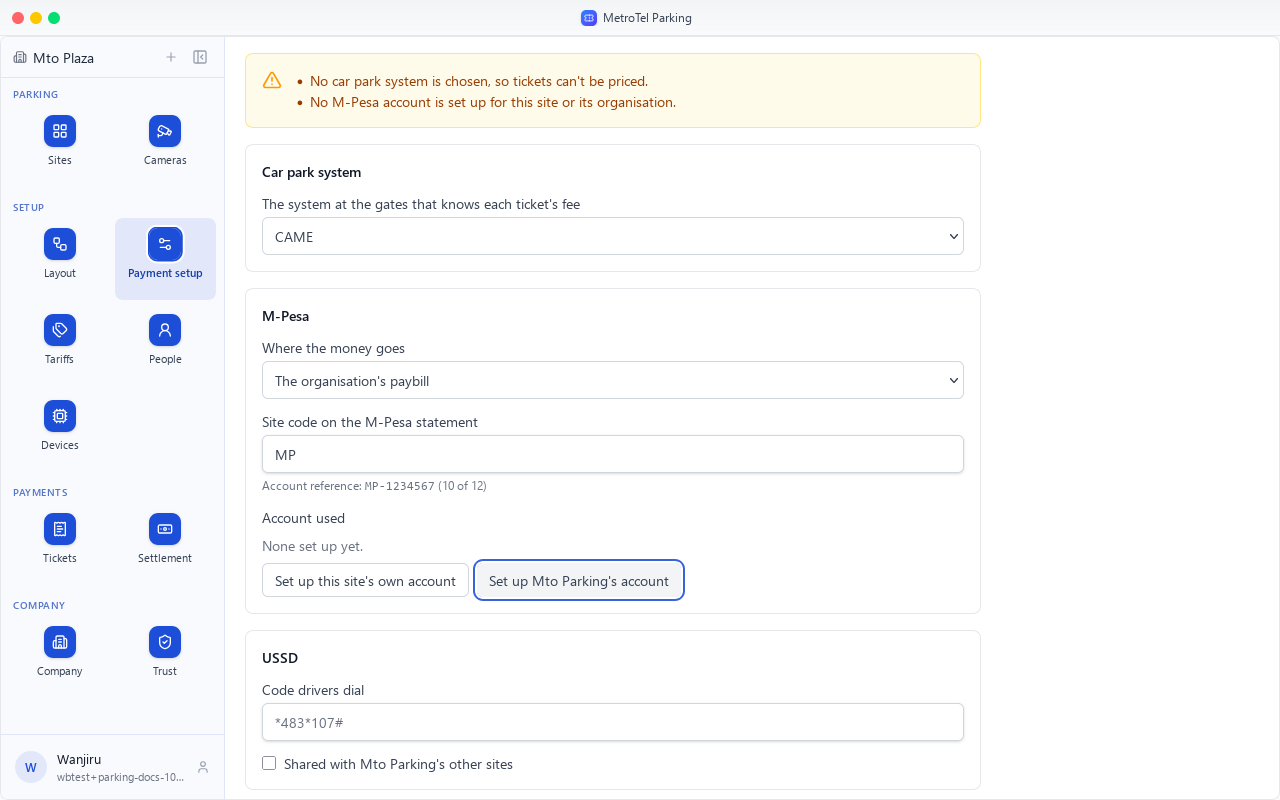
The account itself is set up once. Here it would be Mto Parking's paybill, for its sites.
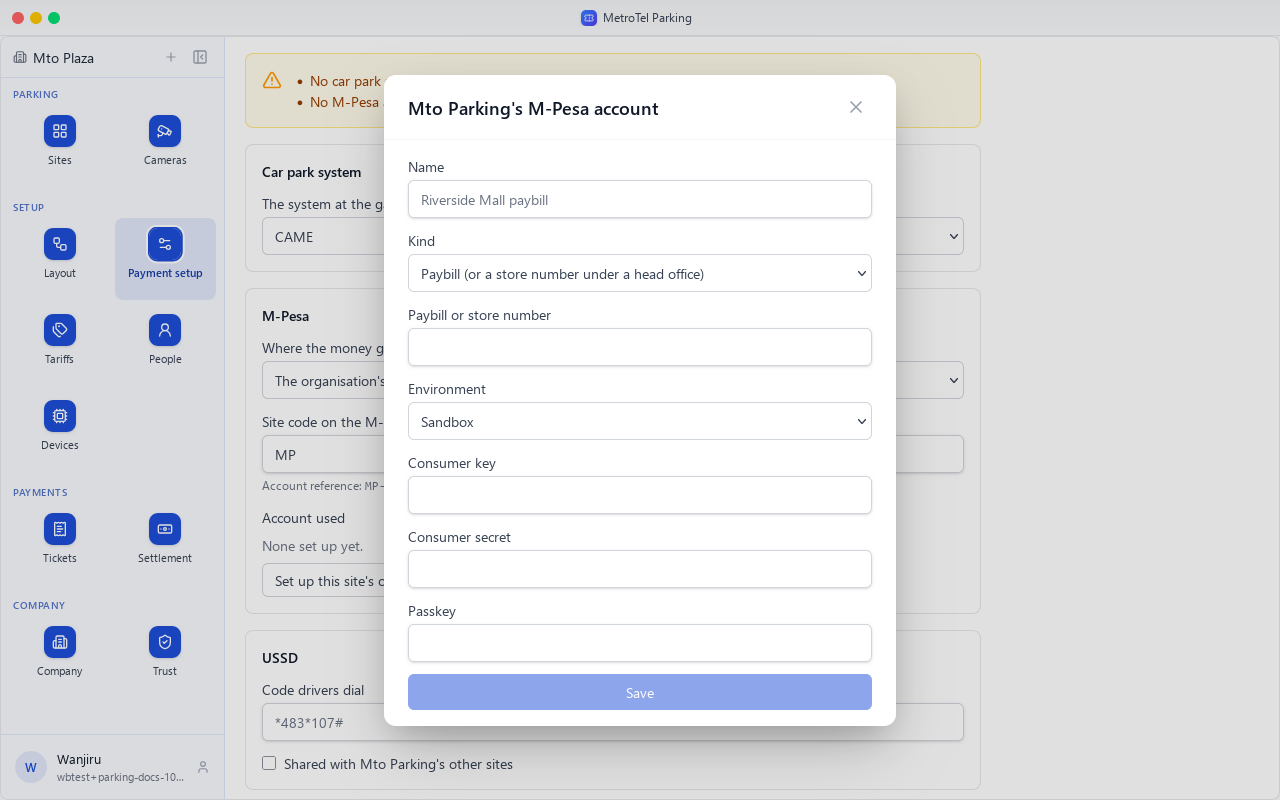
Its number, sandbox or live, and the keys and passkey from Safaricom. This demo has none, so we close it.
USSD is the code drivers dial to pay from any phone. Several sites can share one, with a number each.
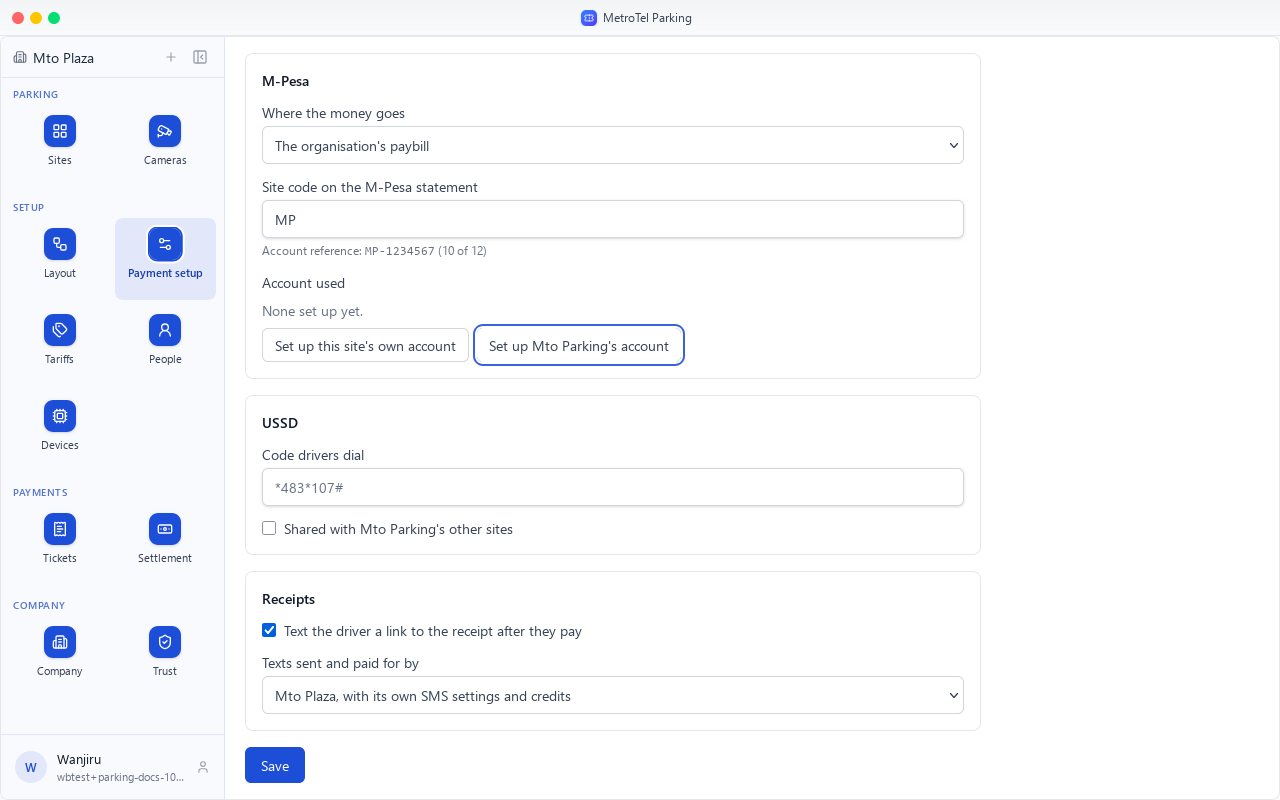
After paying, the driver gets a text with a link to the receipt, sent by the site or by the company.
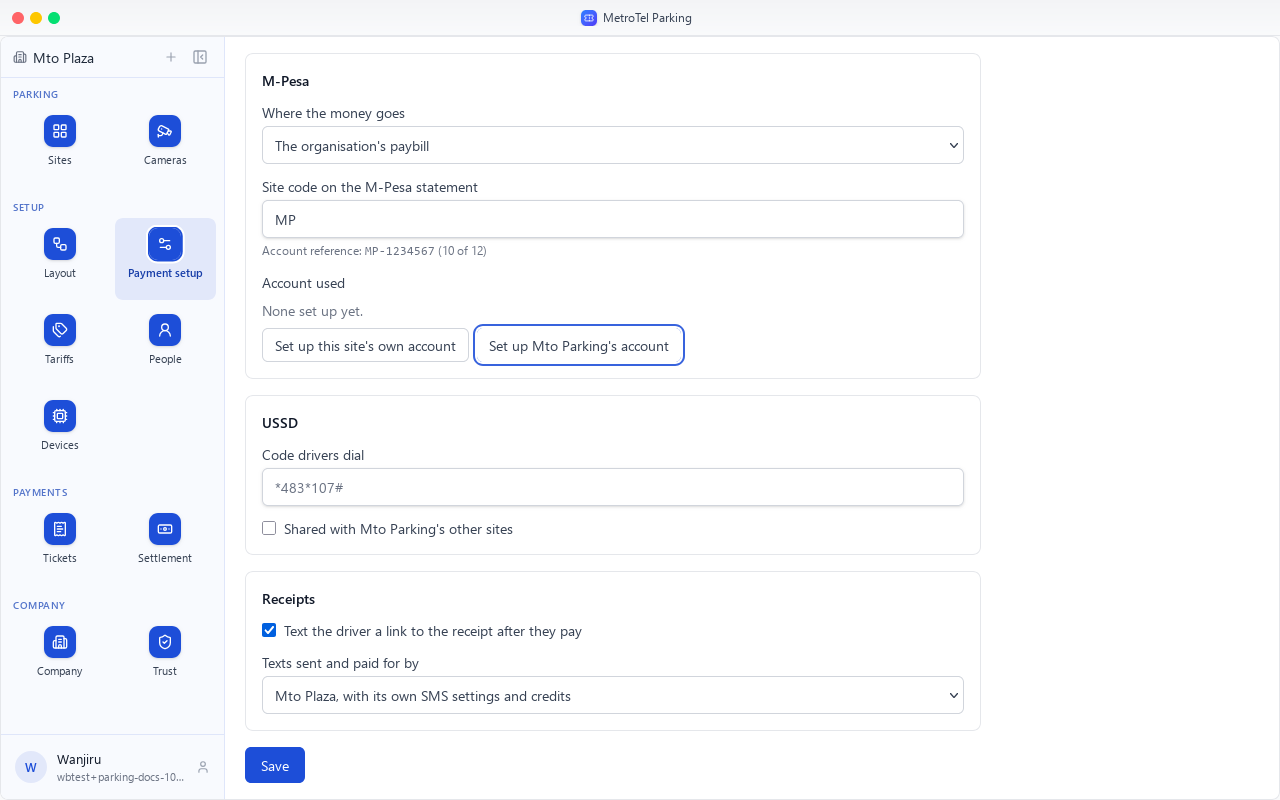
Save.
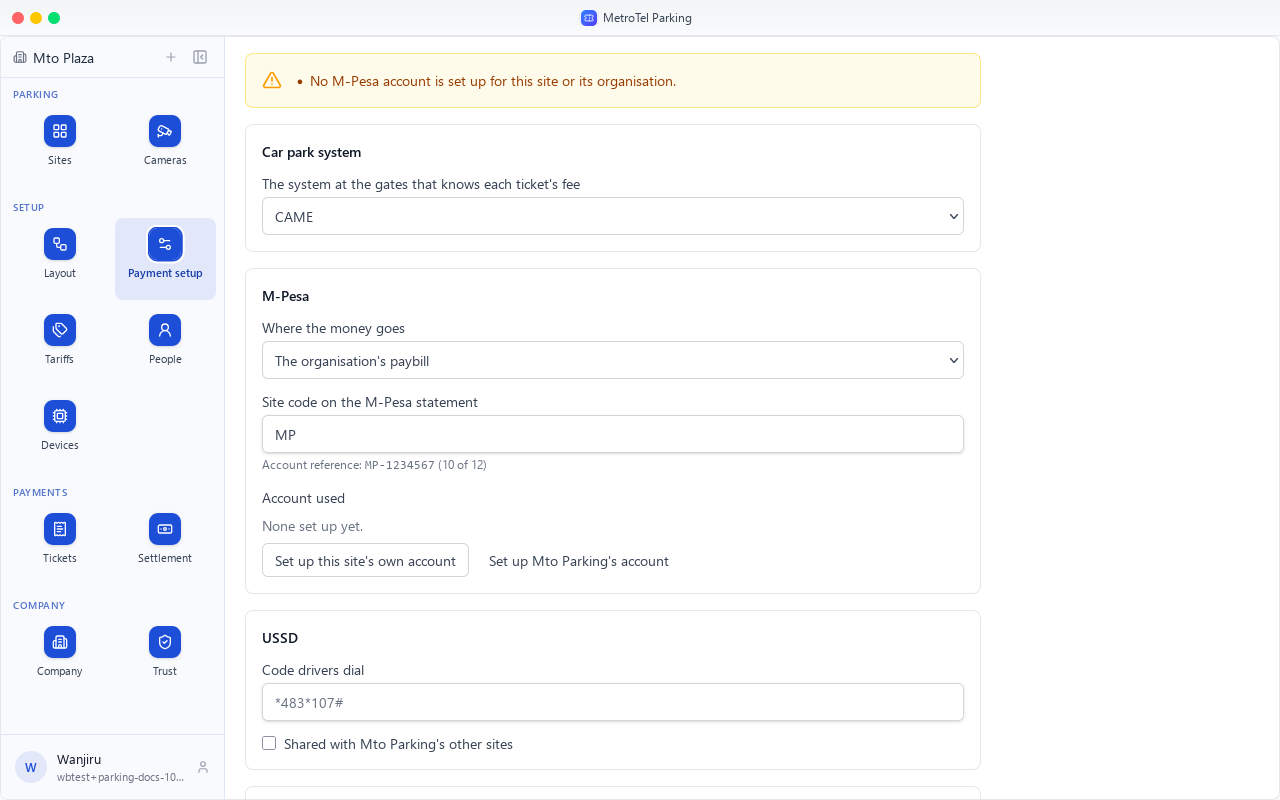
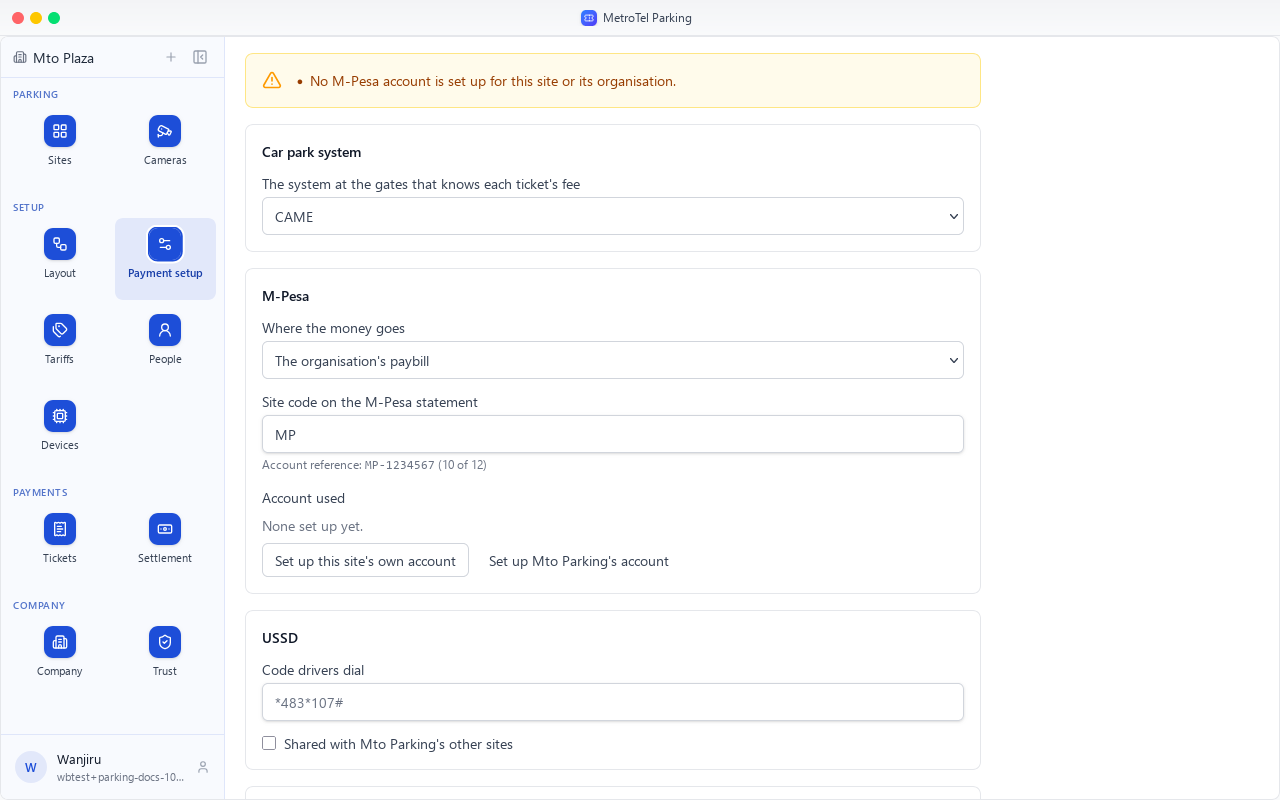
The car park system is no longer on the list. What is left is the M-Pesa account.
Chapter 4
What a driver pays on top of the parking fee, and for a lost ticket
Tariffs, step three, set what a driver pays on top of the parking fee.
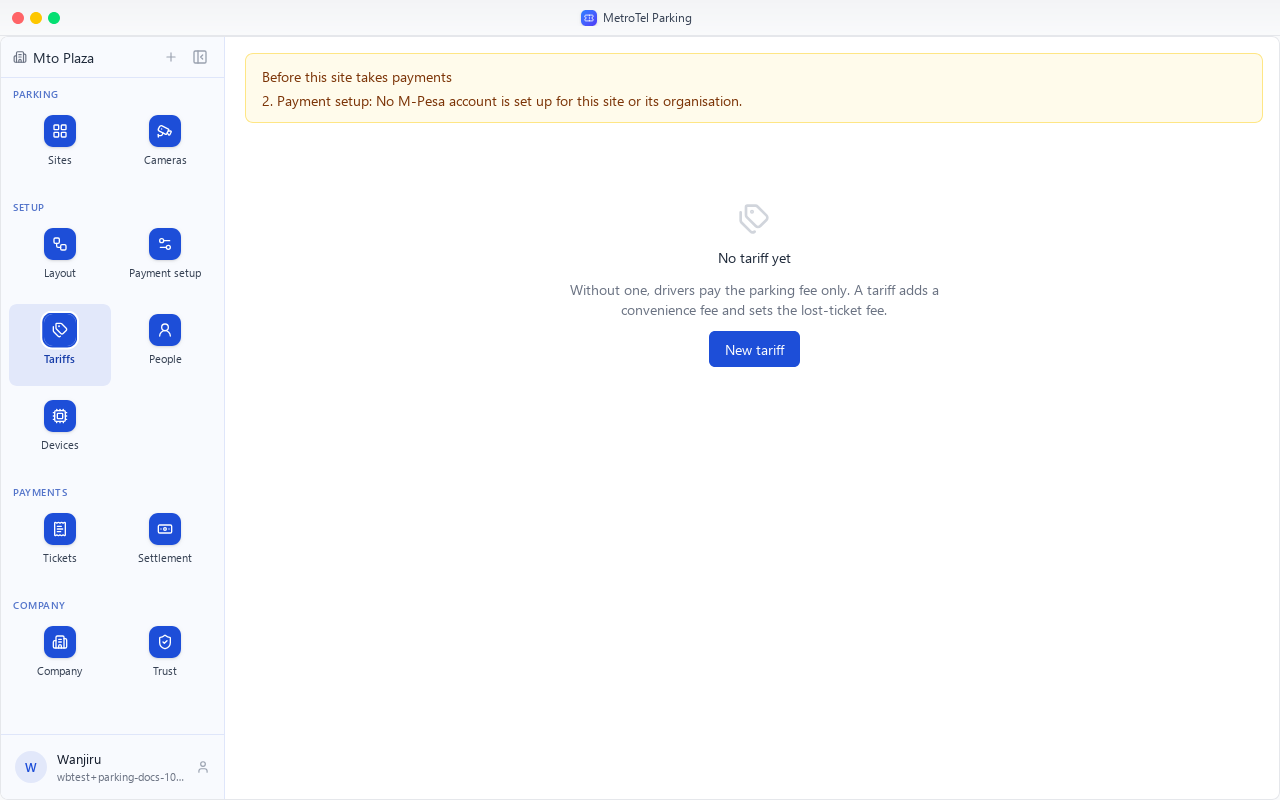
The parking fee itself comes from the car park system. With no tariff, drivers pay that fee only.
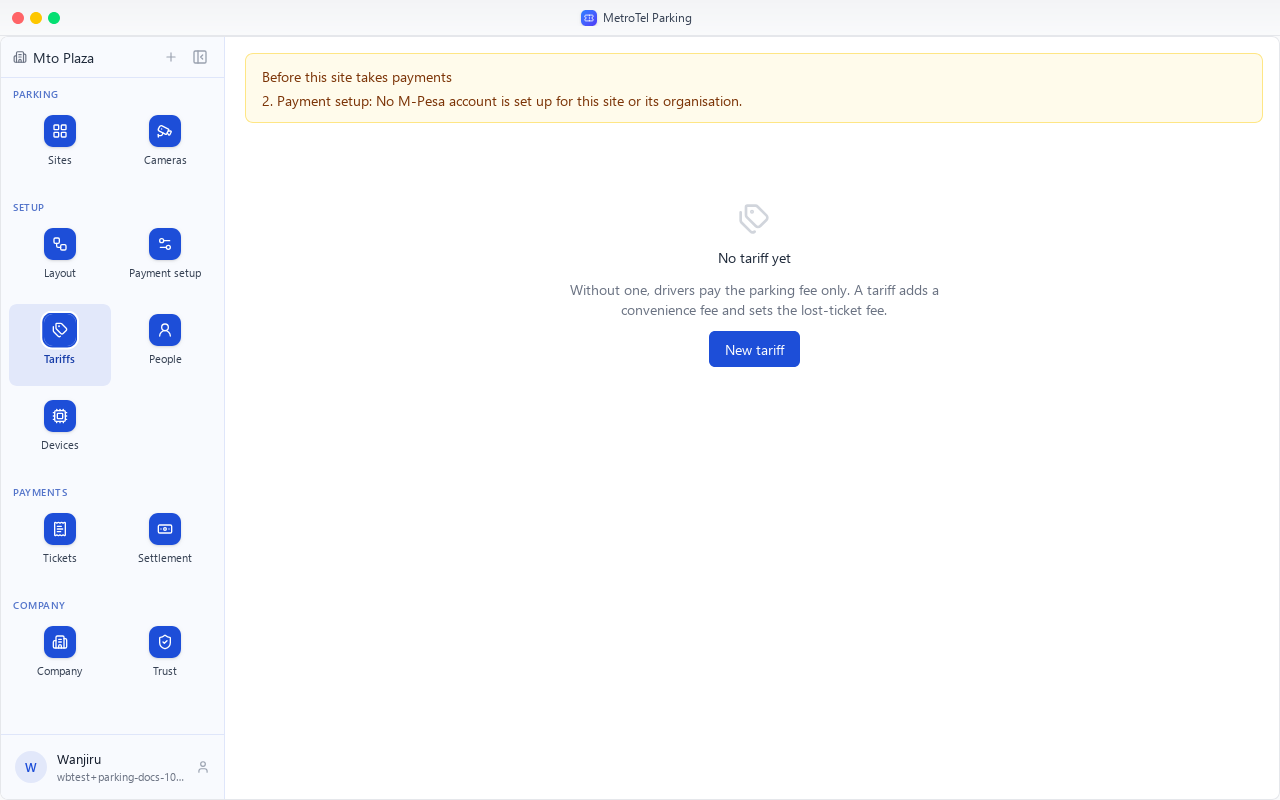
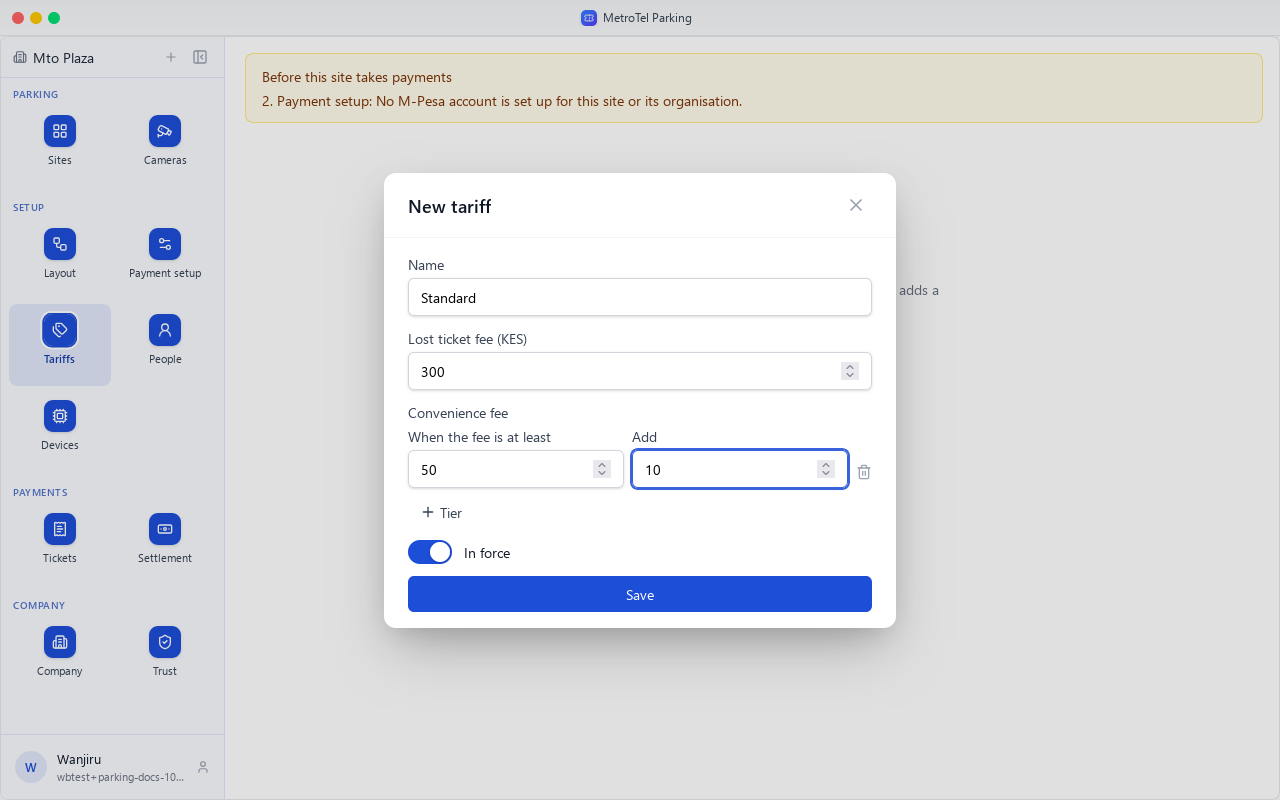
Choose New tariff. Standard is filled in as its name.
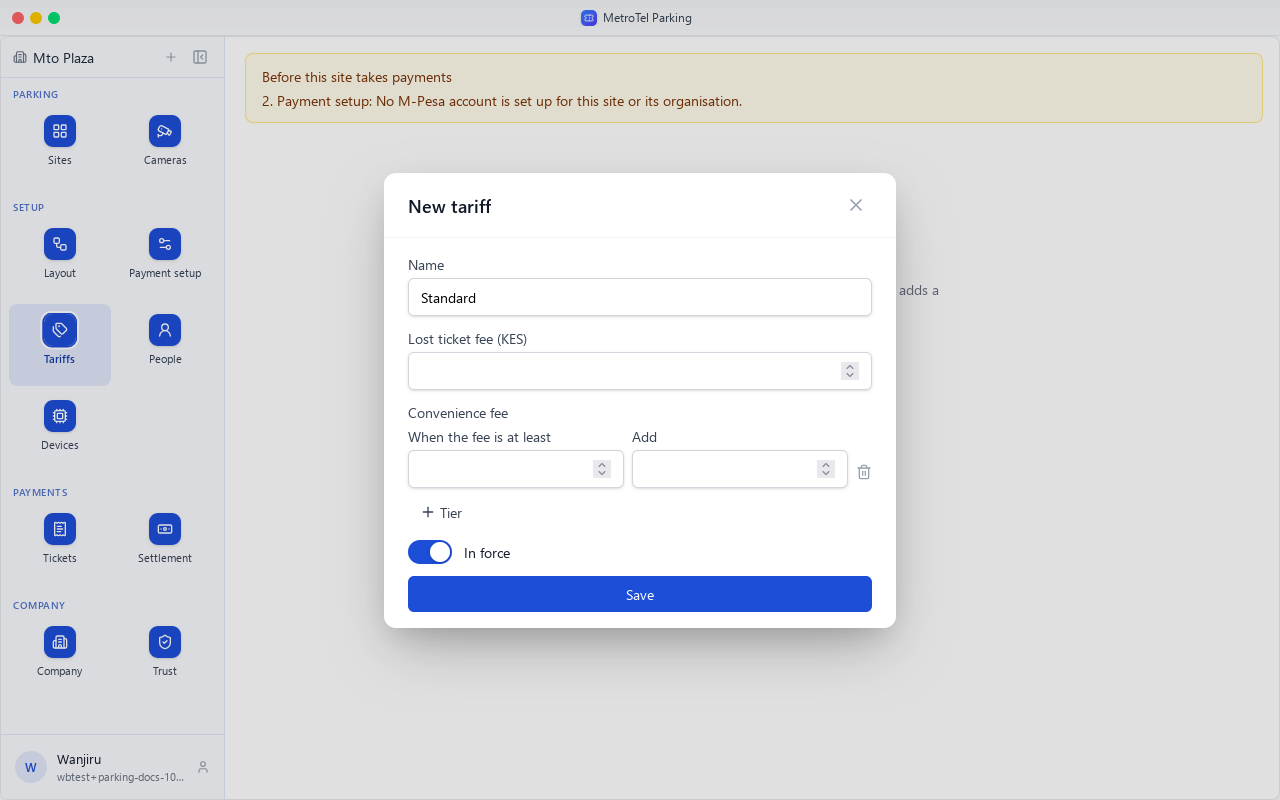
The lost ticket fee is what a driver pays who has lost the ticket. Here, 300 shillings.
The convenience fee goes on top, by tier. When the parking fee is at least 50, add 10.
Plus Tier adds another: from 200, add 20. The highest tier the fee reaches applies.
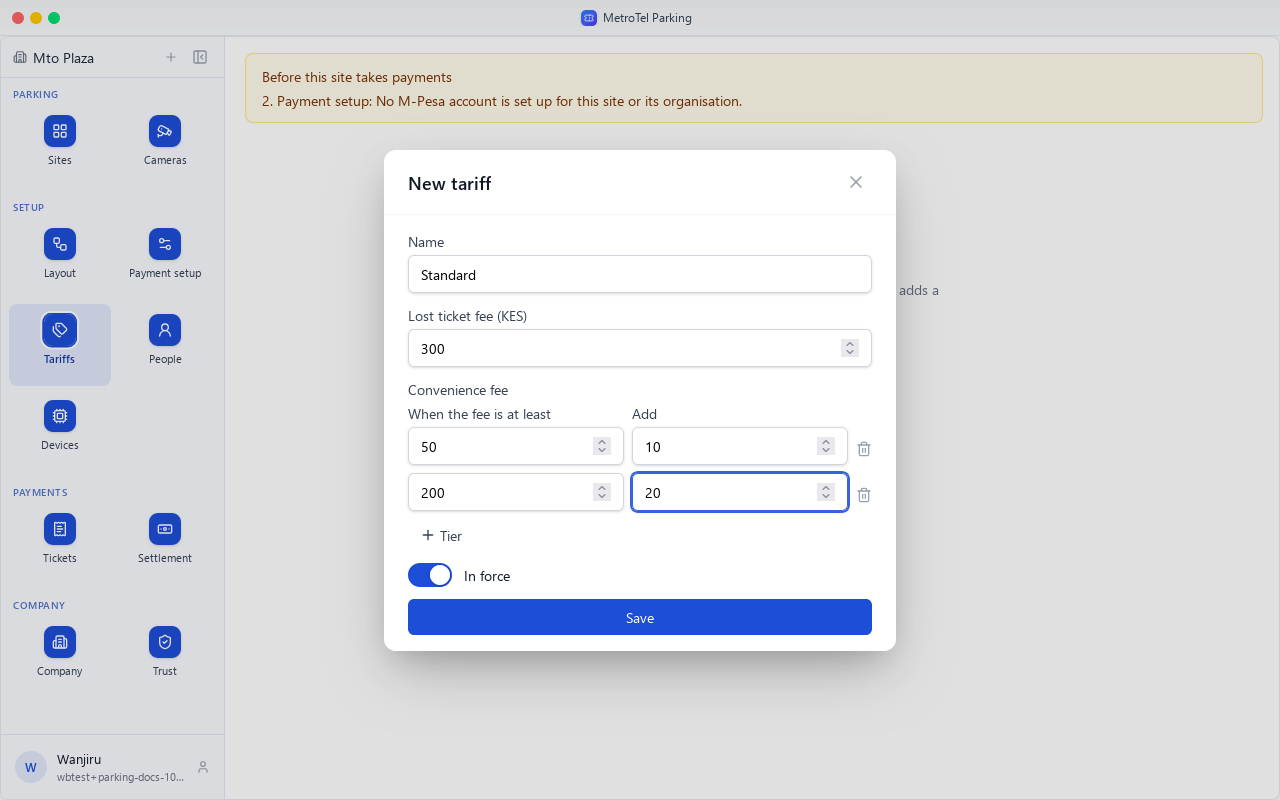
In force is on. A site has one tariff in force at a time. Choose Save.
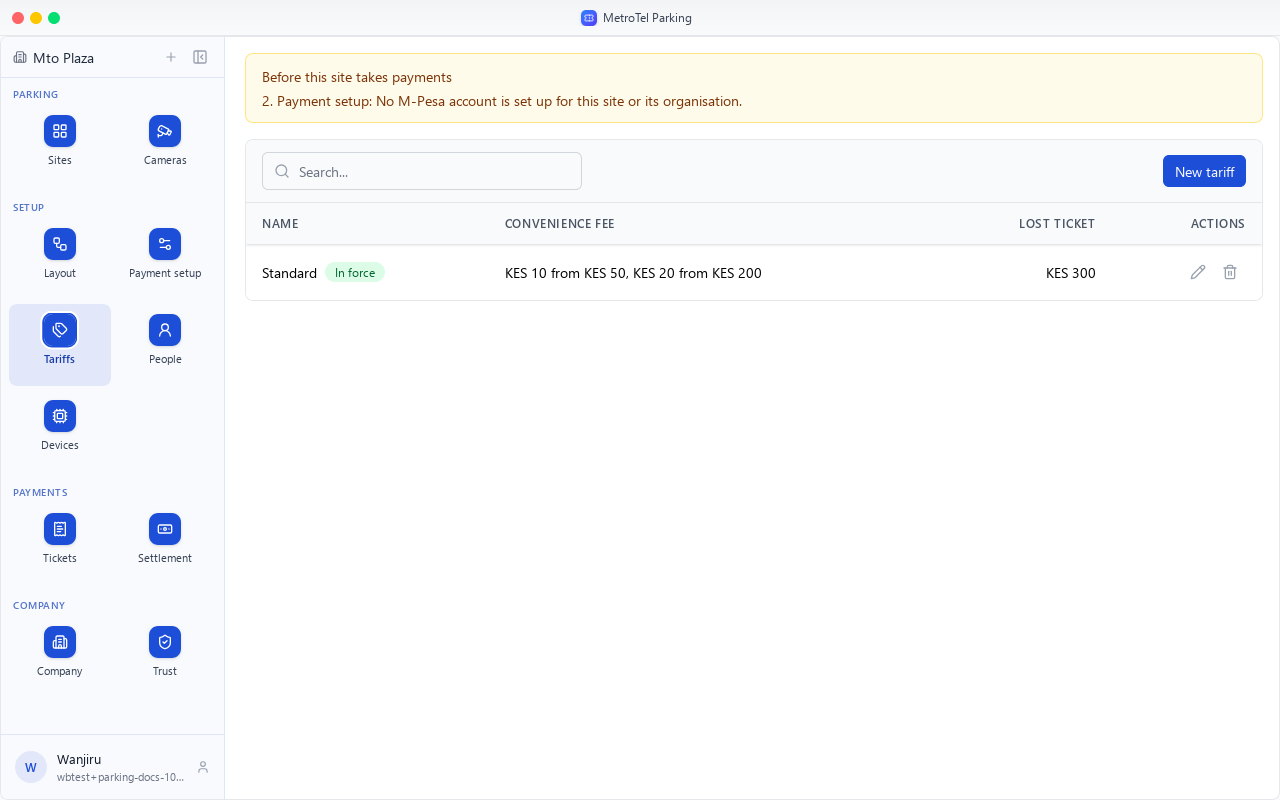
The tariff is listed, in force, with its fees.
Chapter 5
A site manager, a gate attendant, and the company's own people
People, step four under Setup, lists who works at the site. How to invite is in the account guide.
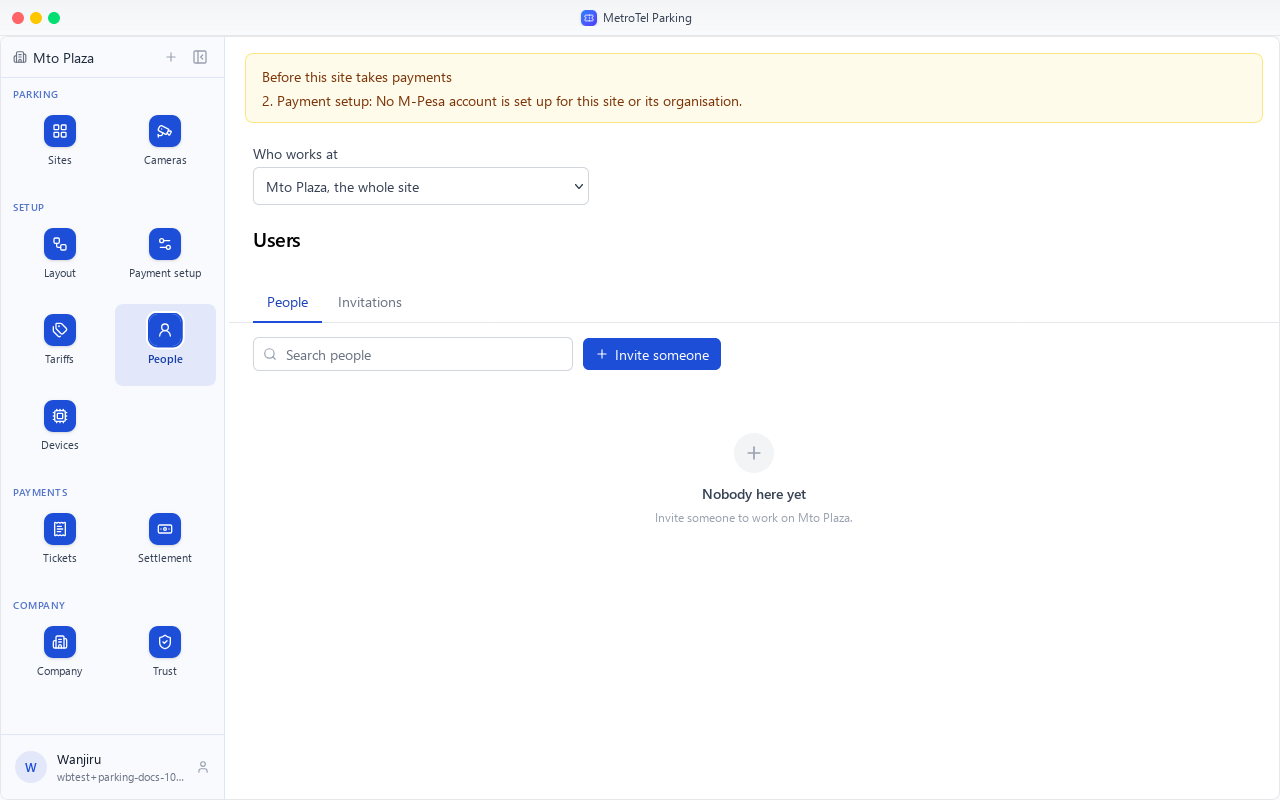
A gate attendant works one gate. Under Who works at, choose the gate.
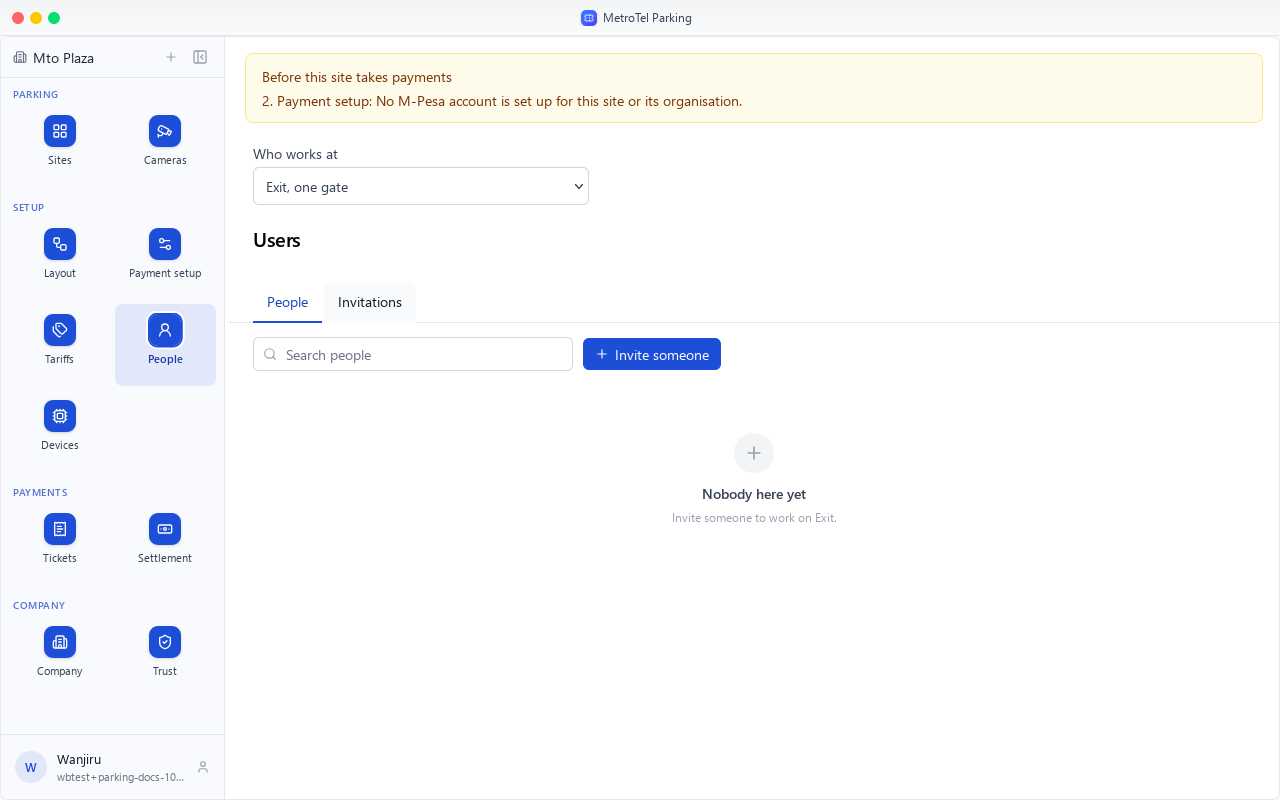
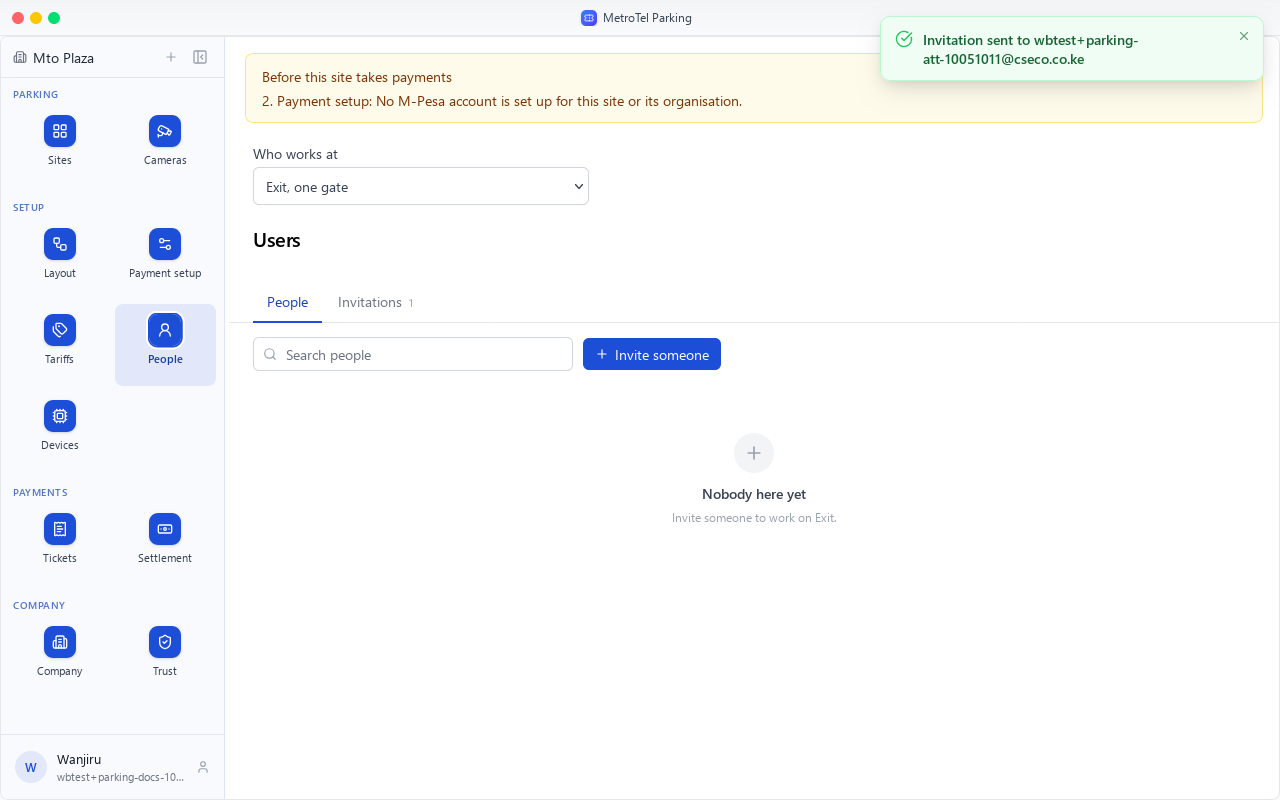
Invite them as Gate attendant. They see that gate's terminal and can open it, and nothing else.
A site manager can do this too, for their own site, as Gate attendant or Exit supervisor only.
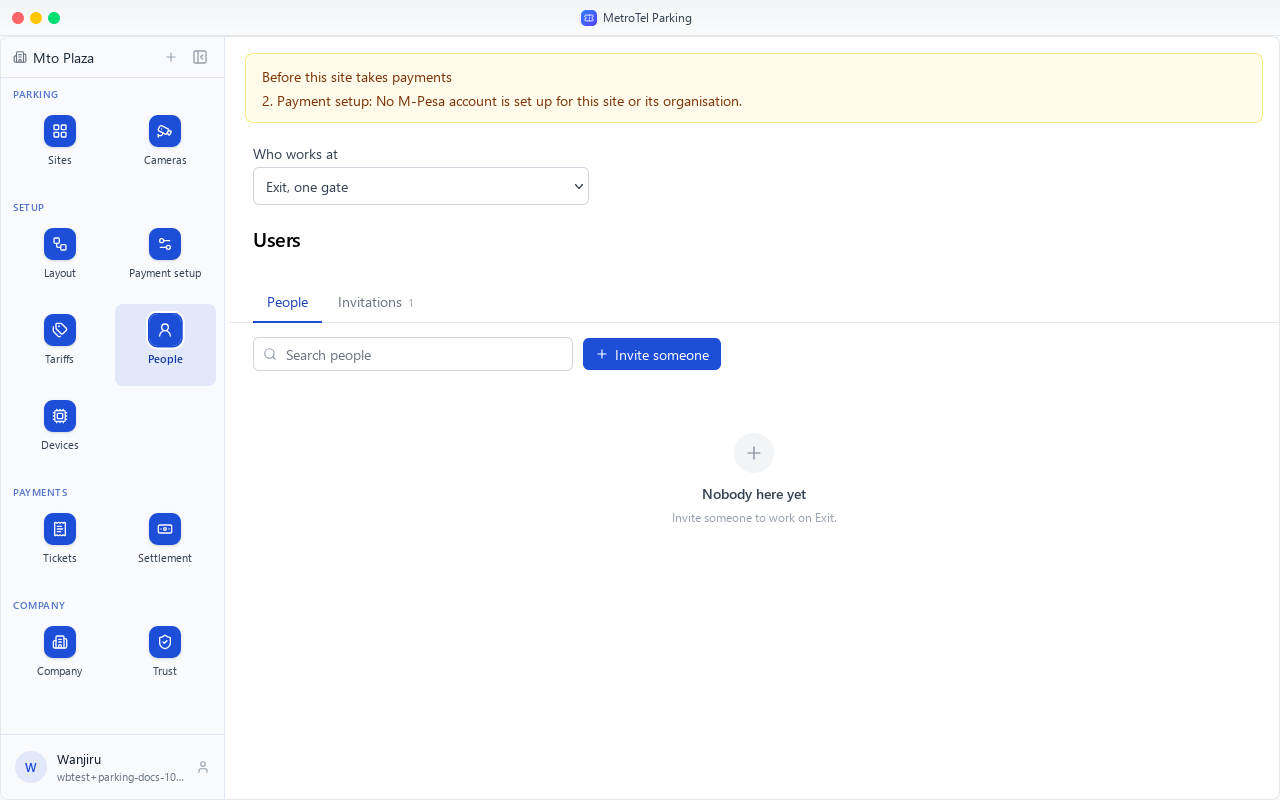
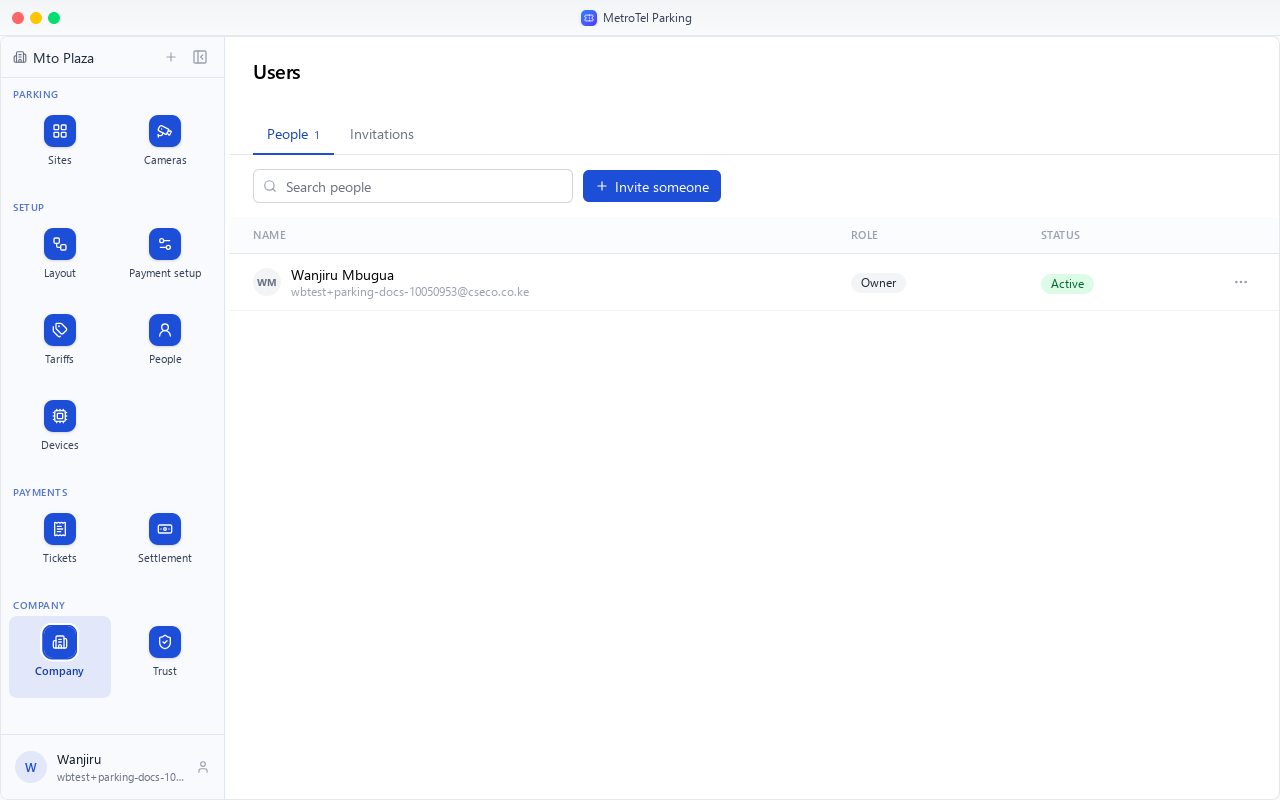
Company is for the people who work across every site, such as a parking operator or a technician.
Chapter 6
Lane terminals, the site's relay, and one gate's own page
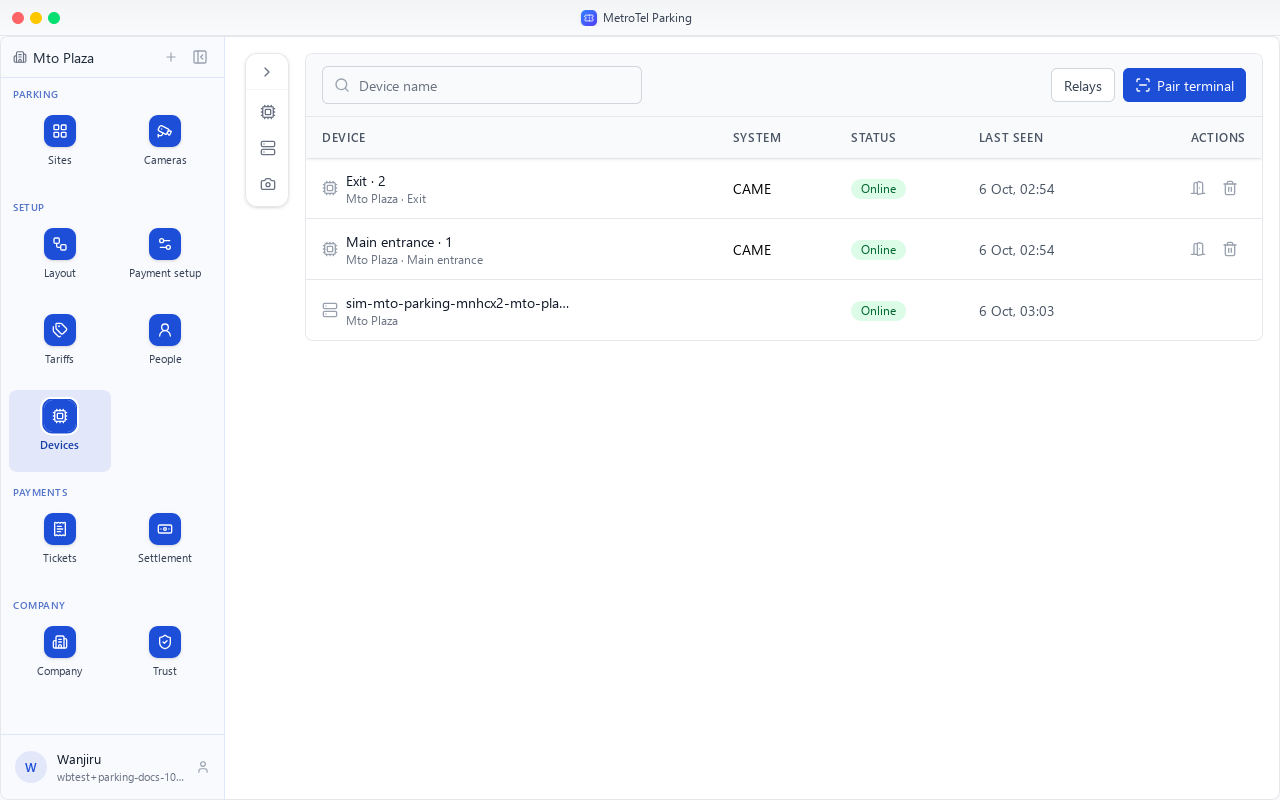
Devices, step five under Setup, lists every lane terminal and relay at your sites.
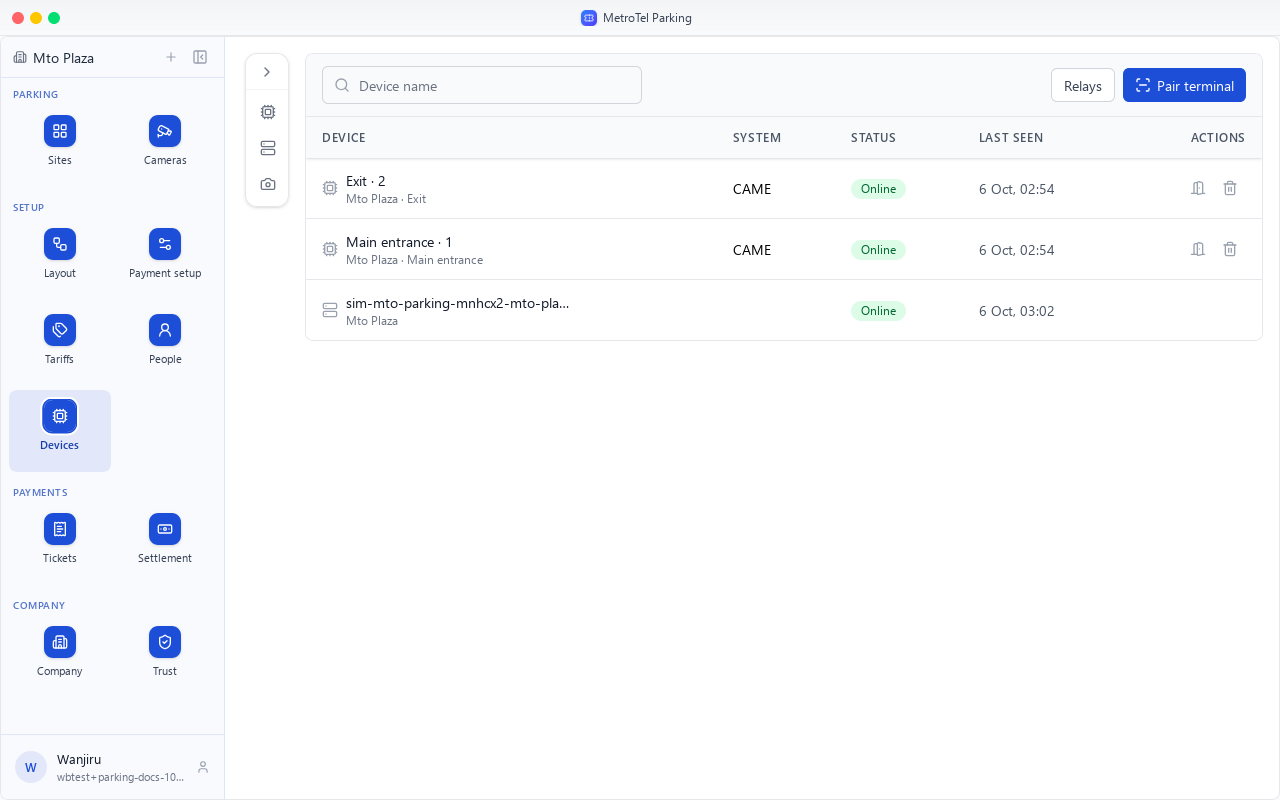
Each gate has a terminal: the screen and controller at the lane, here talking to a CAME car park system.
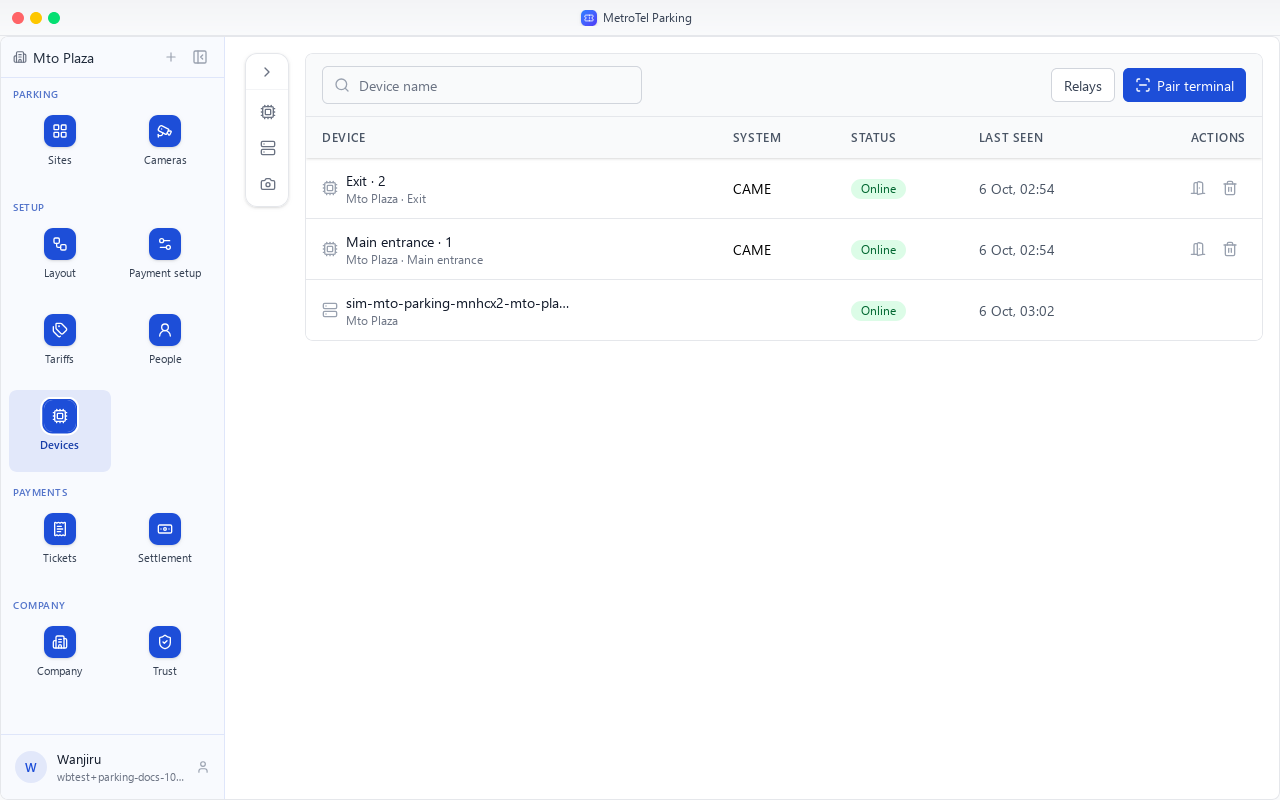
The relay is the site's own link. The terminals connect through it.
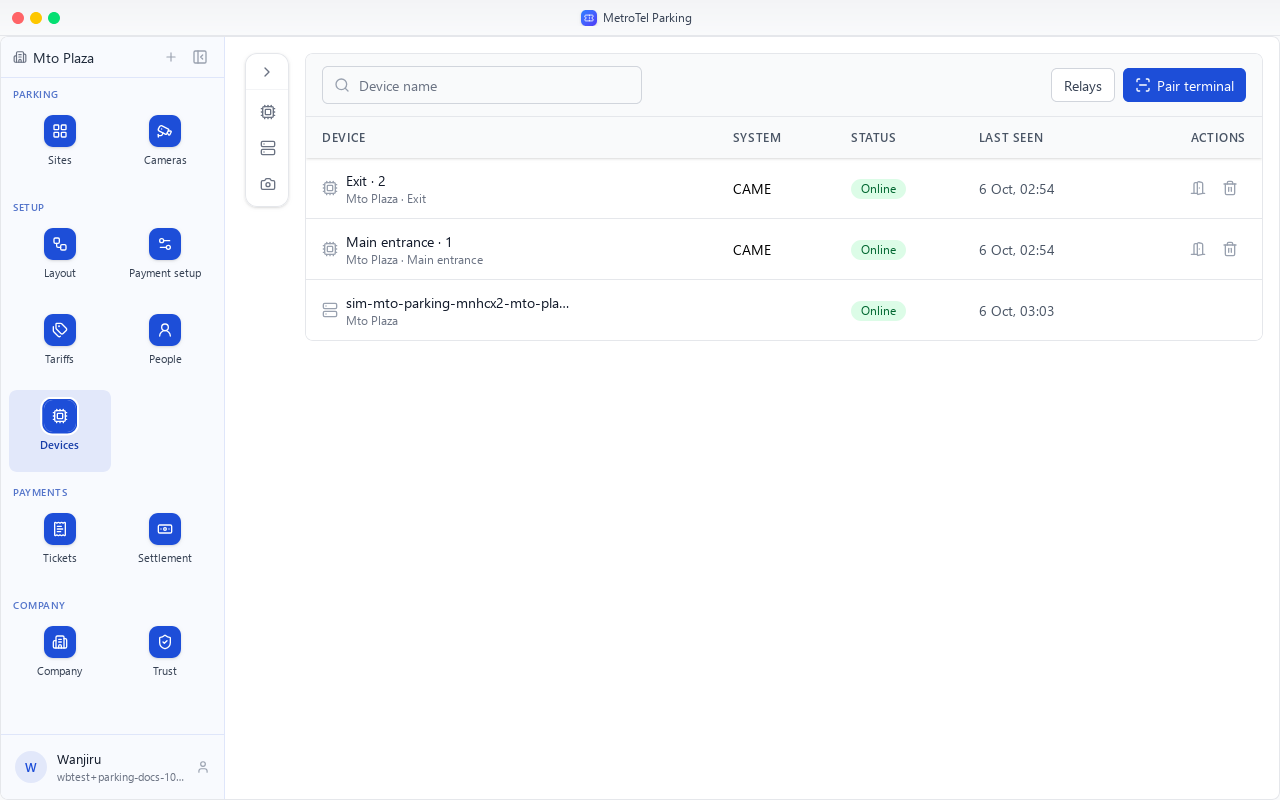
Status says whether each one is online, and Last seen when it last spoke. Anything offline goes to the top.
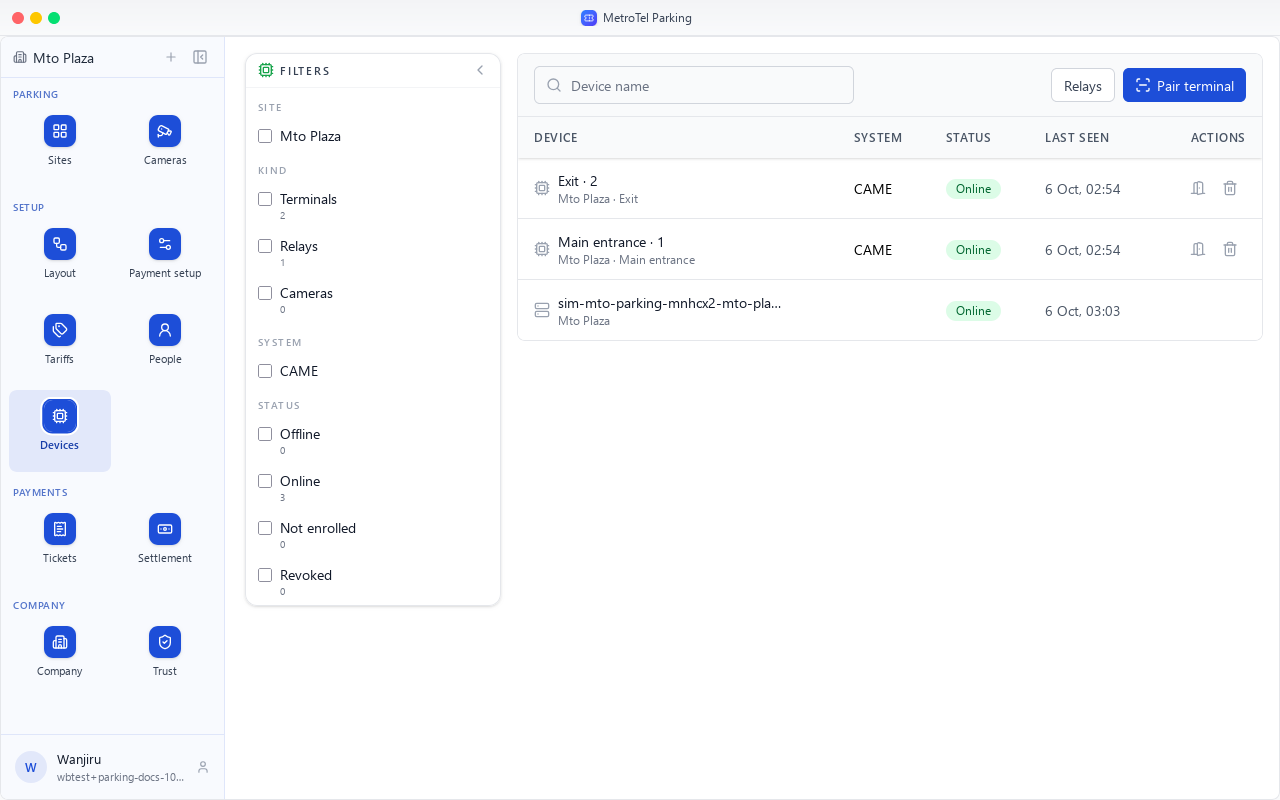
Filters narrow the list by site, kind, system and status, once you run more than one site.
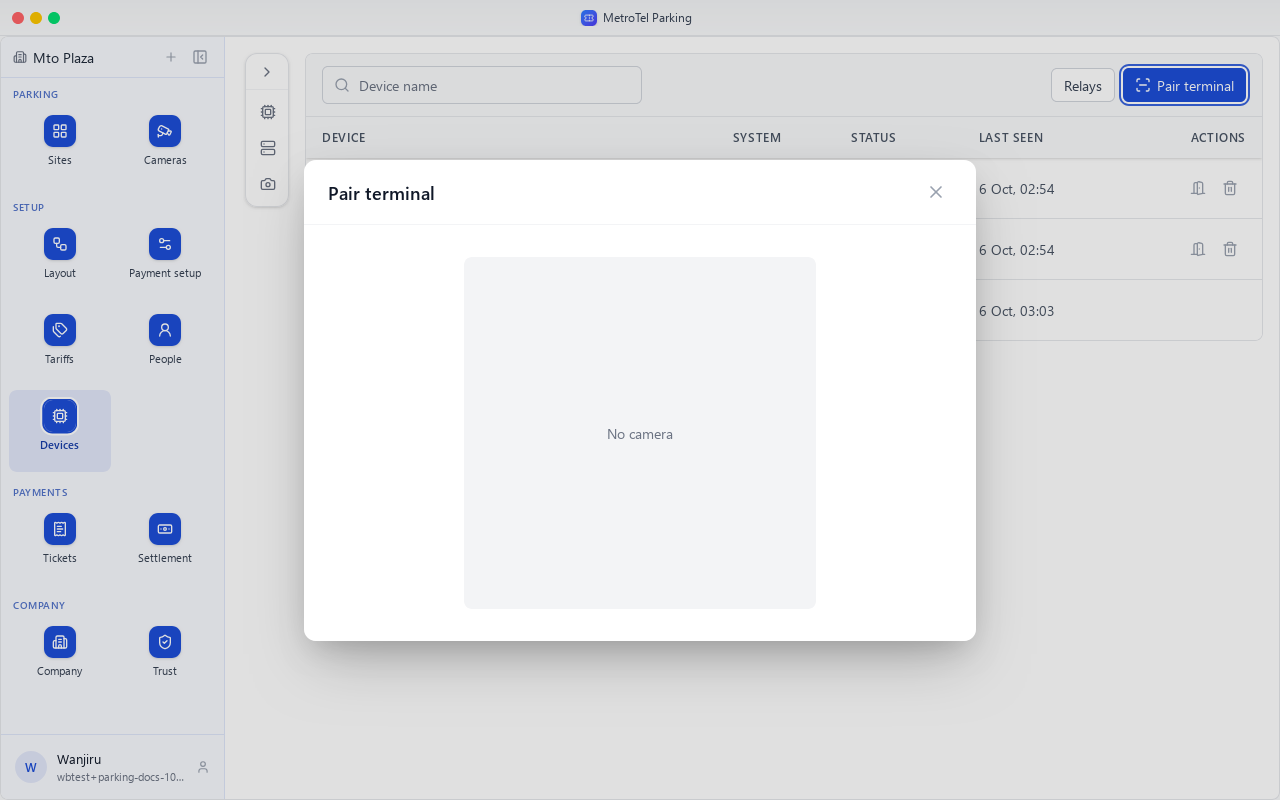
Pair terminal adds one: scan the code on the new terminal's screen, then tap the gate it is mounted at.
To go to a terminal's gate, choose the door beside it.
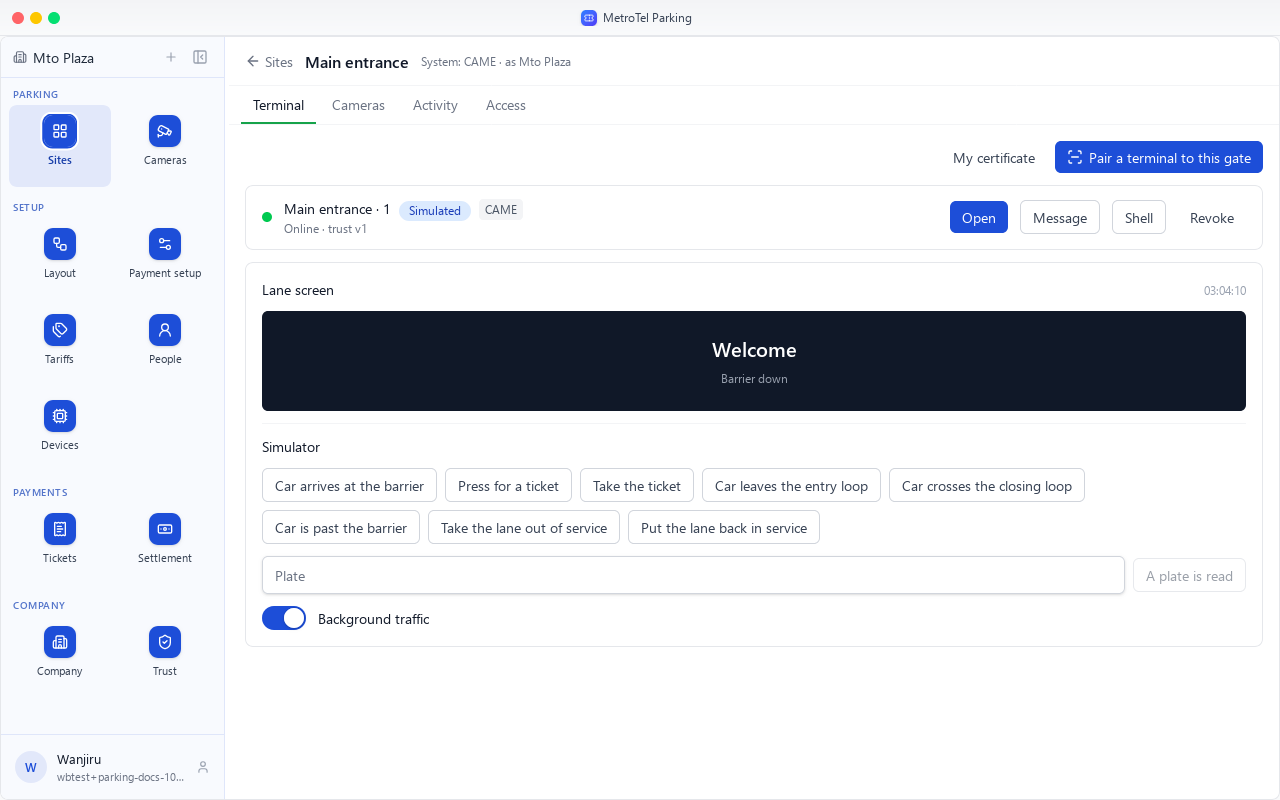
The gate's page has its terminal, its cameras, what happened there, and who has access.
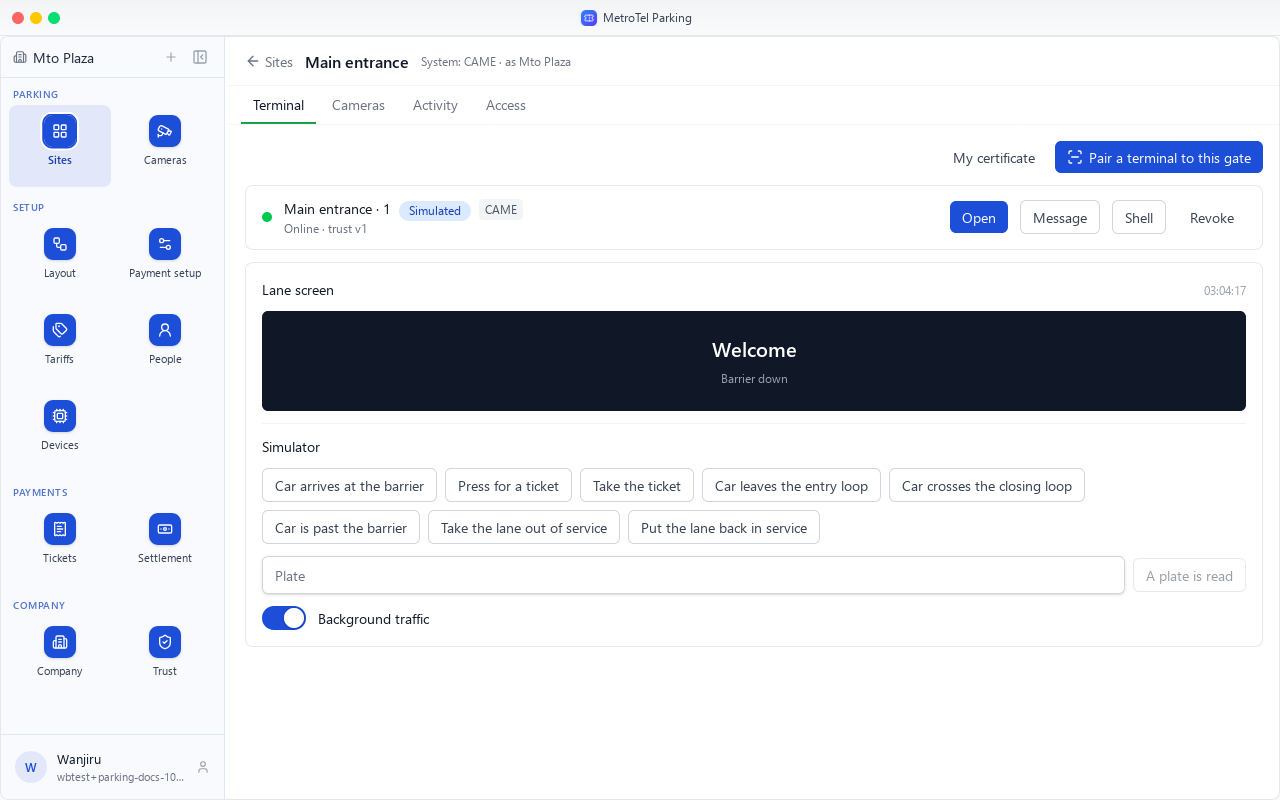
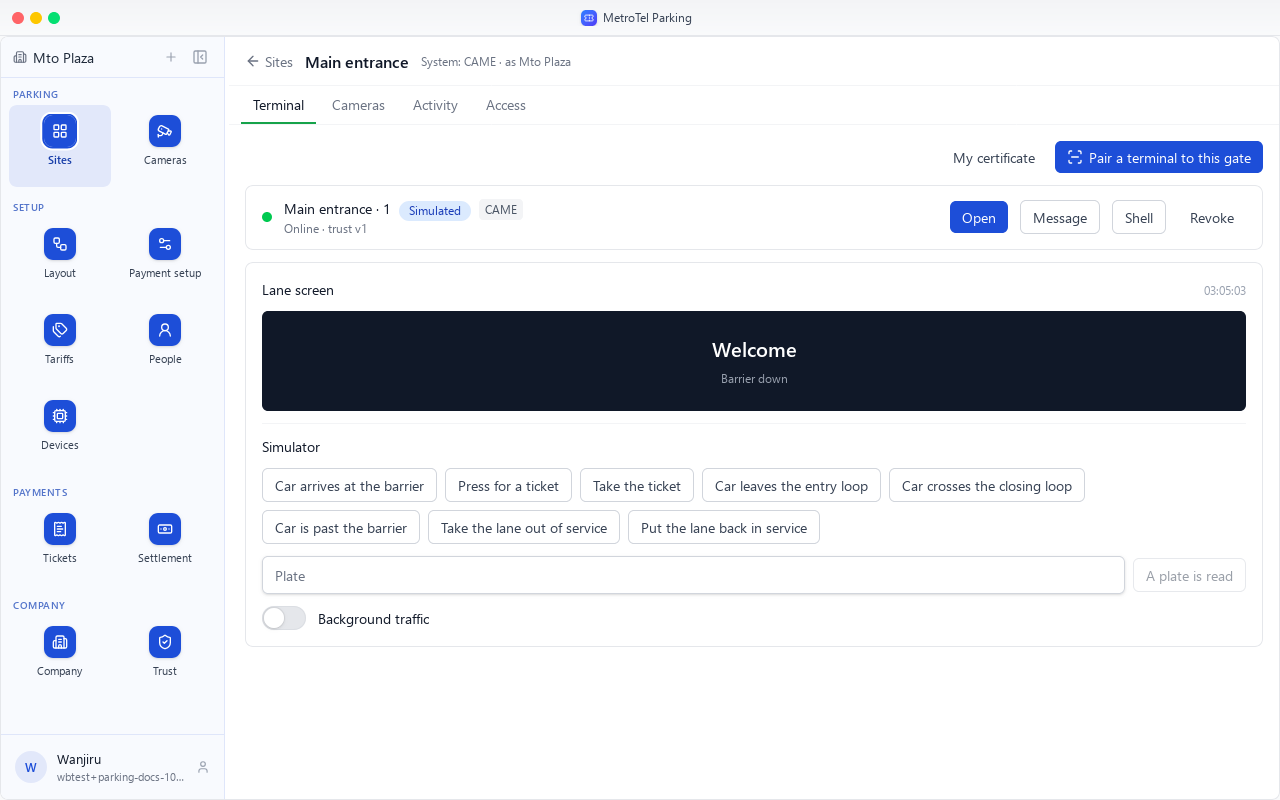
Lane screen shows what the driver sees at this lane, live, and whether the barrier is up or down.
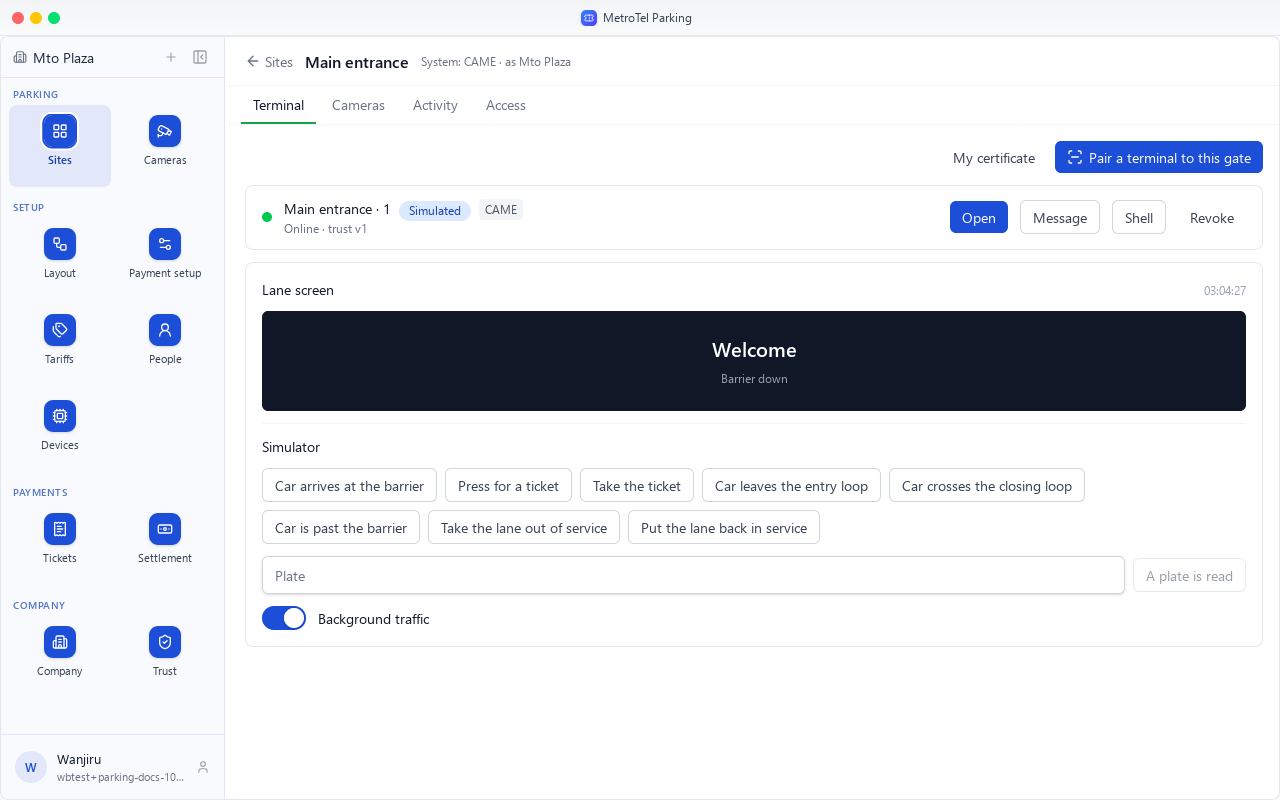
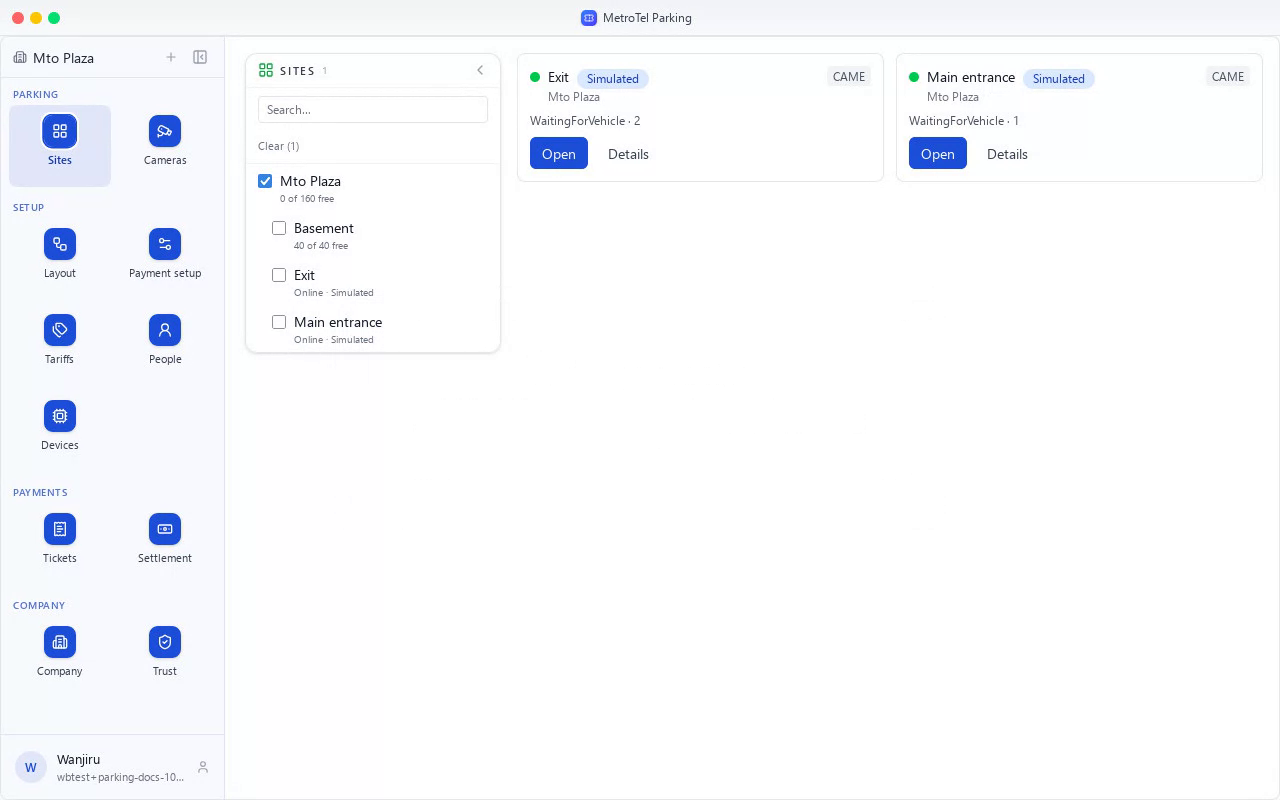
These lanes are simulated for the guide, so the gate also has the simulator's controls. Background traffic sends cars on its own; turn it off to drive one yourself.
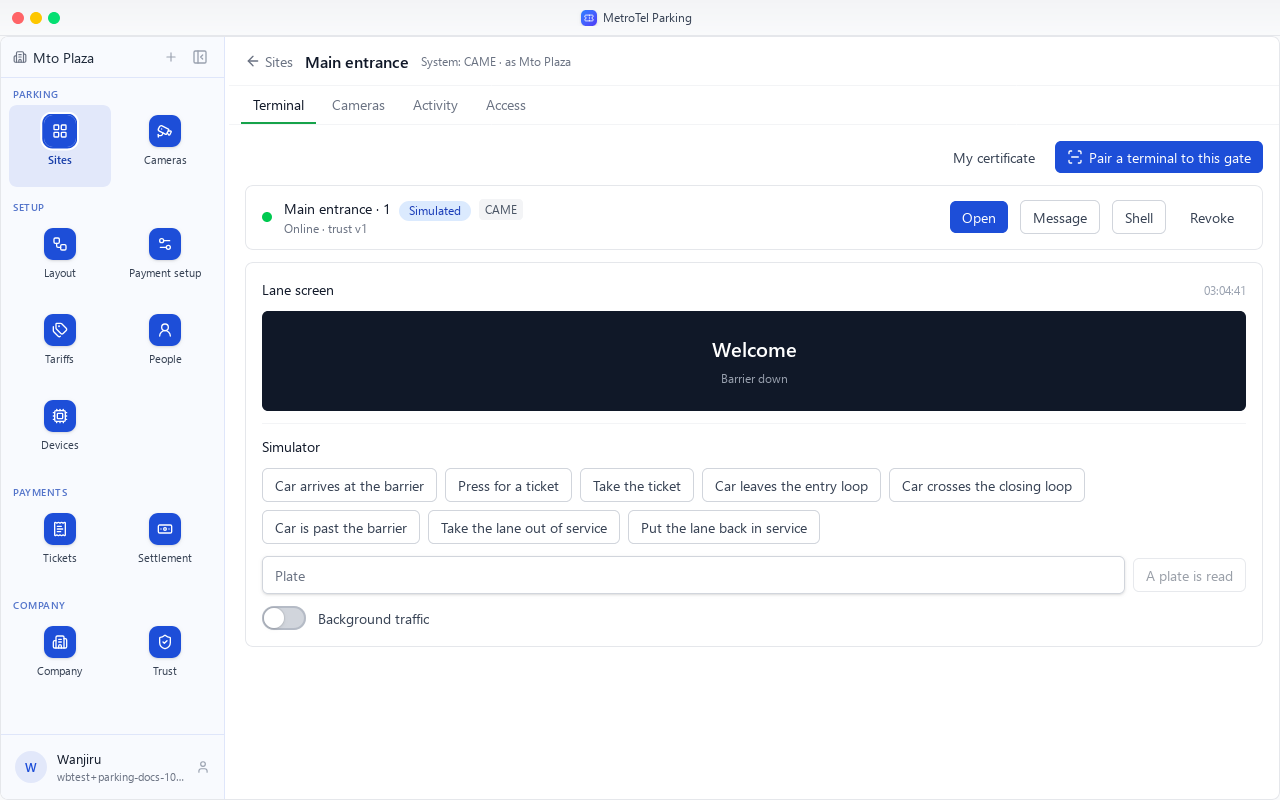
A car arrives at the barrier, and the driver presses for a ticket.
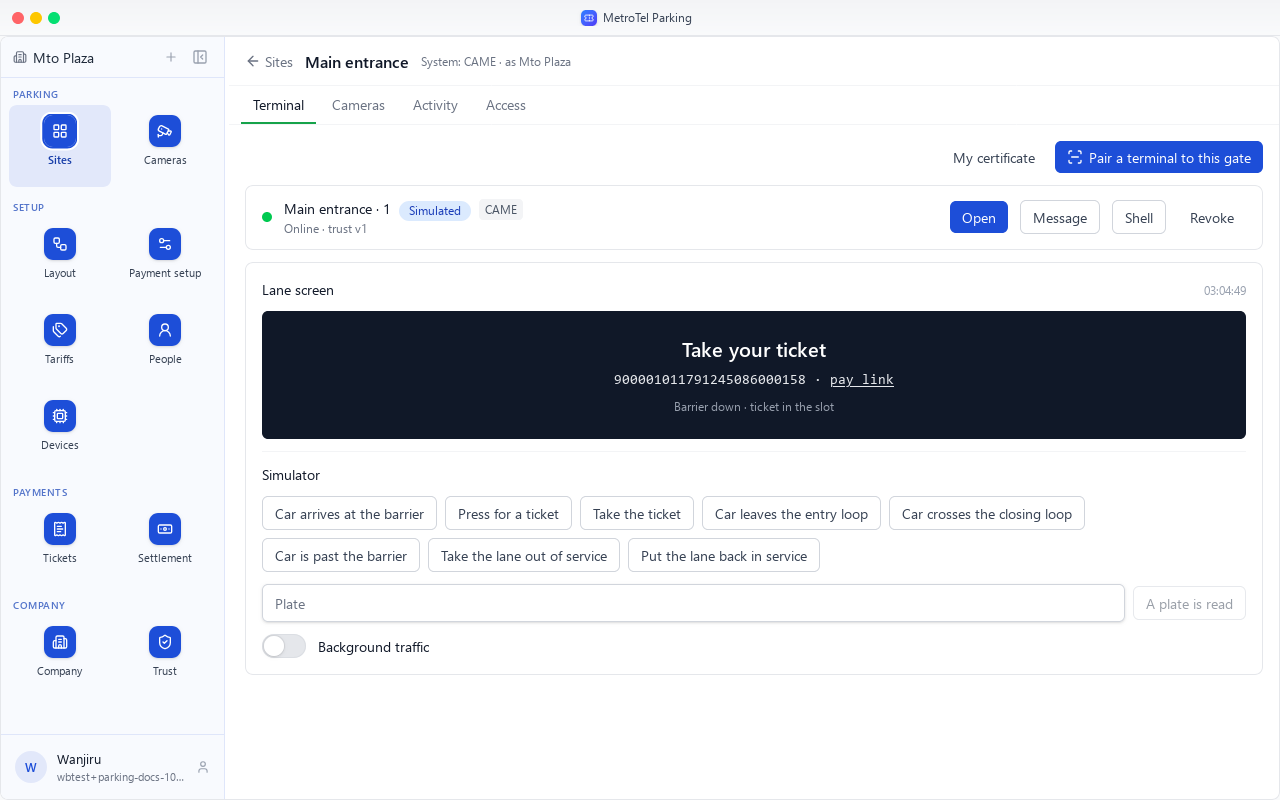
The screen shows the ticket's code with its pay link. The driver takes it, and the barrier lifts.
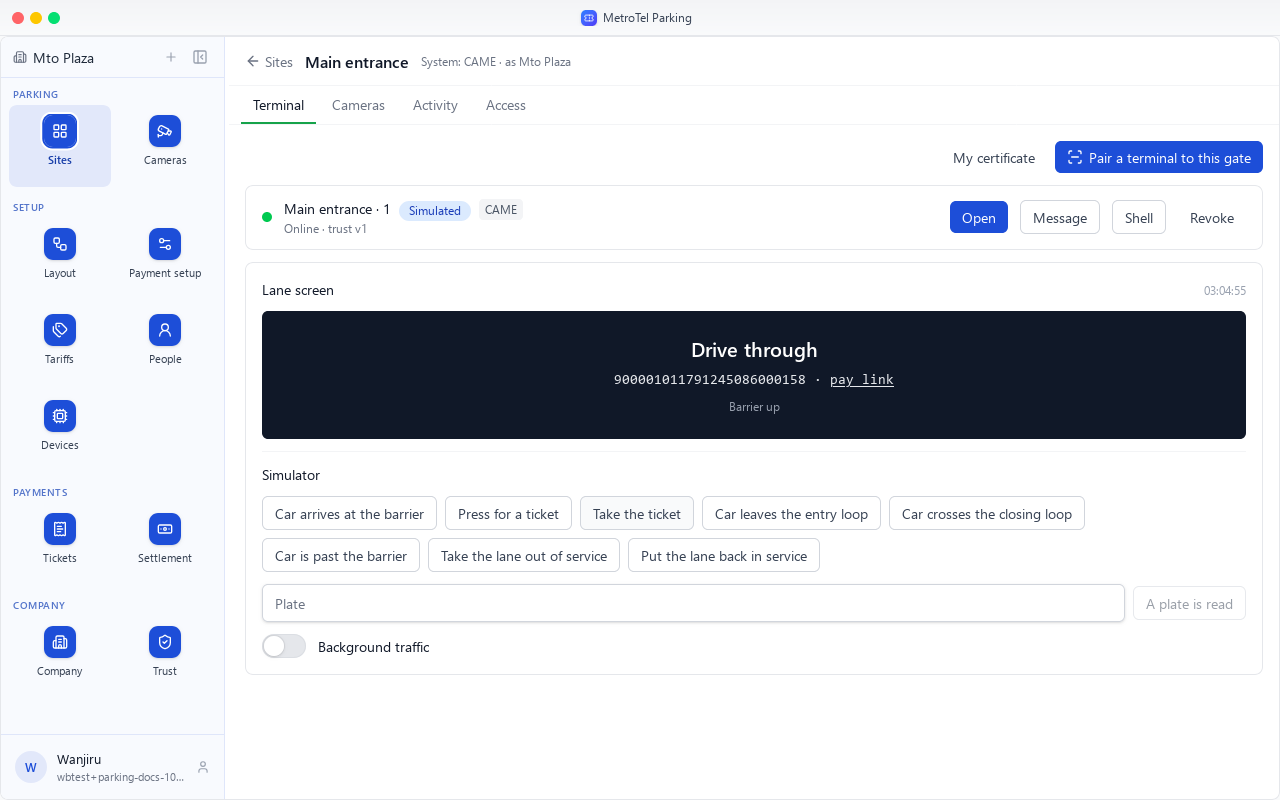
The car leaves the entry loop and crosses the closing loop, and the barrier comes down.
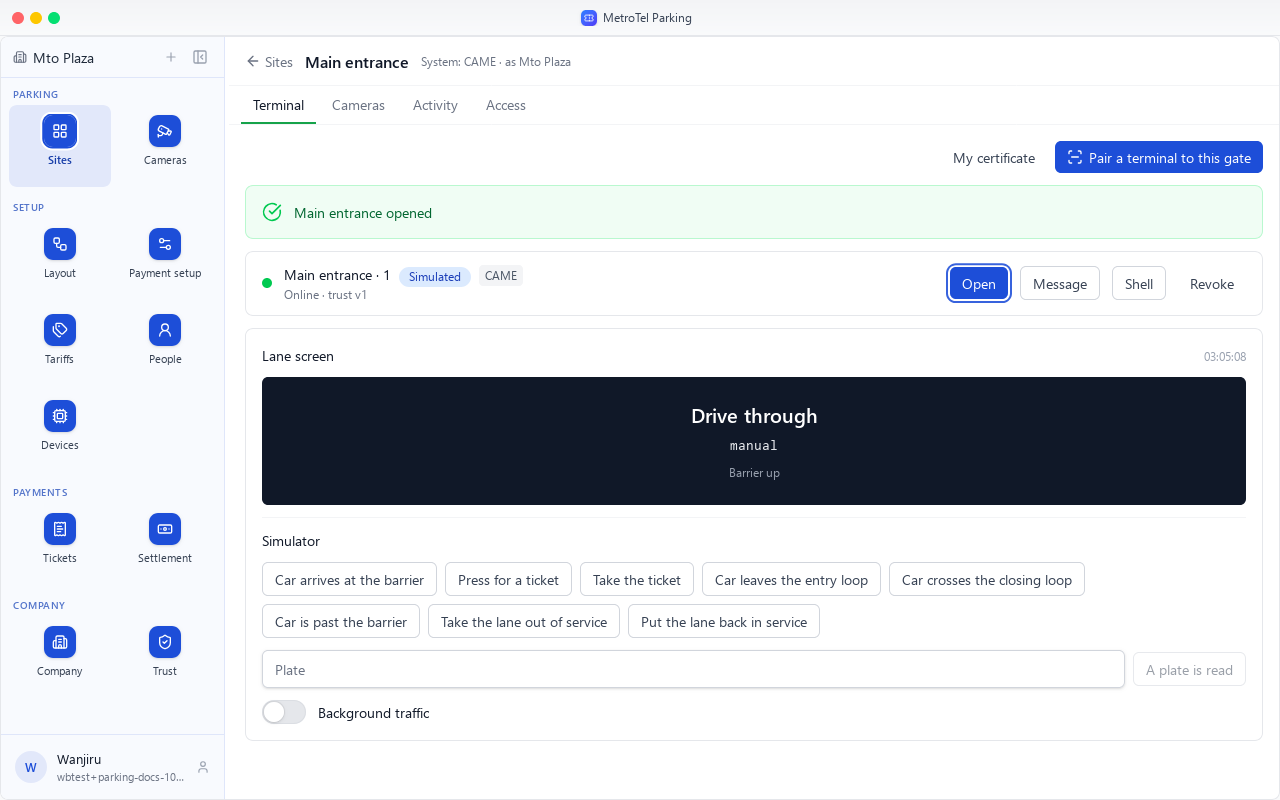
Open lifts this gate's barrier from here.
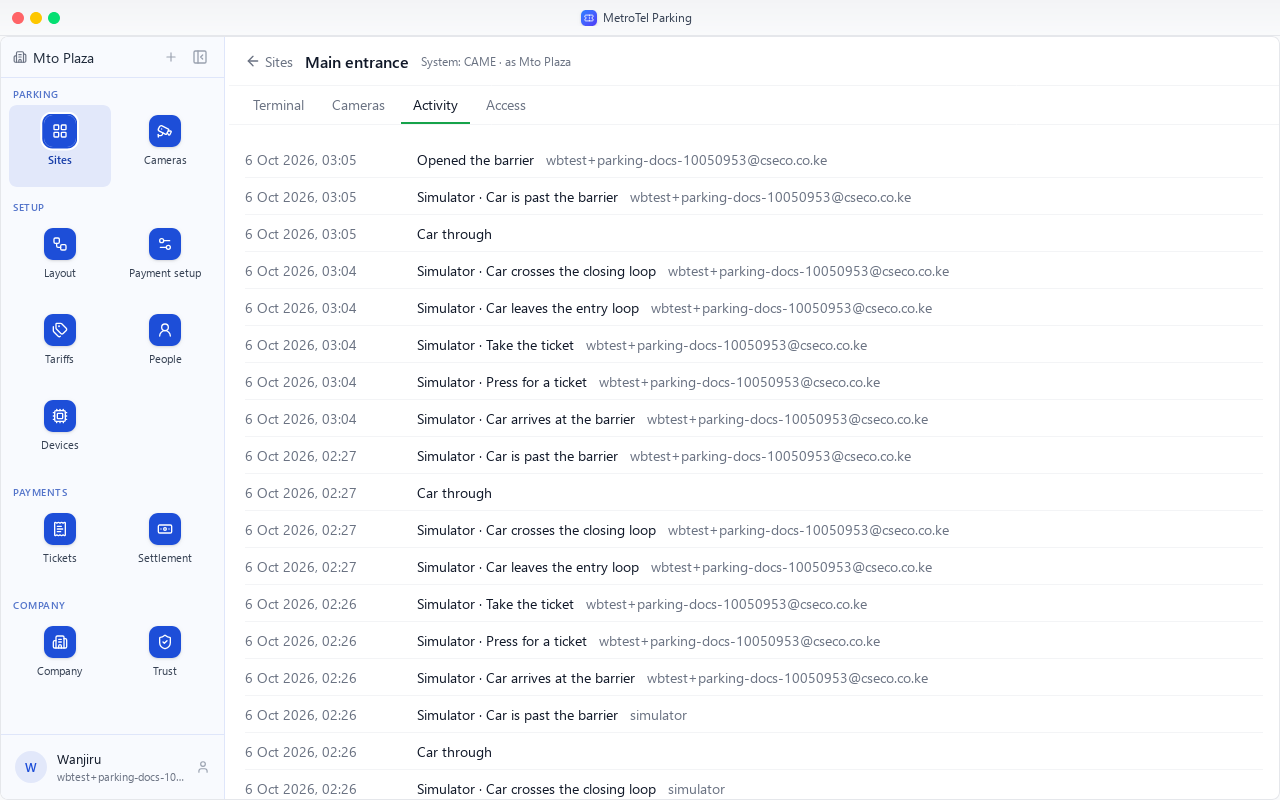
Activity lists what happened at the lane, newest first: each car through, the simulator's steps, and every command, with who sent it.
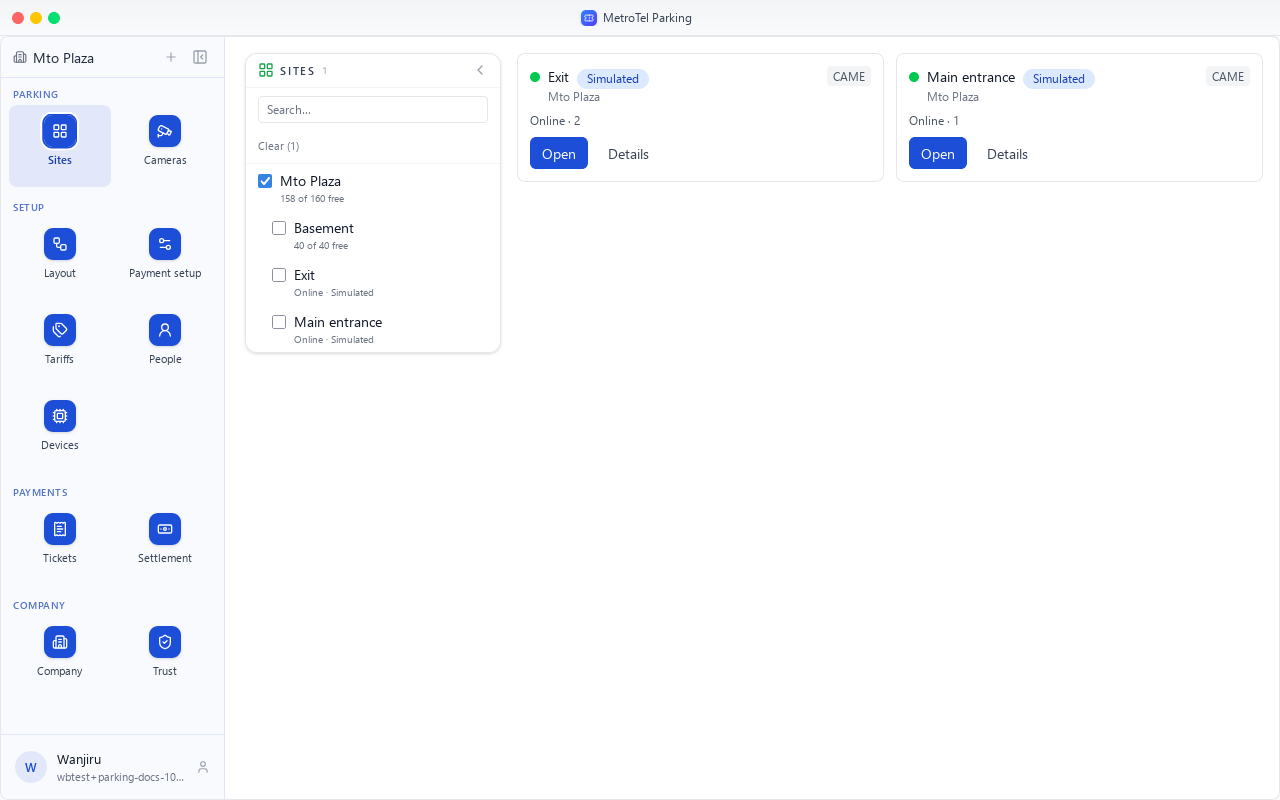
Sites, under Parking, shows each gate live, with its own Open button.
Chapter 7
From the ticket's code to the exit, on the driver's phone
A driver's ticket has a code and a QR. Scanning it opens this page on their phone, with no app and no sign-in.
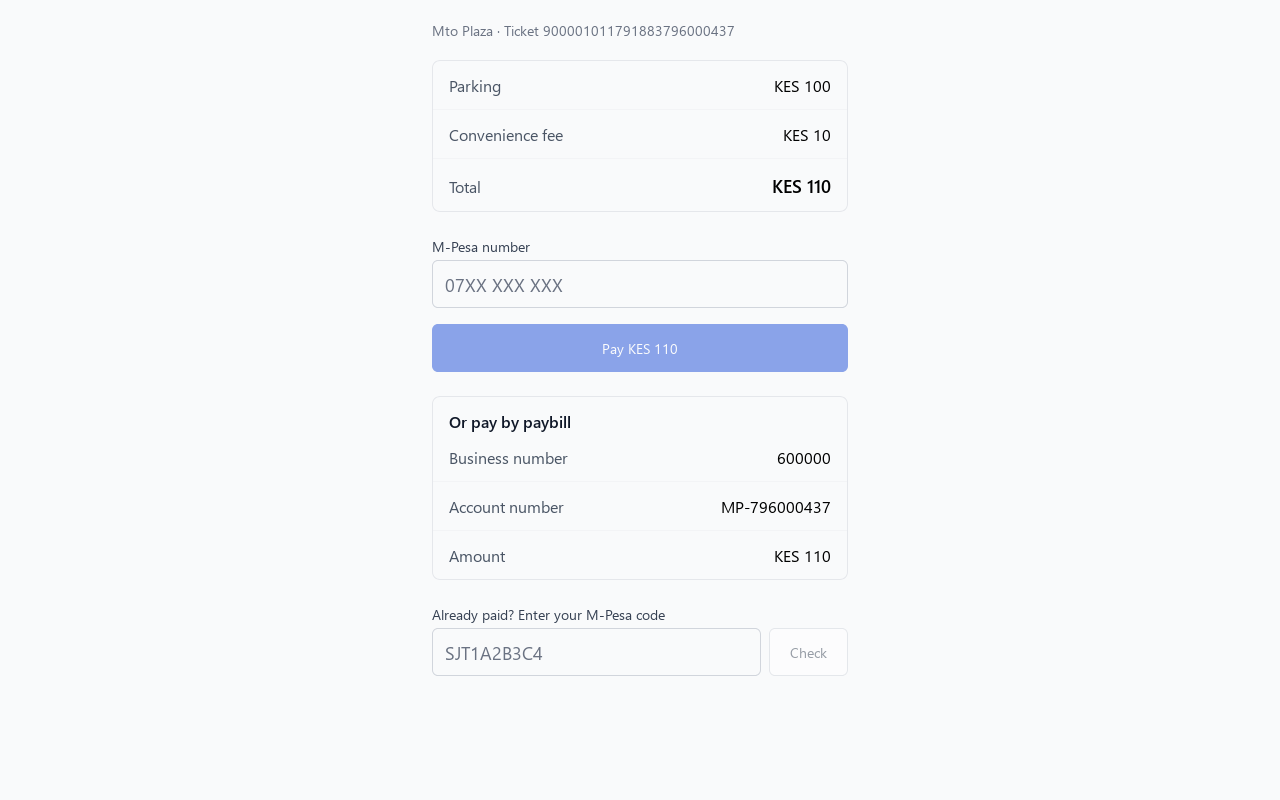
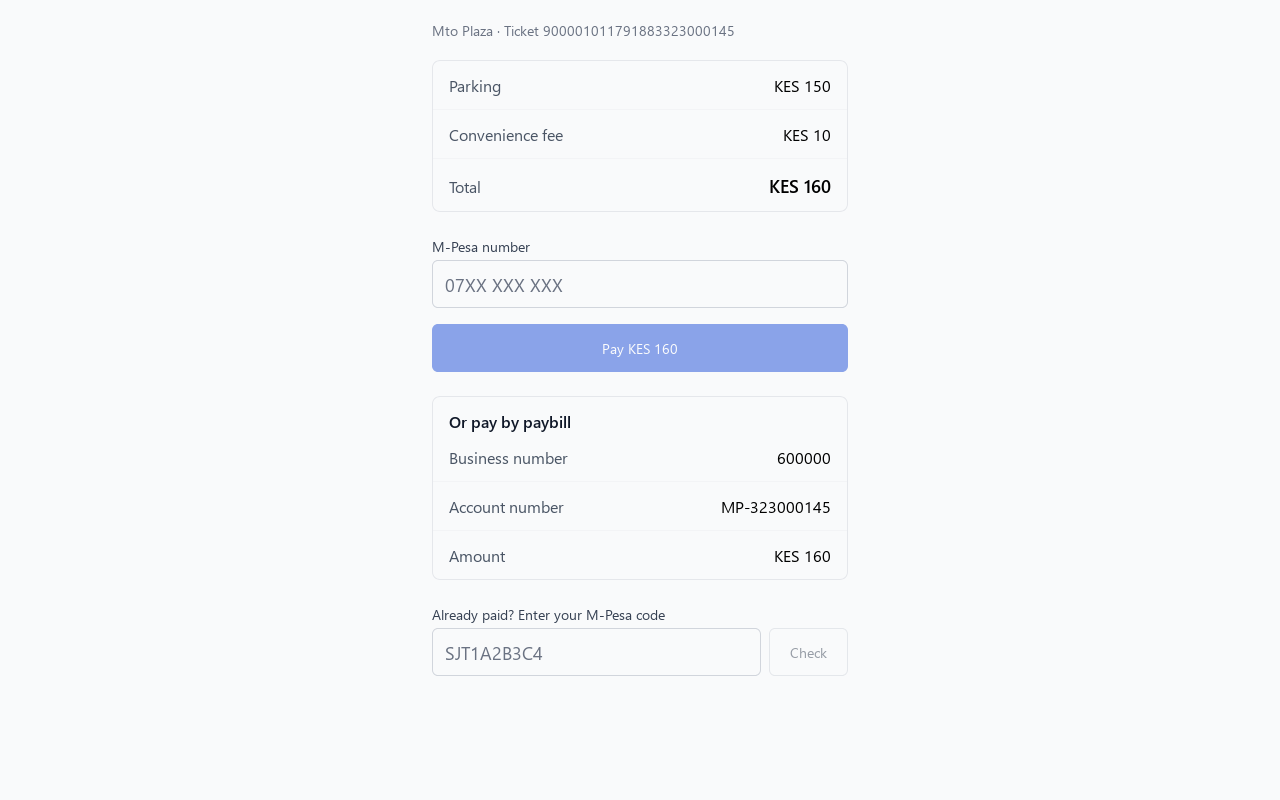
At the top, the site and the ticket. Then the parking fee from the car park system, the convenience fee from the tariff, and the total.
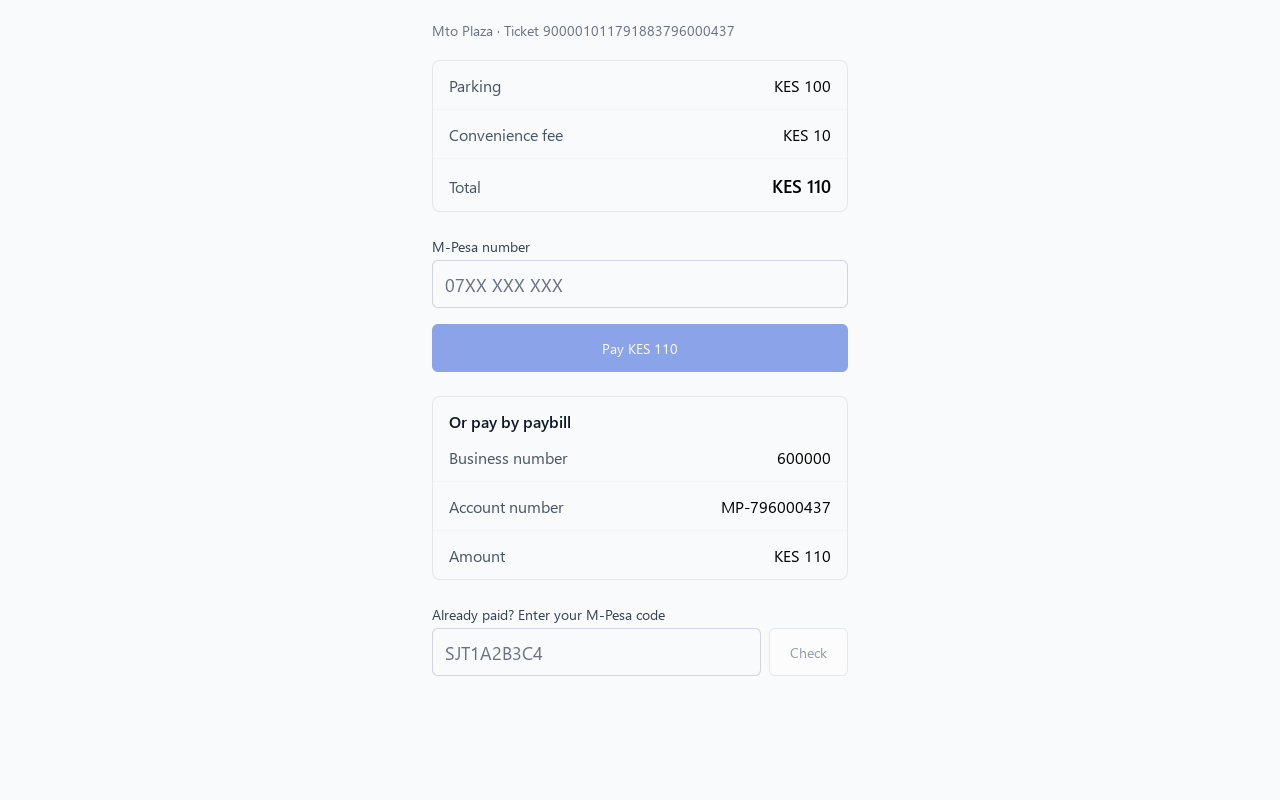
This guide uses Simulated M-Pesa, so no money moves. A real site uses its own paybill.
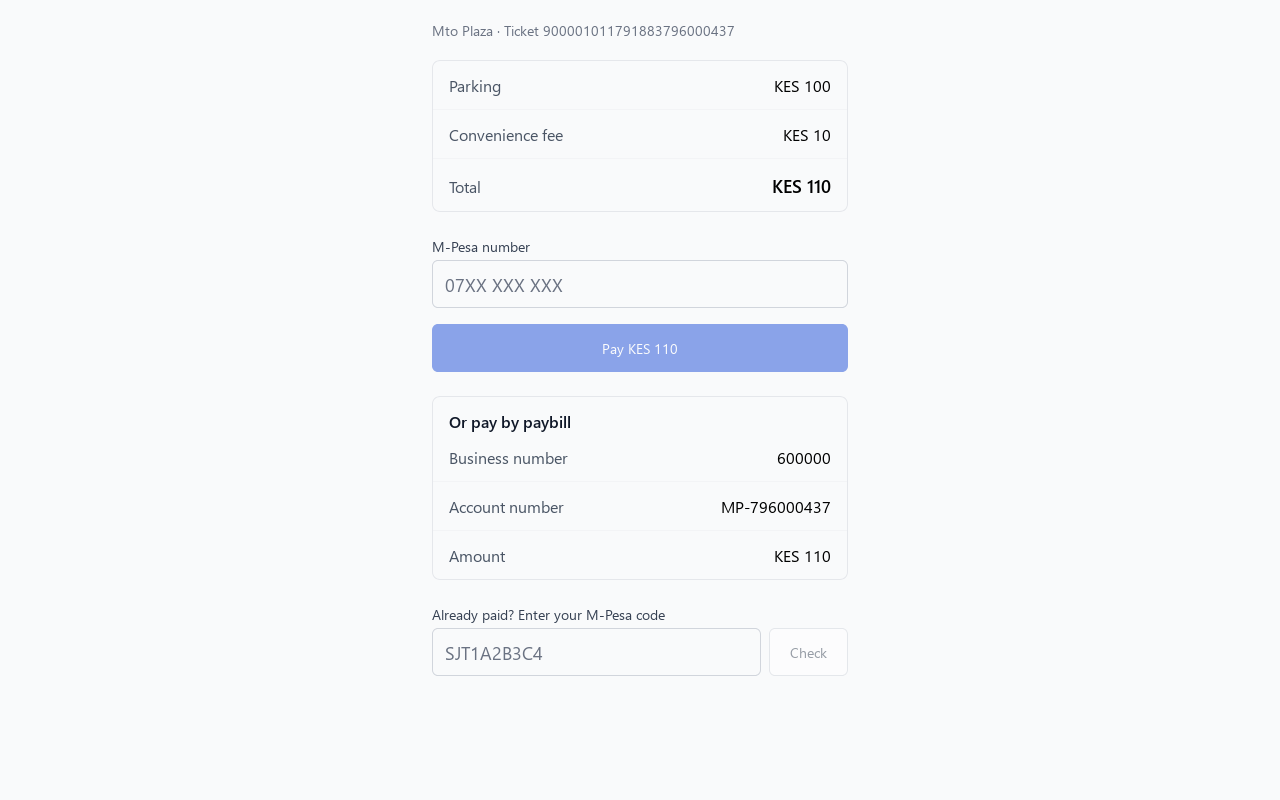
Below the Pay button, Or pay by paybill gives the business number, this ticket's account number and the amount, for a driver who pays from the M-Pesa menu instead. That payment finds the ticket by itself.
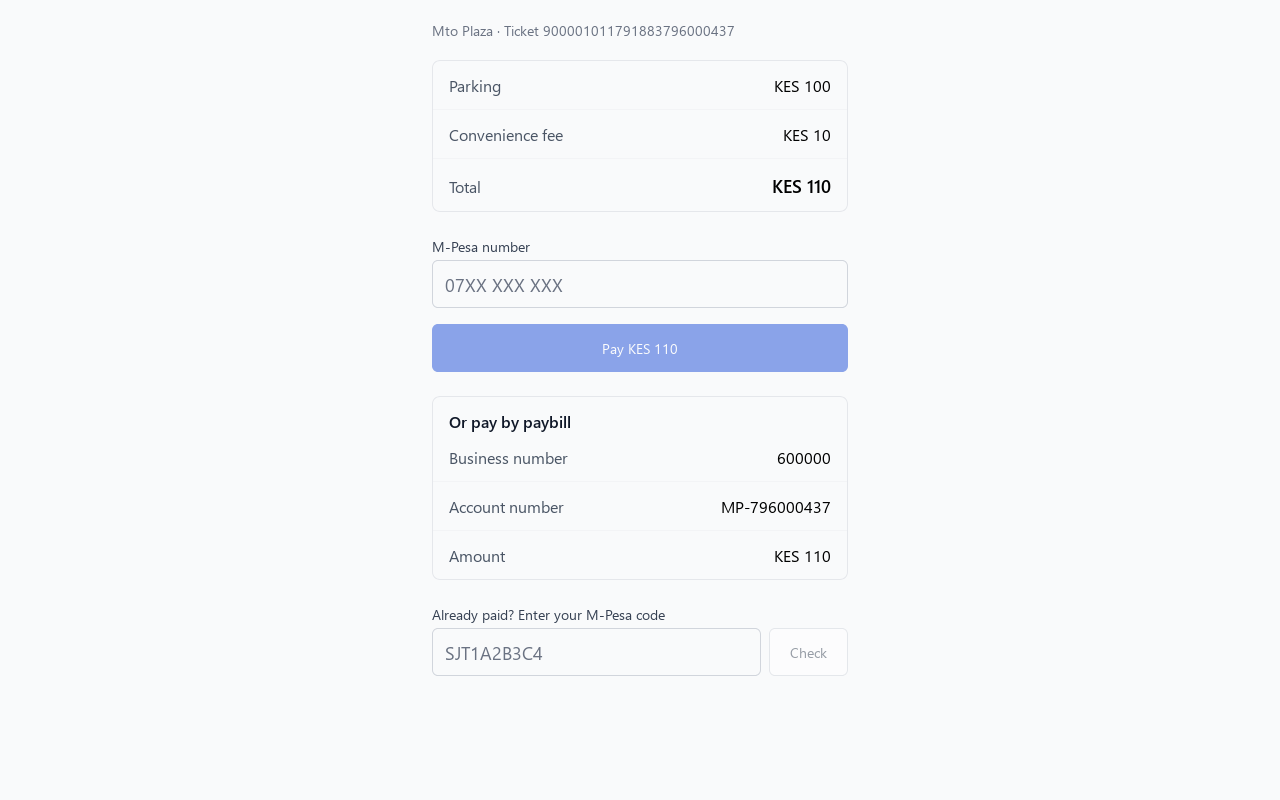
A driver who paid with a wrong account number types the code from M-Pesa's message here and chooses Check. Chapter 9 shows both.
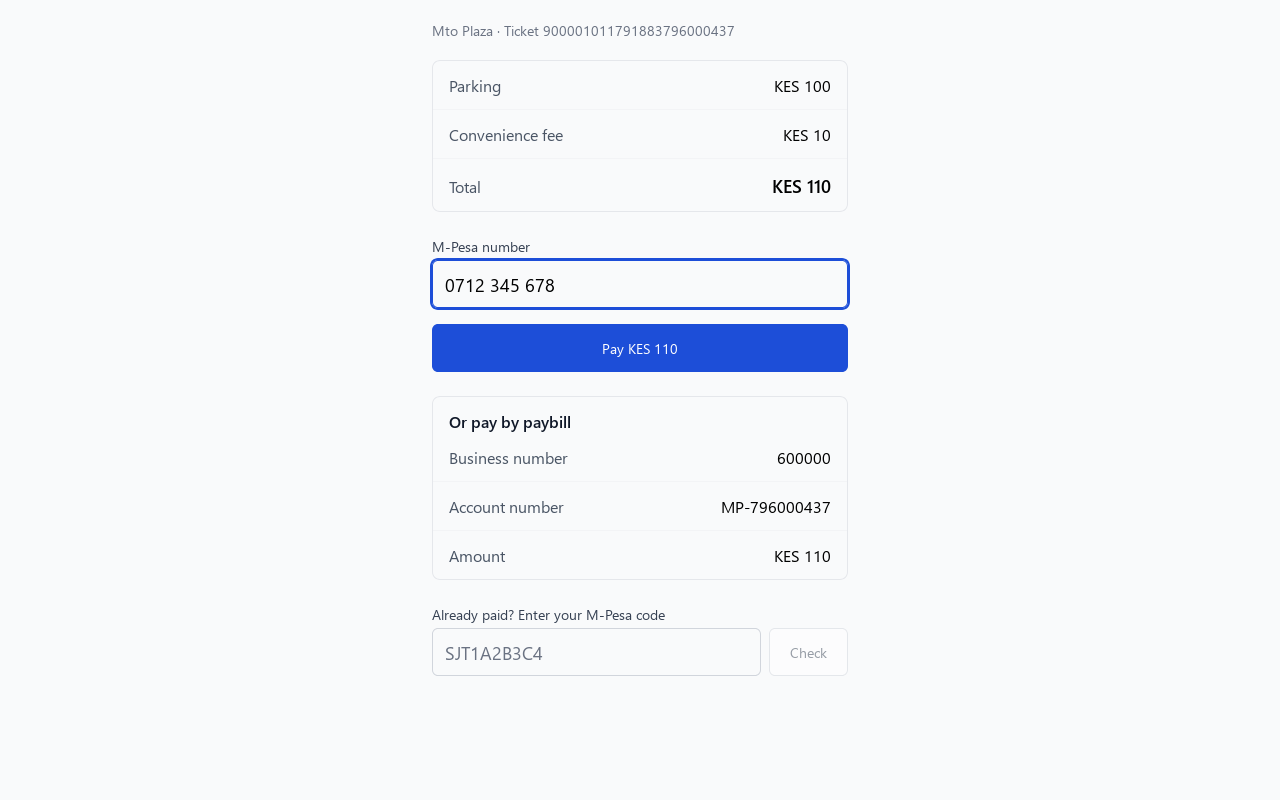
The driver types their M-Pesa number and chooses Pay.
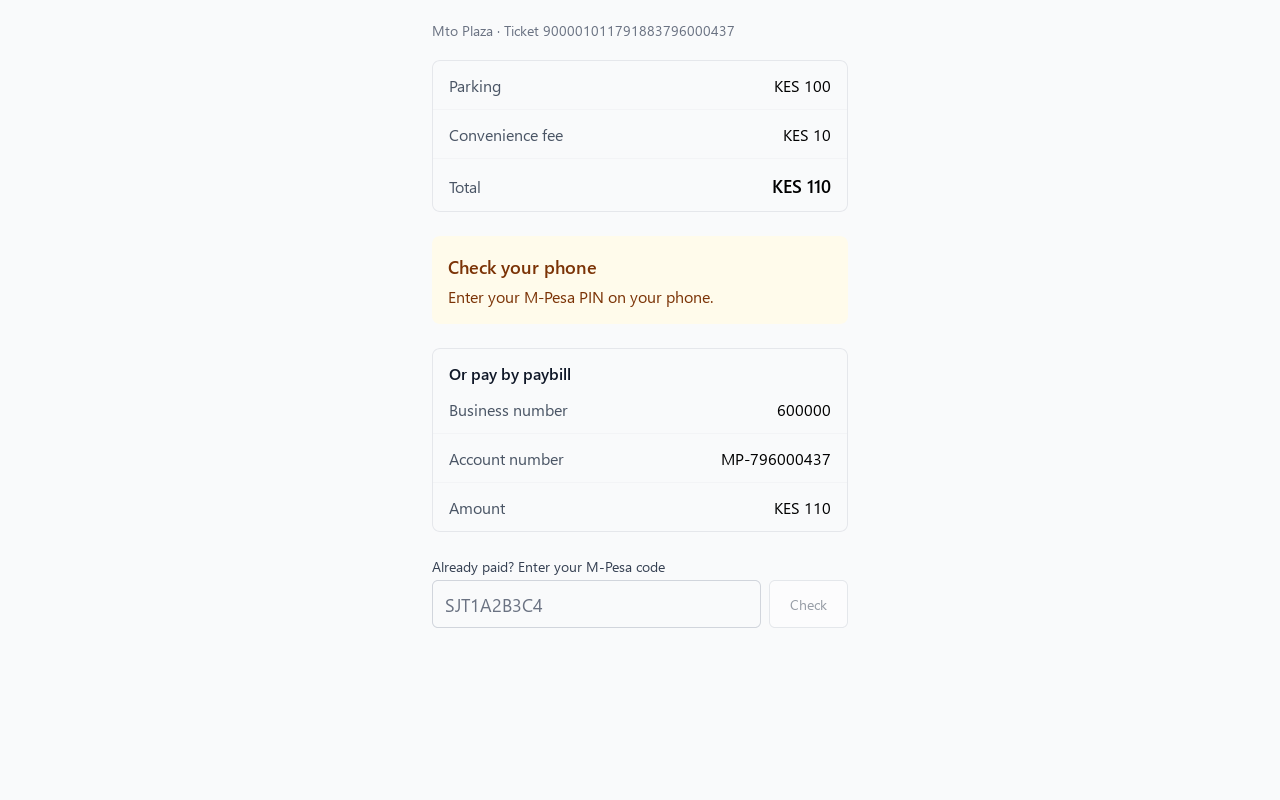
A real M-Pesa now asks for the PIN on their phone; the simulated one answers by itself. The page follows the payment on its own.
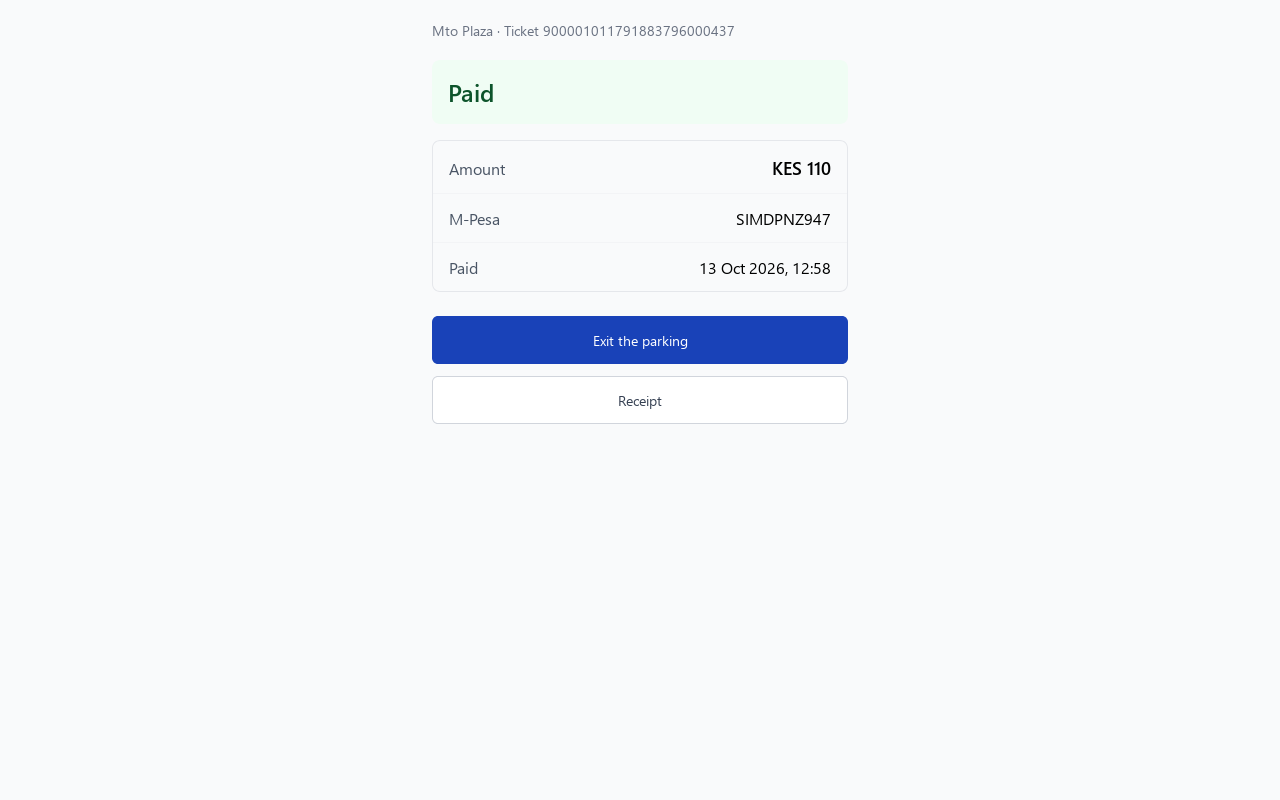
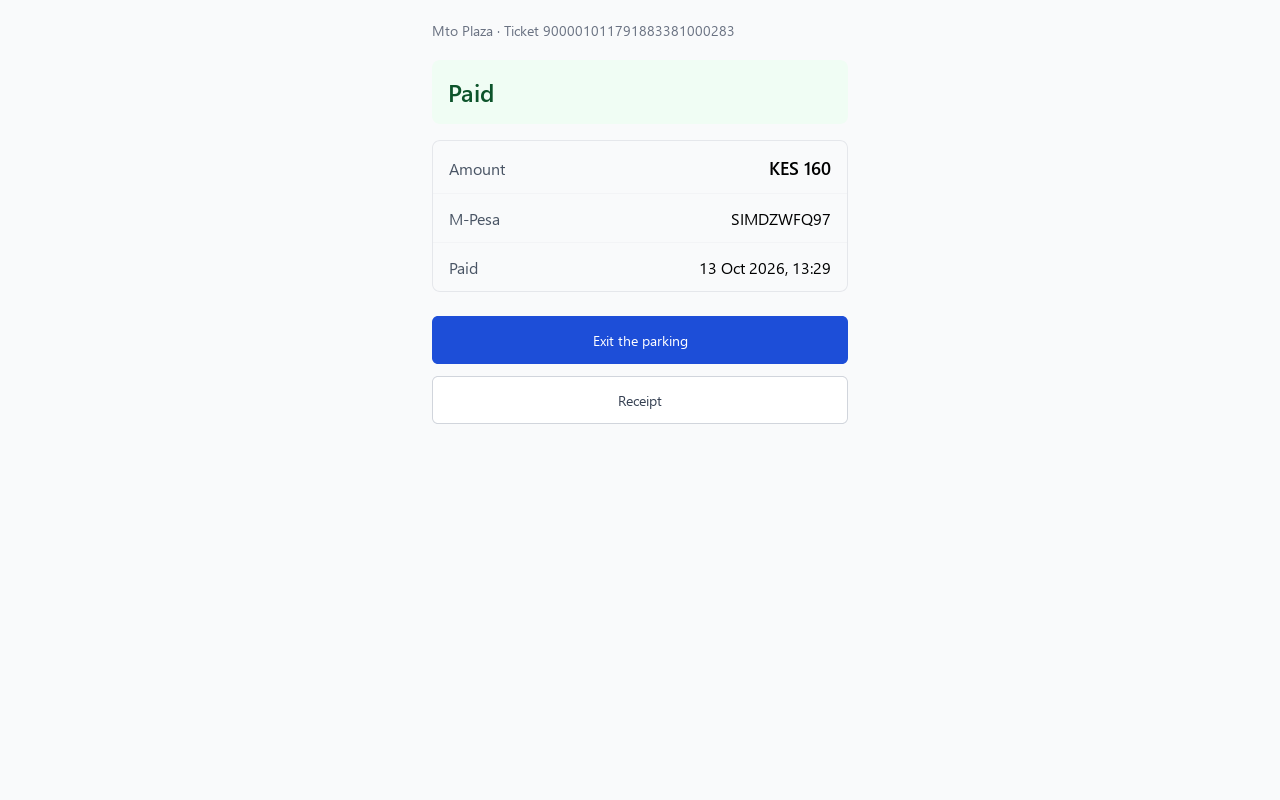
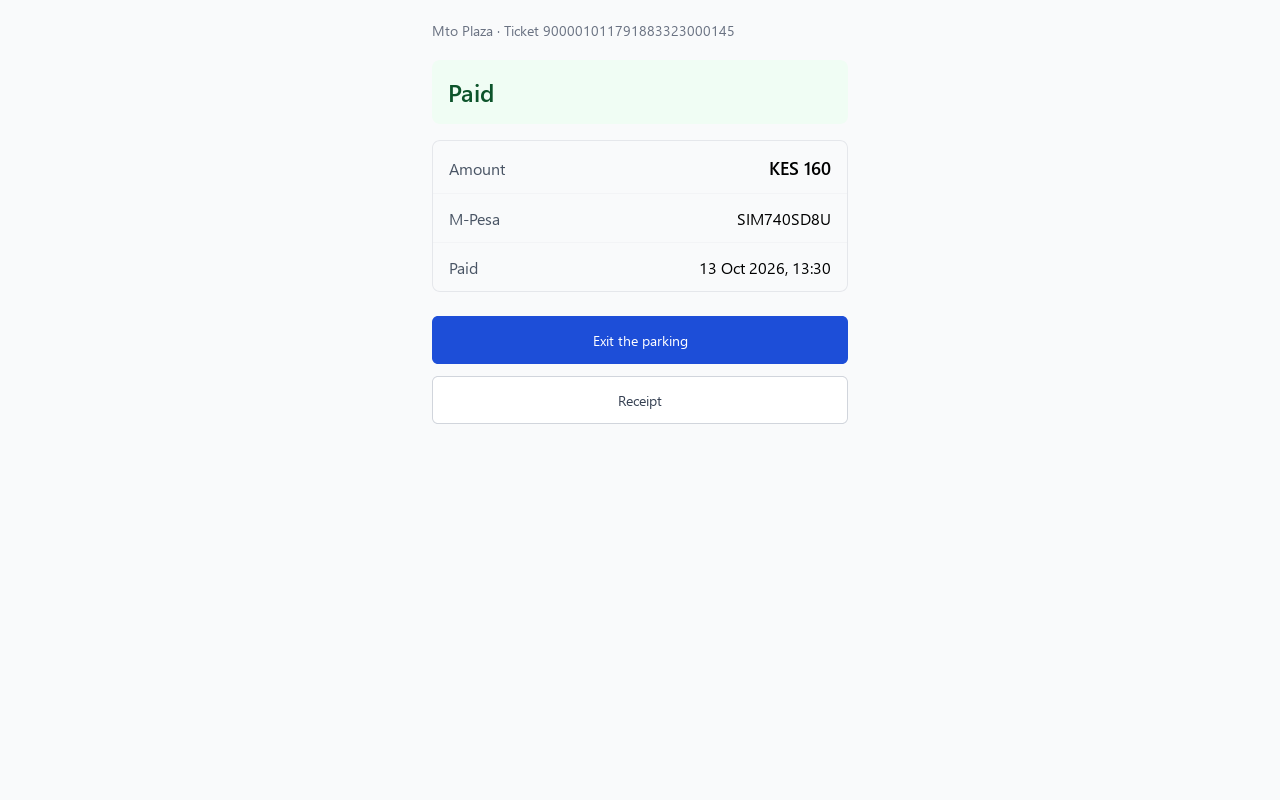
Paid, with the amount, the M-Pesa receipt number and the time. MetroTel Parking then tells the car park system.
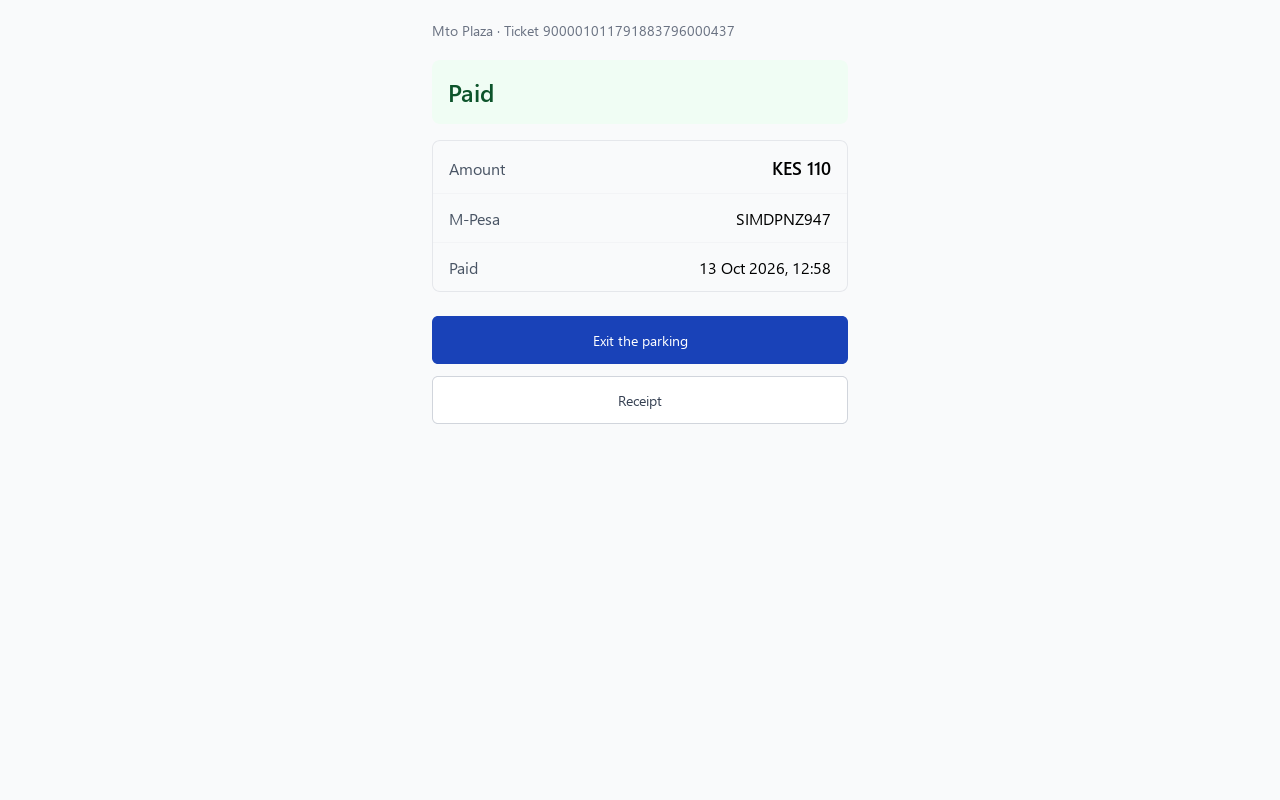
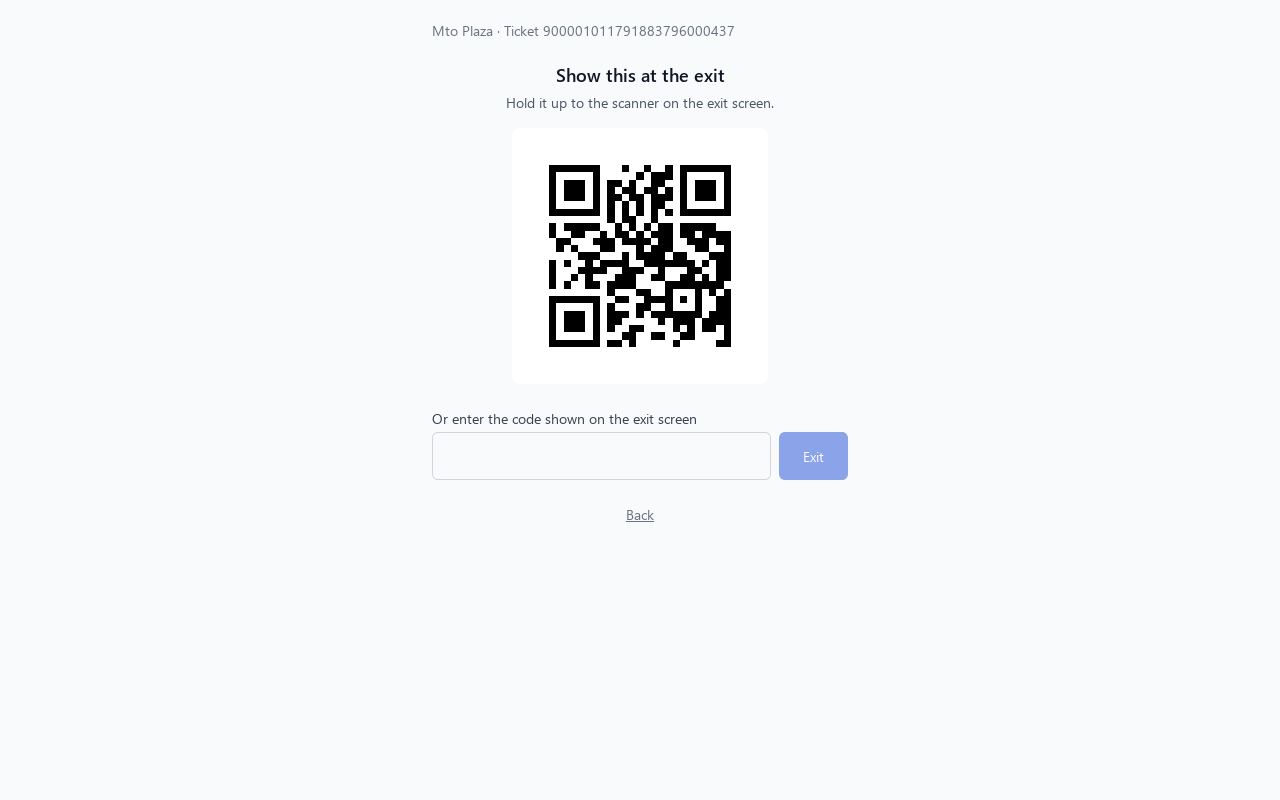
At the exit, Exit the parking shows a code to hold up to the scanner on the exit screen, or the driver types the code the screen shows.
Chapter 8
Find a ticket, see its payment, and check the money reached the gate
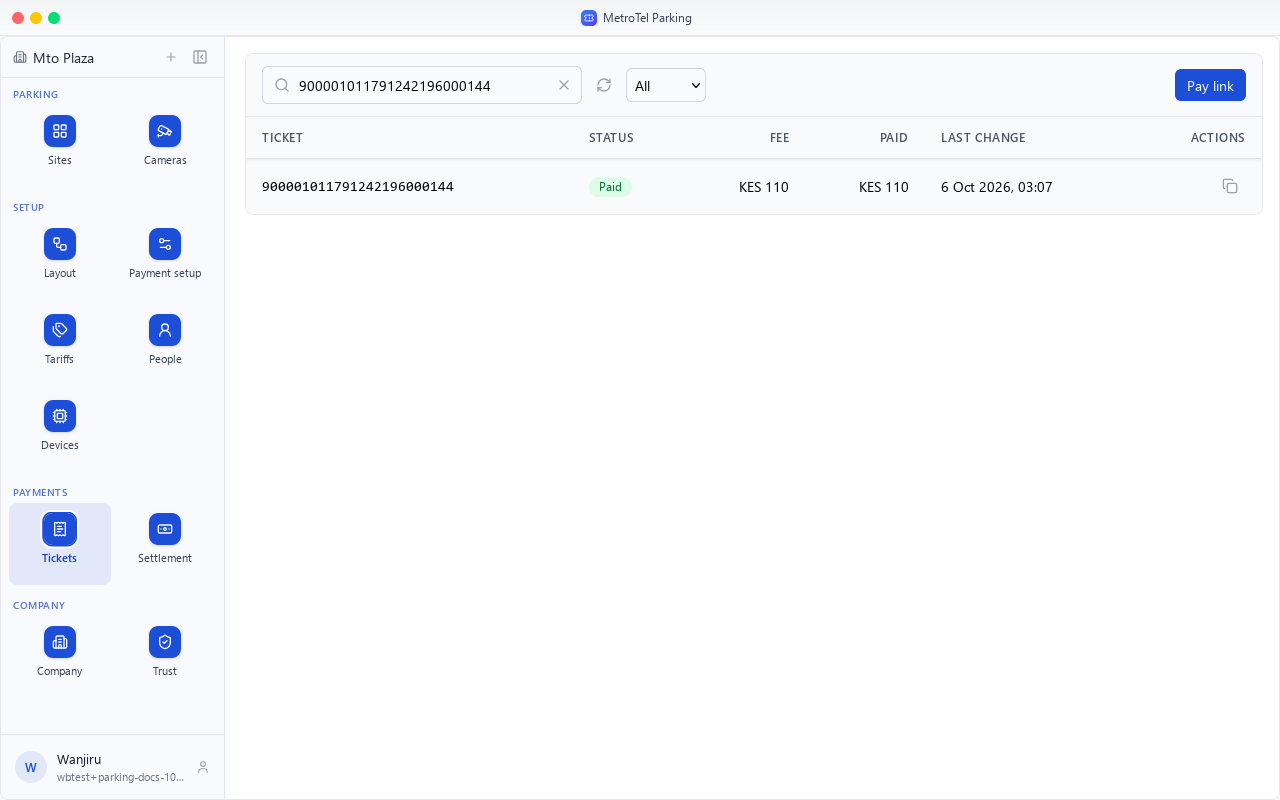
Tickets, under Payments, lists the site's tickets, newest change first.
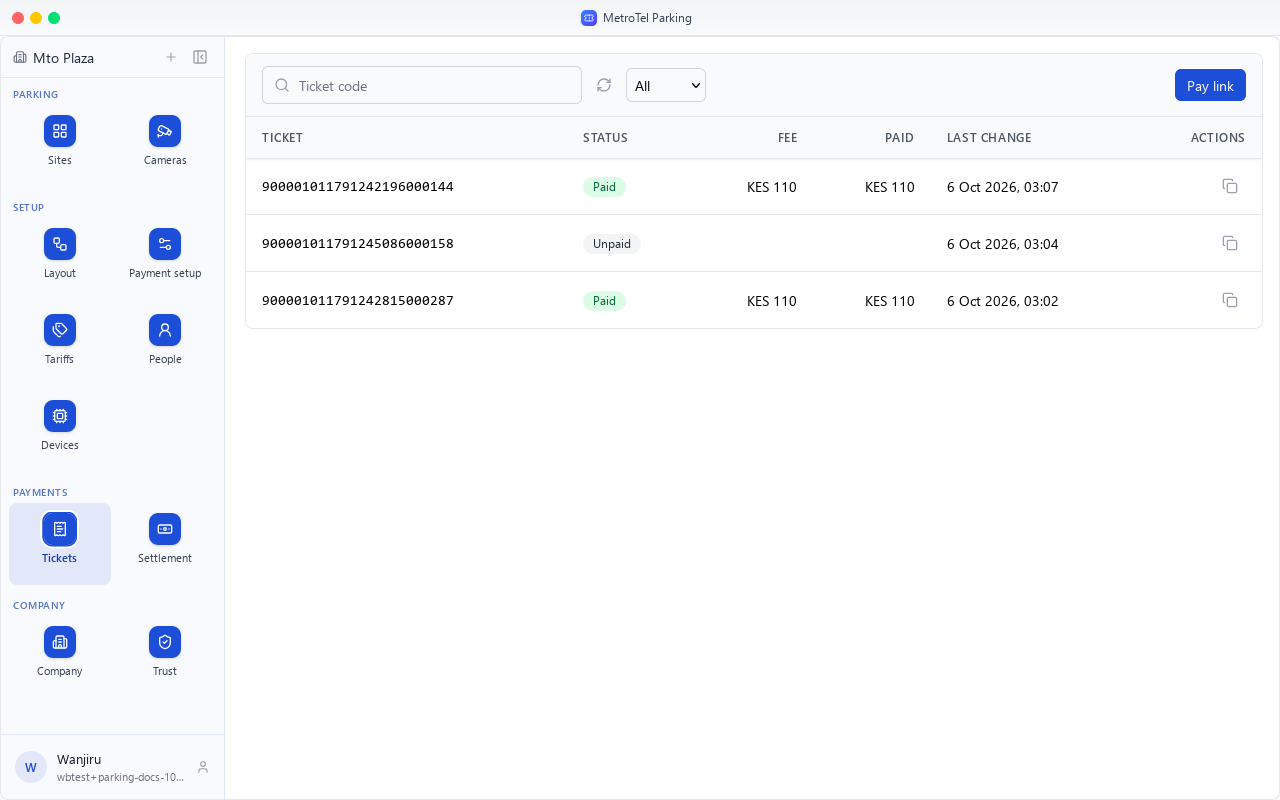
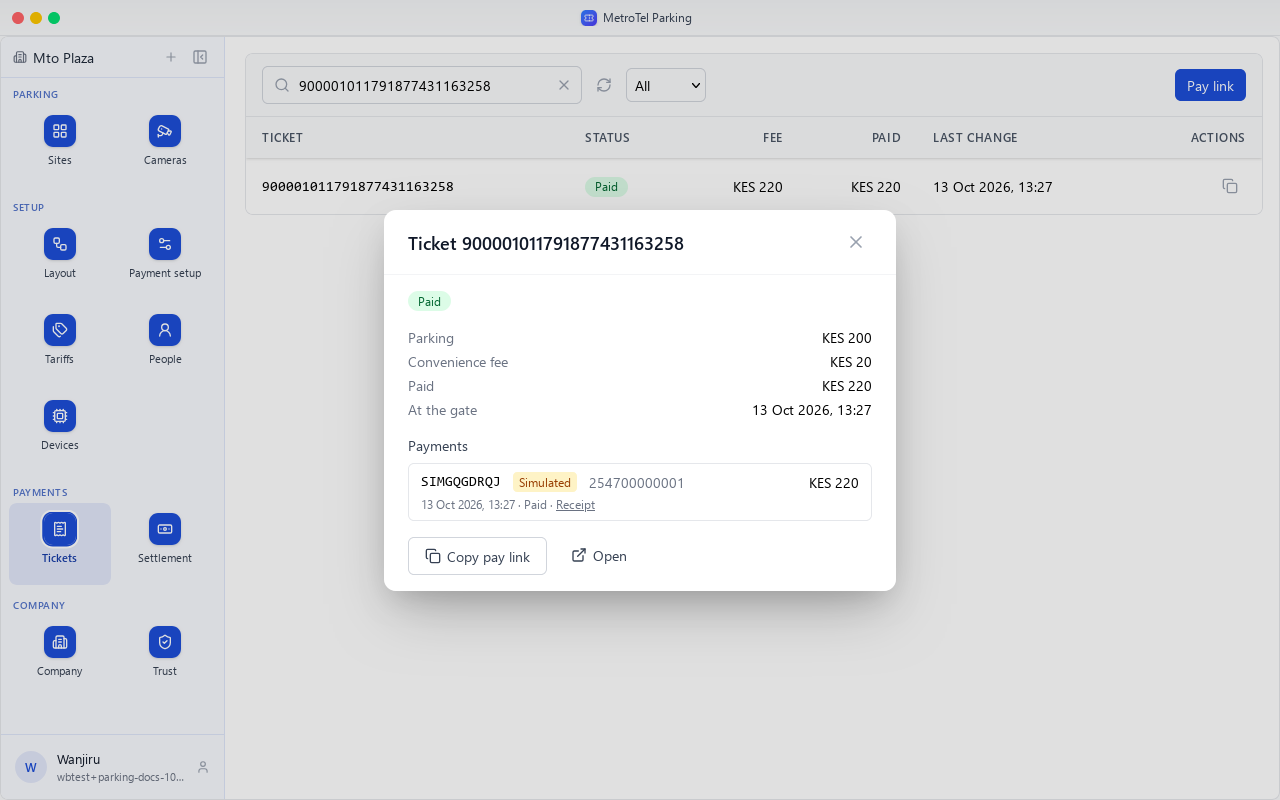
Each shows its status, the fee, what was paid, and when it last changed.
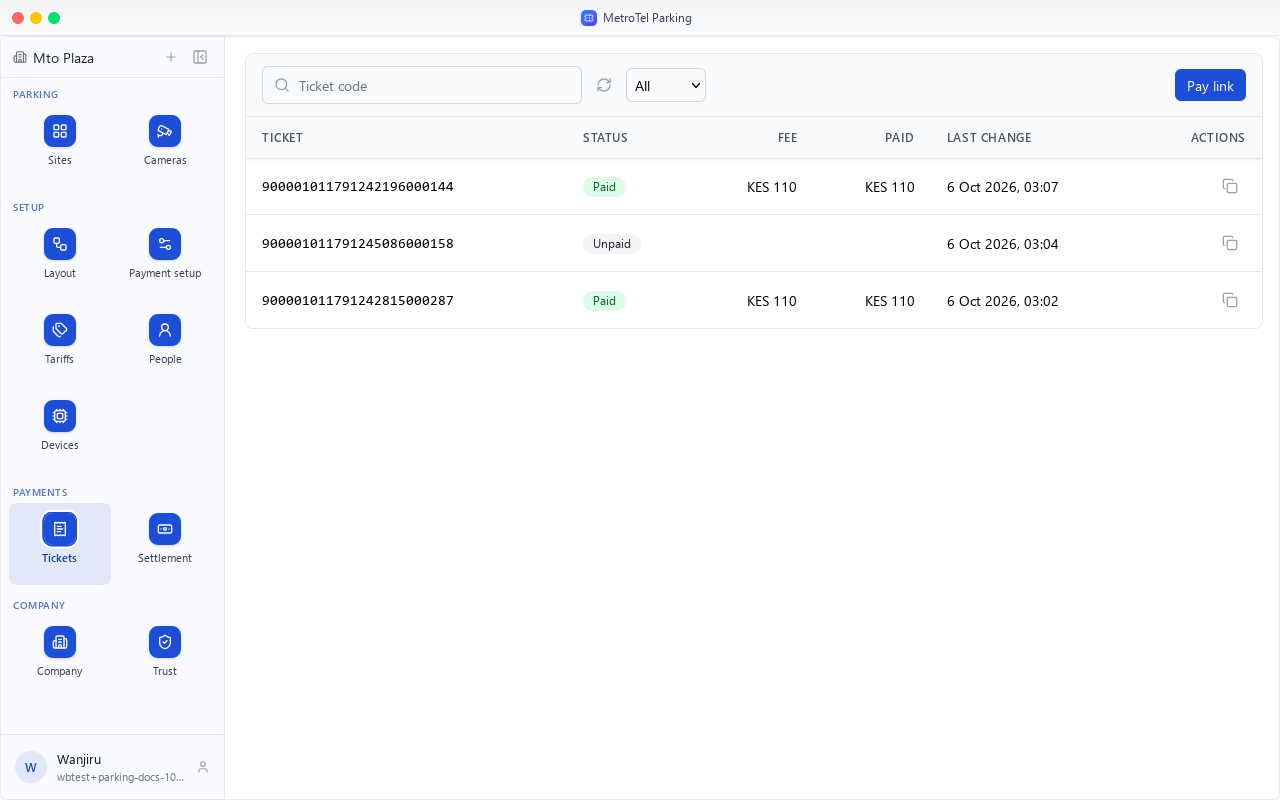
To find a driver's ticket, type its code.
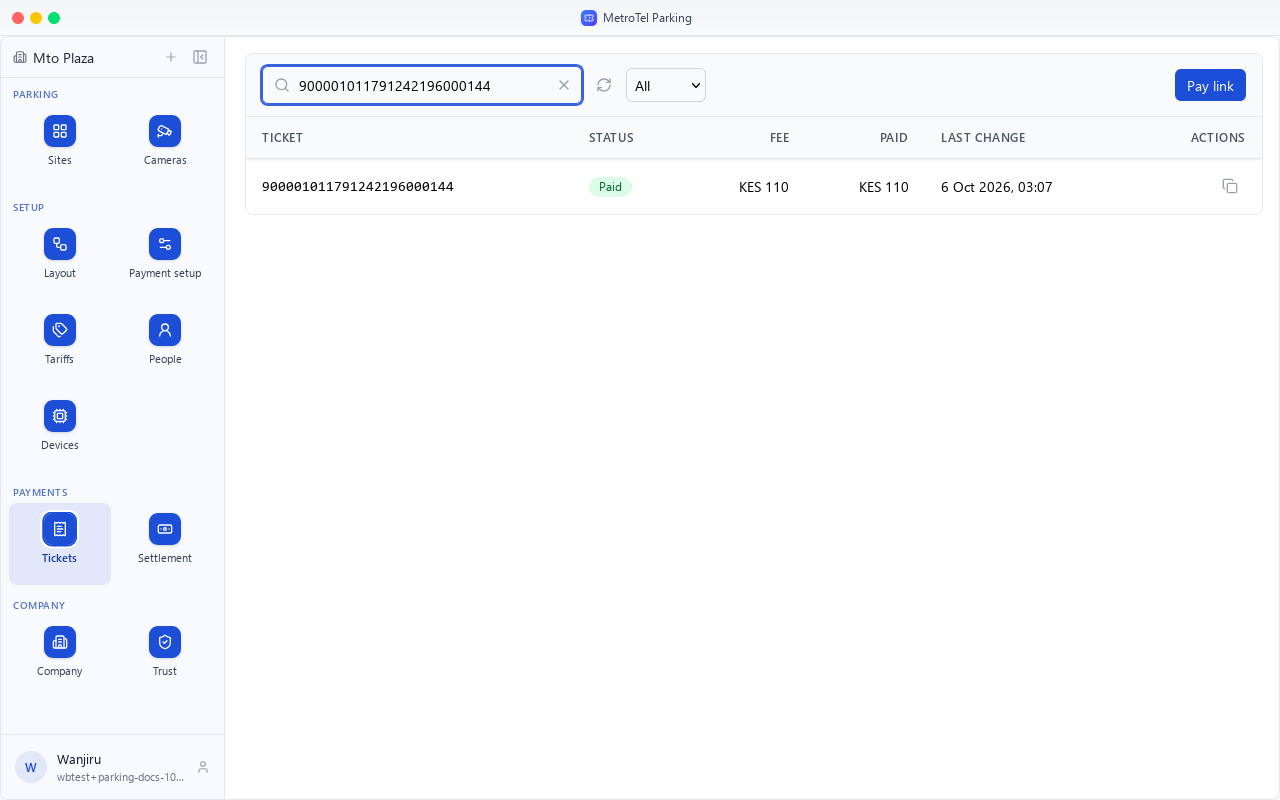
Choose it to see the whole ticket.
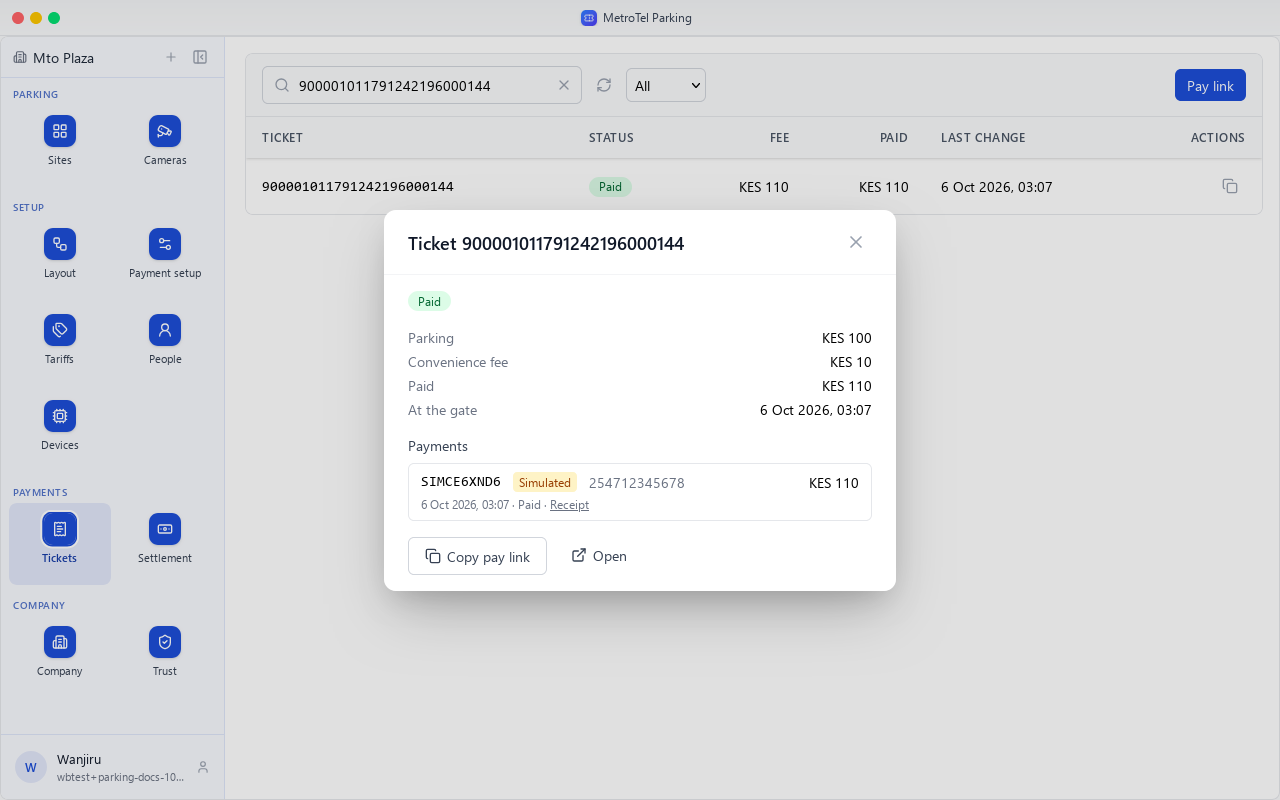
The parking fee, the convenience fee and what was paid, and when the car park system was told.
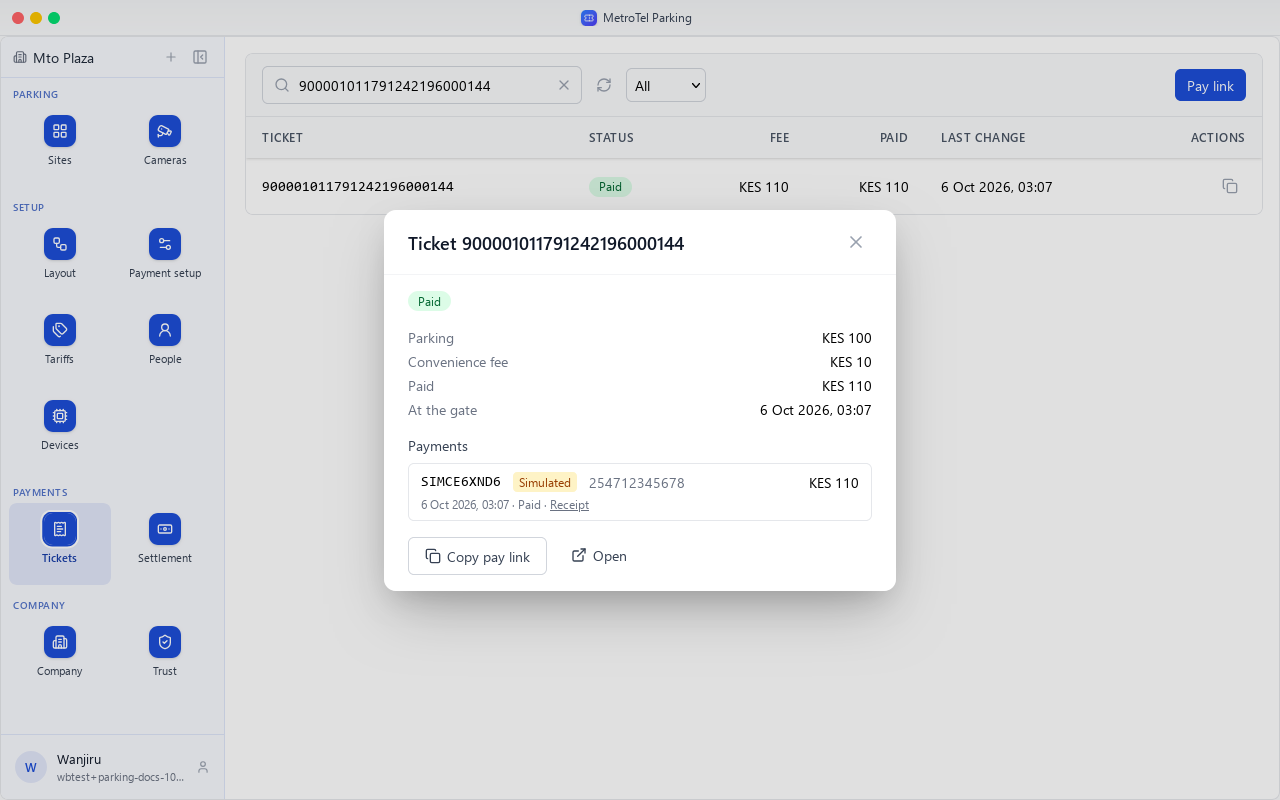
Under Payments, each M-Pesa attempt with its receipt number and phone. This one is marked Simulated: it came from the guide's simulated M-Pesa, and is never counted as money in.
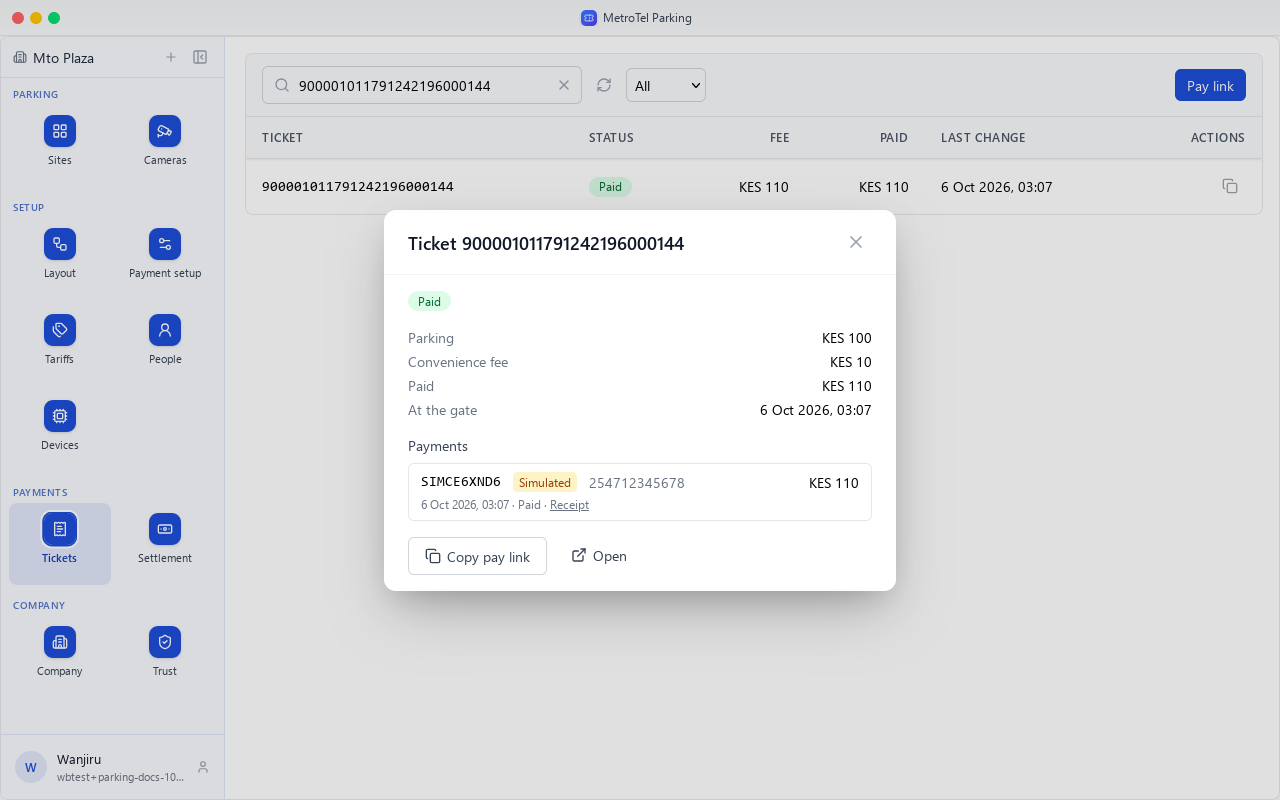
Copy pay link copies the link to this ticket's pay page, to send to the driver.
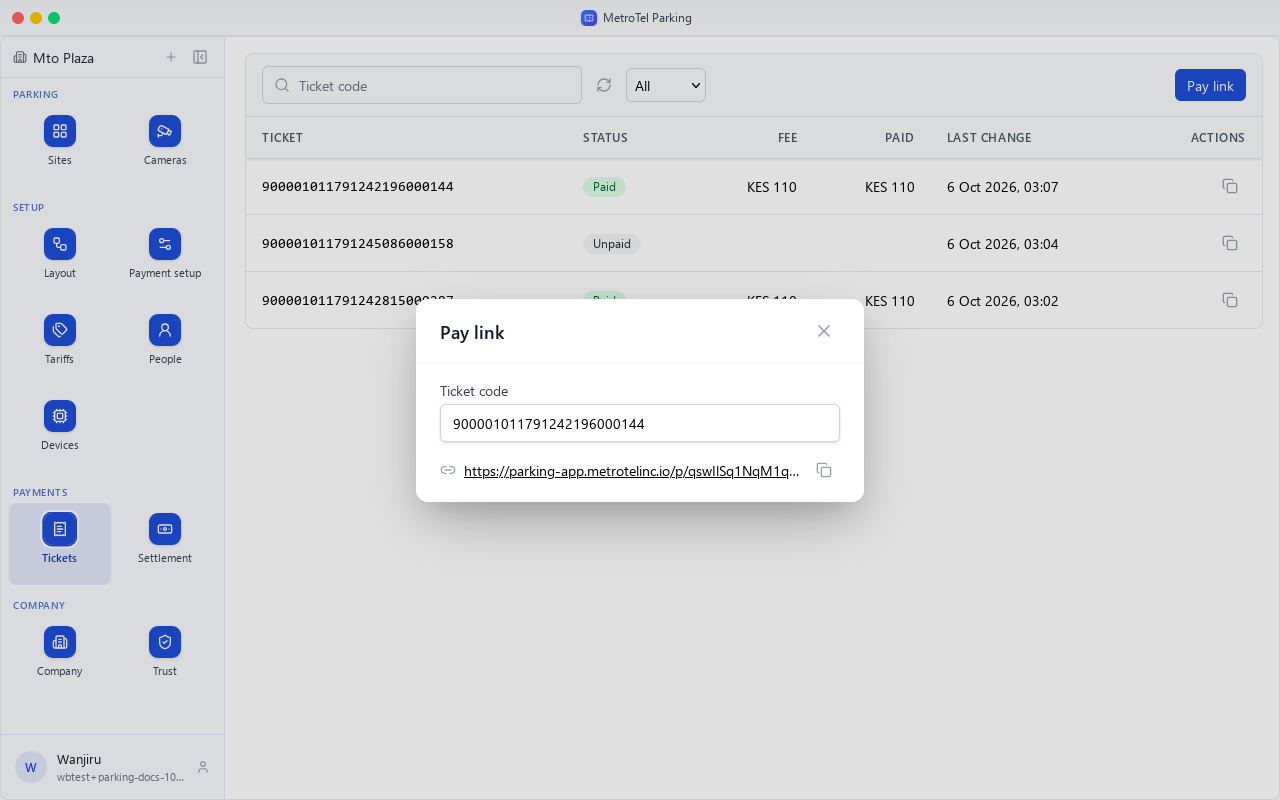
Pay link makes the link for a ticket code, for a driver who can't scan the QR. Type the code and choose Get link.
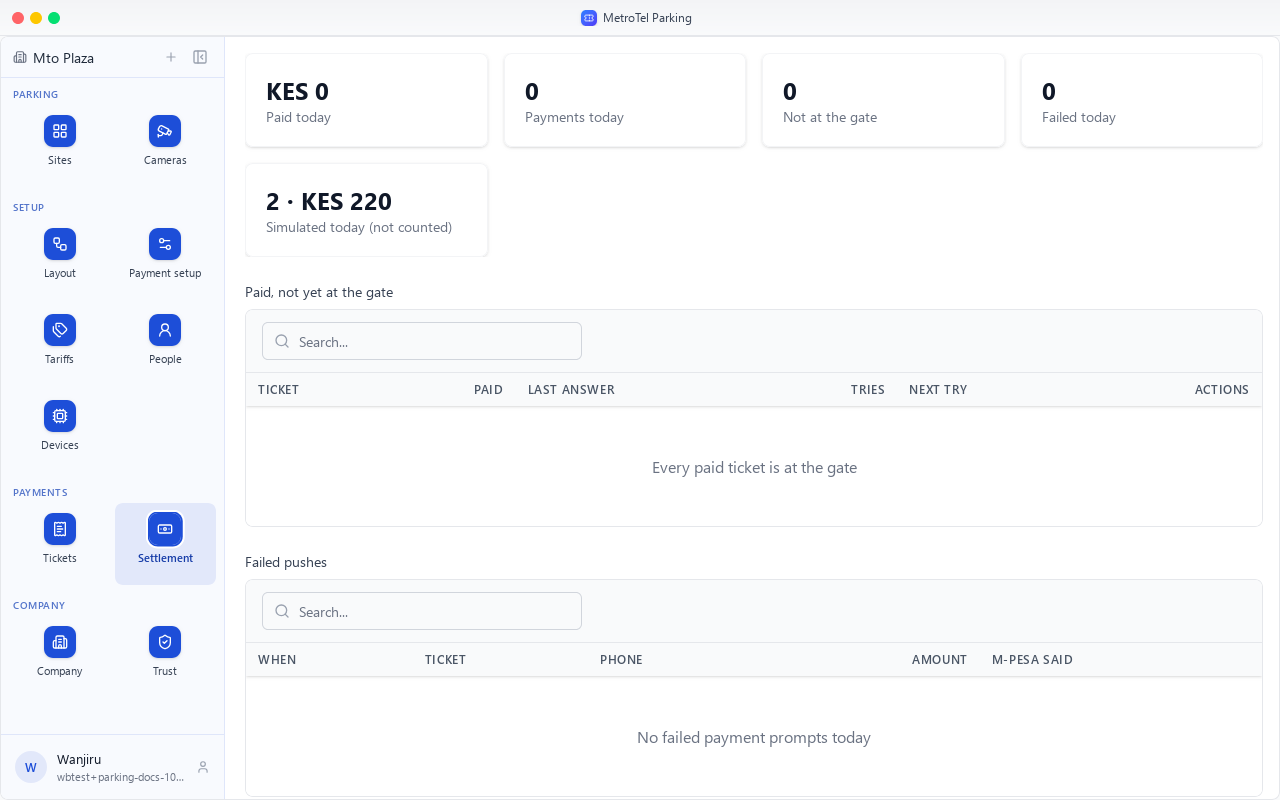
Settlement checks the money against the gates. At the top: paid today, payments today, tickets paid but not at the gate, and failed prompts.
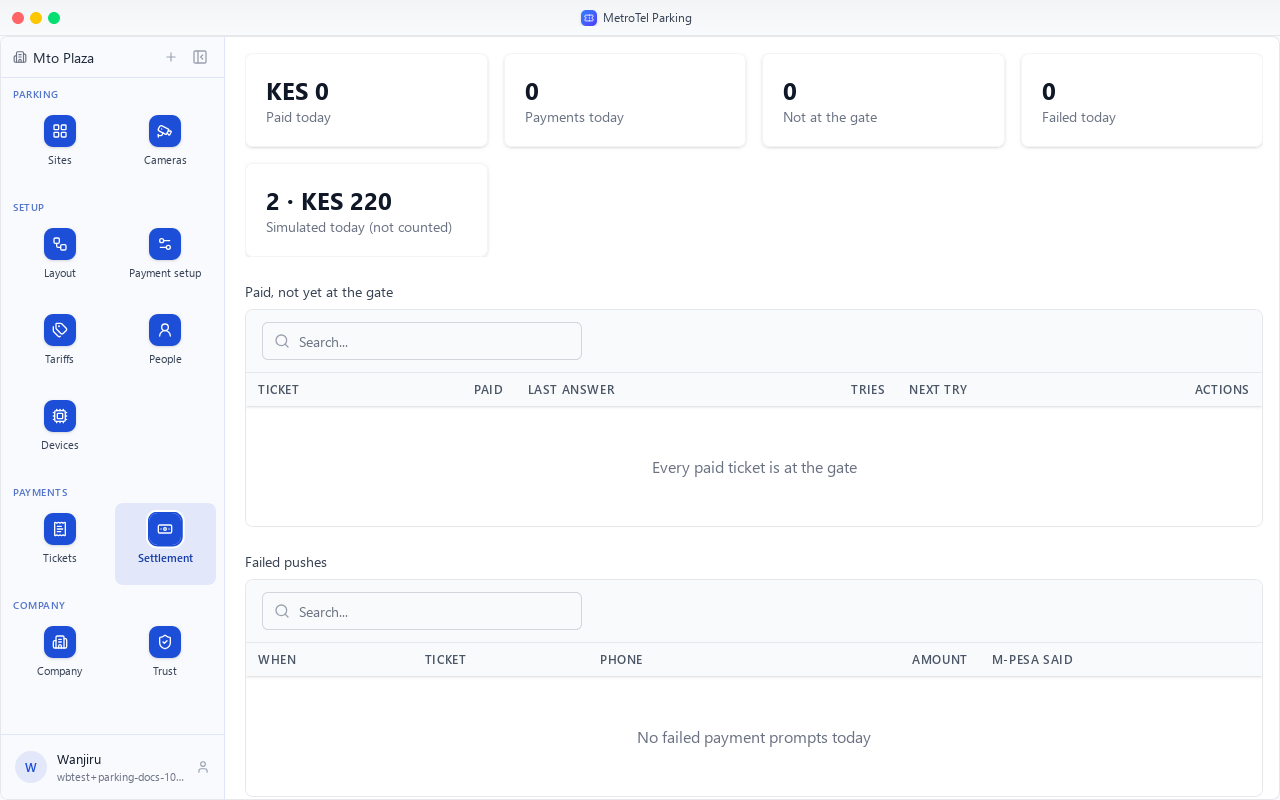
Simulated payments are shown on their own and left out of the takings.
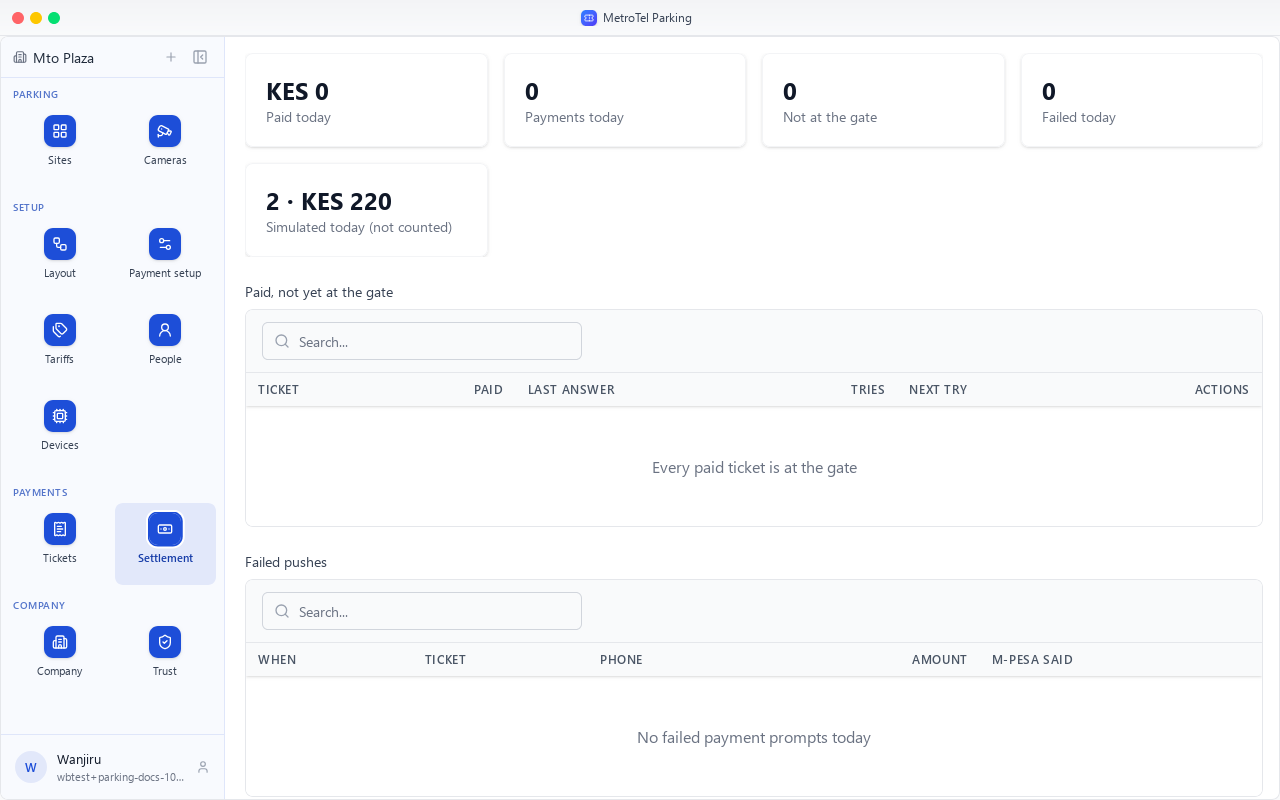
Paid, not yet at the gate lists tickets the car park system hasn't been told of. Empty is how it should be.
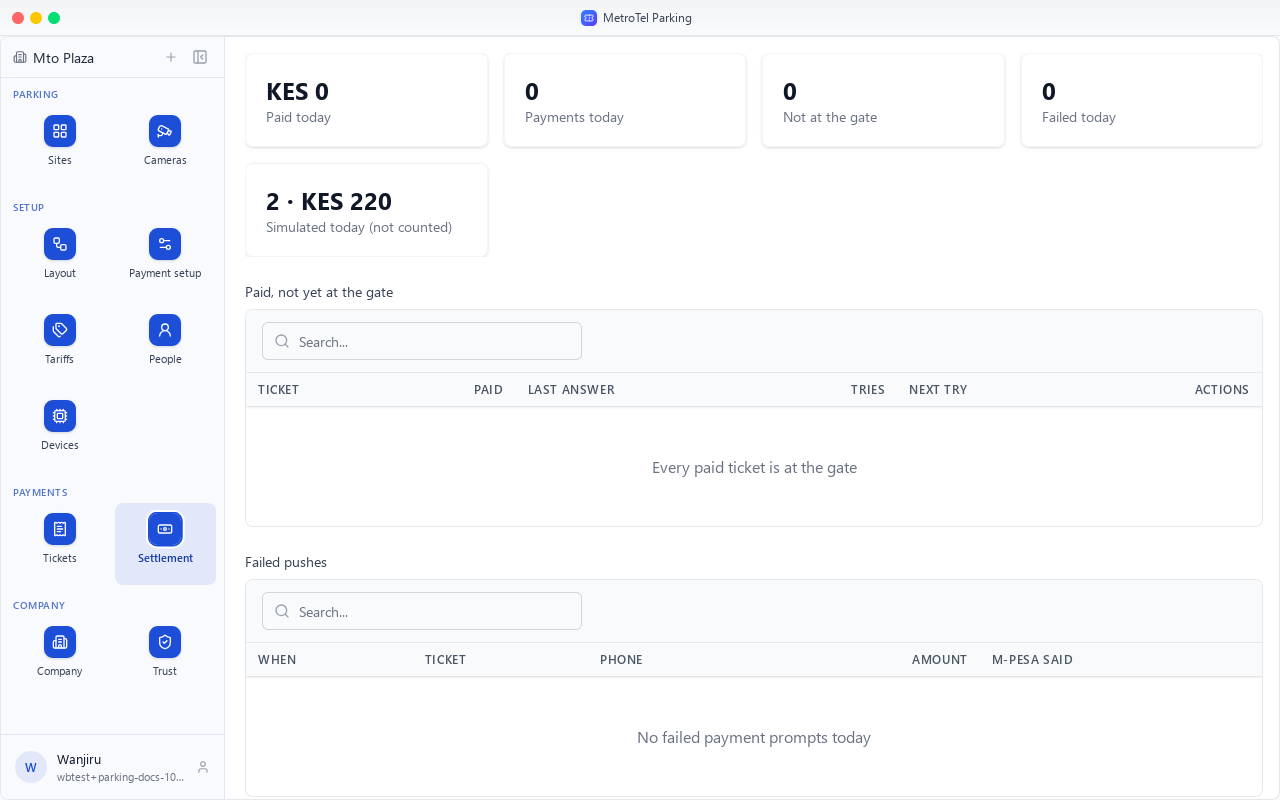
Failed pushes lists today's M-Pesa prompts that didn't go through. Paybill payments are in chapter 9.
Chapter 9
A driver pays from the M-Pesa menu; when the account number is wrong
A driver can also pay from the M-Pesa menu, by paybill, with the business number and the account number printed on the ticket and shown on its pay page. This guide uses Simulated M-Pesa, so no money moves.
This ticket was paid that way, with its own account number. The payment found the ticket by itself: Paid, with its M-Pesa receipt, and nobody had to do anything.
A payment with an account number that names no open ticket waits here, under Paybill payments to look at: when it came, the M-Pesa code, the account the driver typed, the phone and the amount.
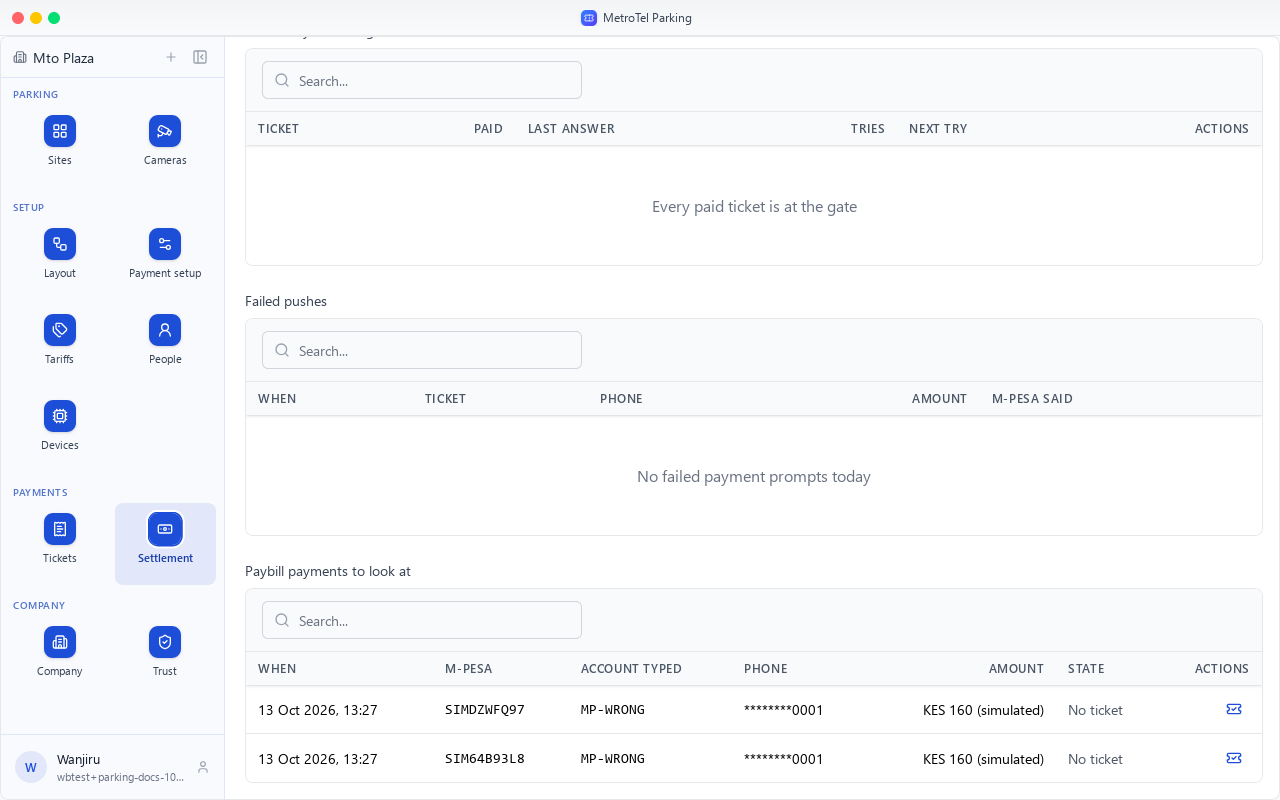
When the driver shows their ticket, Apply to a ticket puts the payment on it. Type the ticket's code and choose Apply.
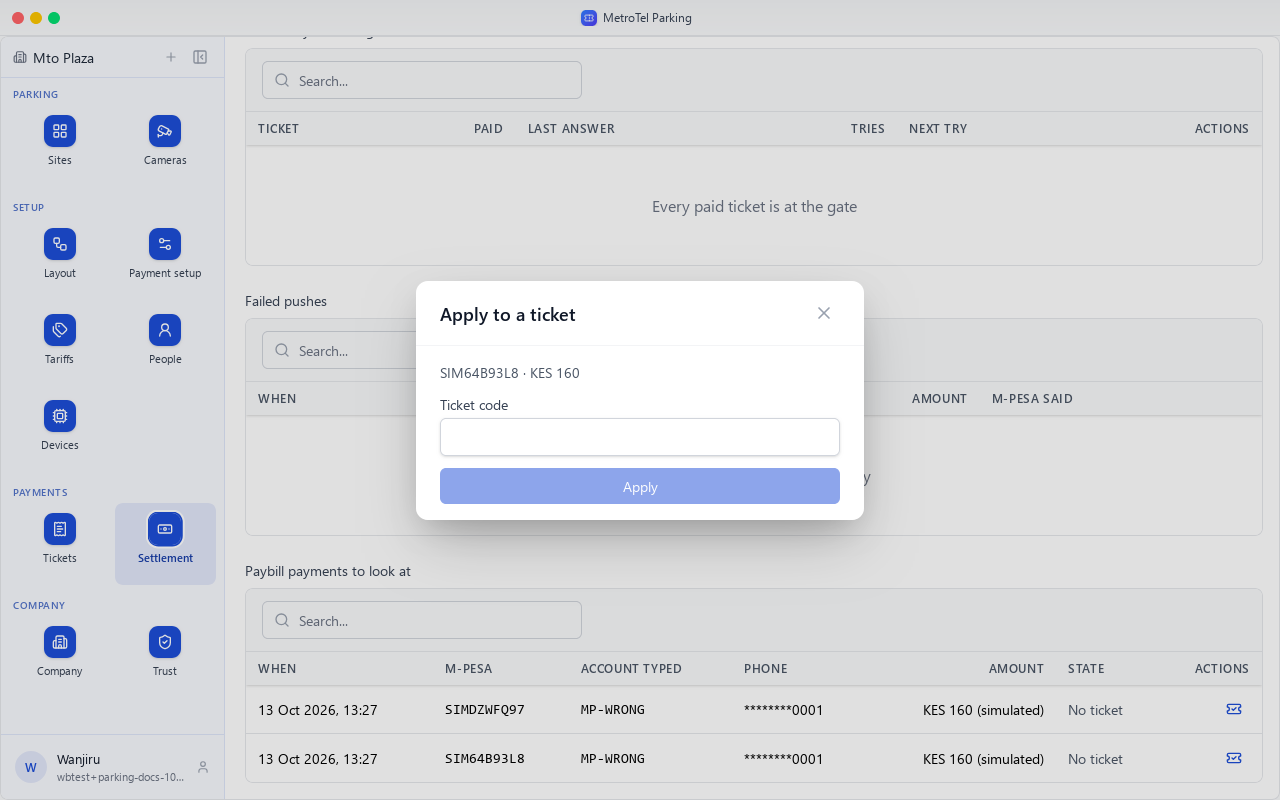
The ticket is paid, and the payment leaves the list.
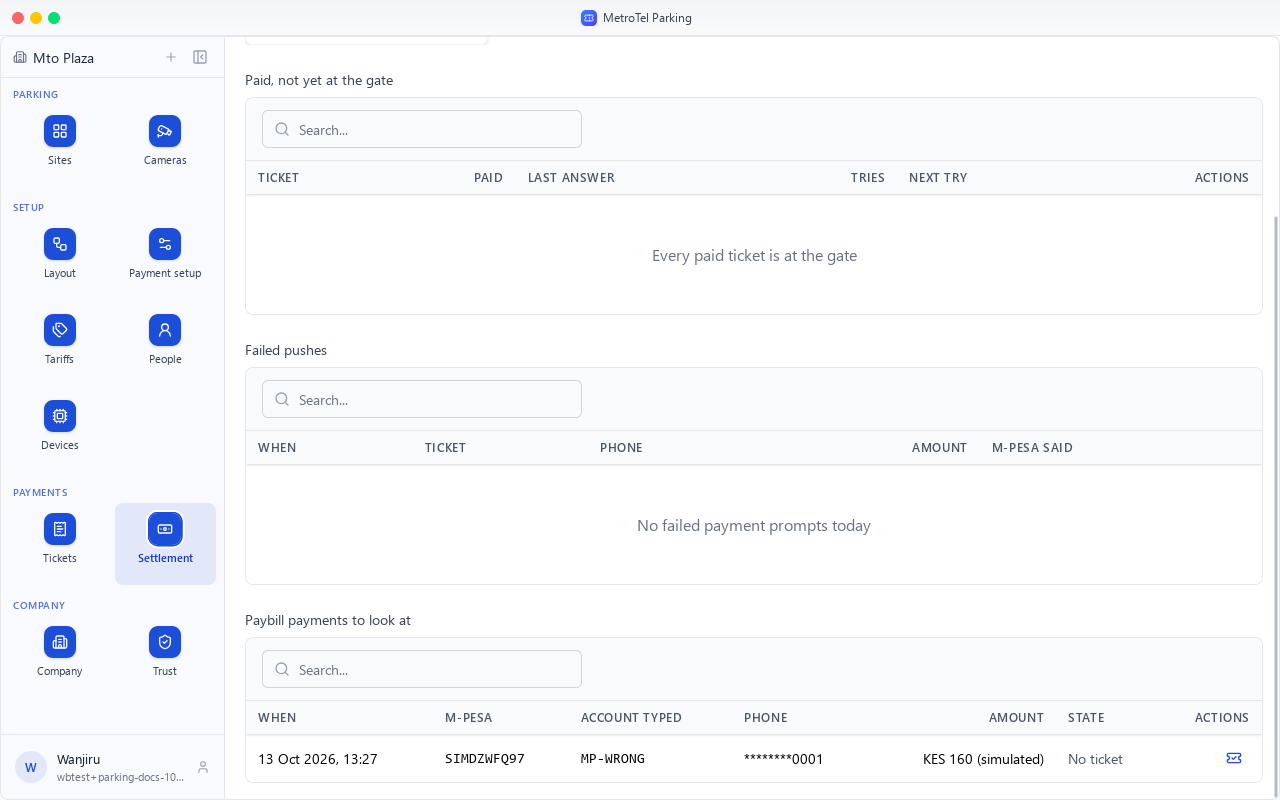
The driver can do it too, from the pay page. Already paid? Enter your M-Pesa code: they type the code from M-Pesa's message and choose Check.
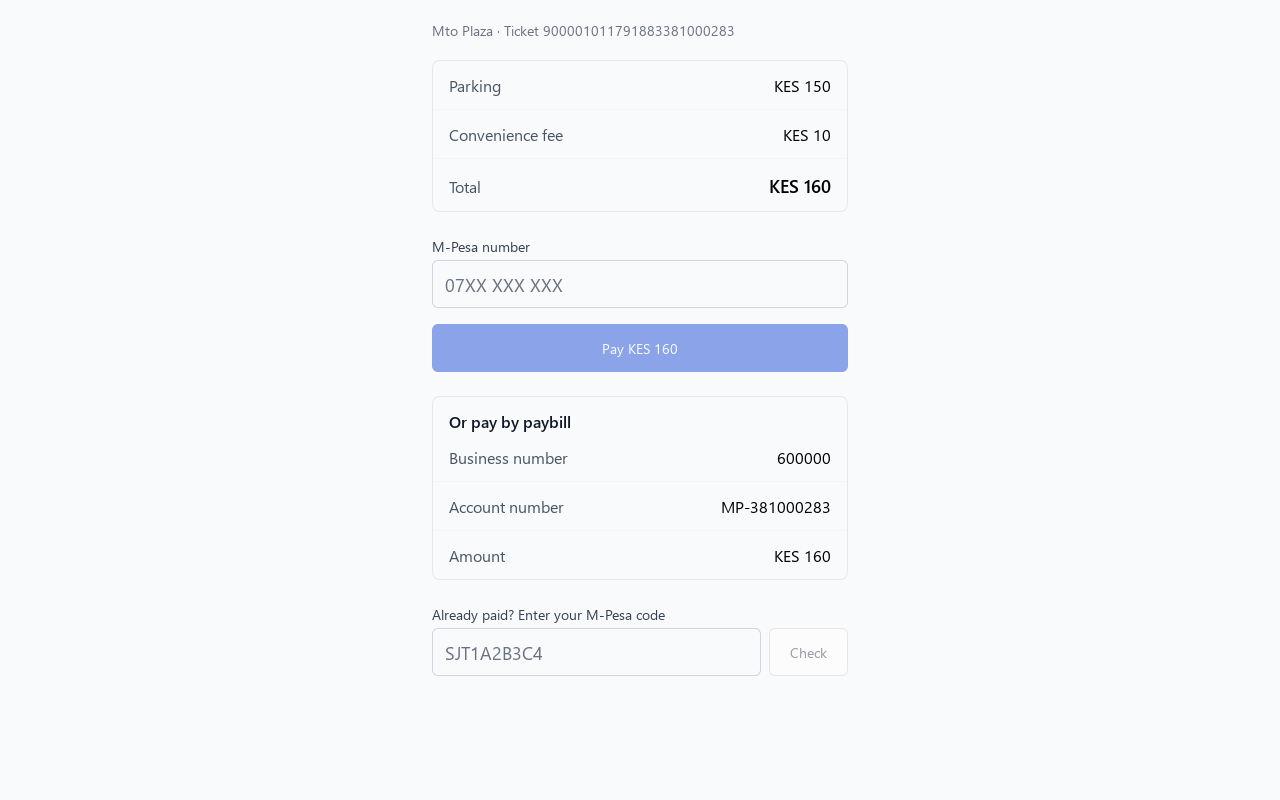
The payment was already with the car park, so the ticket is paid at once.
Sometimes M-Pesa takes the money but its message to the car park never arrives. The code works then too.
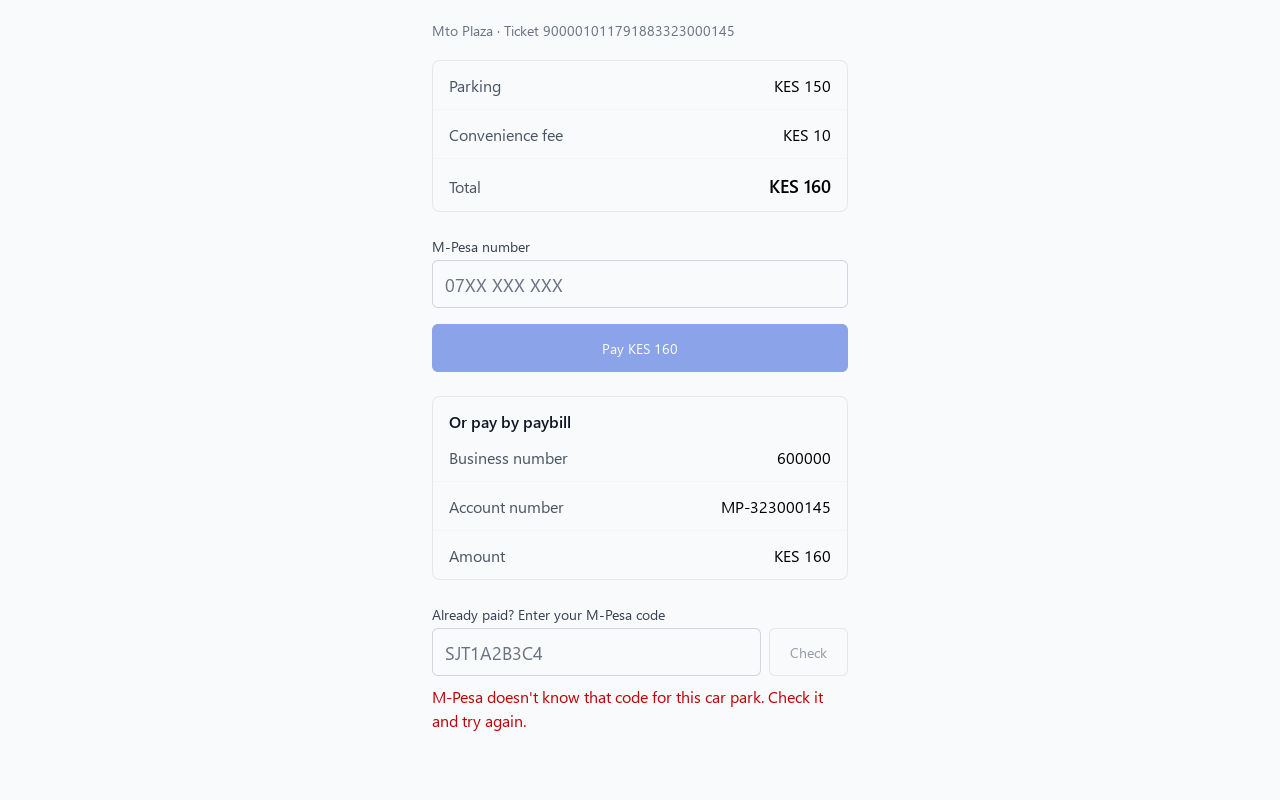
A code M-Pesa doesn't know for this car park gets that answer, in red. The driver checks the code and tries again.
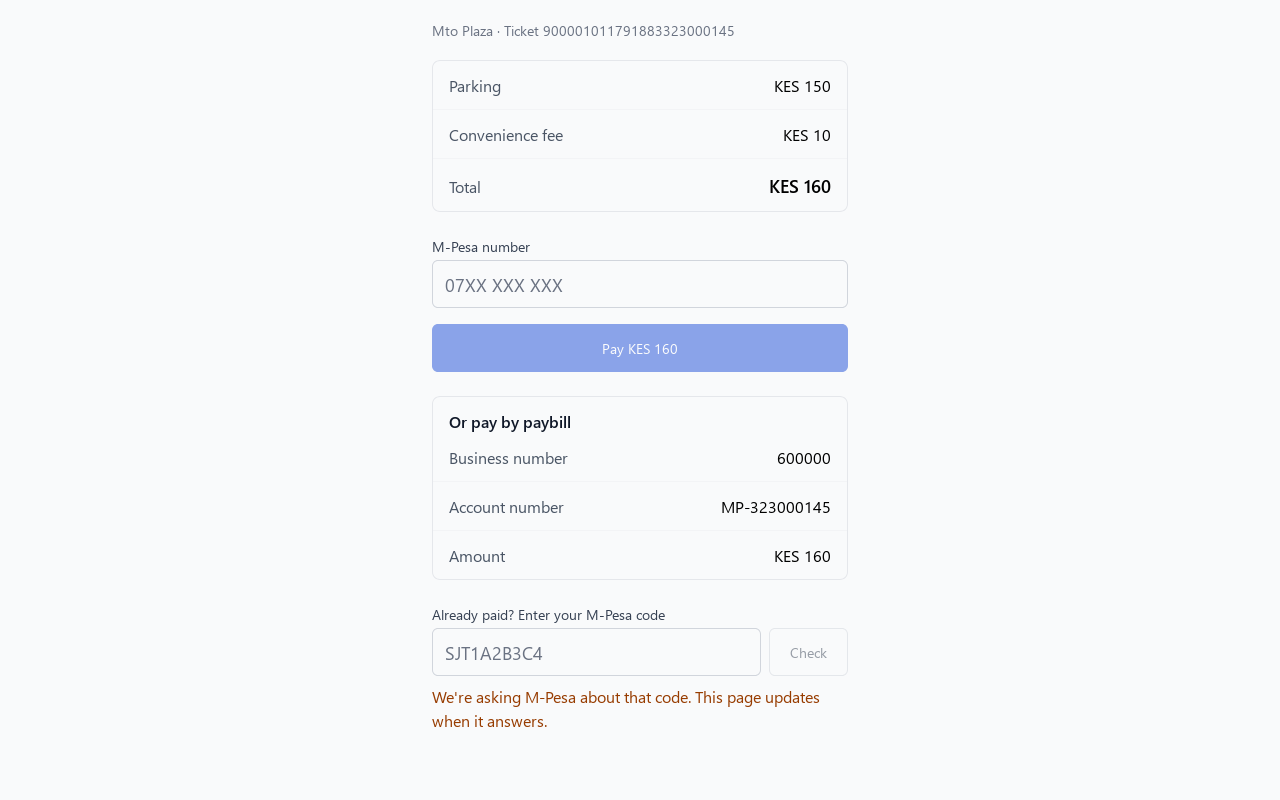
The page says it is asking M-Pesa about that code, and updates when M-Pesa answers.
M-Pesa confirmed the payment, so the ticket is paid.
Chapter 10
When a paid driver can't get out by code, the exit supervisor opens the barrier, with a reason
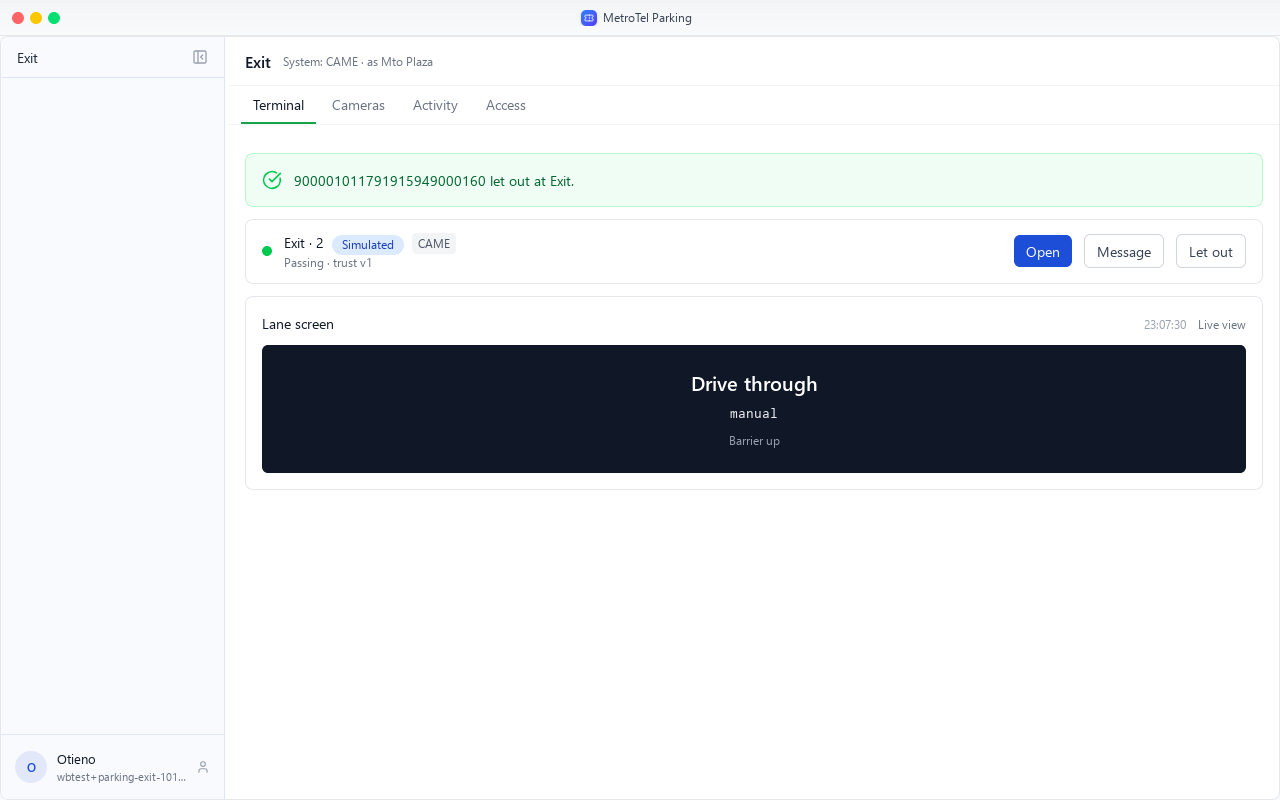
An exit supervisor works one gate. Like a gate attendant, they can open it, and they may also let a paid car out by hand.
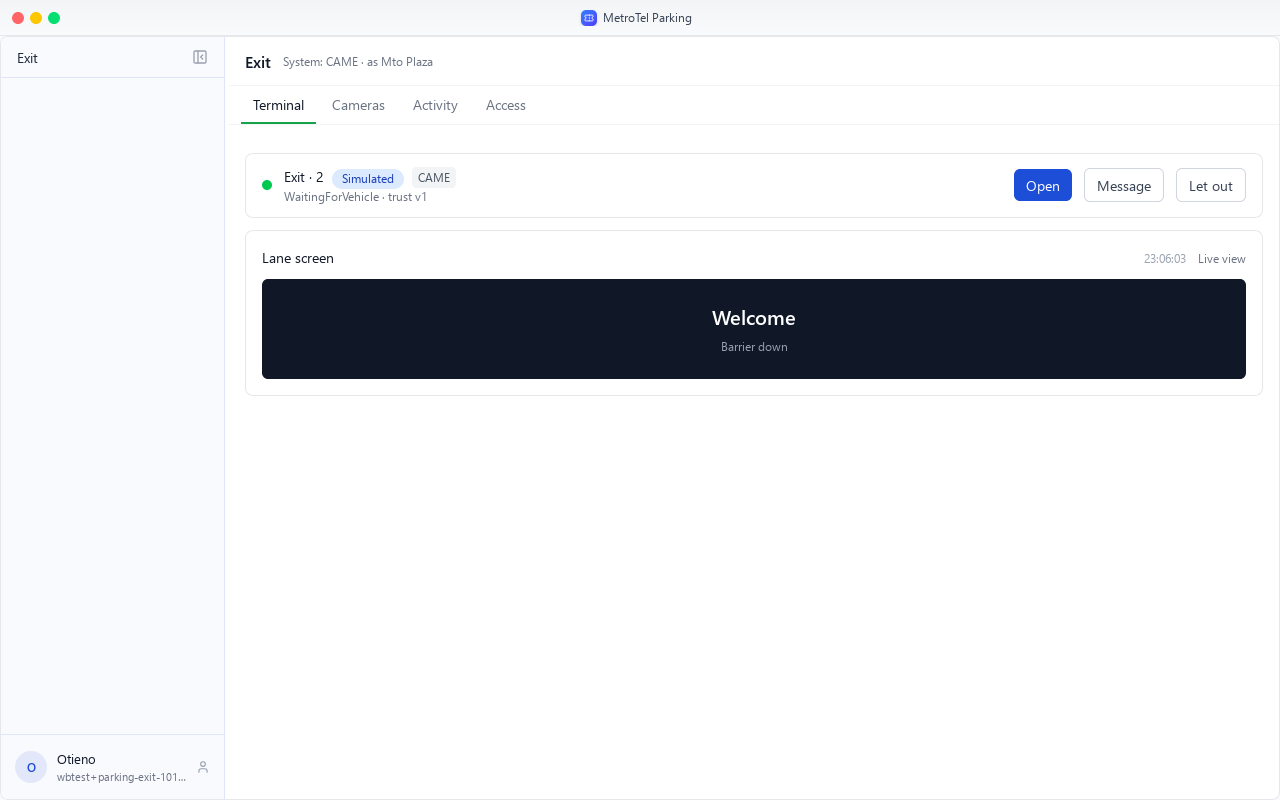
Their Parking opens on their gate. Let out is next to Open, on the gate's terminal.
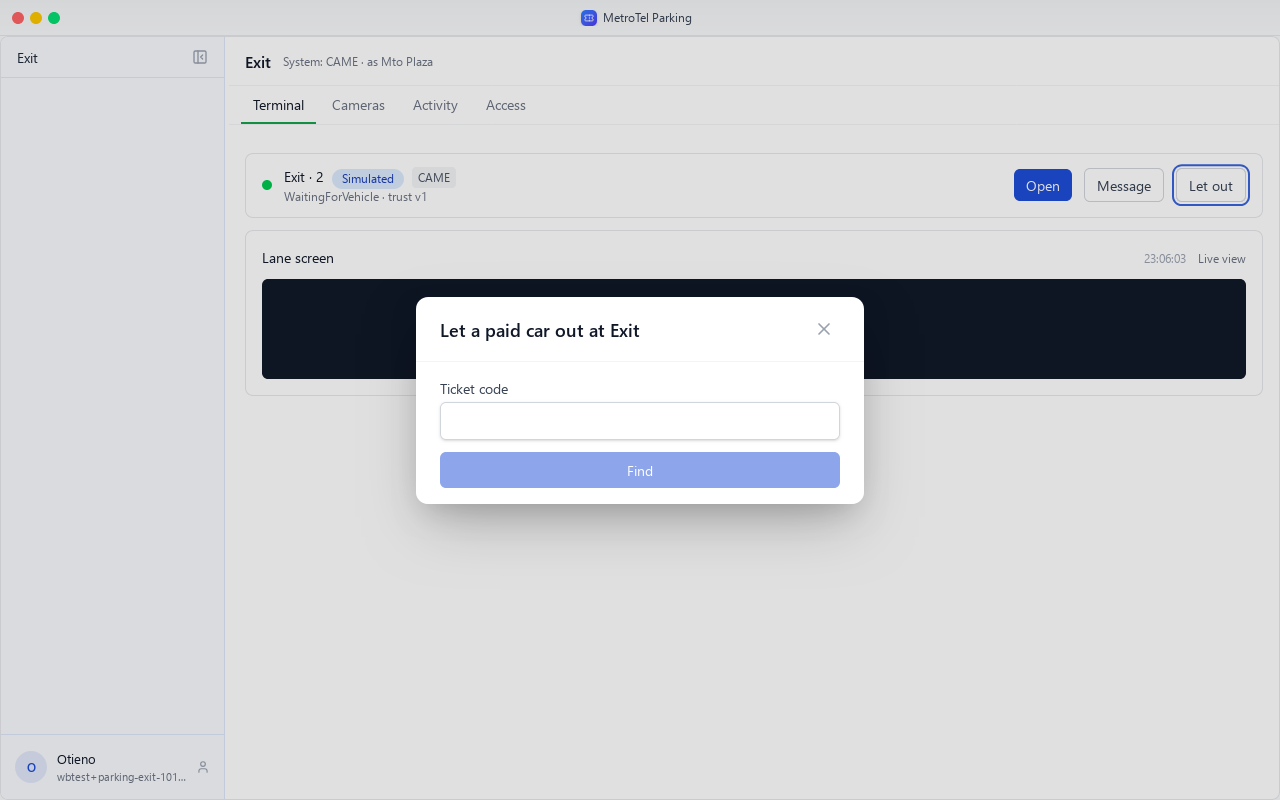
Type the code on the driver's ticket, and choose Find.
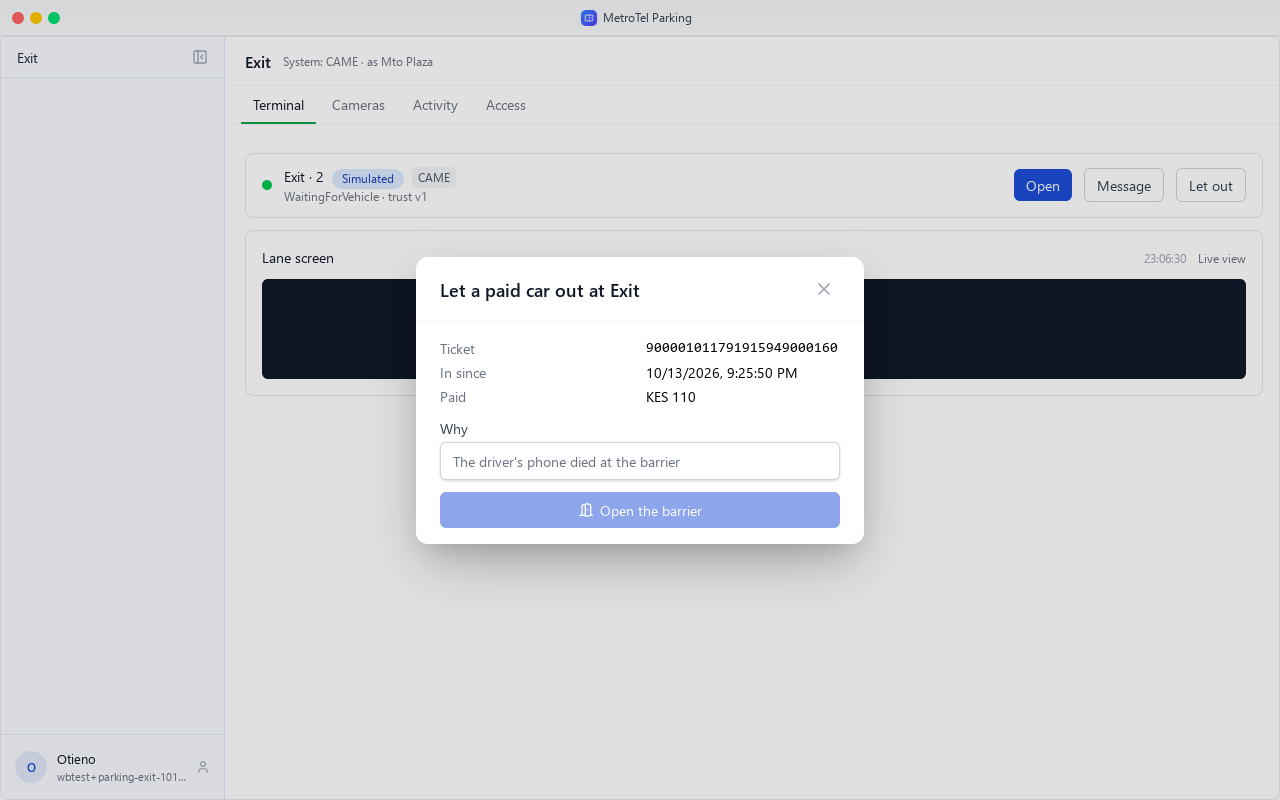
Only a paid ticket of this car park is found. It shows when the car came in and what was paid, and nothing about who paid.
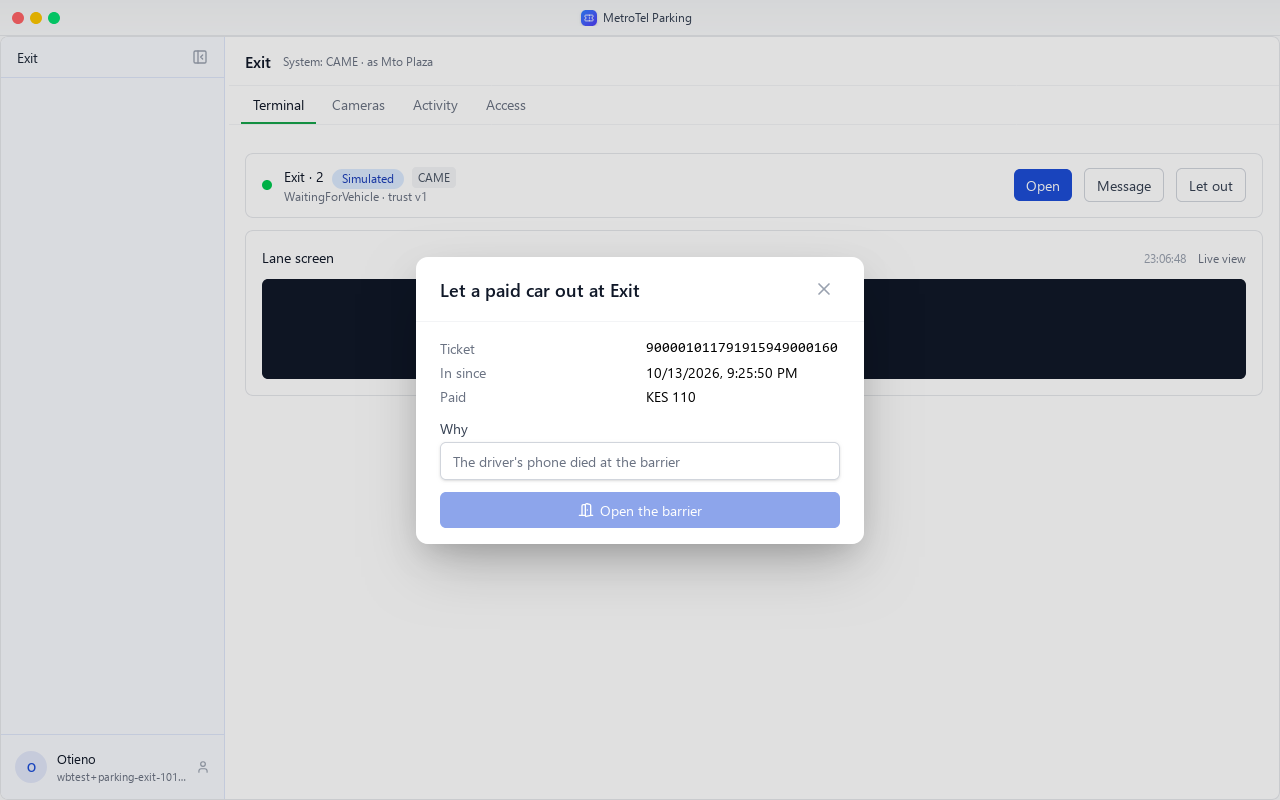
Say why the car is let out. This is the guide's simulated car: it paid, but its time to reach the exit ran out, so its code would be refused.
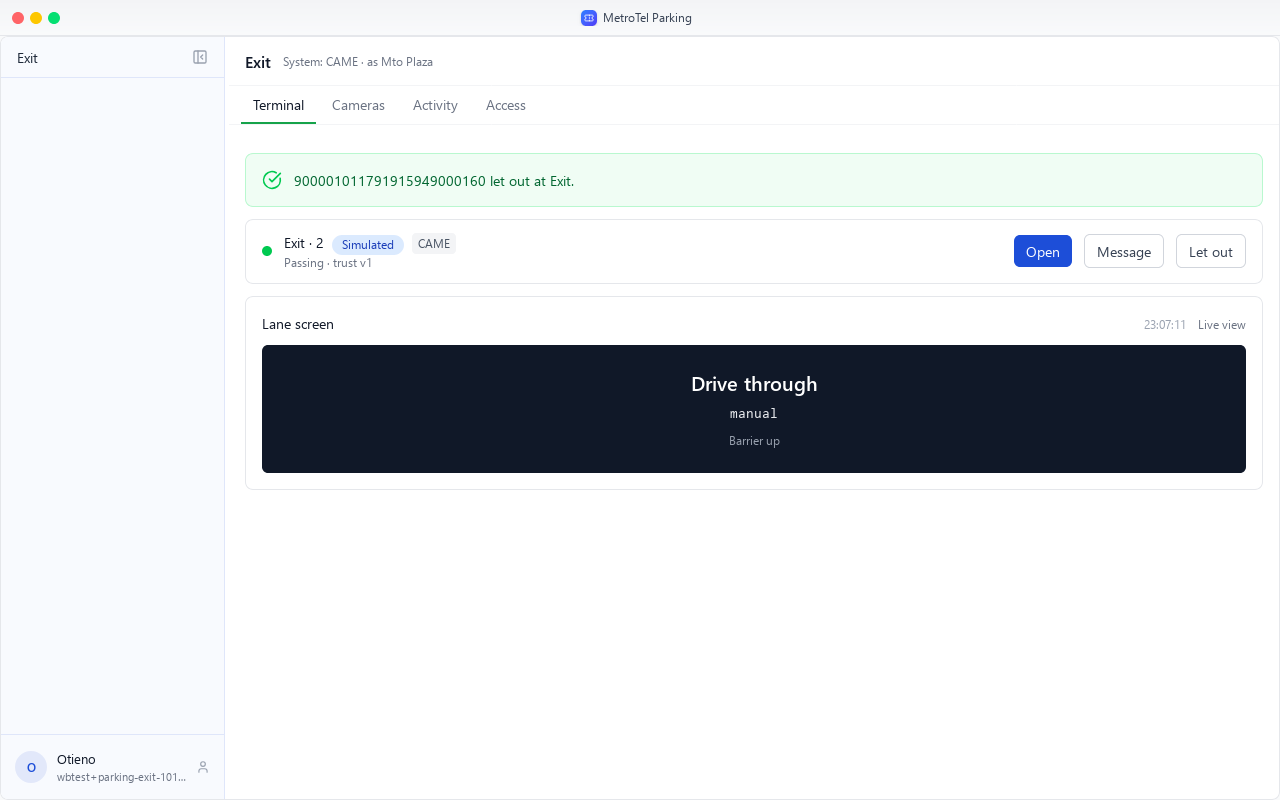
The barrier opens, and the ticket is out. Who let it out, why, and that the car park system's own exit check was skipped are recorded.
Site managers and the company's operators have the same Let out on the ticket itself, in Tickets.