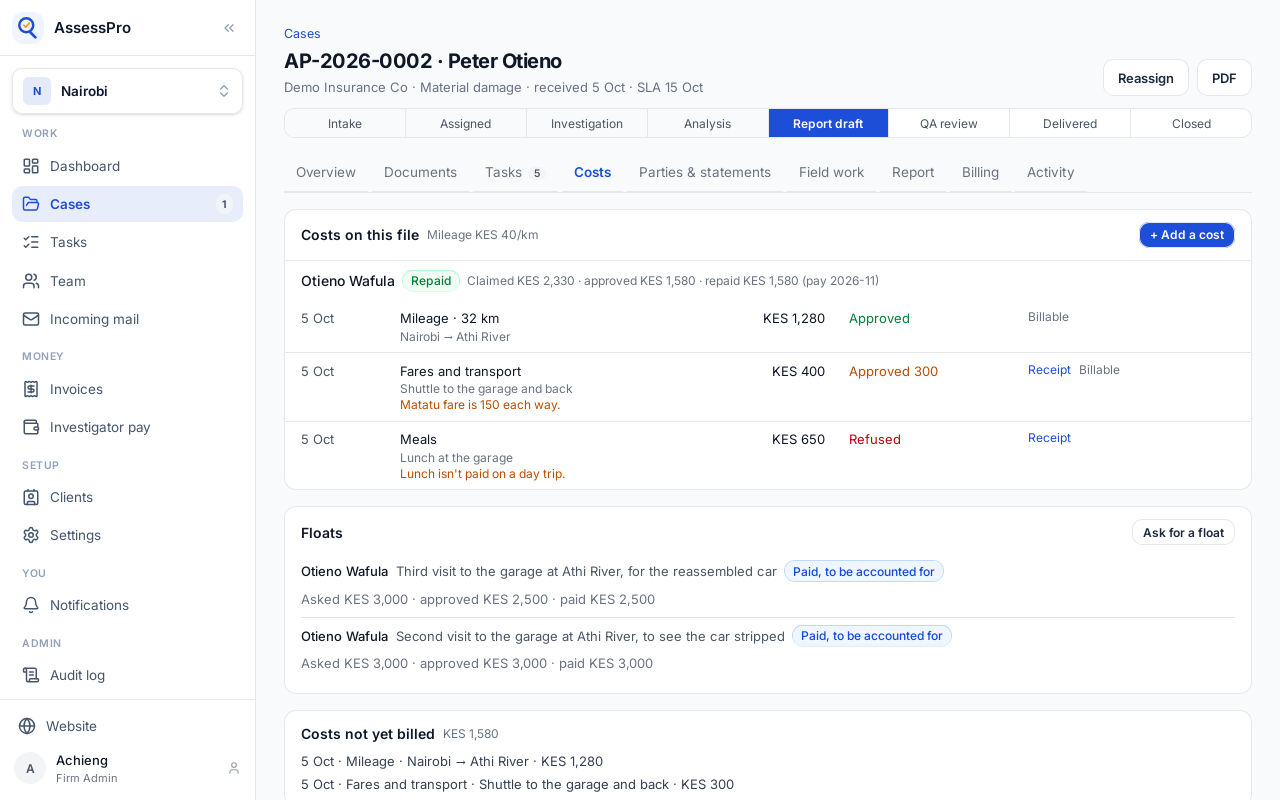
Chapter 1
What anyone can see, without signing in
AssessPro lists loss-assessment firms. Anyone can look them up here, without signing in.
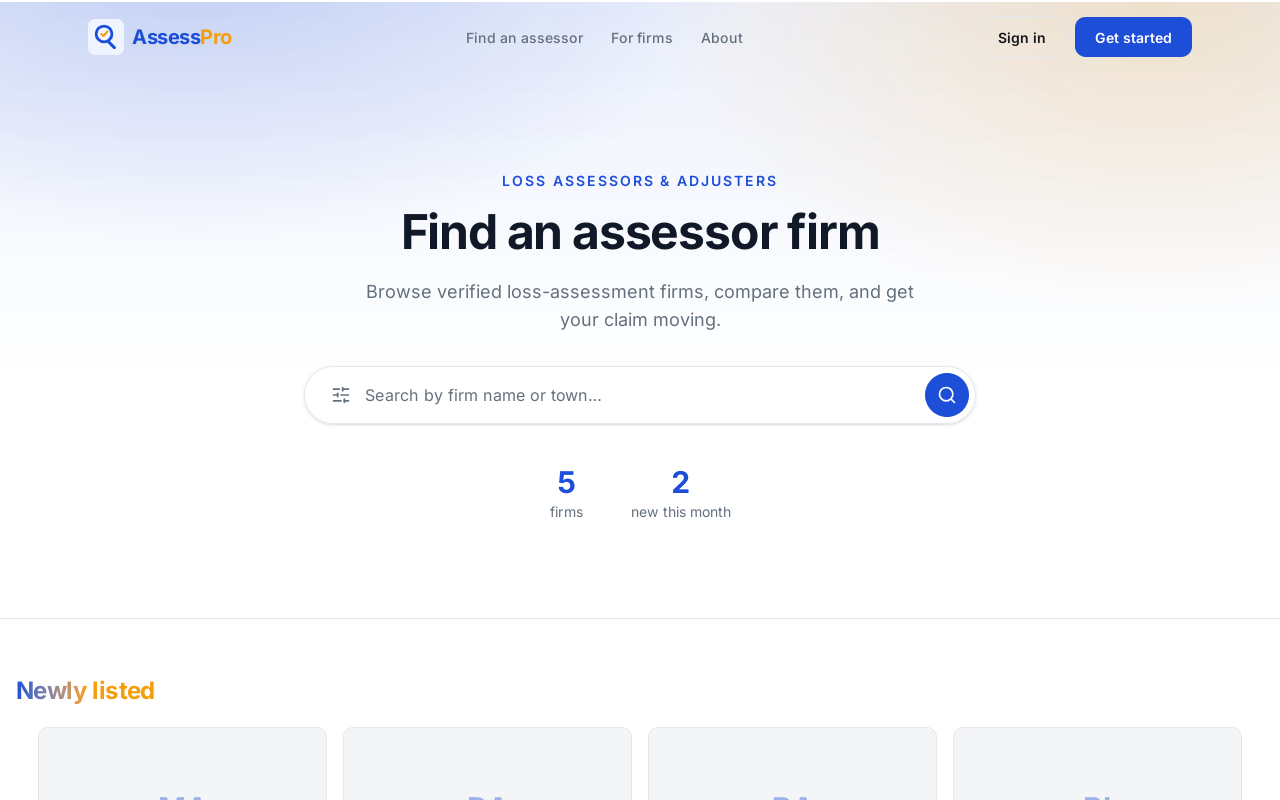
Search by a firm's name or its town, from the box on the home page.
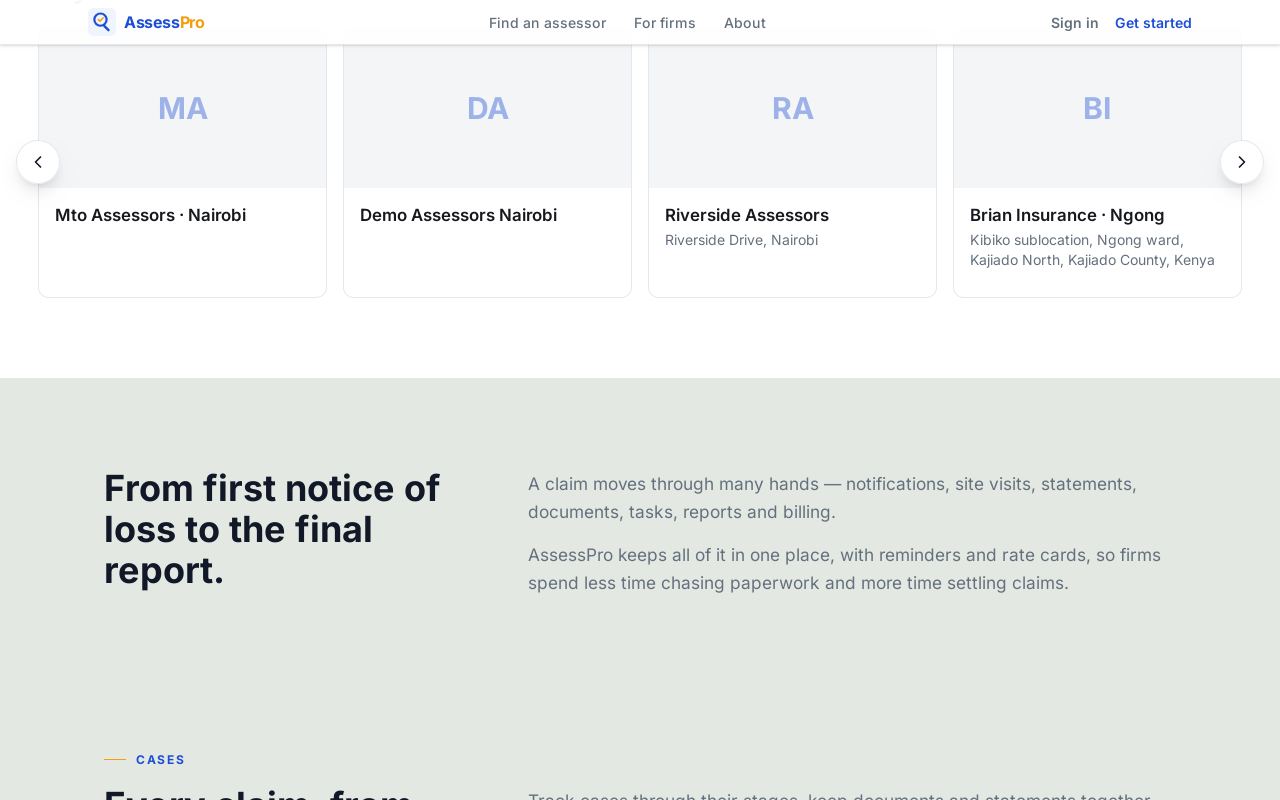
Below it, the firms listed most recently.
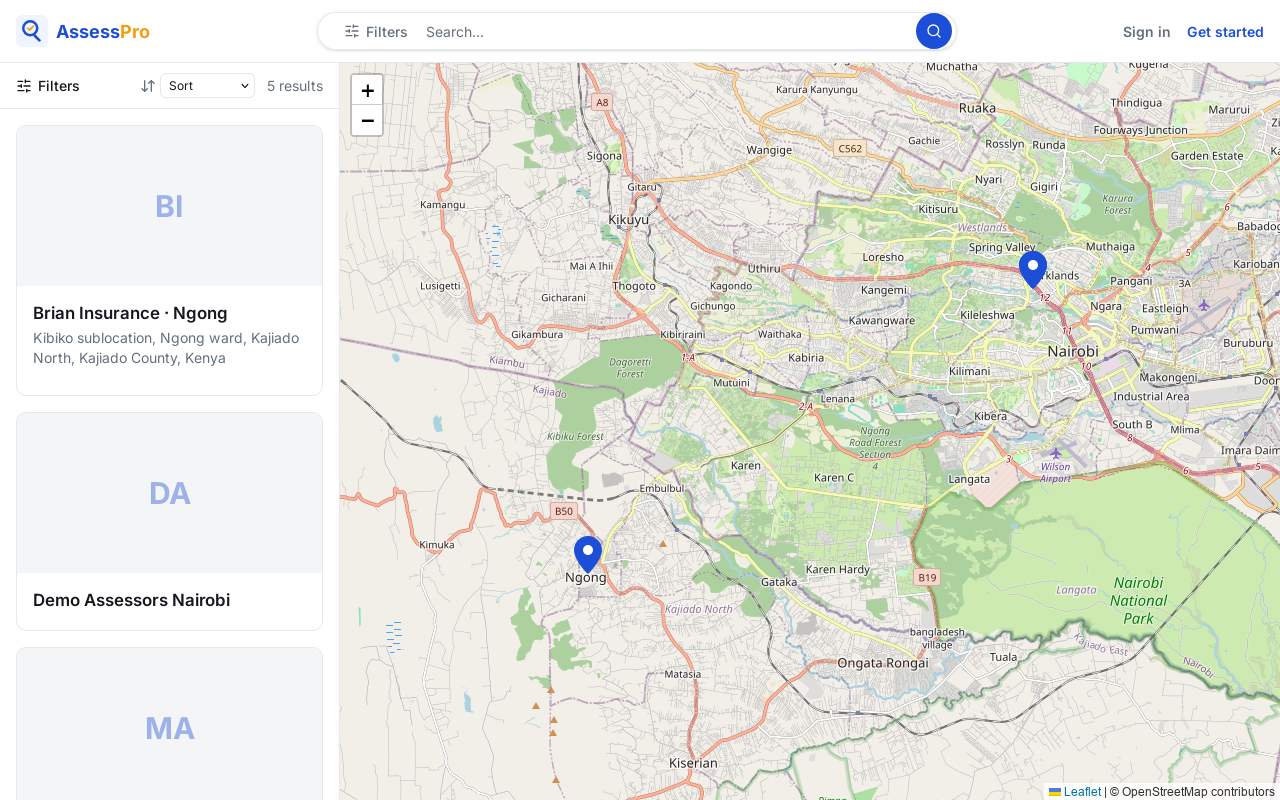
The directory lists every firm, with a map of where they are. Sort the list by name, or narrow it with the search box at the top.
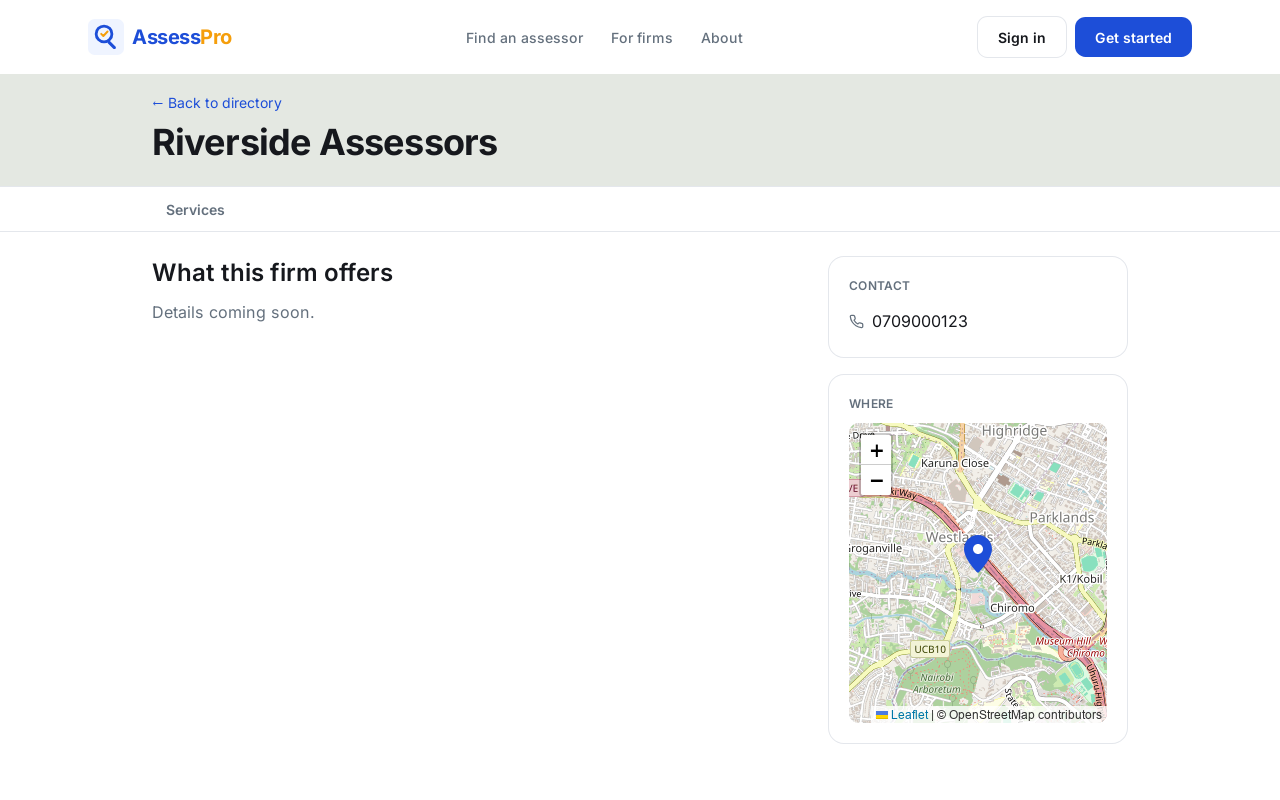
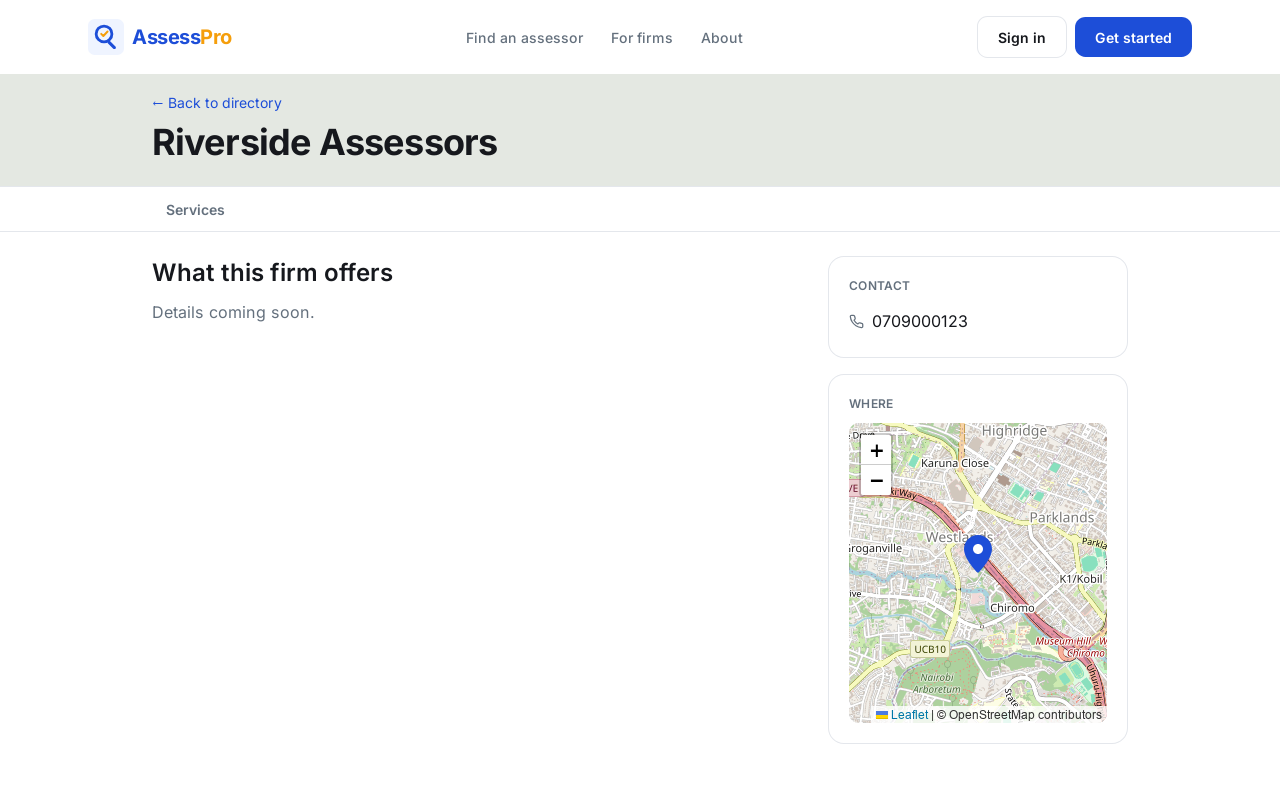
A firm's page shows how to reach it: its phone number, and where it is on the map.
Firms that work with AssessPro run their cases on it. The next chapters show how a firm sets up and works.
Chapter 2
The company, and its first branch
Once signed up, set up your company. Type its name.
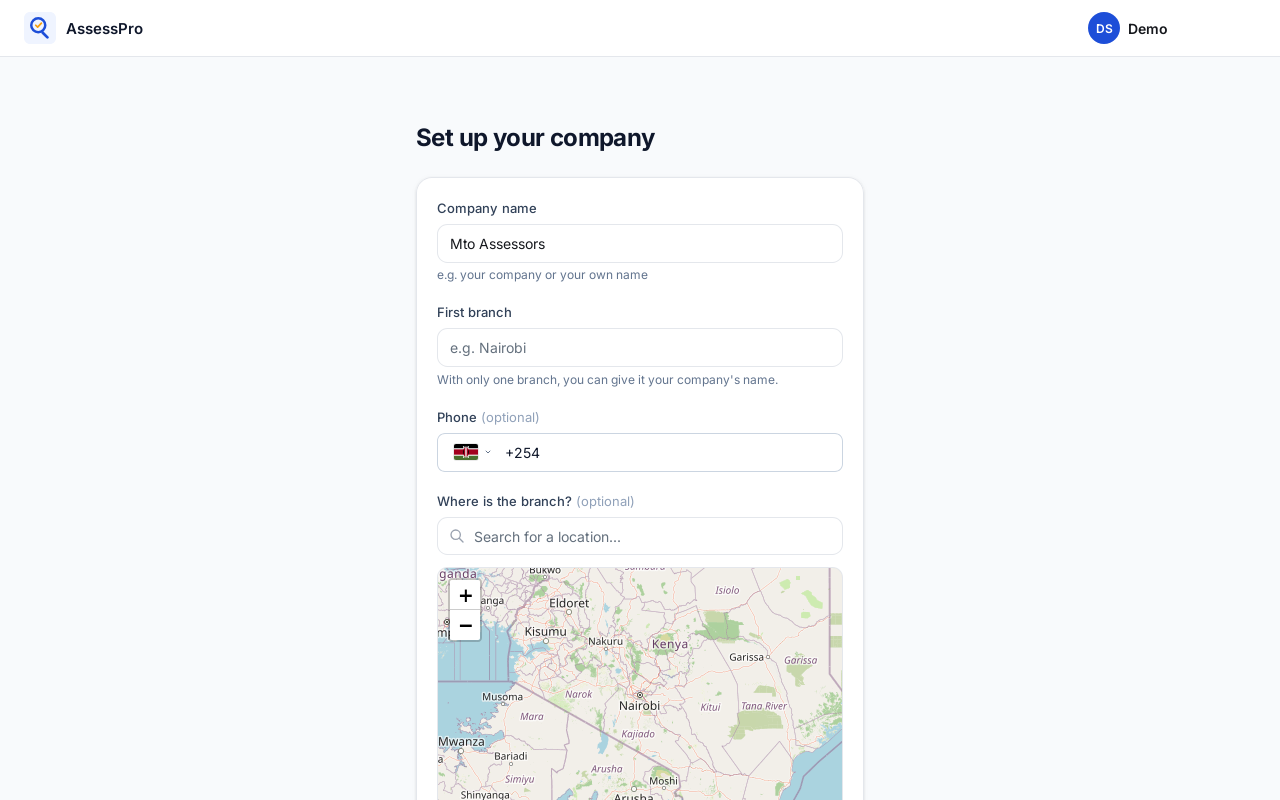
Then its first branch. A company with one branch can give it the company's name.
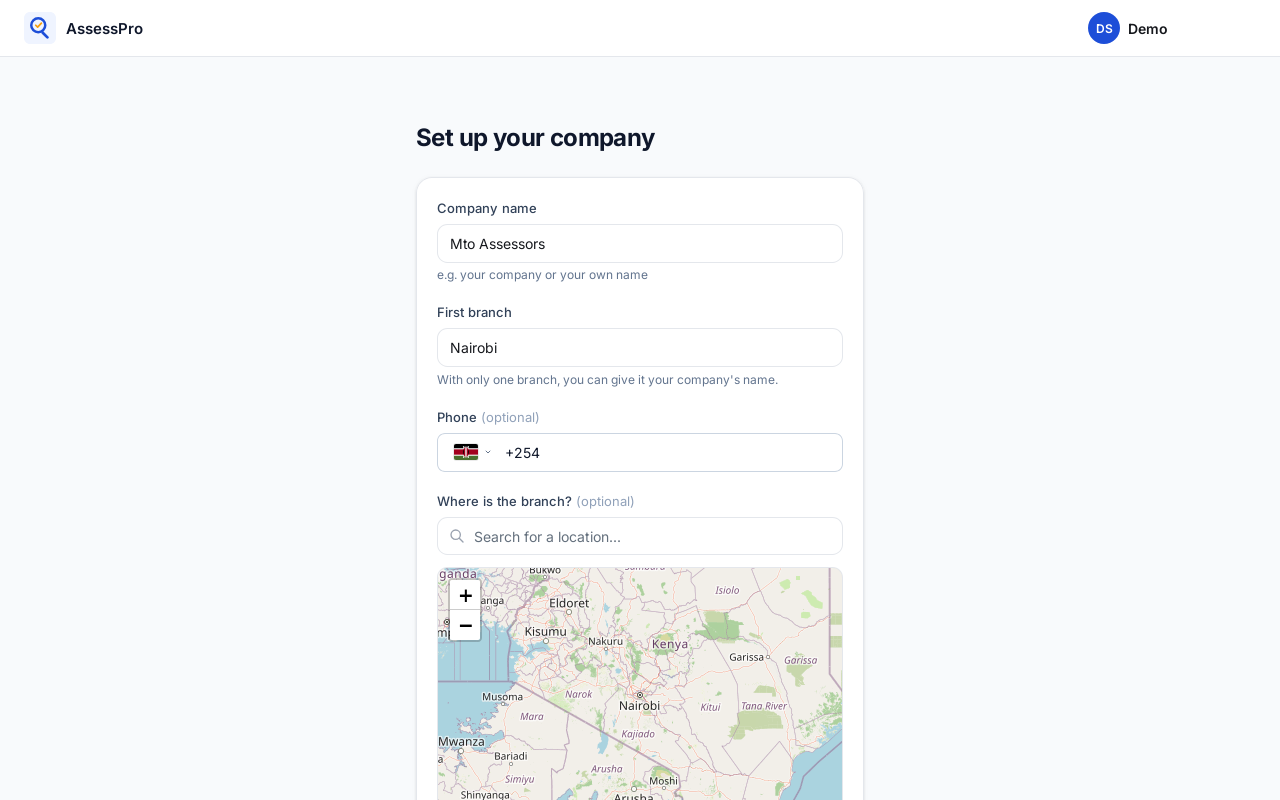
The phone number and the branch's place on the map are optional. Choose Create branch.
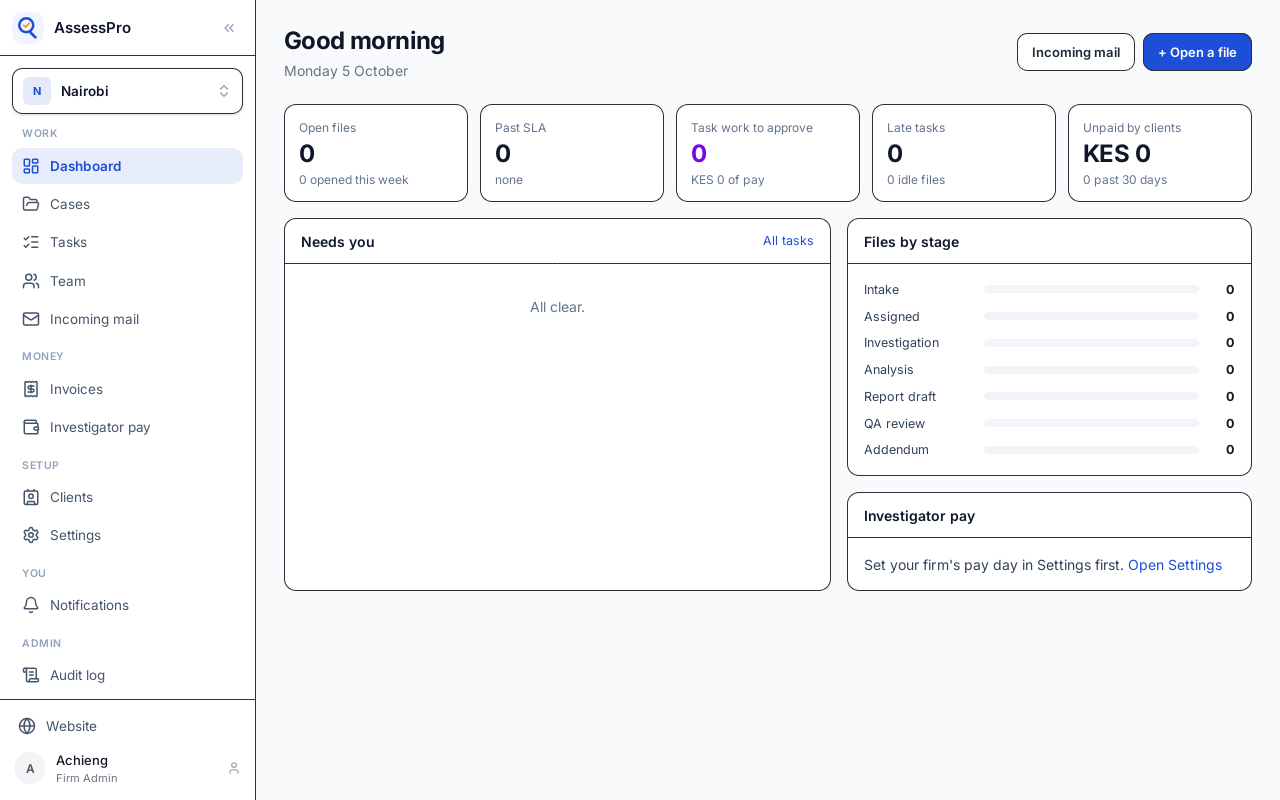
The branch is ready, and AssessPro opens on it.
Chapter 3
The branch's settings, section by section
A branch's settings are under Setup, in Settings. Each section on the left is one part of how the branch works.
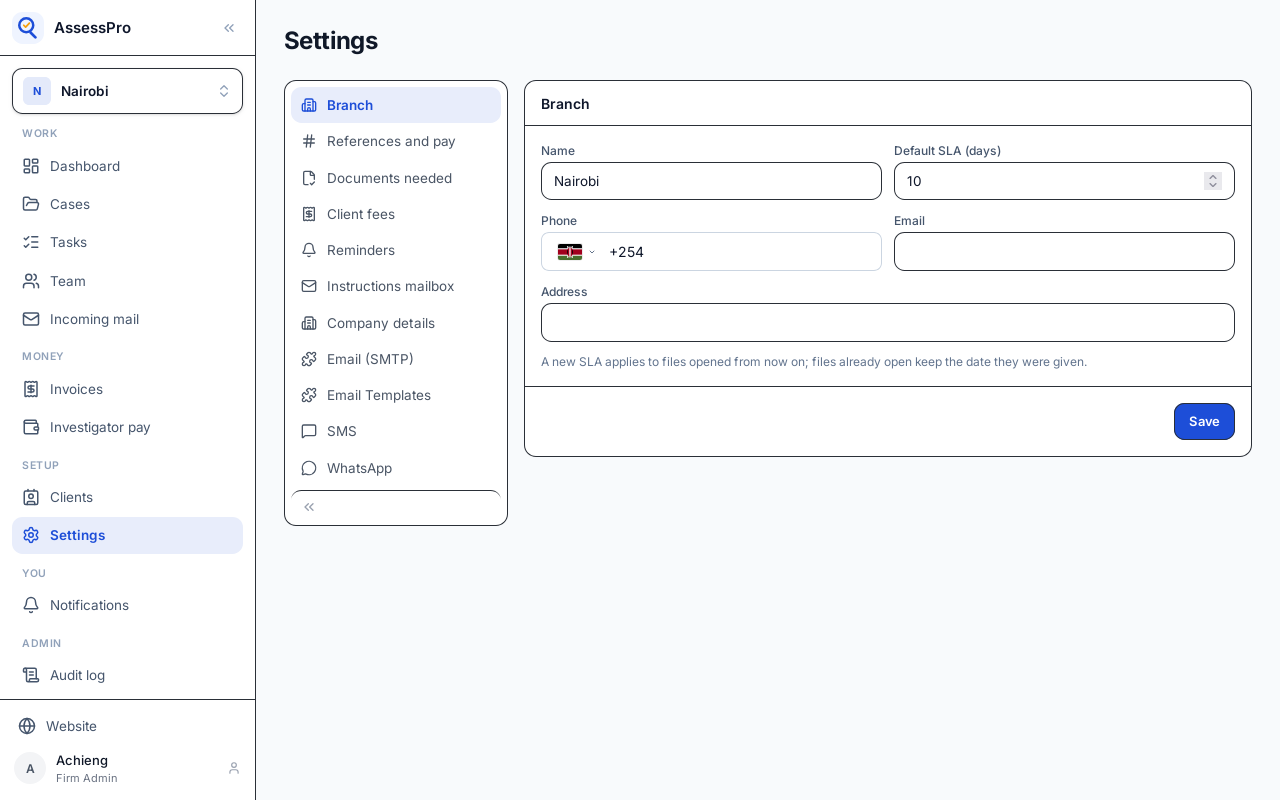
Branch holds its name and contact details, and the default SLA: how many days a new file has before it is due.
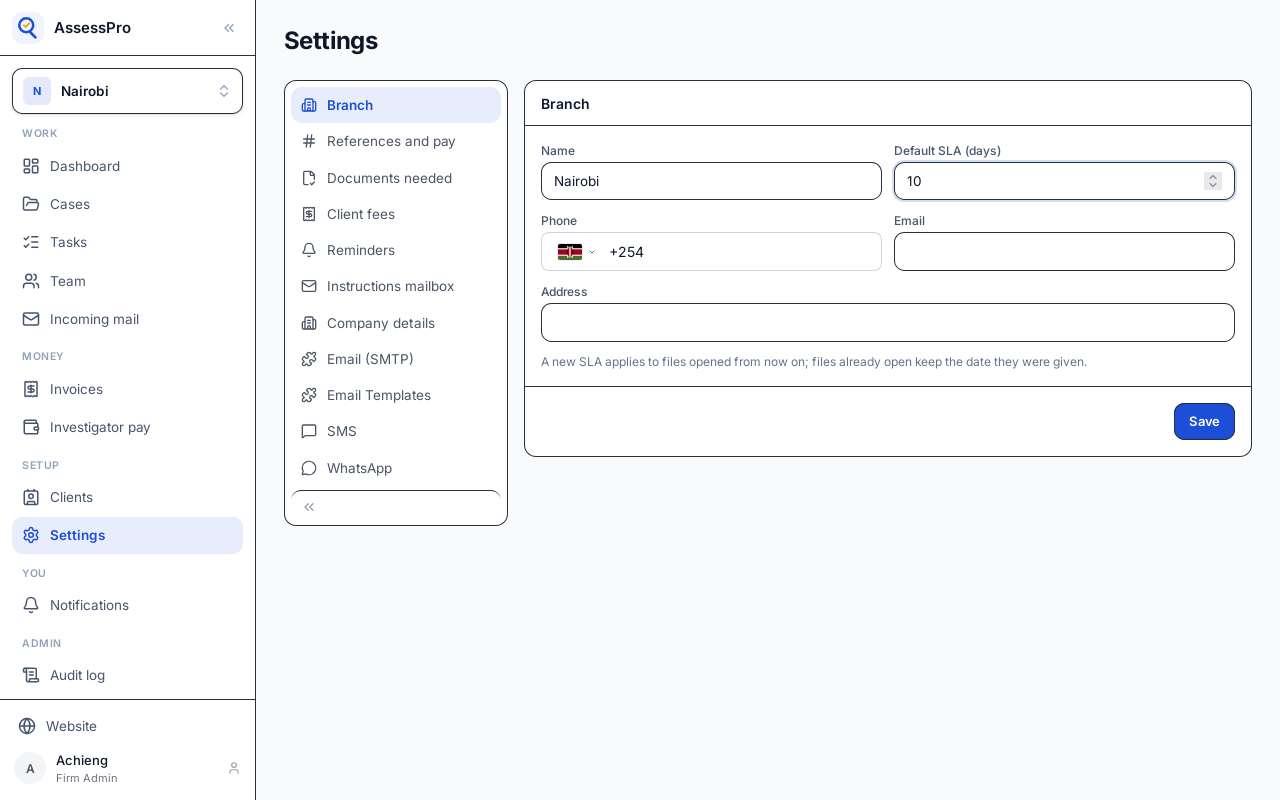
A new SLA applies to files opened from then on; files already open keep the date they were given. Save.
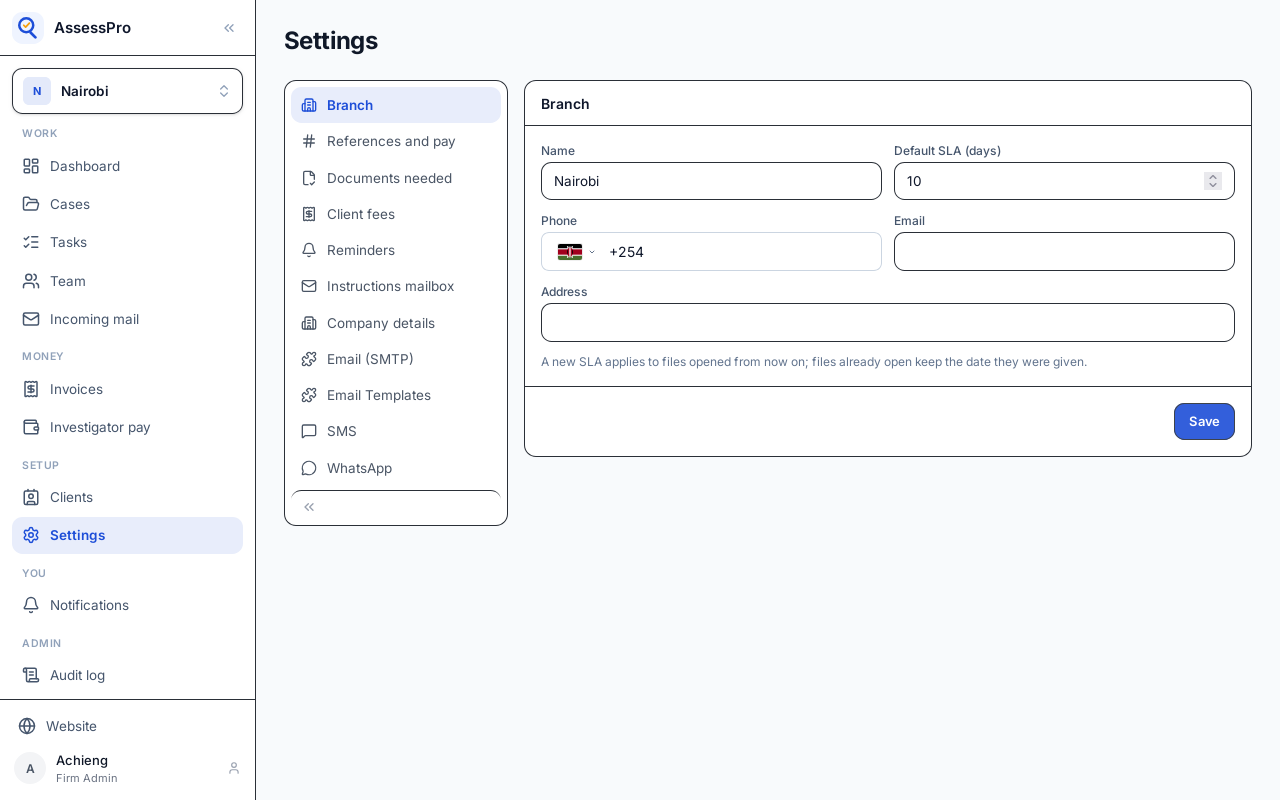
References and pay: the invoice reference prefix, the pay day, and what each field task pays.
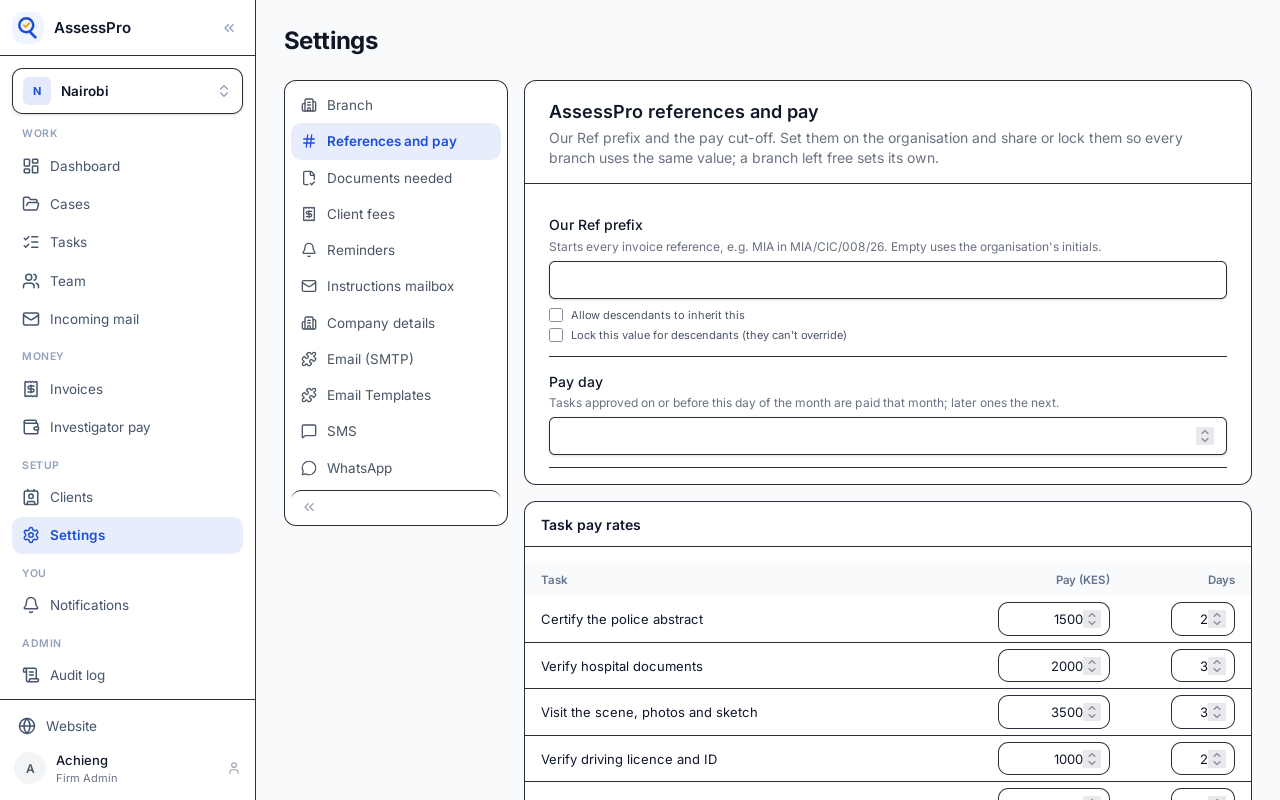
Documents needed sets which documents each kind of case must have.
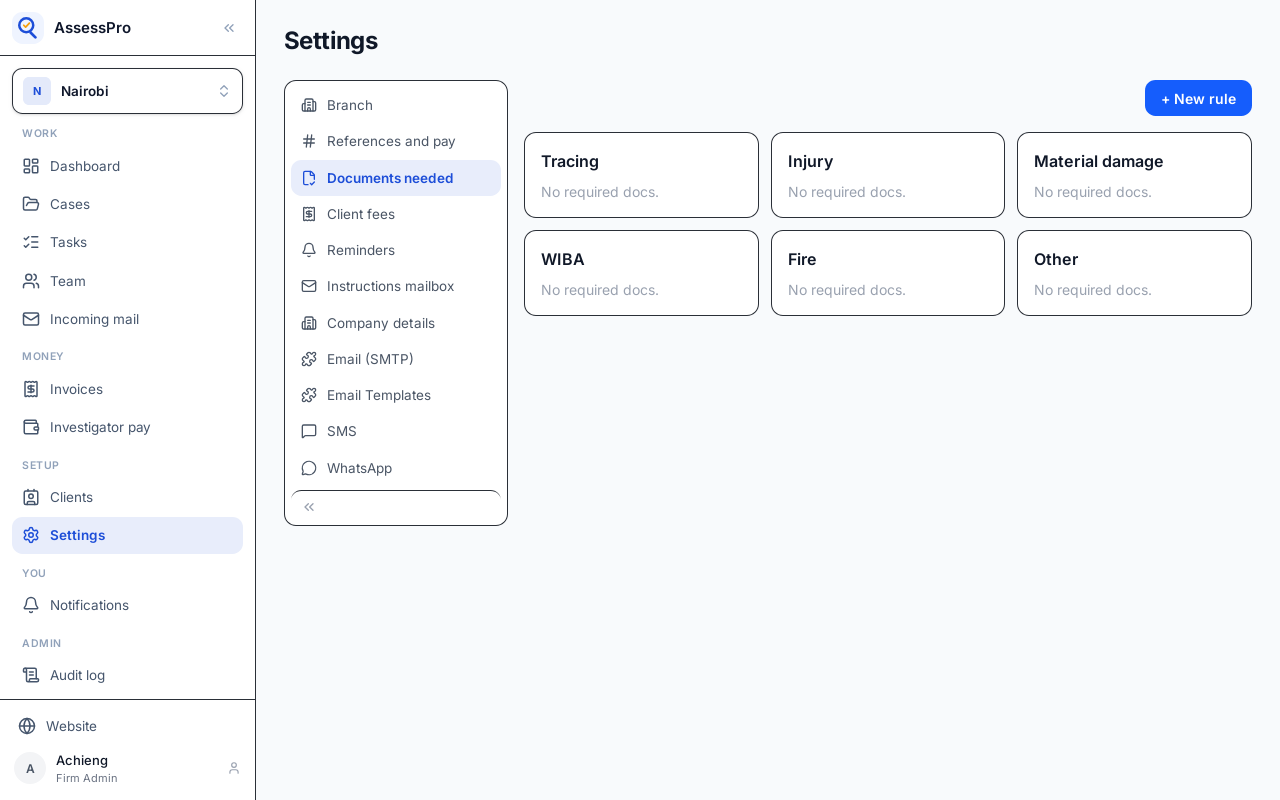
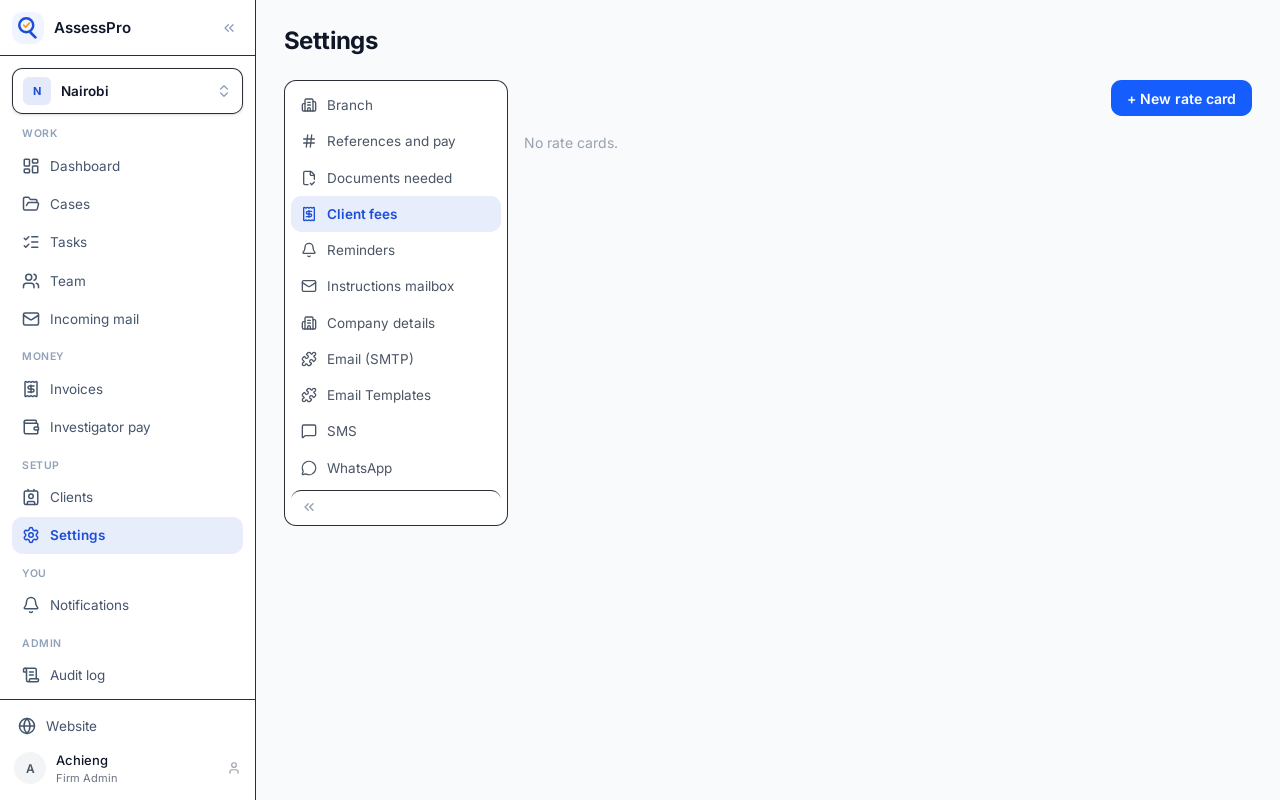
Client fees holds the branch's rate cards, what clients are charged. A new branch has none; add one with New rate card.
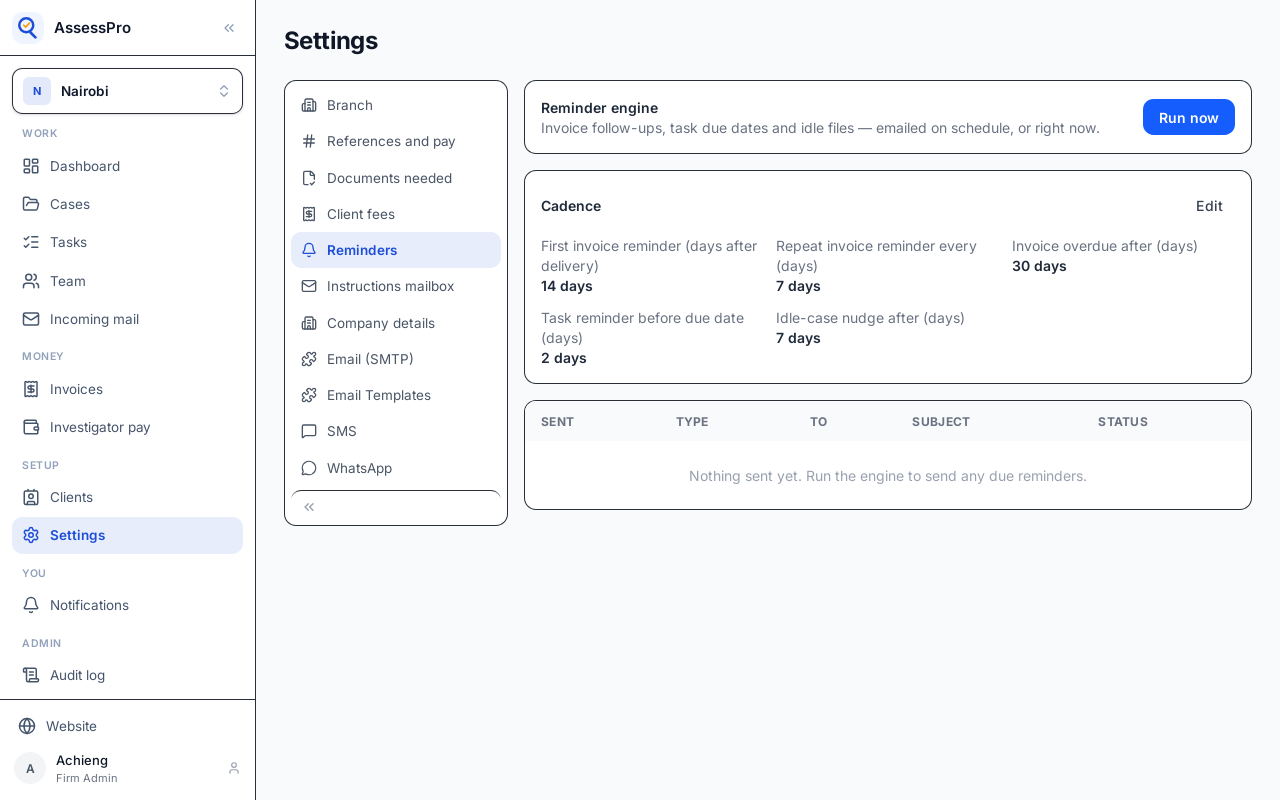
Reminders shows the reminders sent, can send them now, and sets how soon they go out.
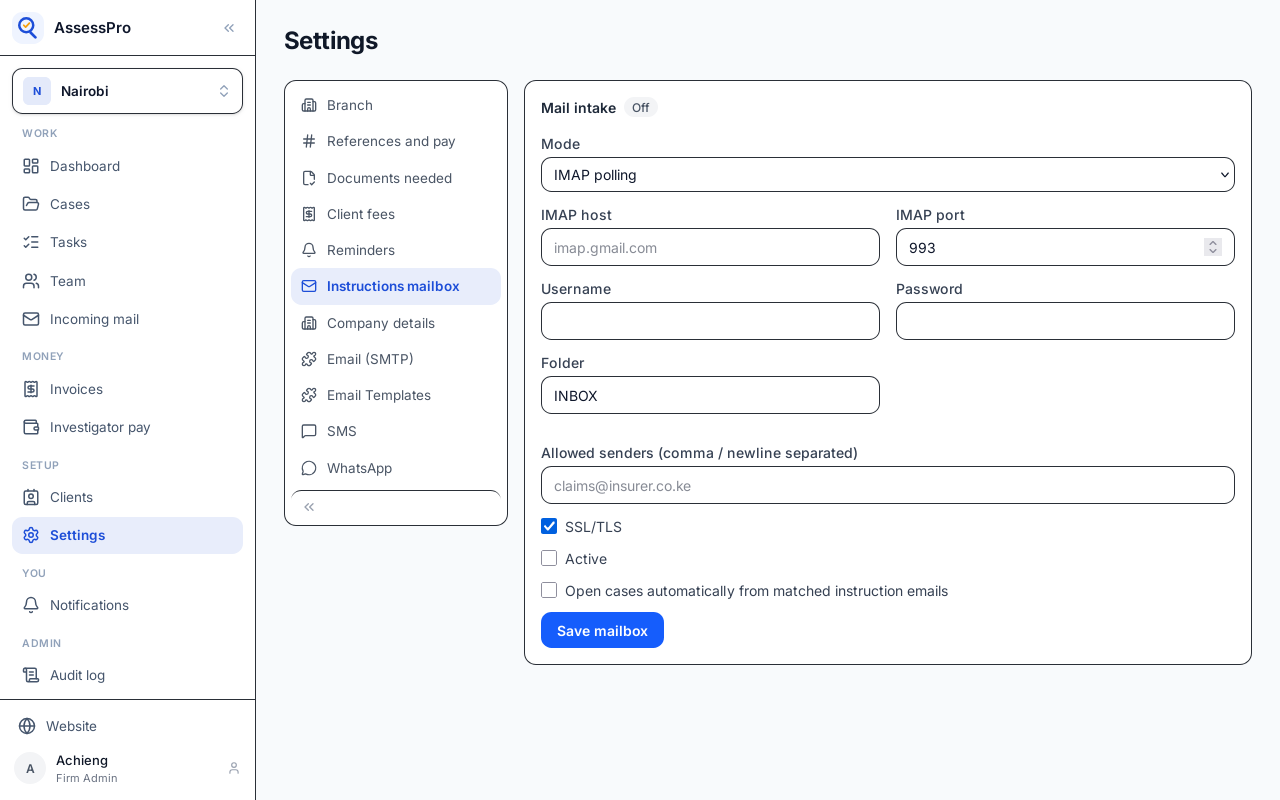
Instructions mailbox connects an email inbox, so instructions clients send by email arrive in AssessPro.
Next, the branch's clients and its team.
Chapter 4
Who sends the branch its files
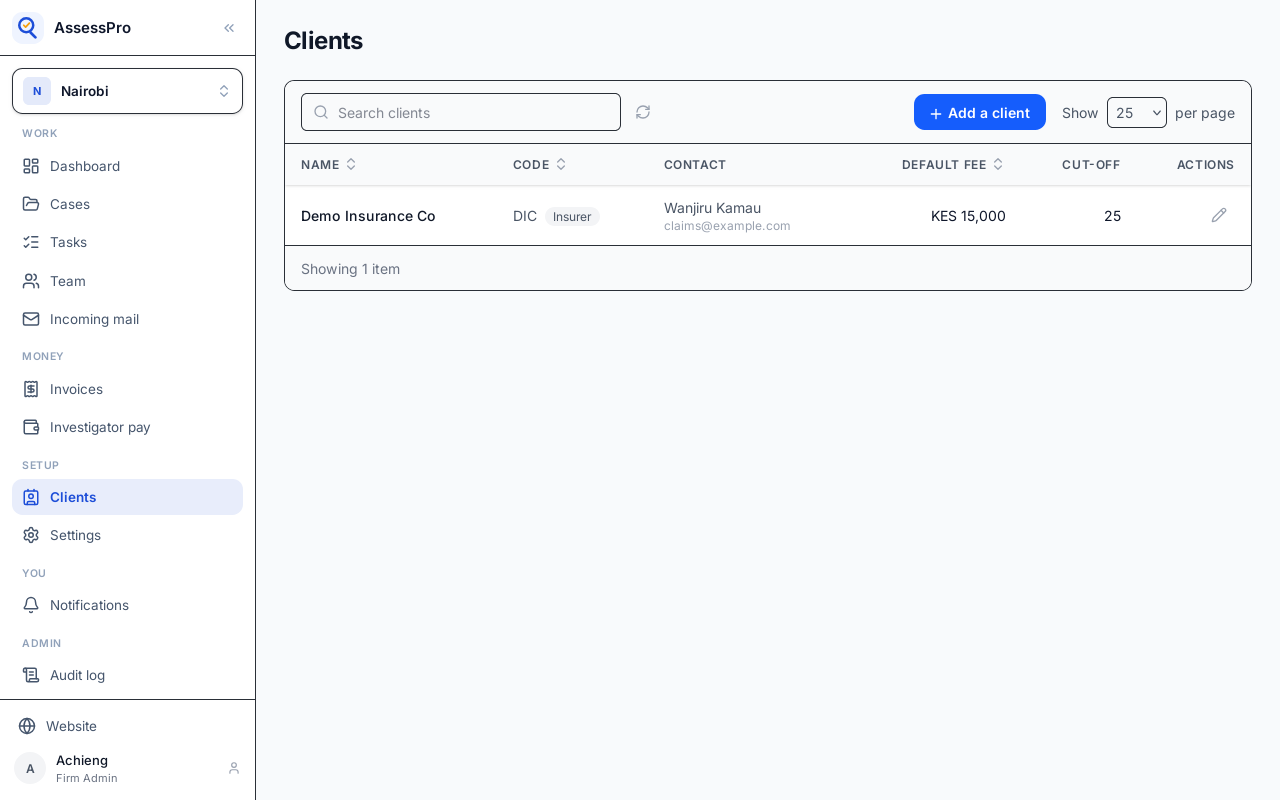
Clients are whoever sends the branch its files: mostly insurers, but banks, companies and law firms too. They are under Setup, in Clients.
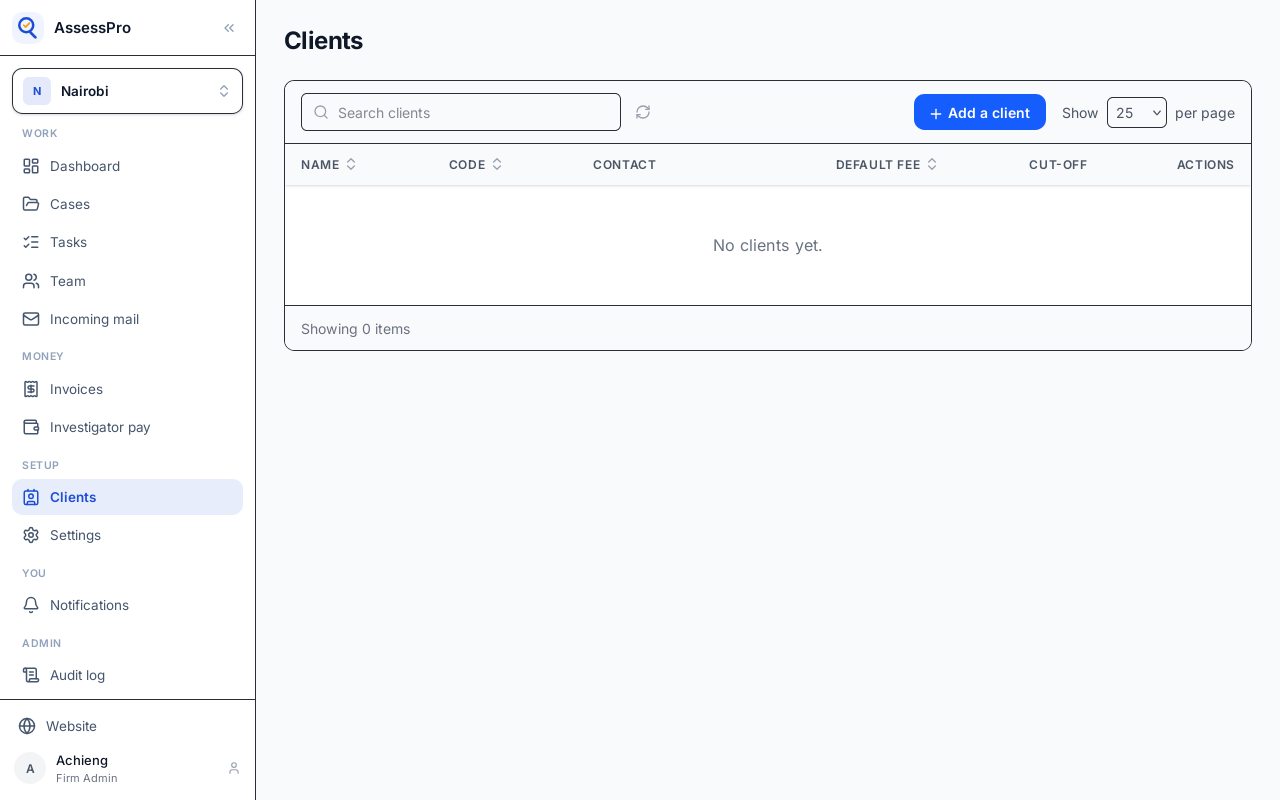
A new branch has none. Choose Add a client.
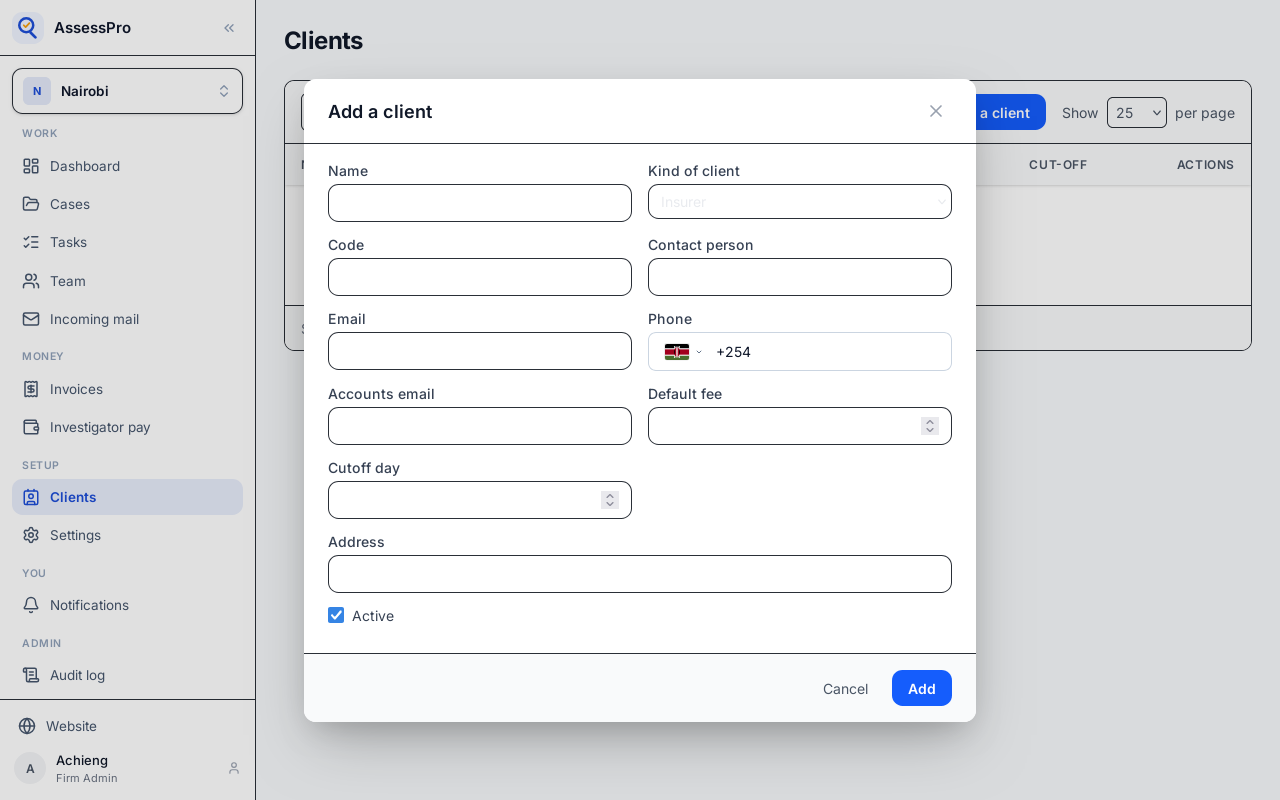
The client's name, and what kind of client it is.
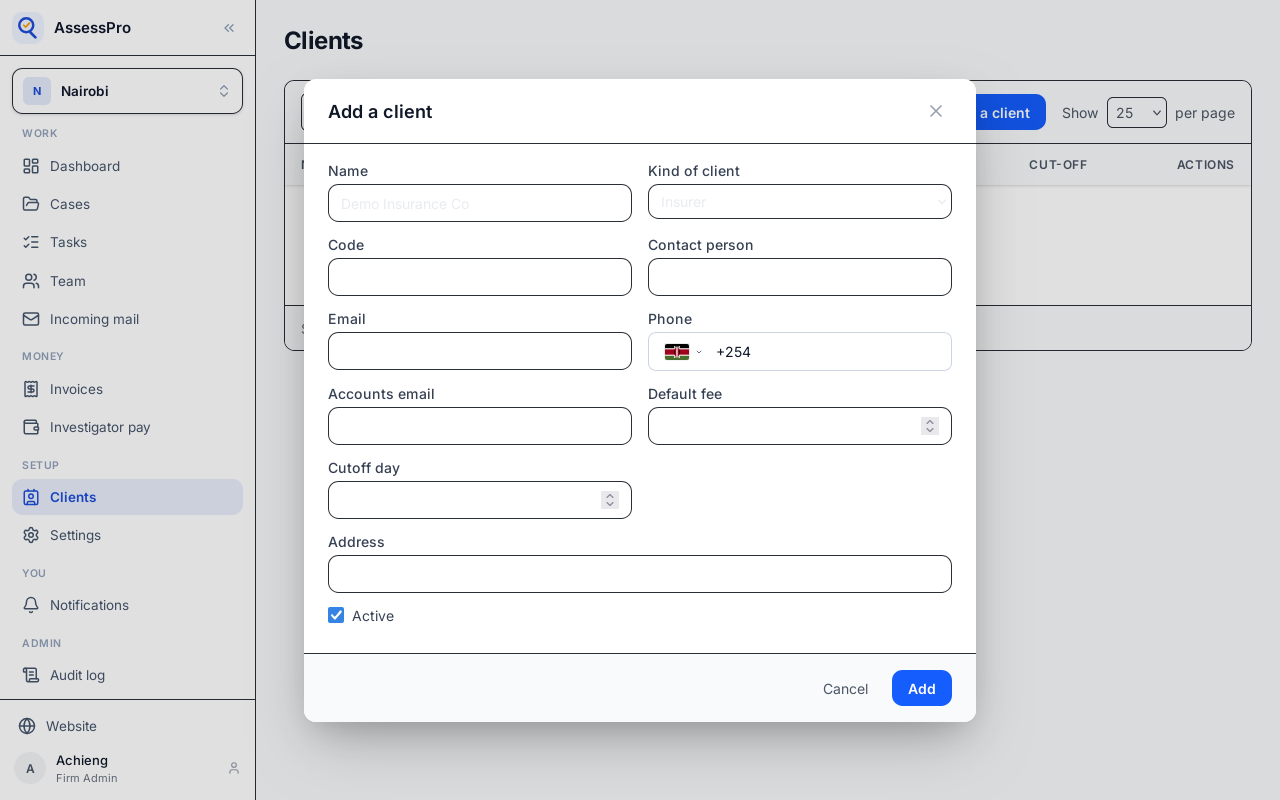
A short code. It goes into the branch's invoice references, and it matches the client when files are brought in from a spreadsheet.
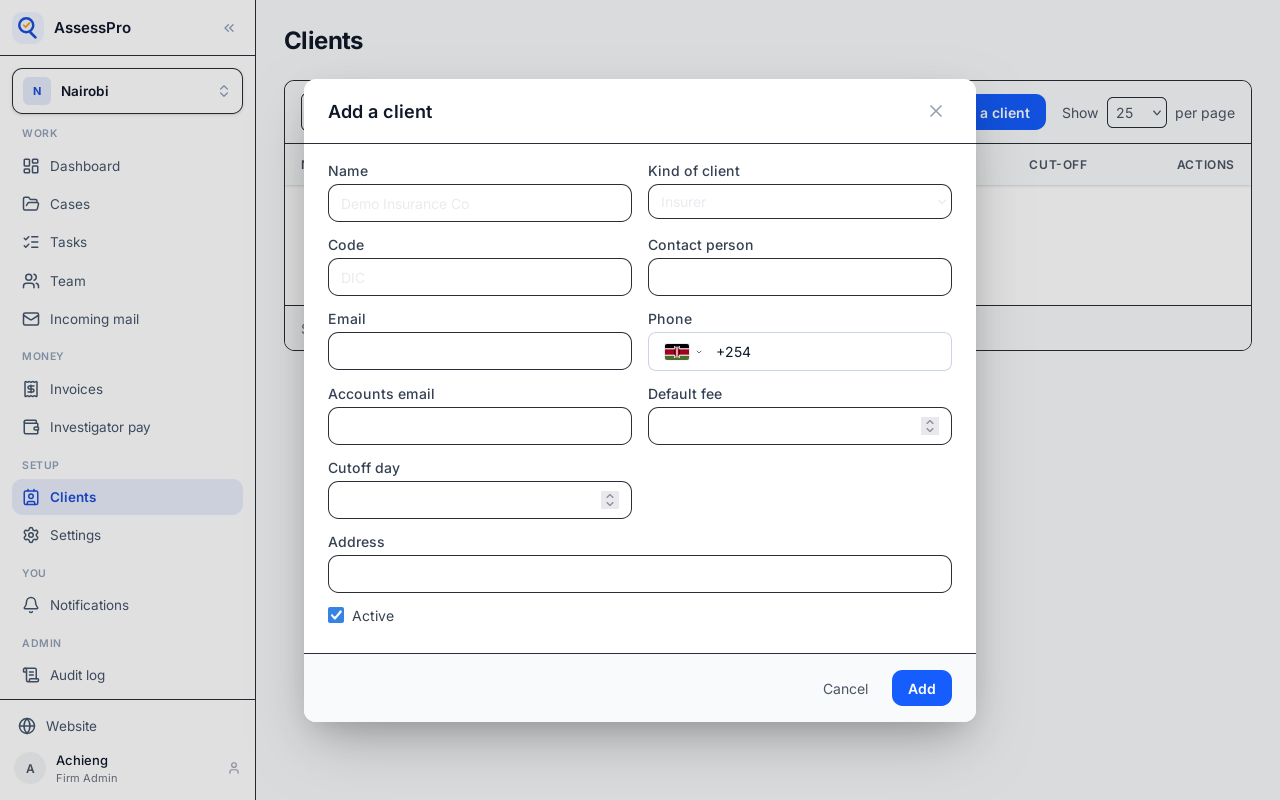
Who to talk to there, and how to reach them.
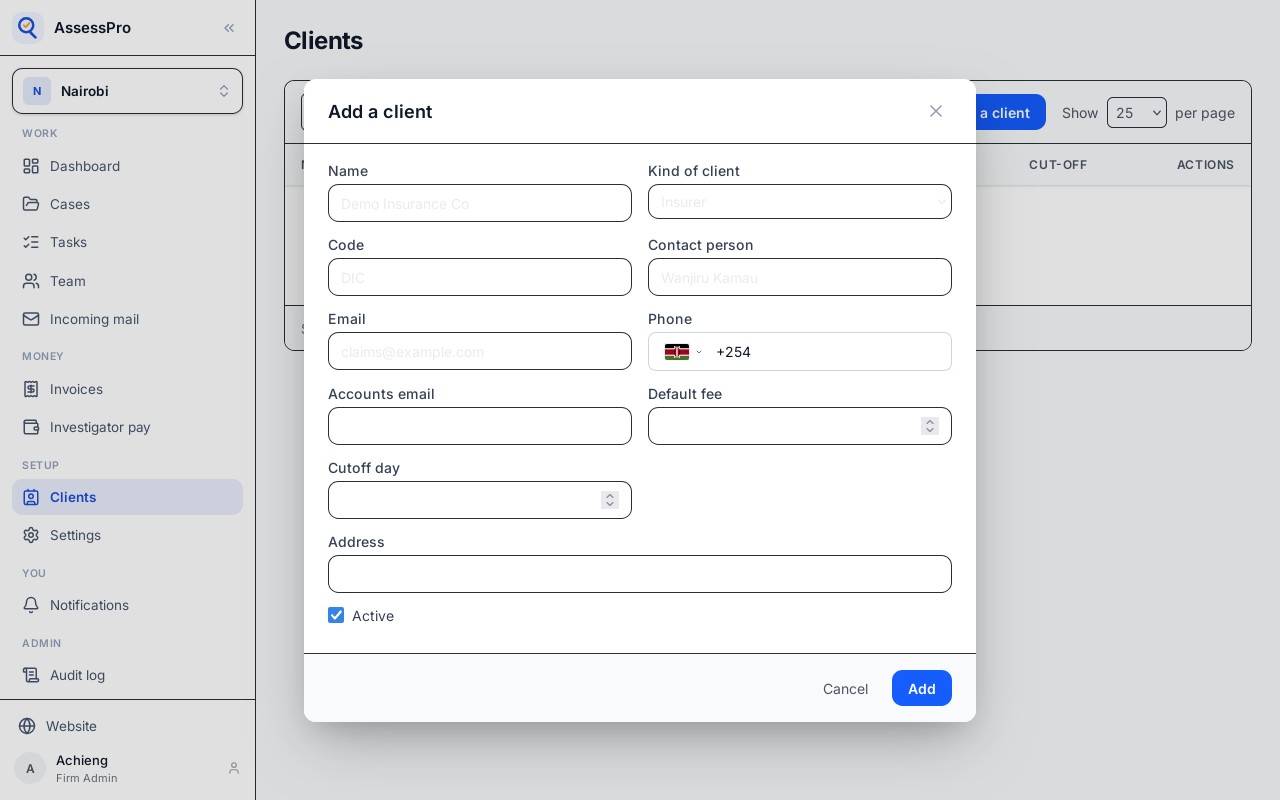
Accounts email receives the client's invoices and payment reminders.
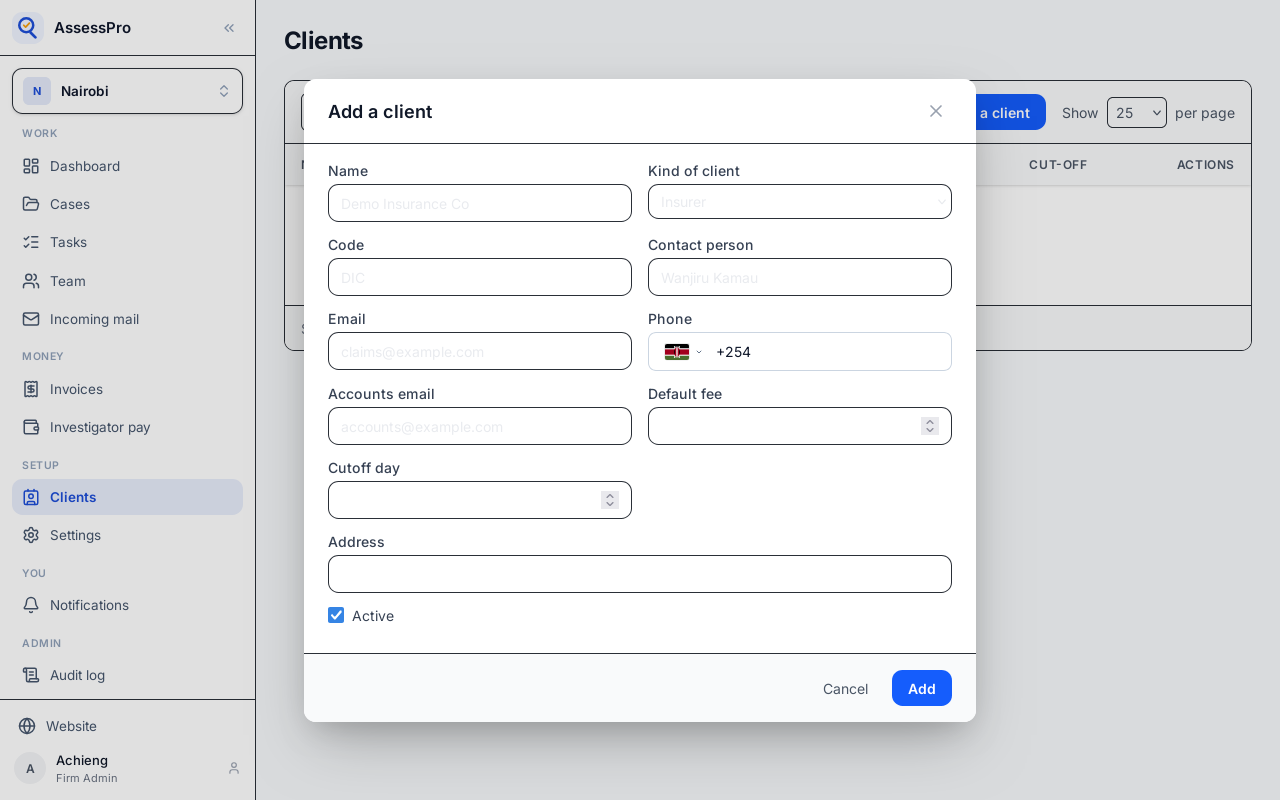
Default fee is the professional fee charged when the client has no rate card of its own.
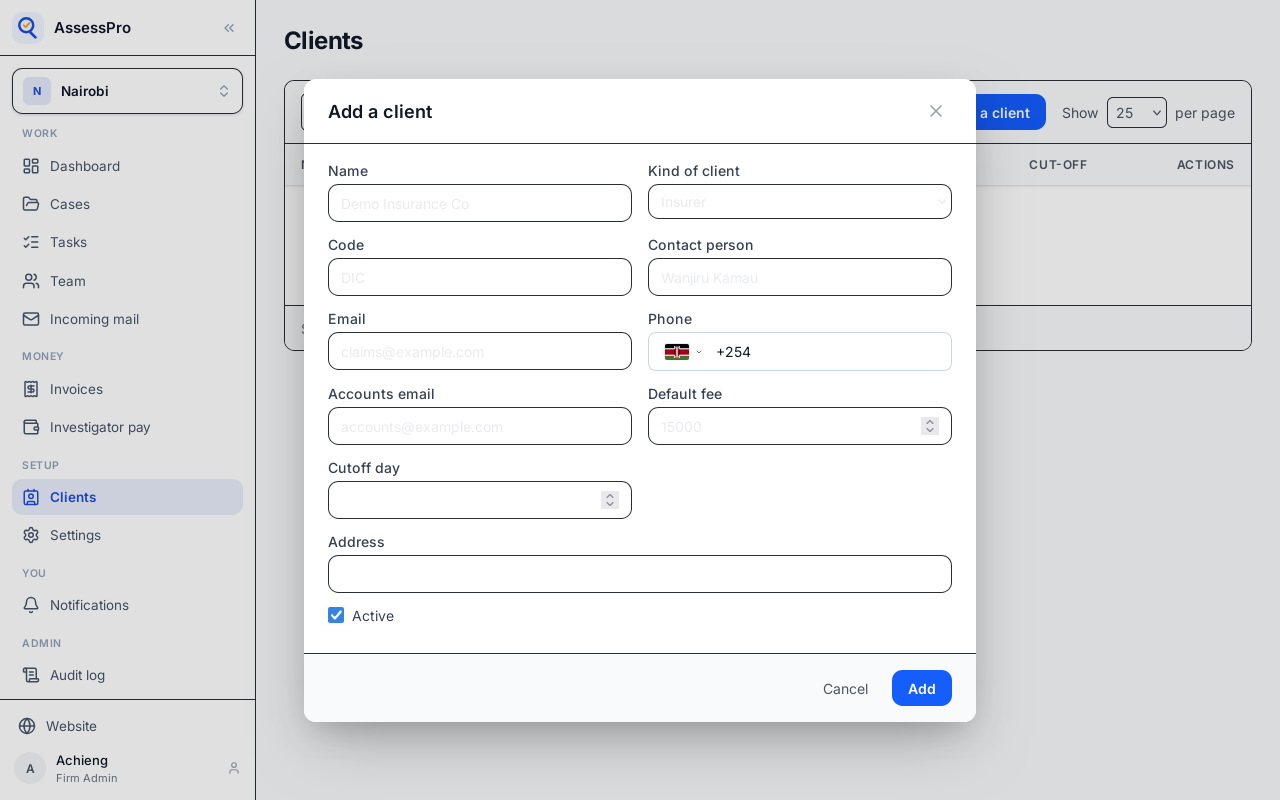
Cutoff day is the day of the month the client's billing closes. Files accepted after it are billed the next month. Choose Add.
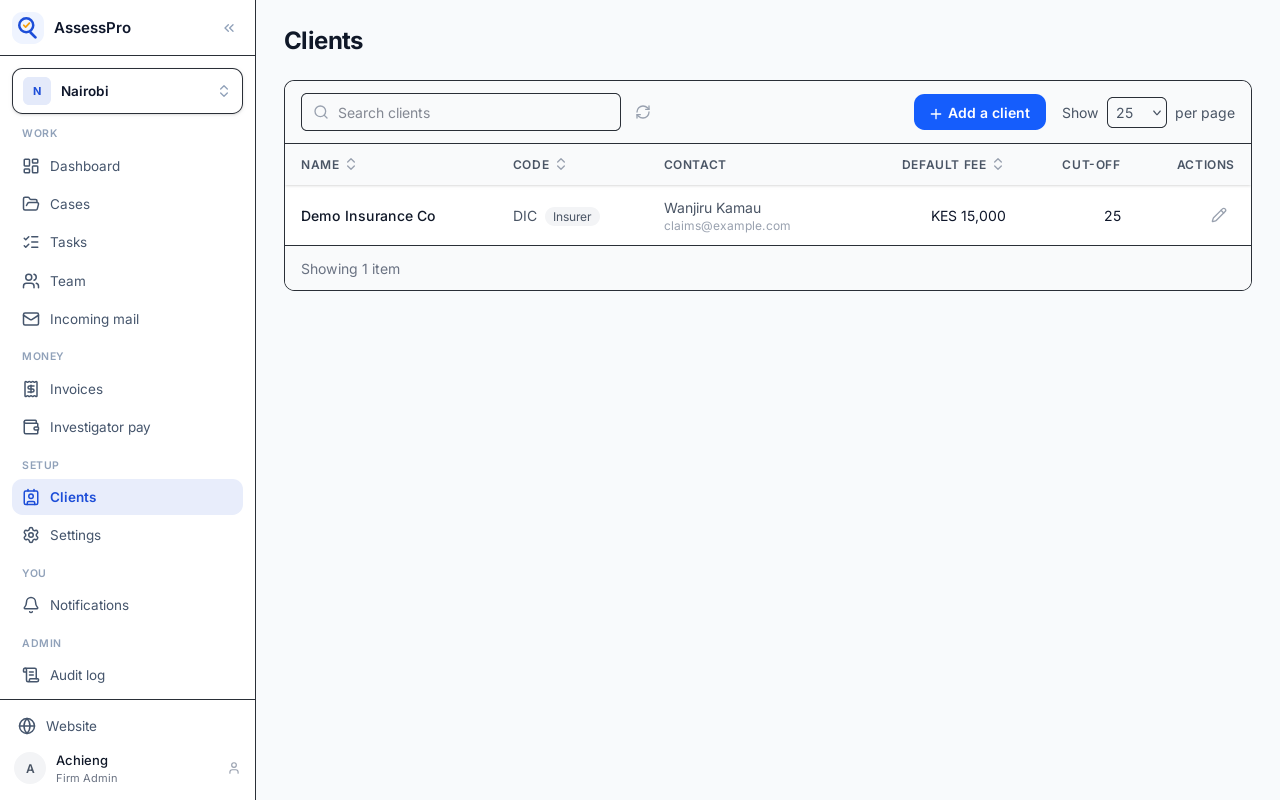
The client is on the list. Choose it to change any of its details.
Next, the branch's team.
Chapter 5
Who works in the branch, and how much
The branch's team is under Work, in Team.
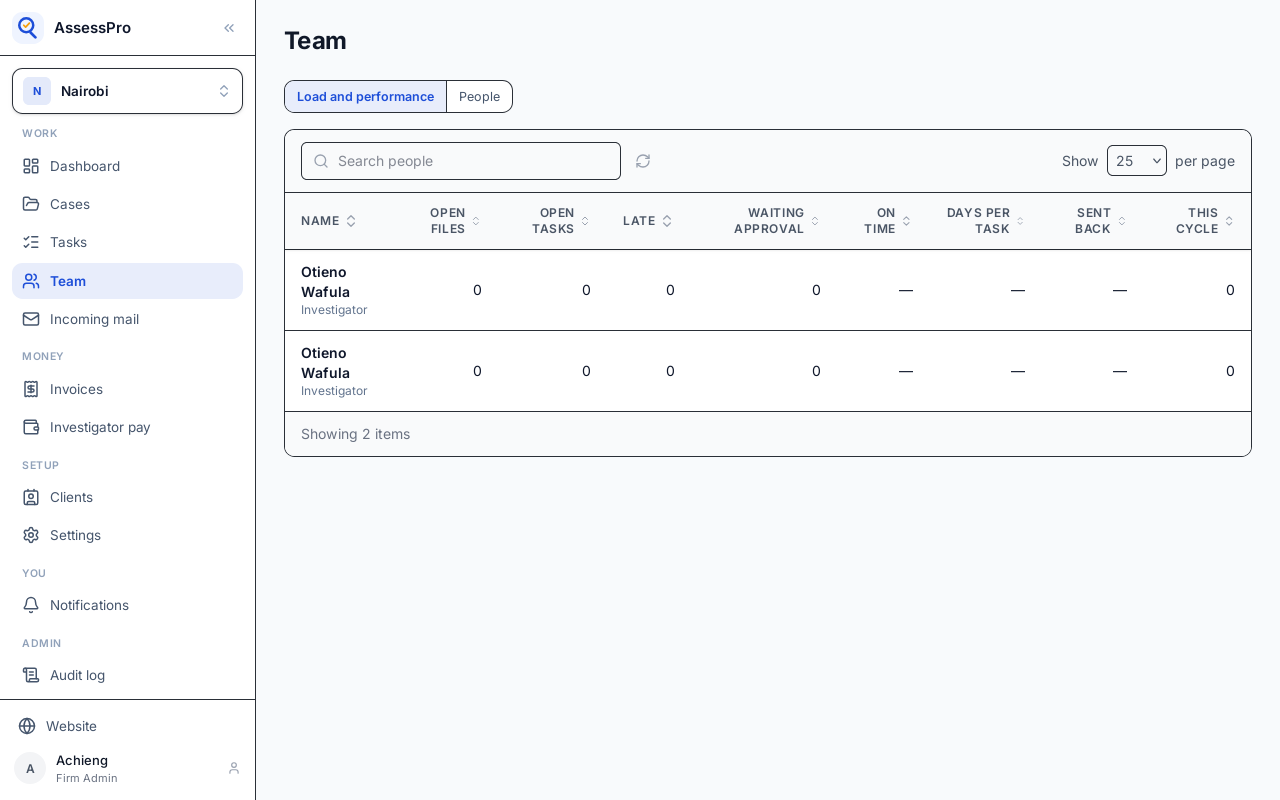
Load and performance shows each person's open files and tasks, what waits for approval, and how much of their work is on time. A new branch has no one carrying files yet.
Chapter 6
A client's instruction becomes a file
When a client sends an instruction, the office opens a file for it. Files are under Work, in Cases. Choose Open a file.
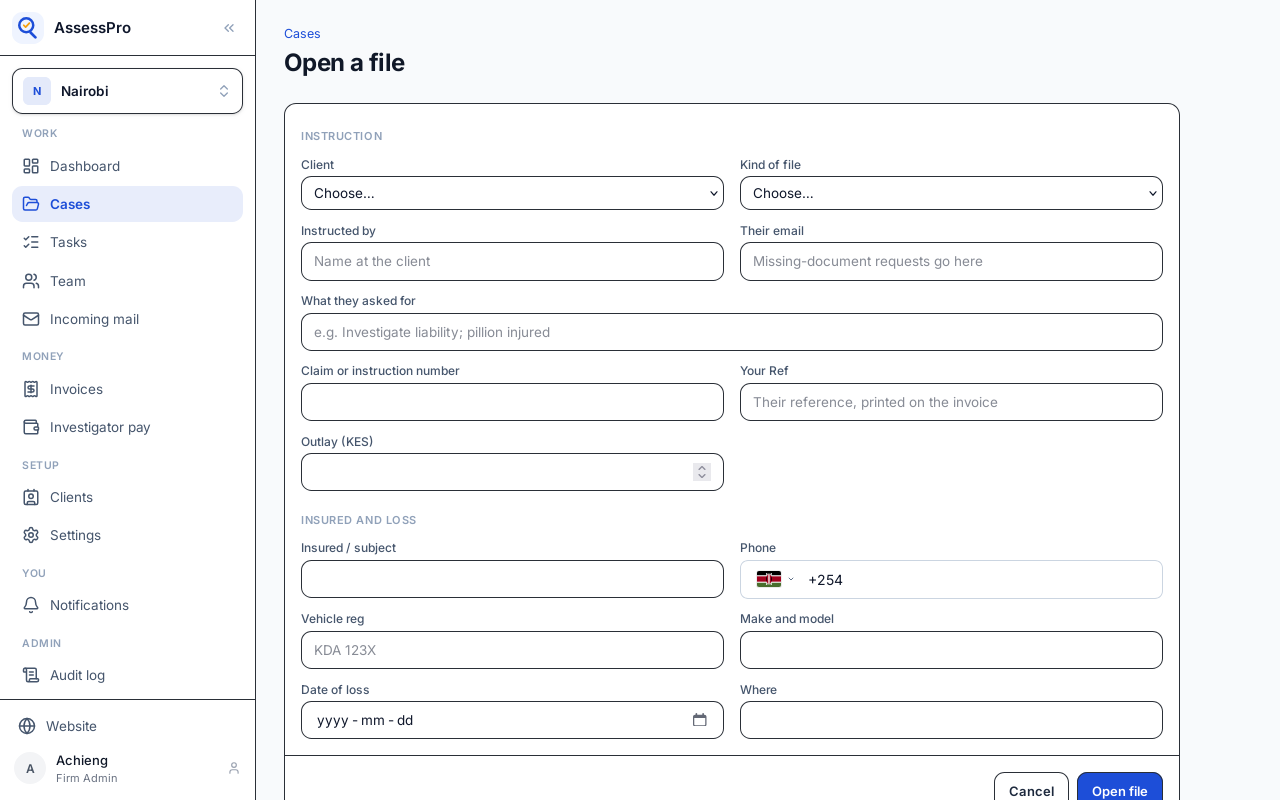
Choose the client who sent it, and the kind of file: here, material damage to a vehicle.
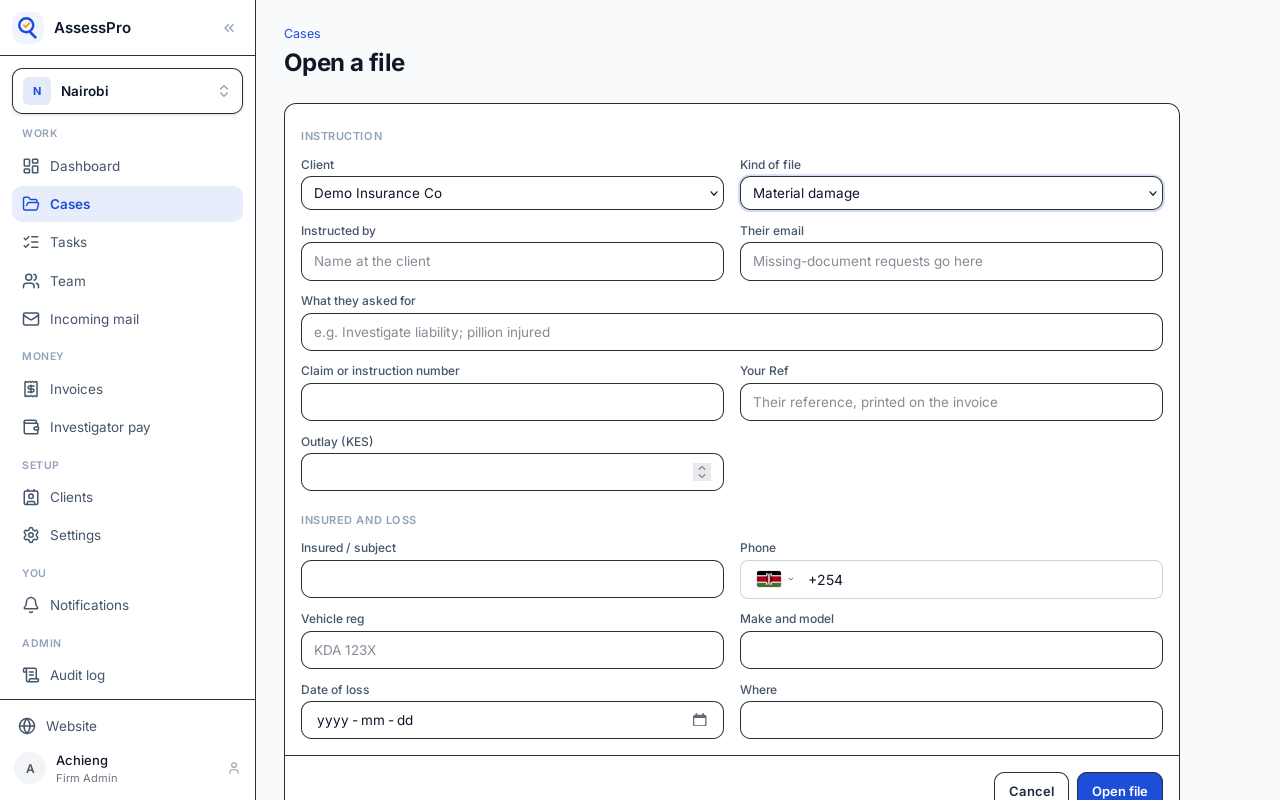
Who instructed it at the client, and their email. Requests for missing documents go to that address.
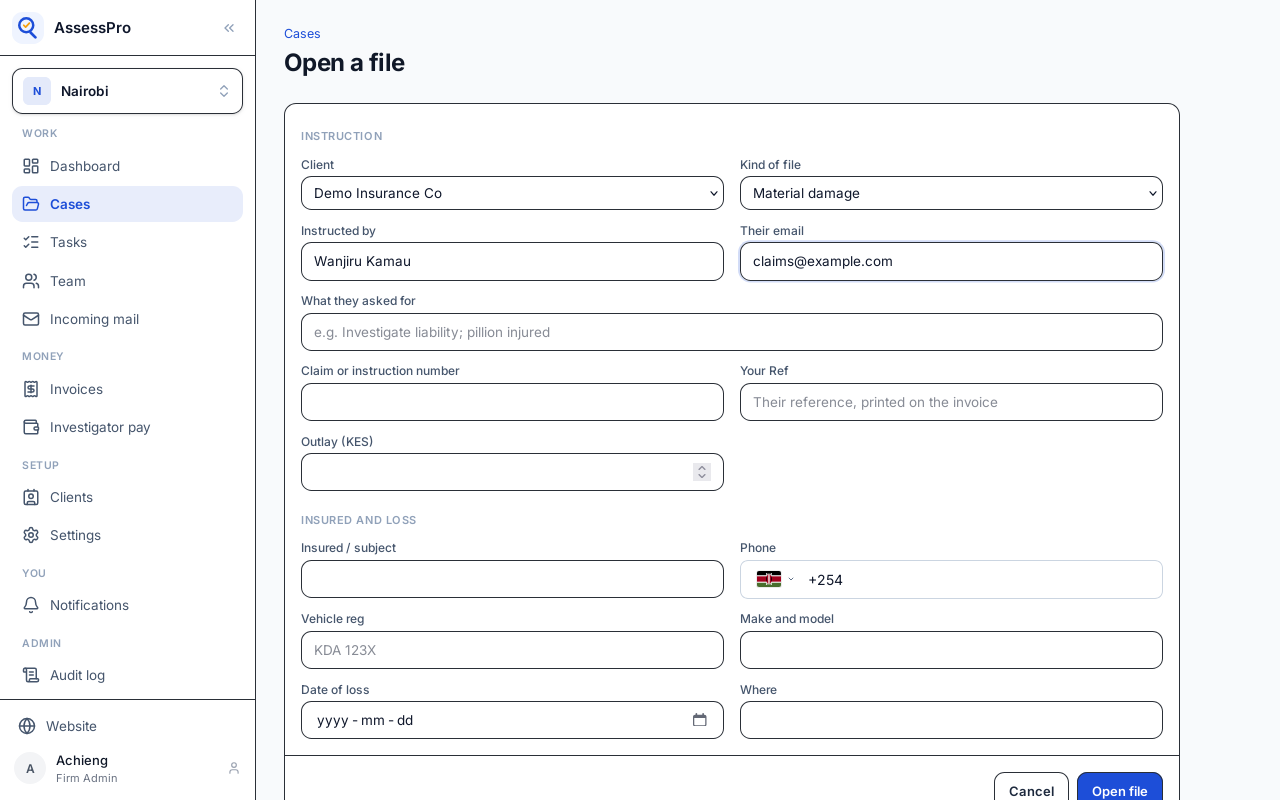
What they asked for, their claim number, and their own reference, which is printed on the invoice.
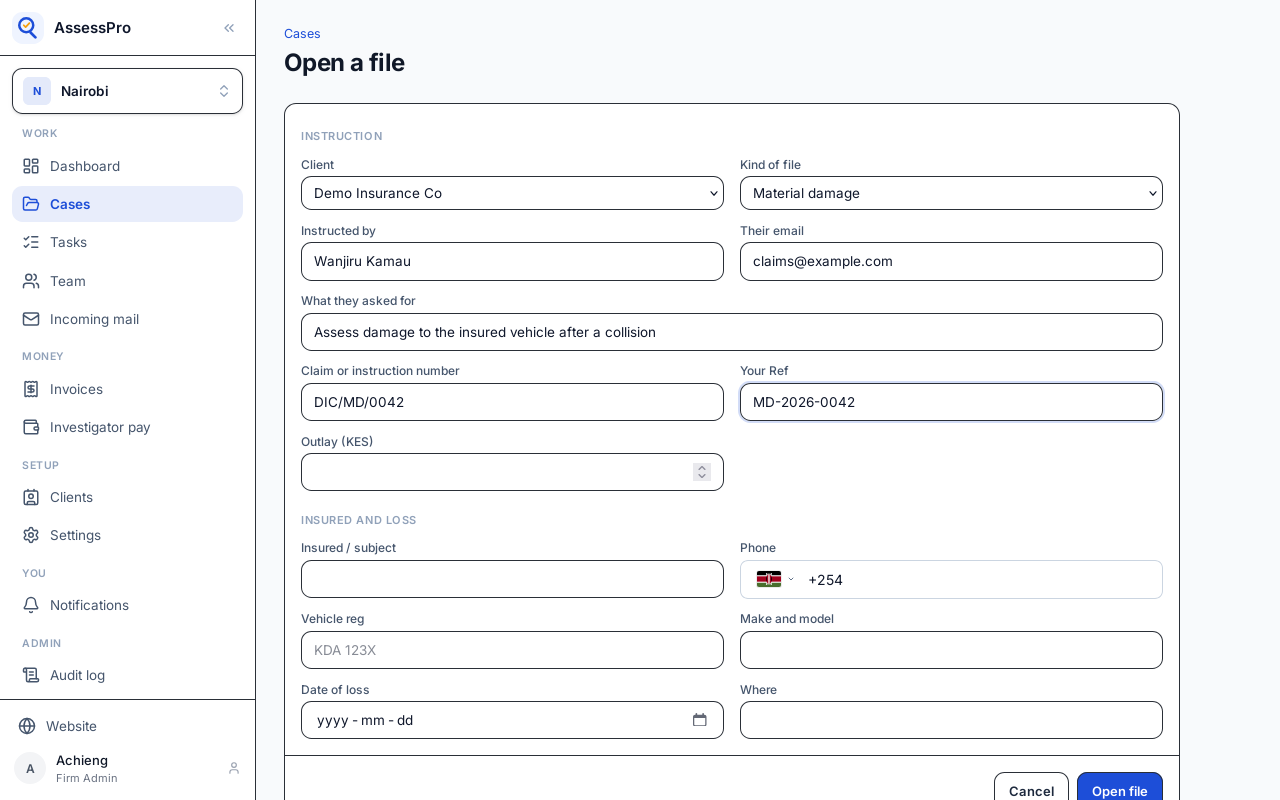
Then the insured, the vehicle, and where the loss happened.
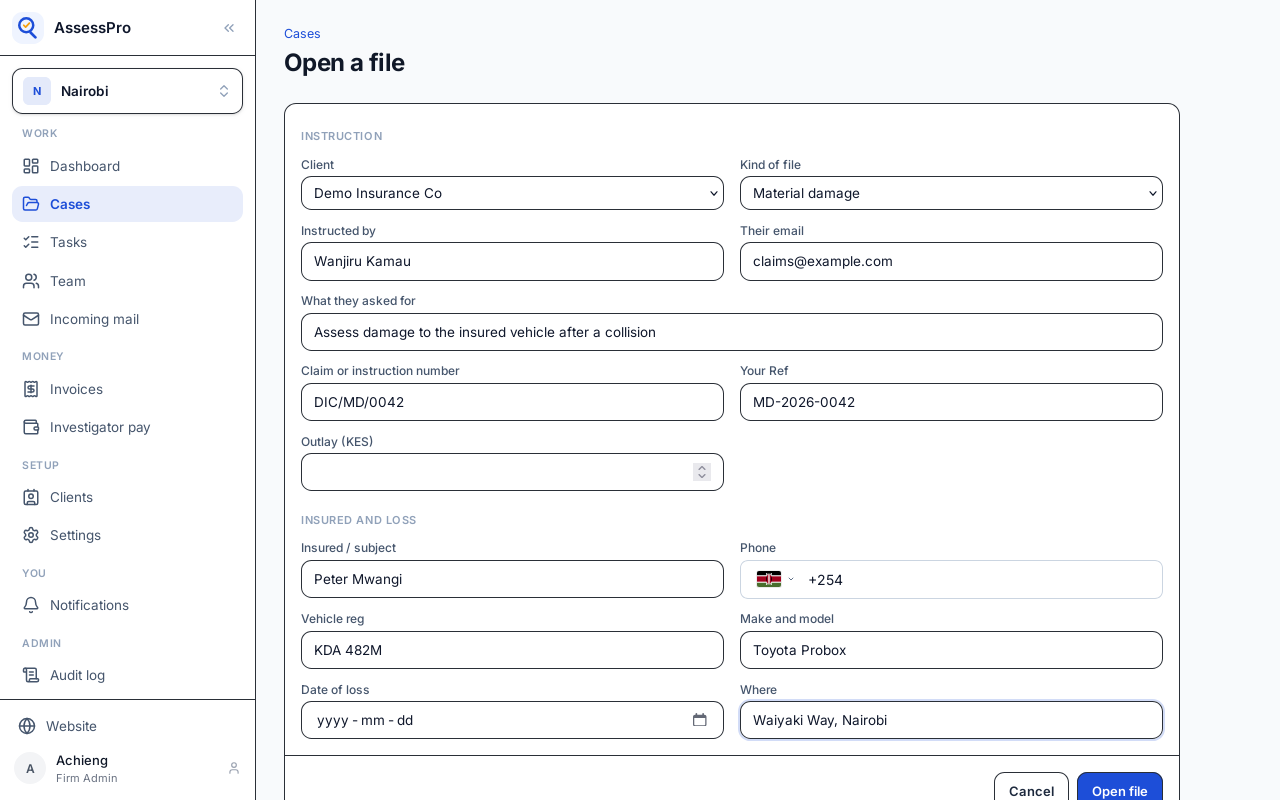
Choose Open file.
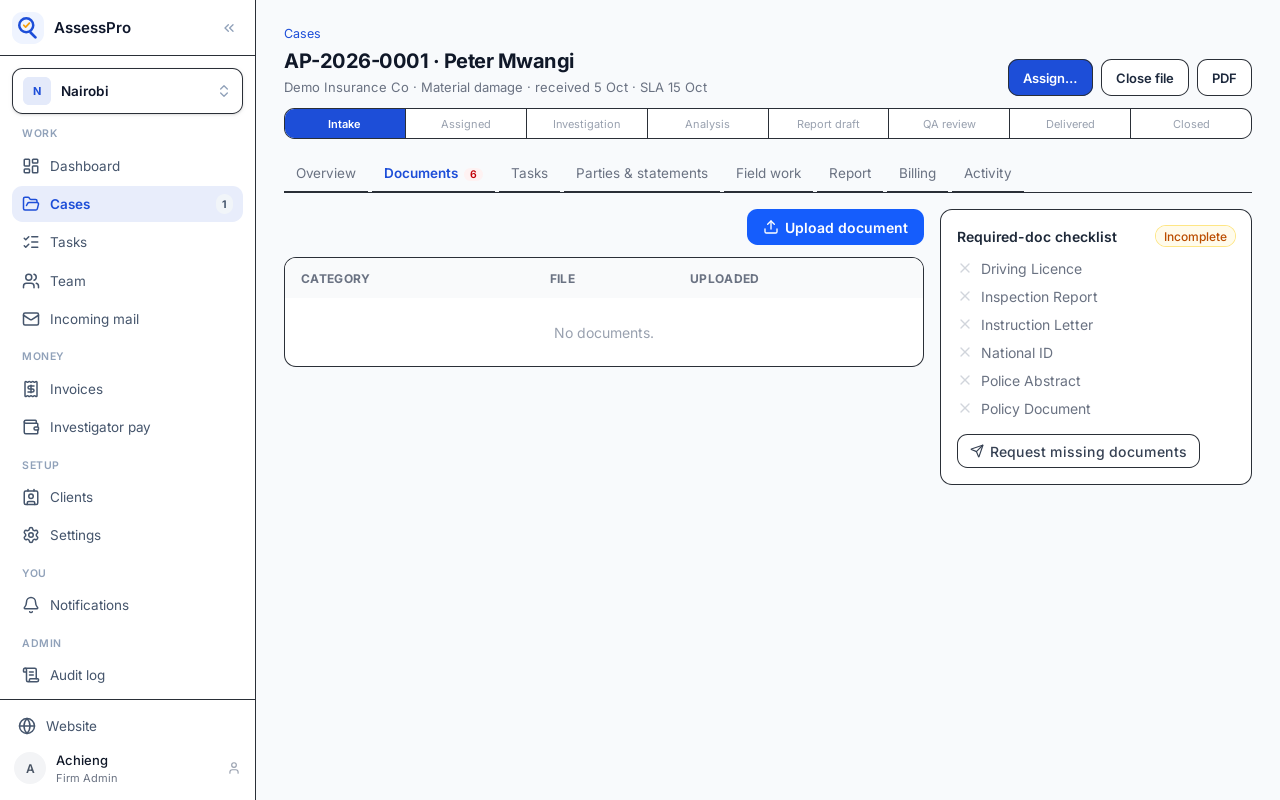
The file has its number and due date. Its checklist shows the documents still missing.
Chapter 7
Giving a file to an investigator
Open the file from Cases. The bar across the top shows where it is, from intake to closed.
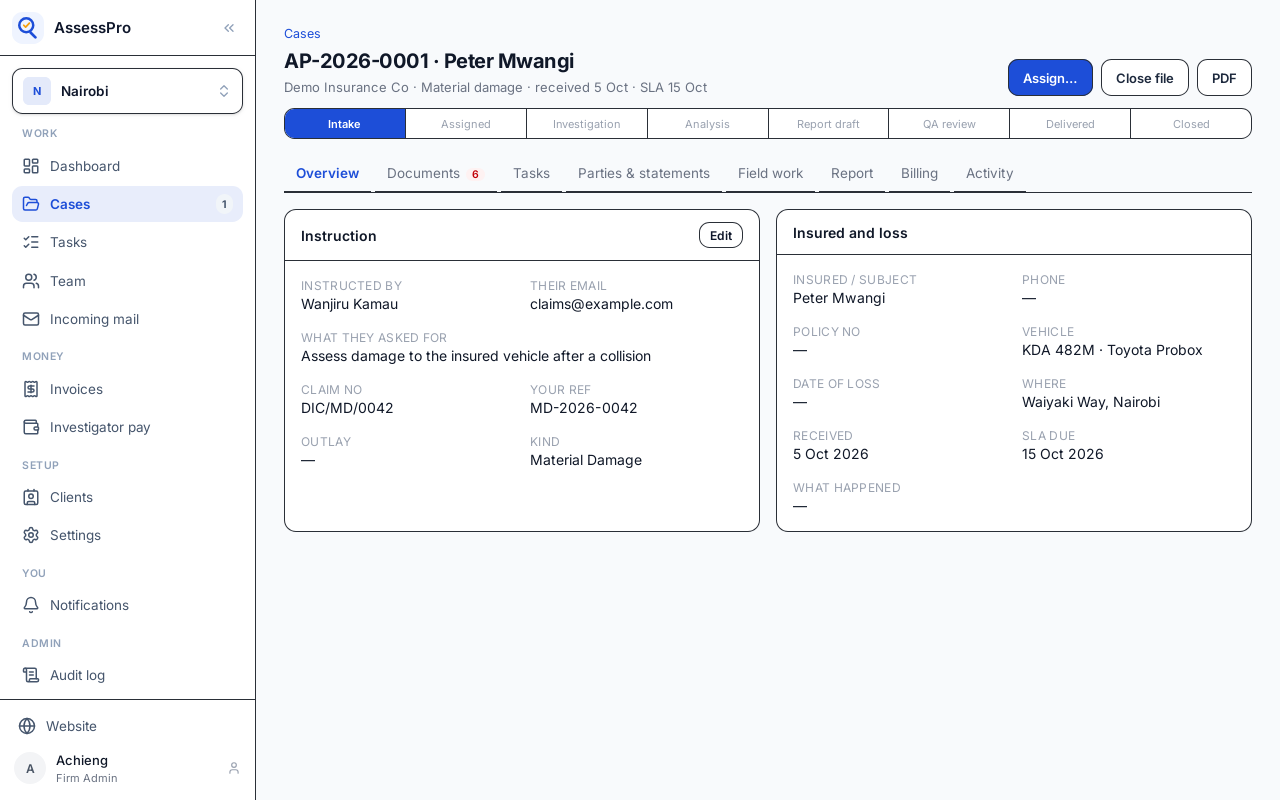
Choose Assign to give it to an investigator.
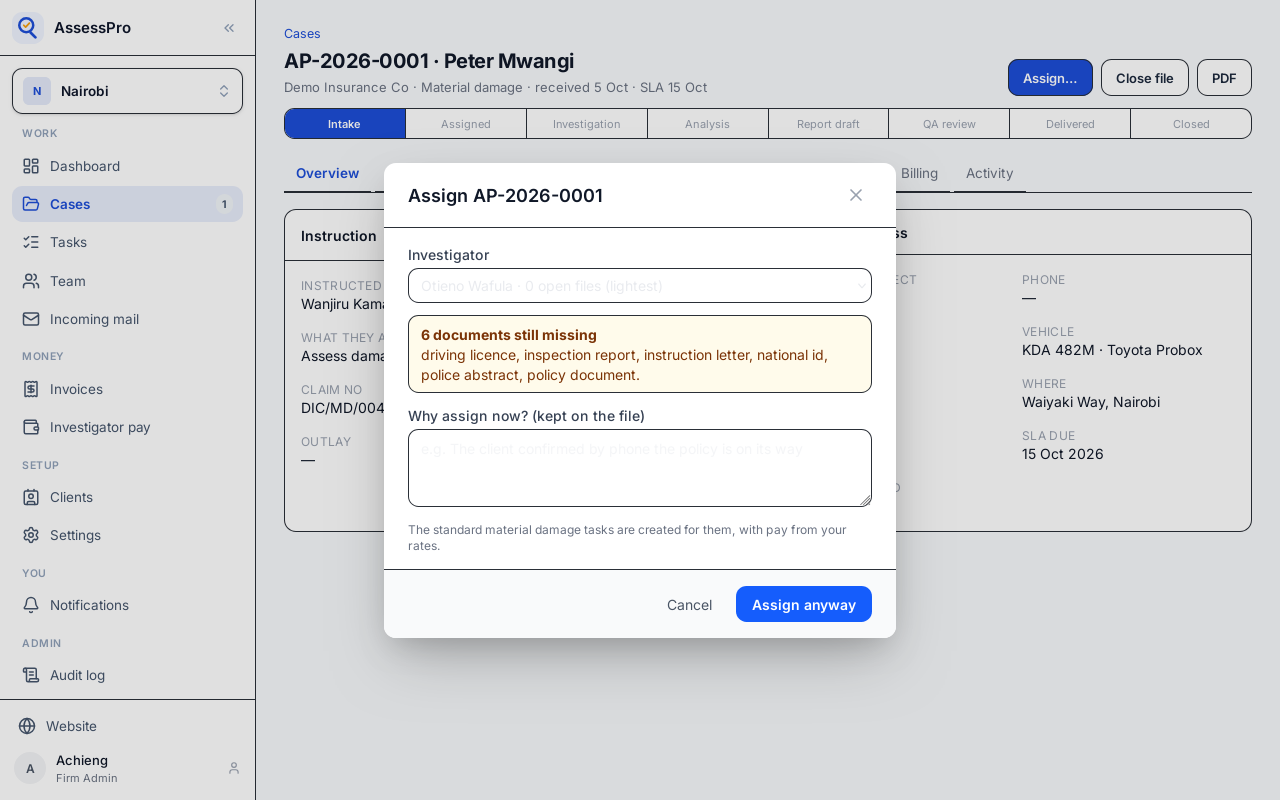
Each investigator is listed with how many files they have open, so the work can go to whoever has the least.
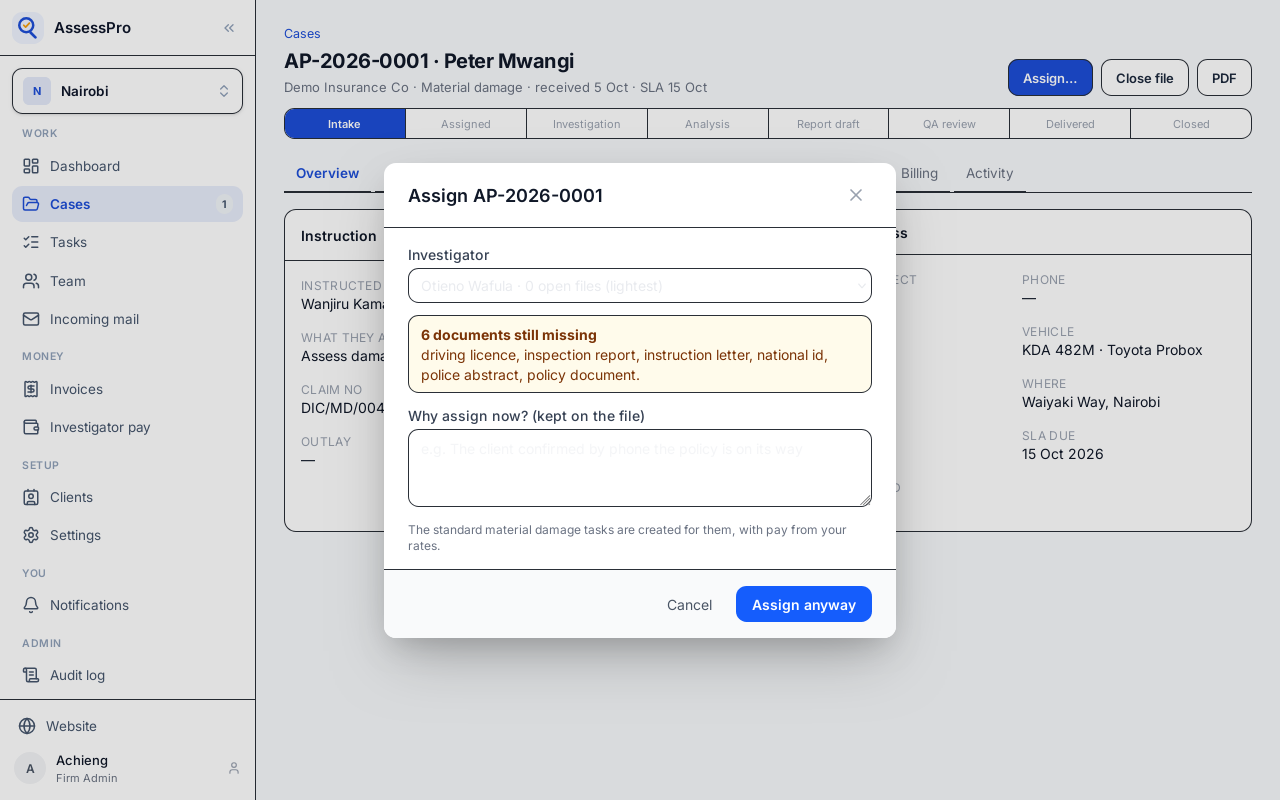
AssessPro warns when documents are still missing. To assign anyway, say why; the reason is kept on the file.
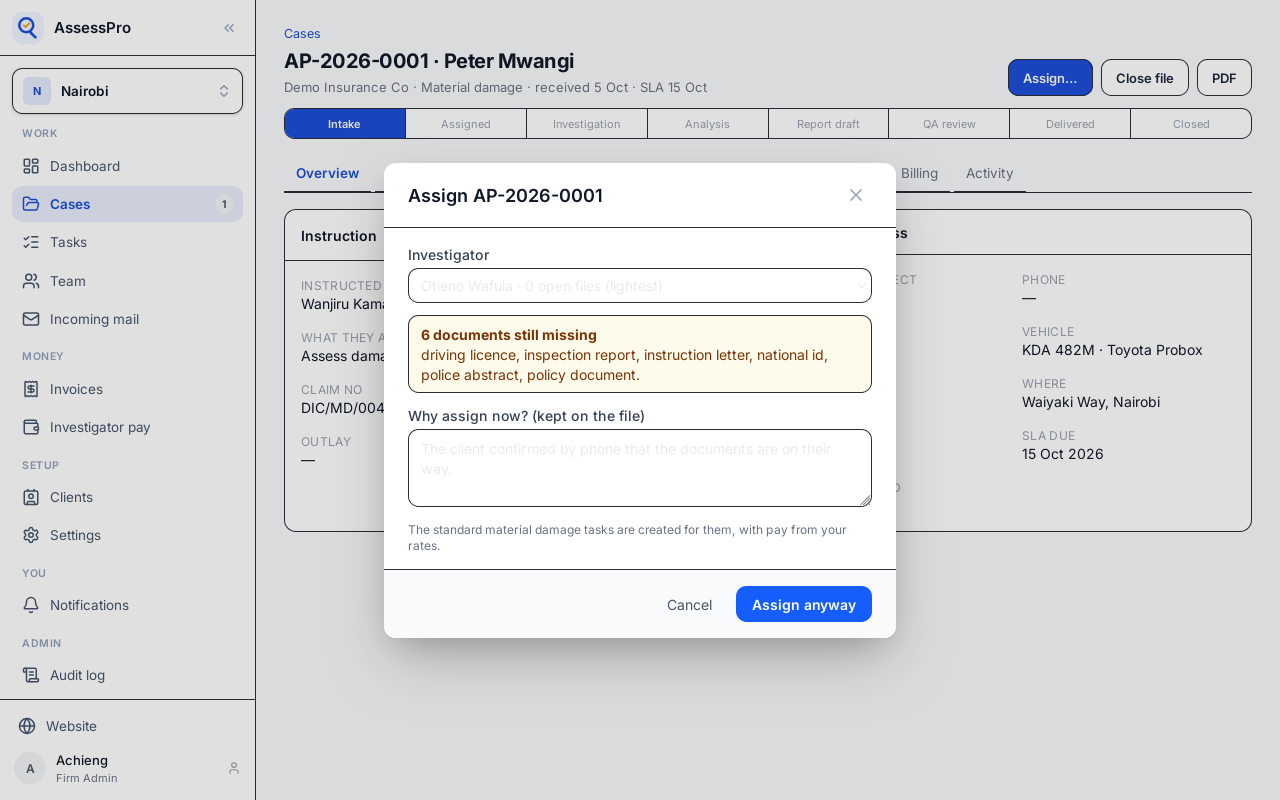
The investigator gets the standard tasks for this kind of file, paid at the branch's rates. Choose Assign anyway.
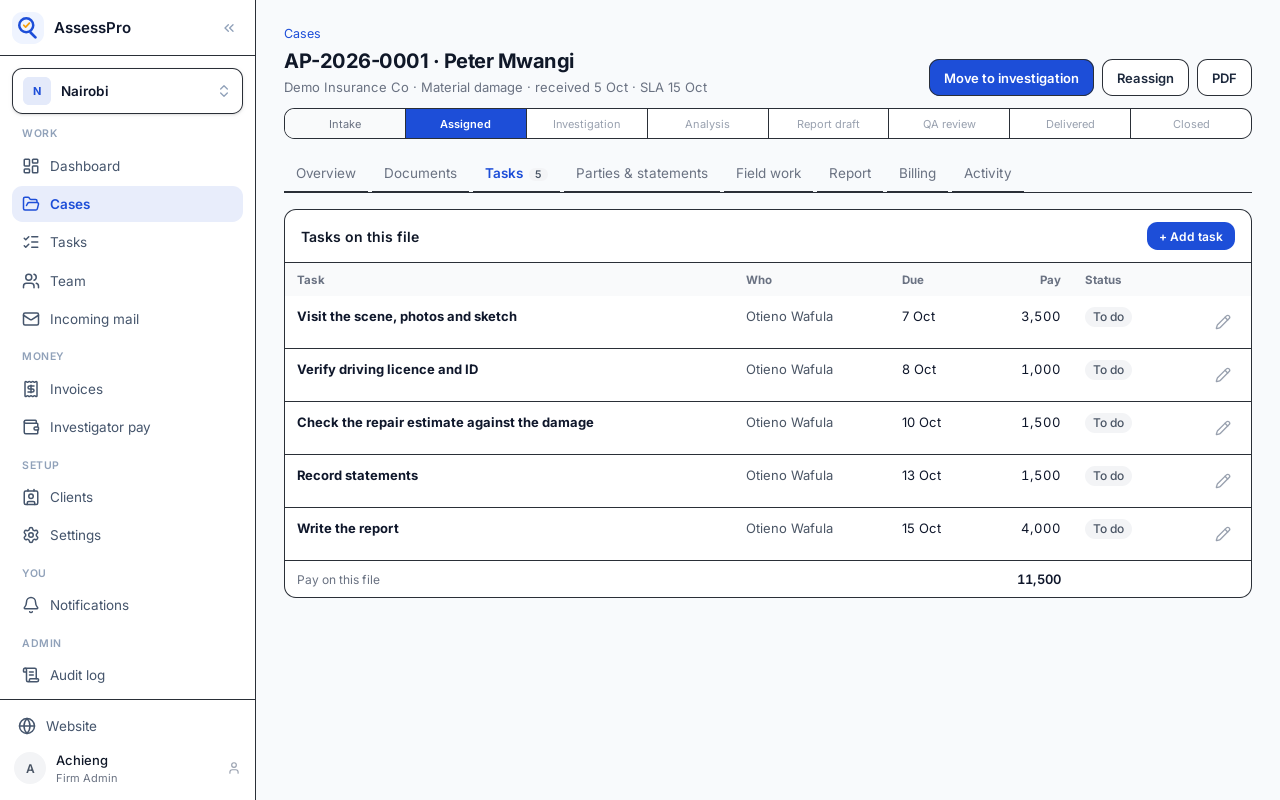
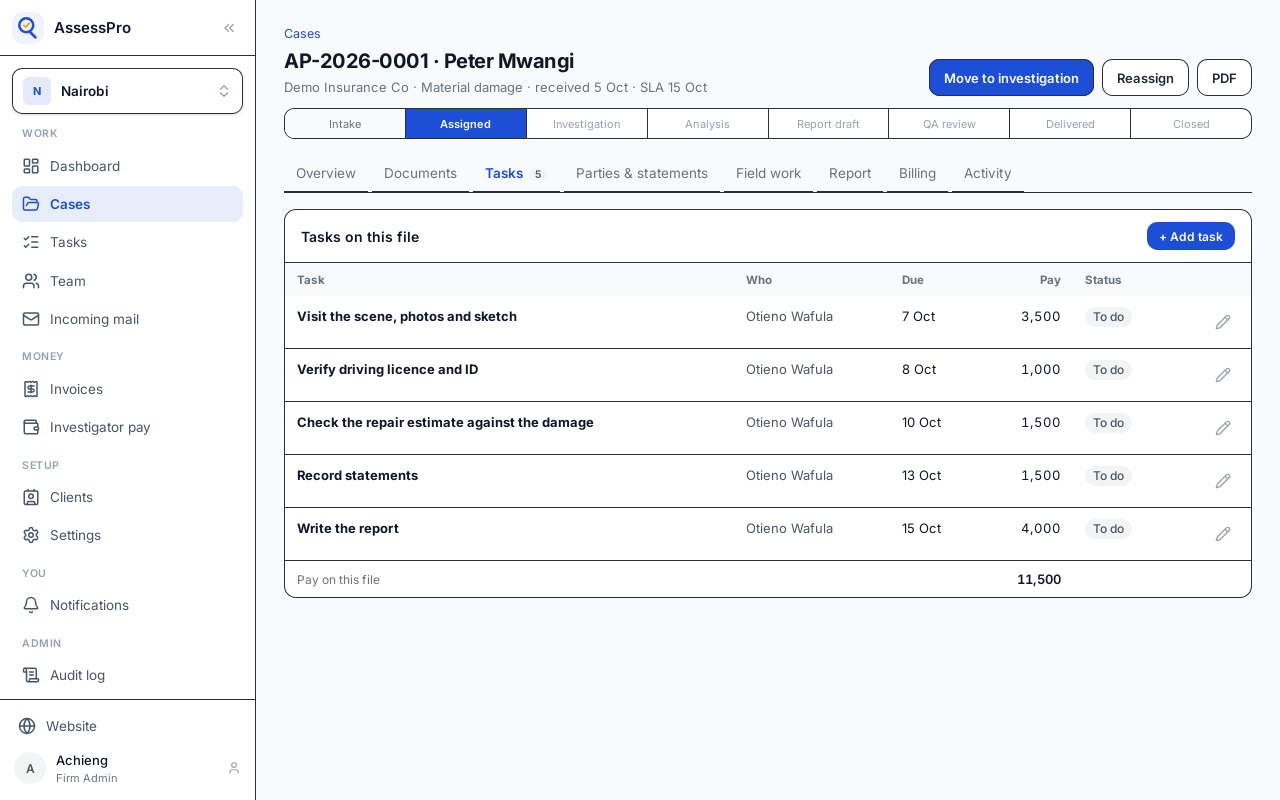
The file moves to Assigned, and opens on its tasks: each with who does it, when it is due, and what it pays.
Chapter 8
The investigator's side: tasks, field work, parties and statements
The investigator signs in to the branch. Their dashboard shows their open tasks, work sent back to them, their files, and their pay.
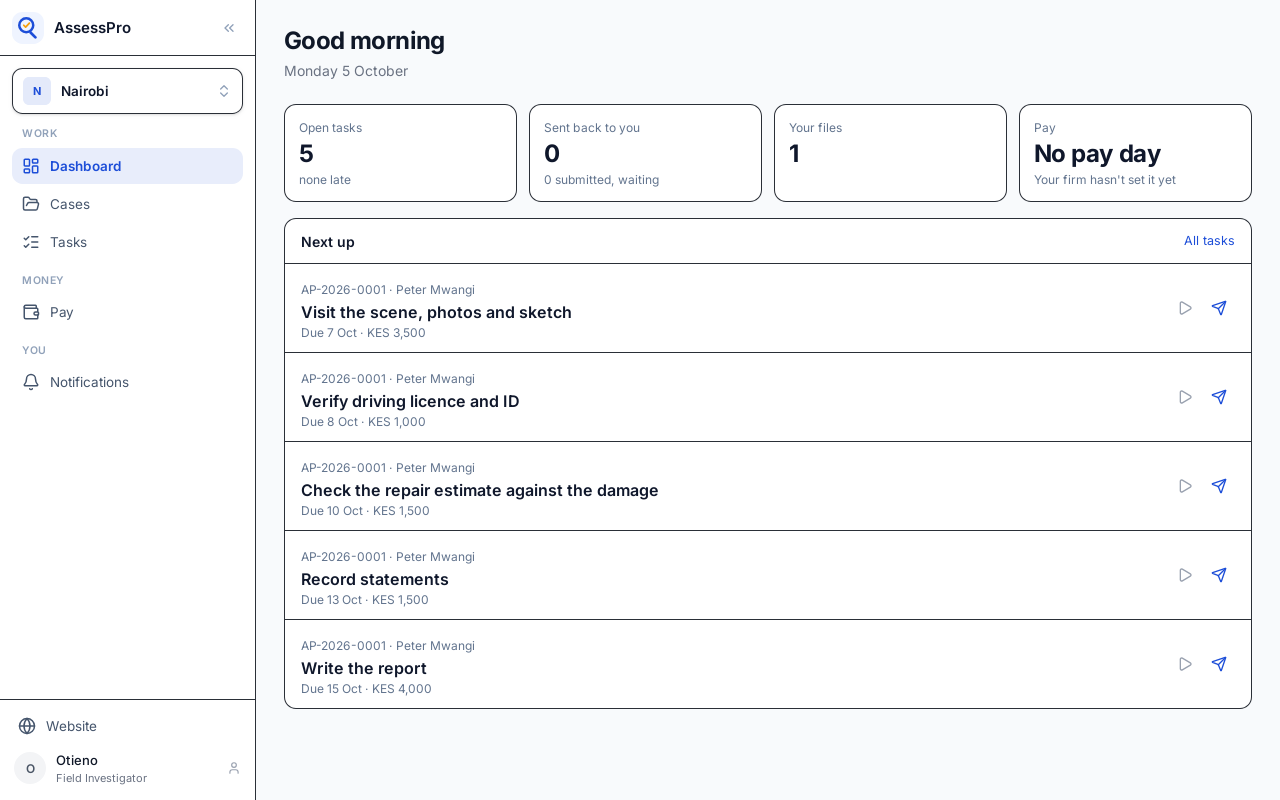
Pay stays empty until the branch sets its pay day, and the tile says so.
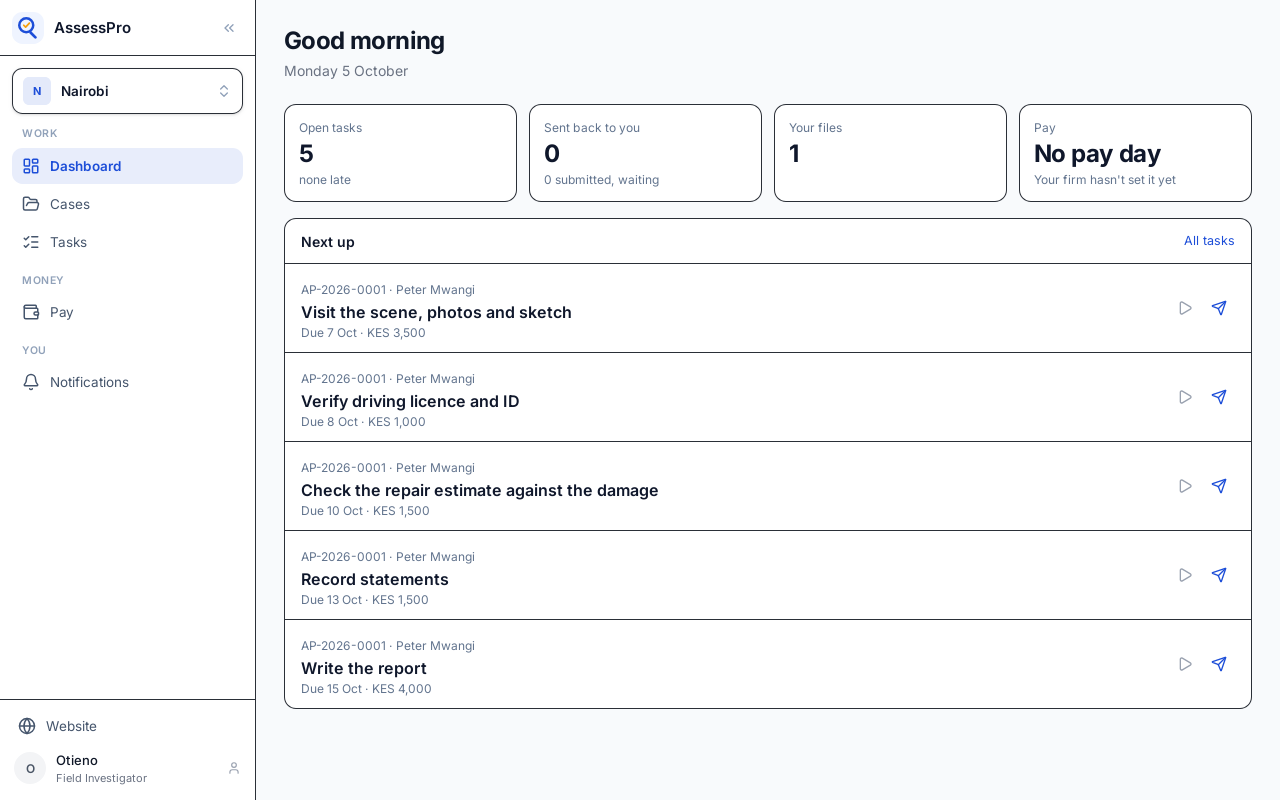
Next up lists each task with its file, when it is due, and what it pays.
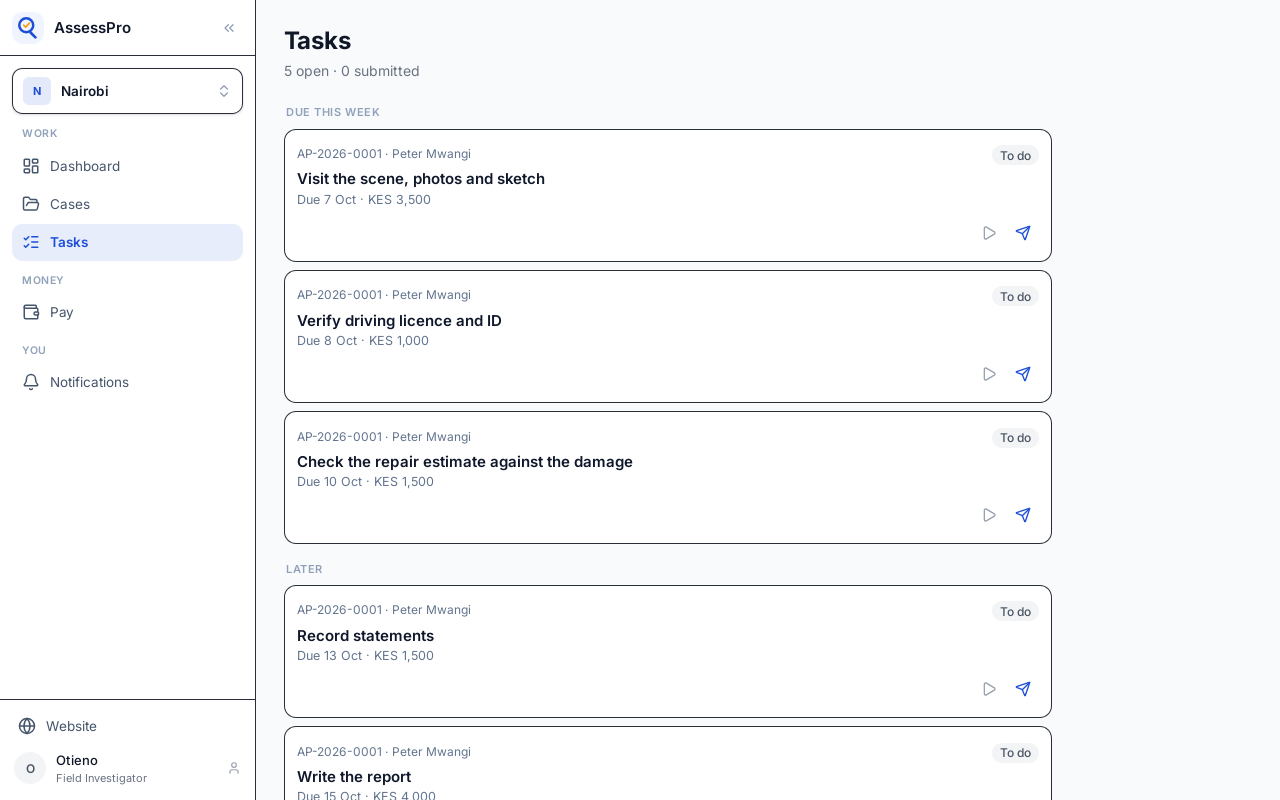
Tasks has the same work grouped by when it is due: this week, later, then what has been submitted and approved.
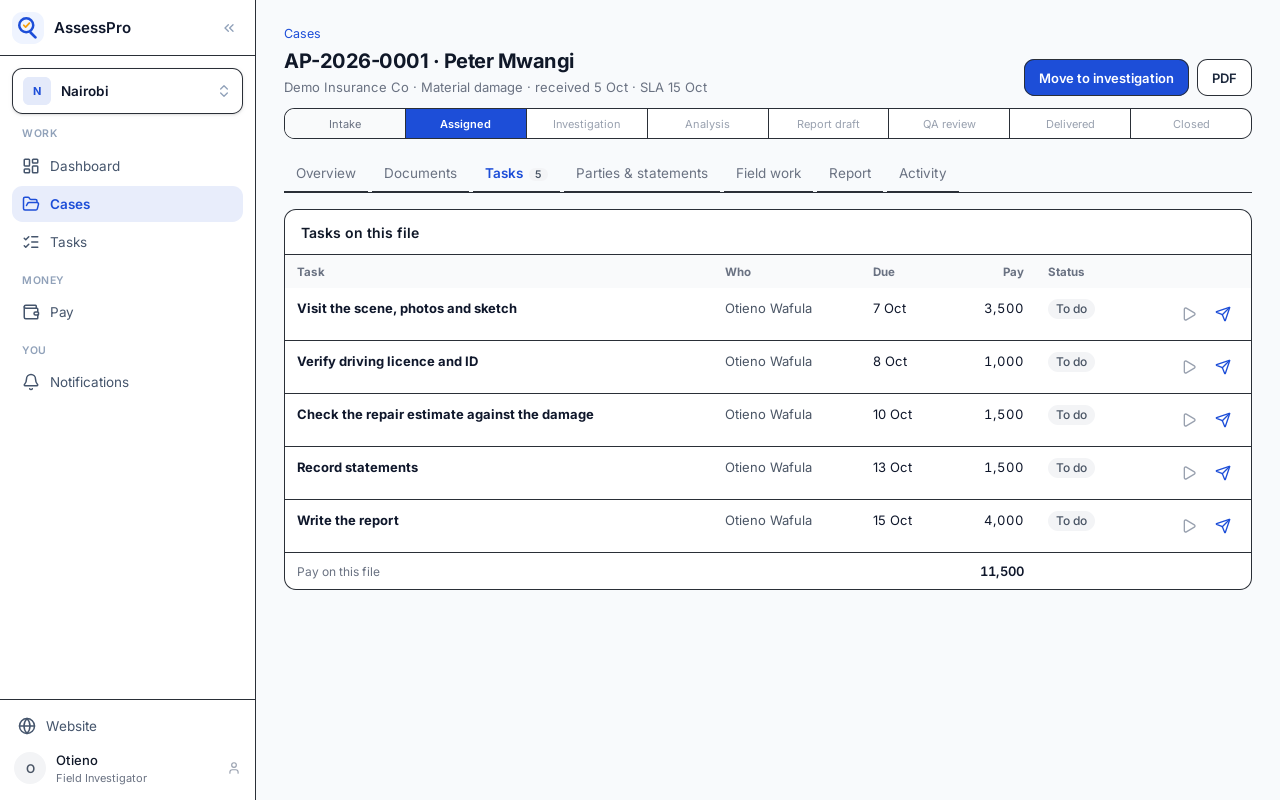
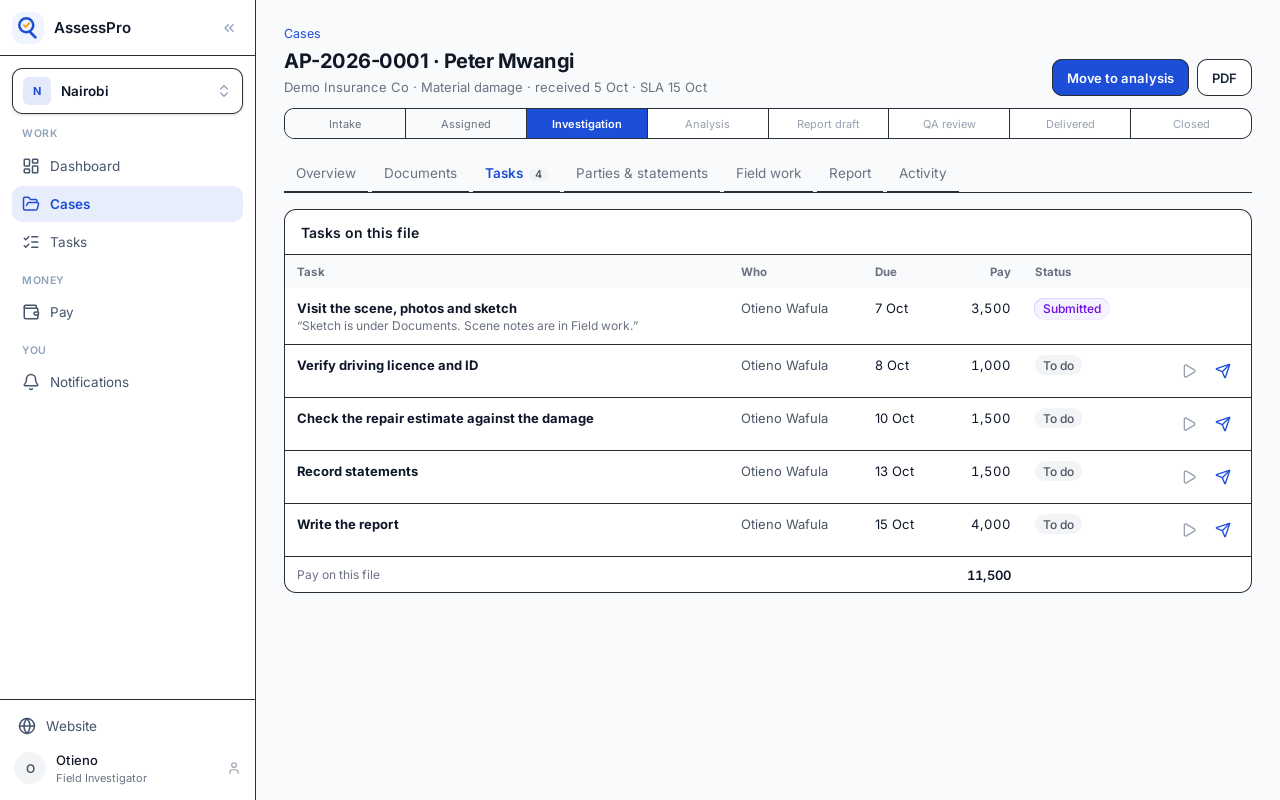
A task's file number opens the file, on its tasks. Choose Move to investigation.
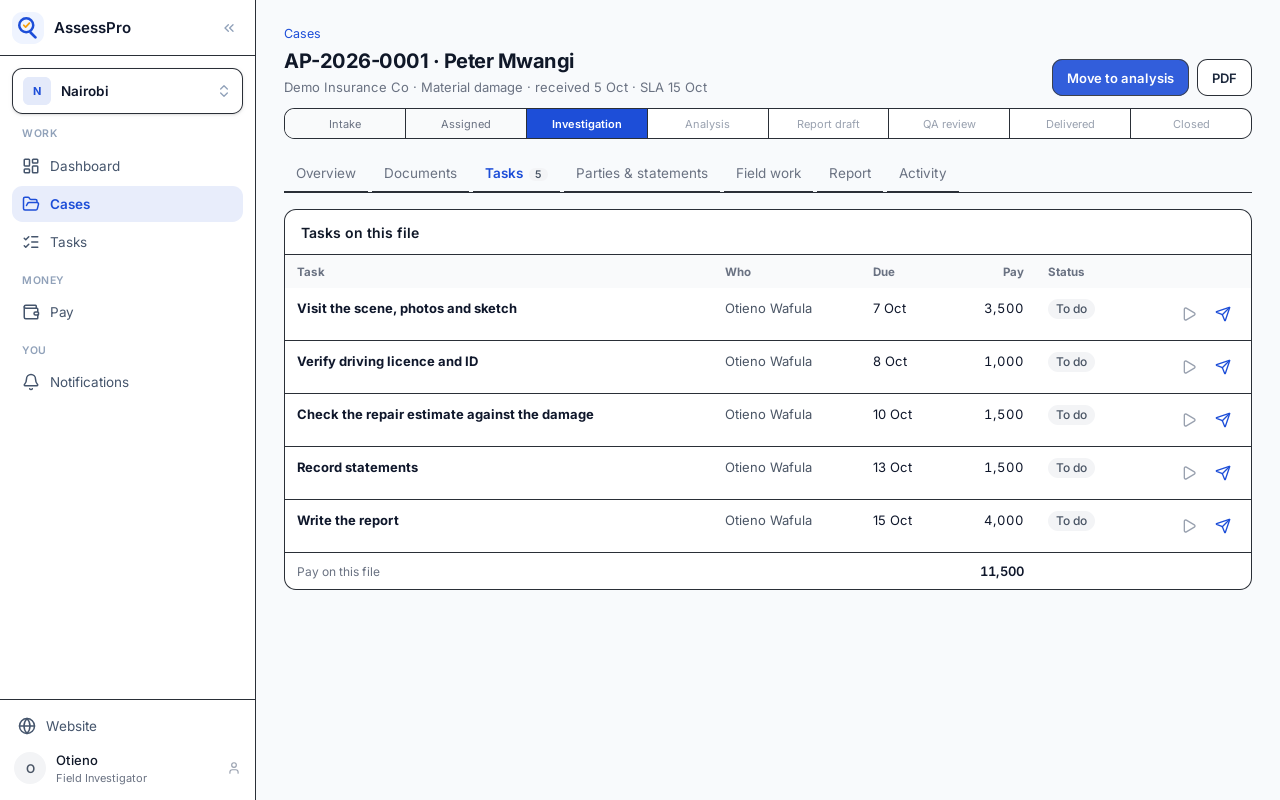
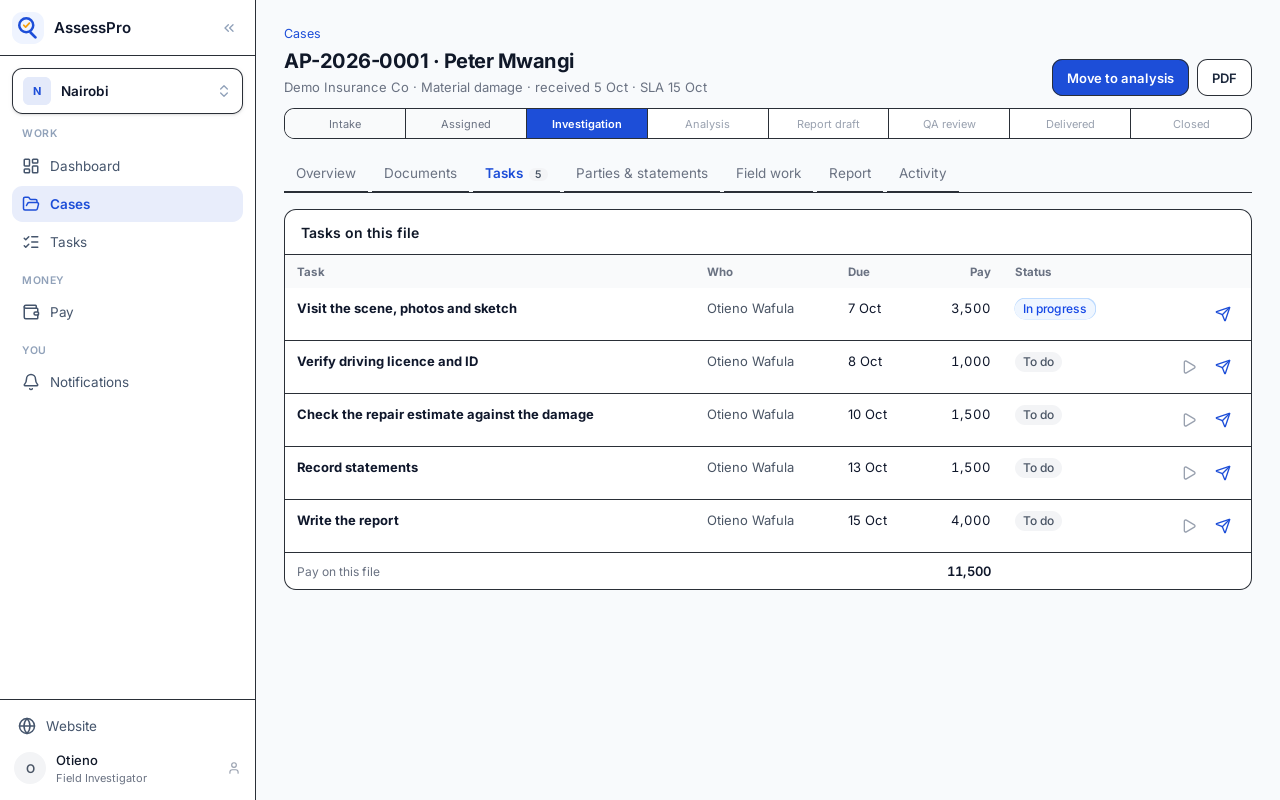
The bar moves on to Investigation. Each task has Start and Submit for approval. Start the scene visit.
Field work is where the findings go. On a material damage file that is the scene: whether it was visited, and notes.
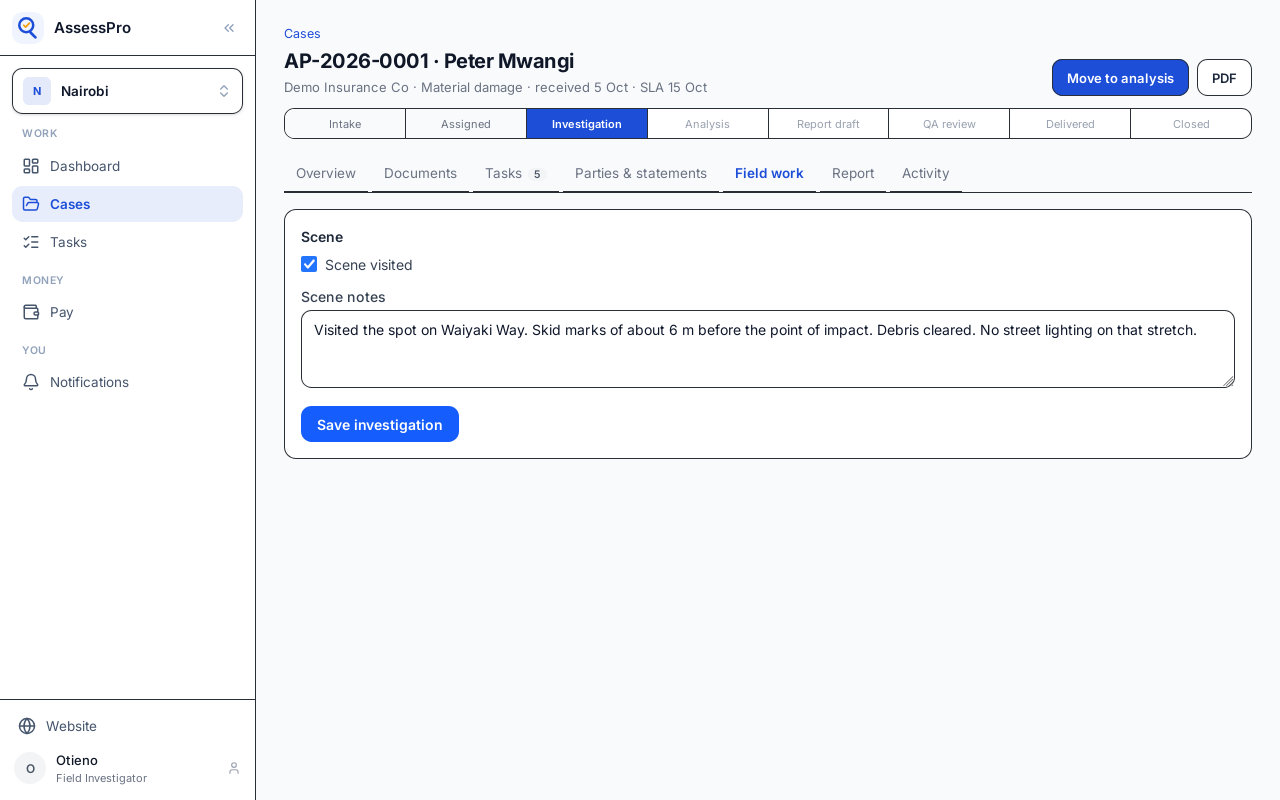
Choose Save investigation.
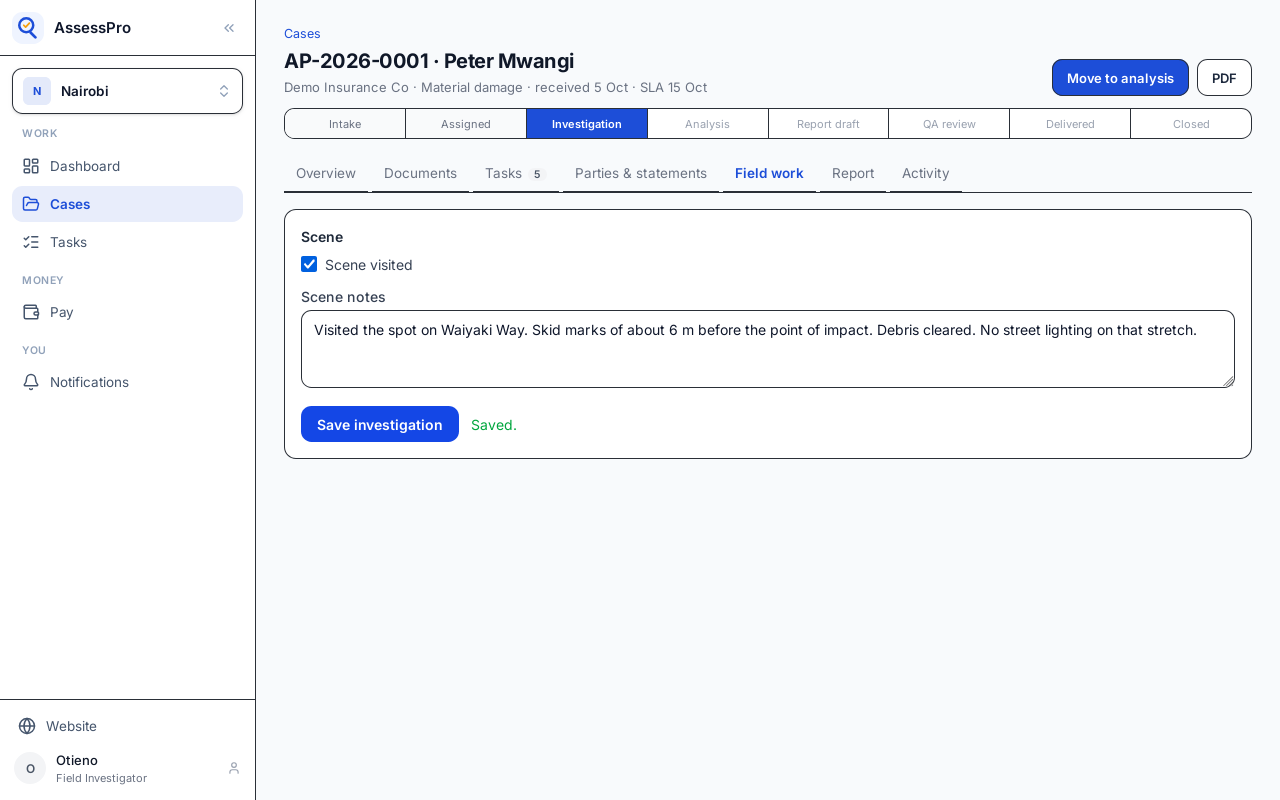
The sketch and photos go under Documents. Choose Upload document, pick the category, and the file.
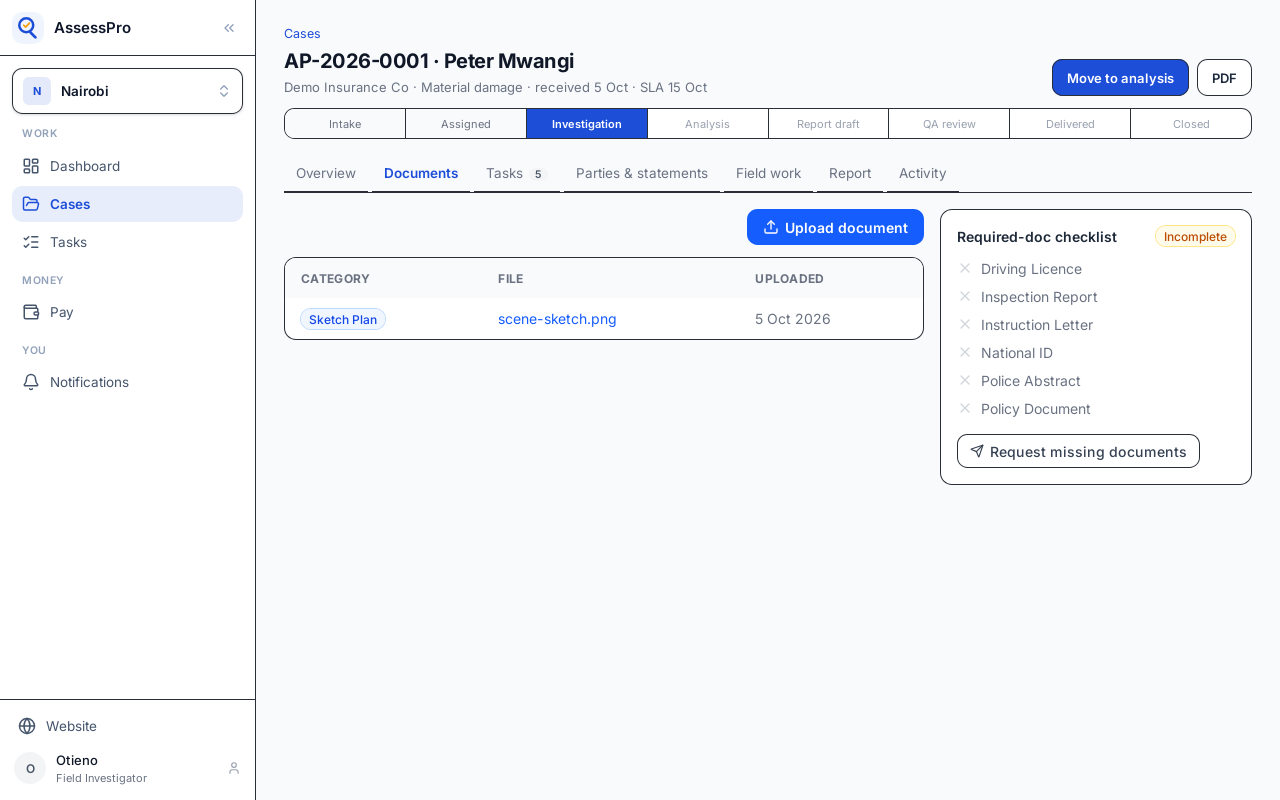
The upload is listed by its category. The checklist beside it tracks the documents this kind of file needs.
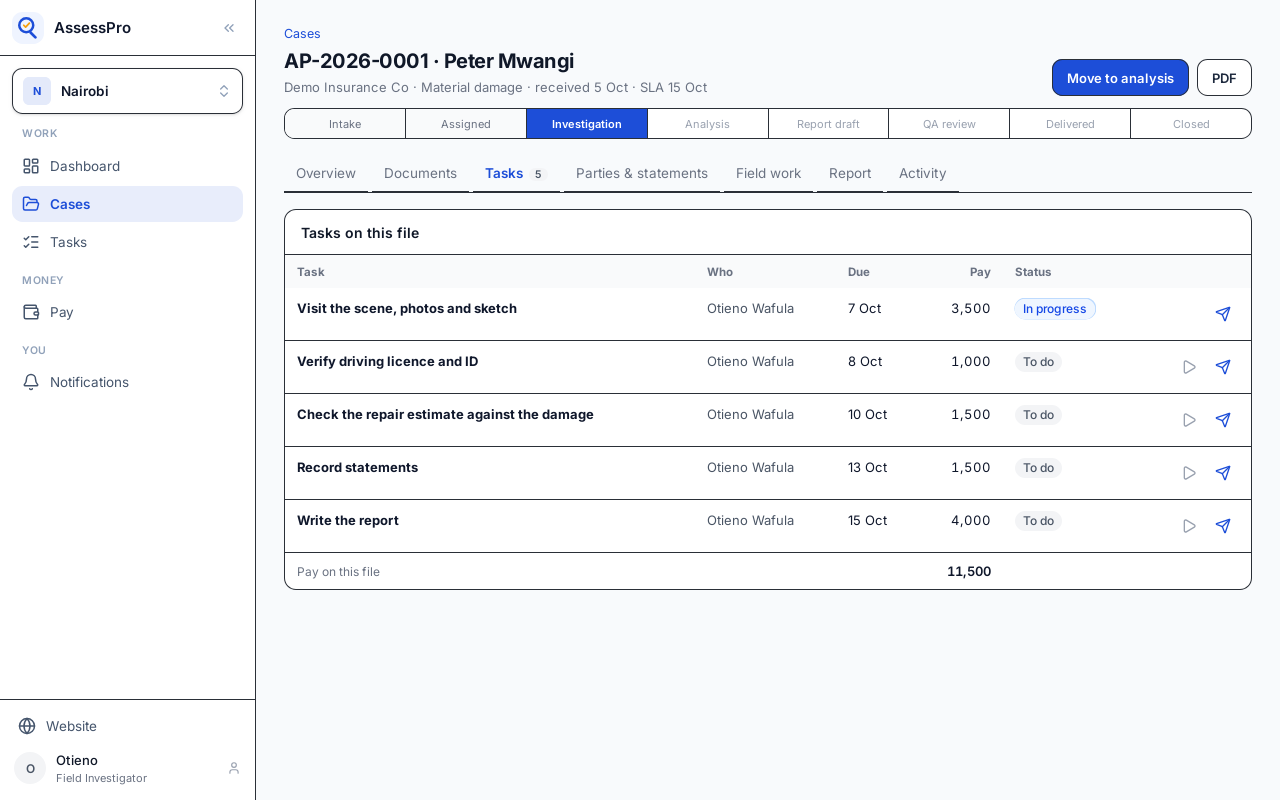
Back on Tasks, choose Submit for approval on the scene visit. A note tells the office where to look.
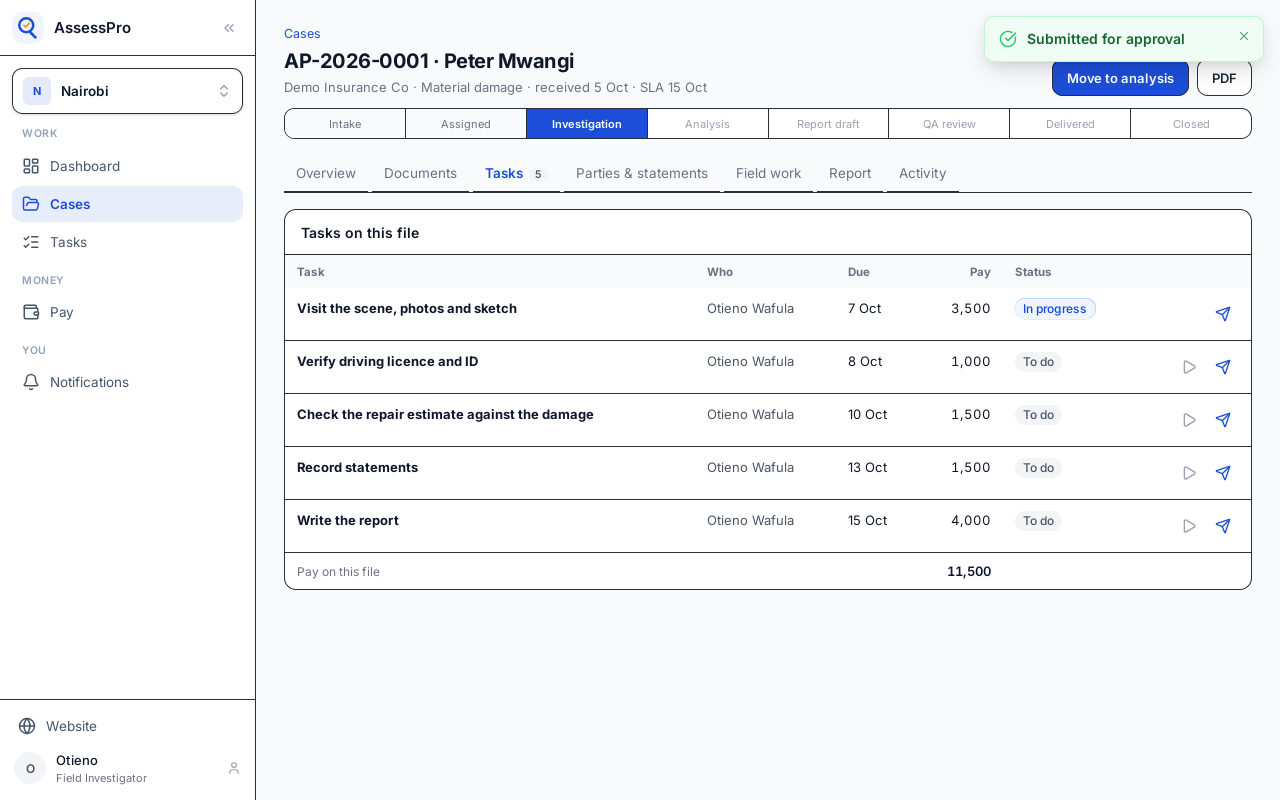
The task is Submitted. It waits there until someone in the office approves it or sends it back.
Parties and statements holds the people on the claim. Choose Add party: here, the insured, who was driving.
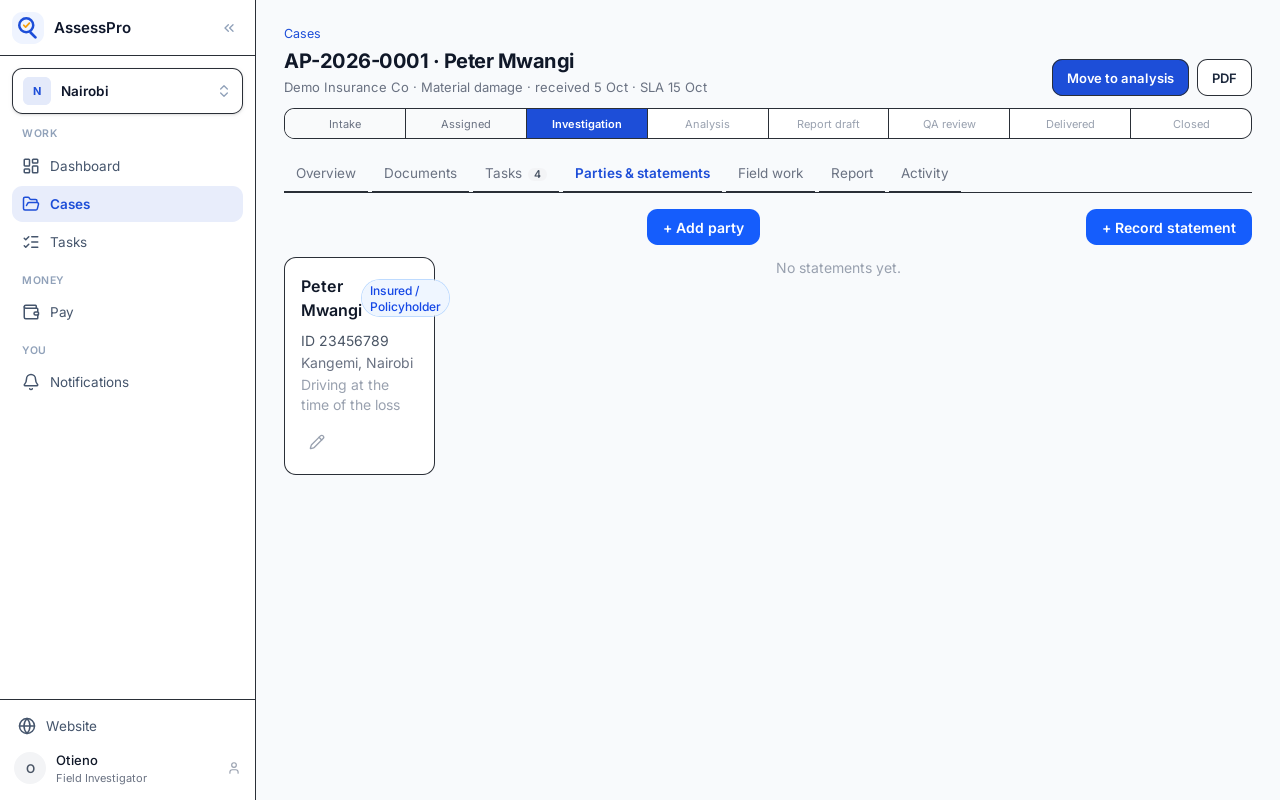
Record statement takes down what a party said: who it is from, how and where it was taken, a summary, and the full text.
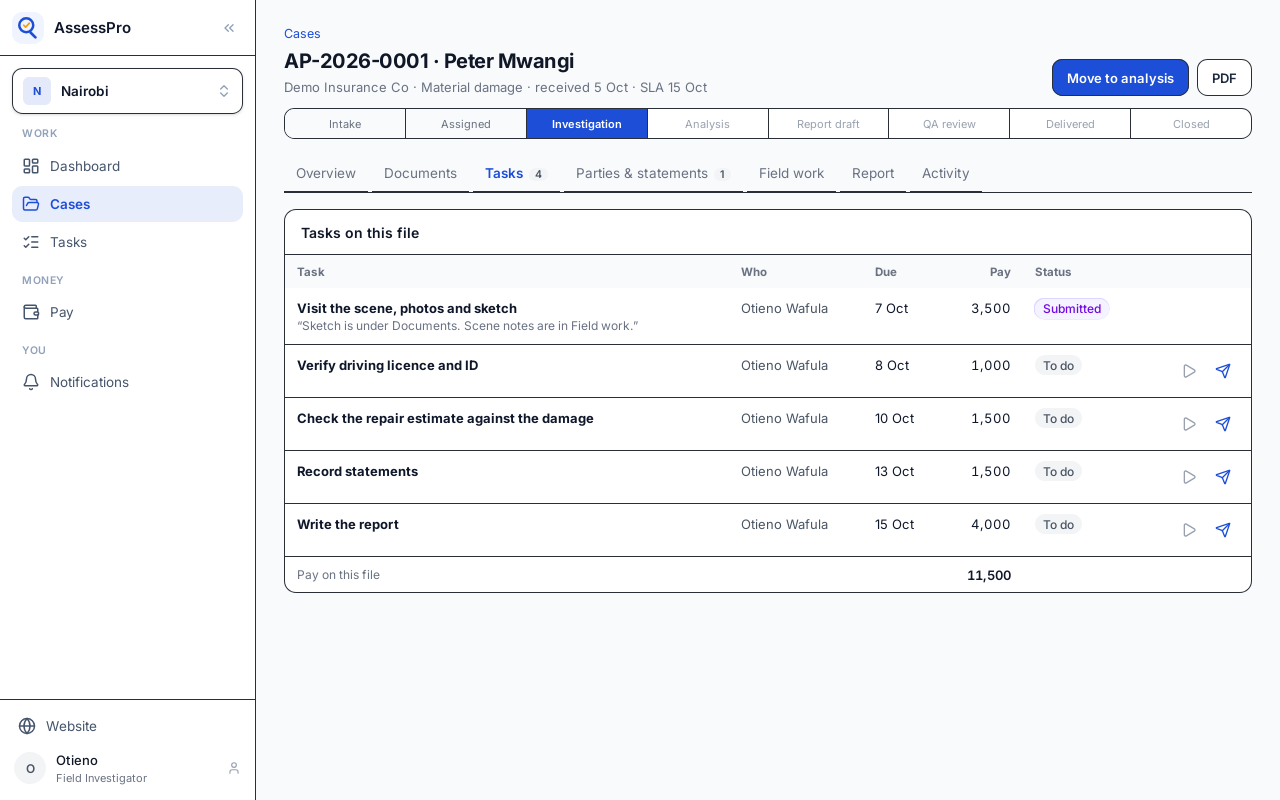
The rest go in the same way. A task can be submitted without starting it first.
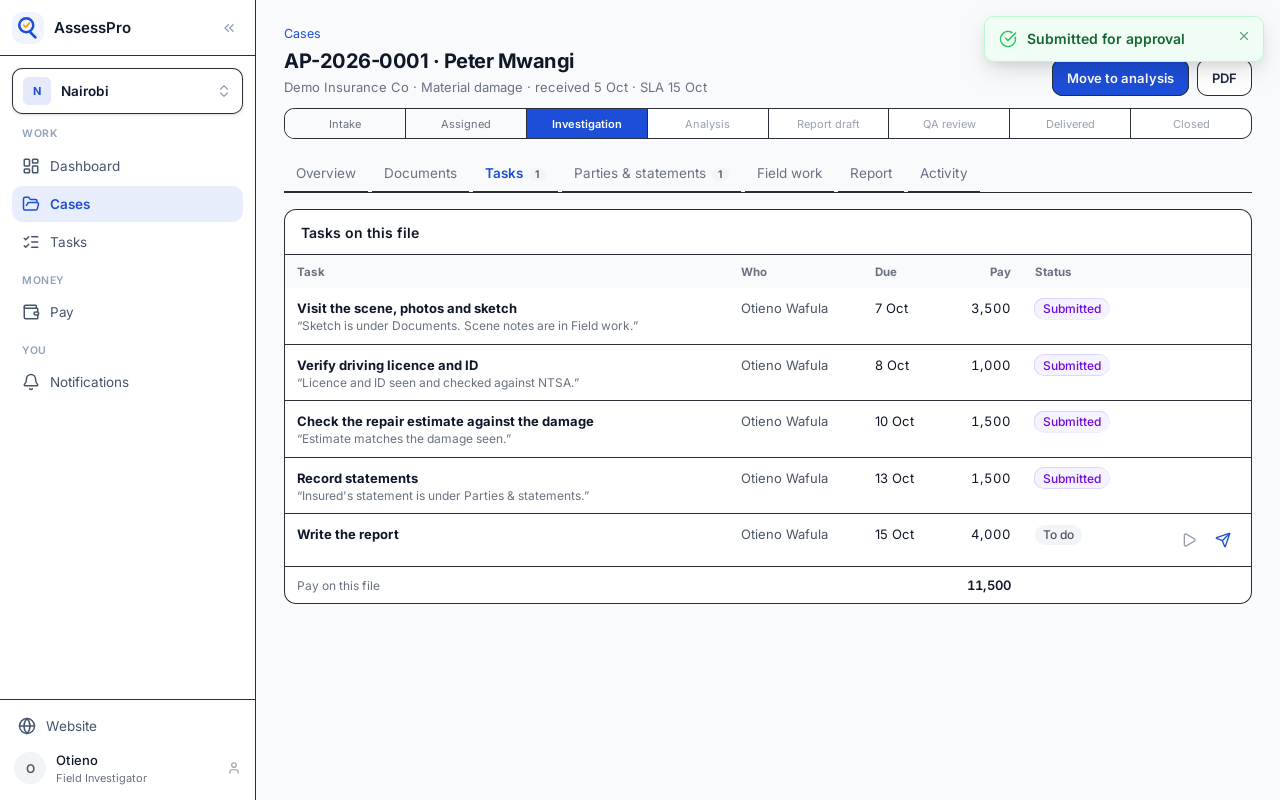
Four tasks are in. With the field work done, choose Move to analysis.
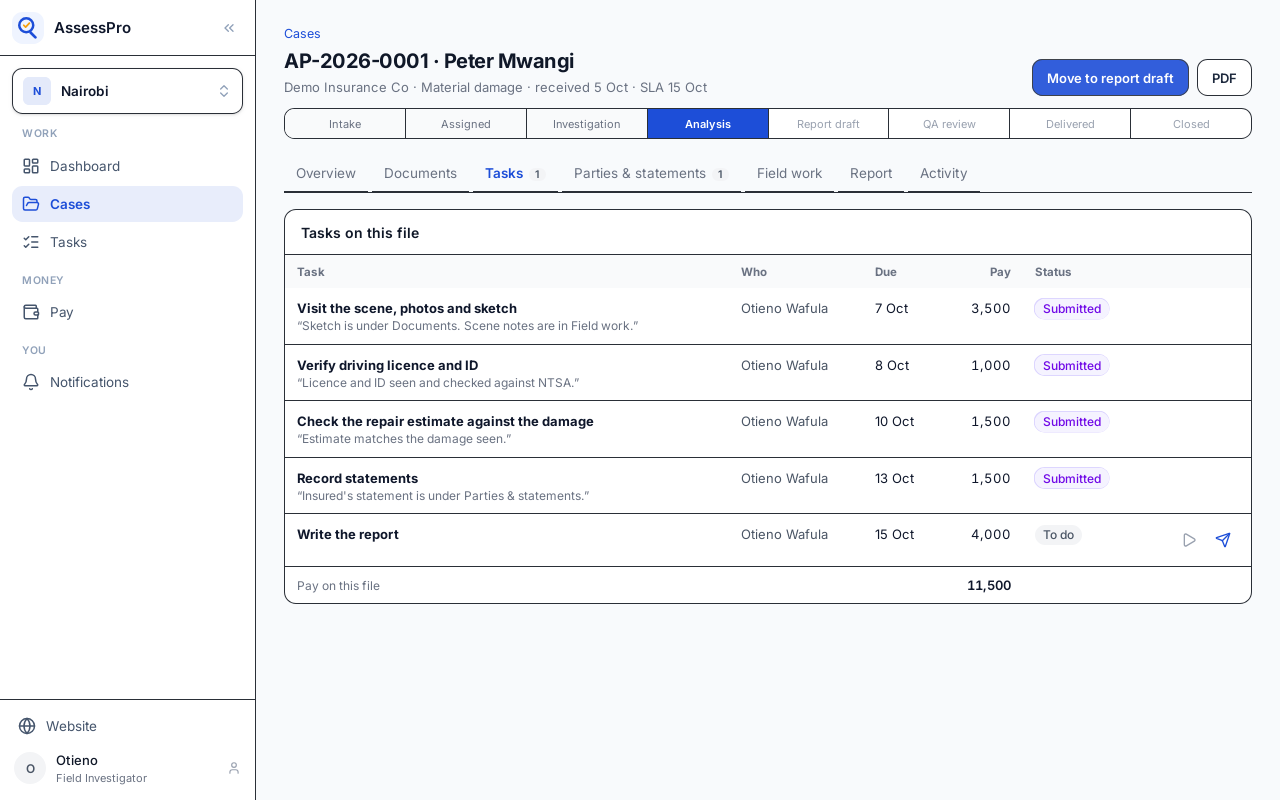
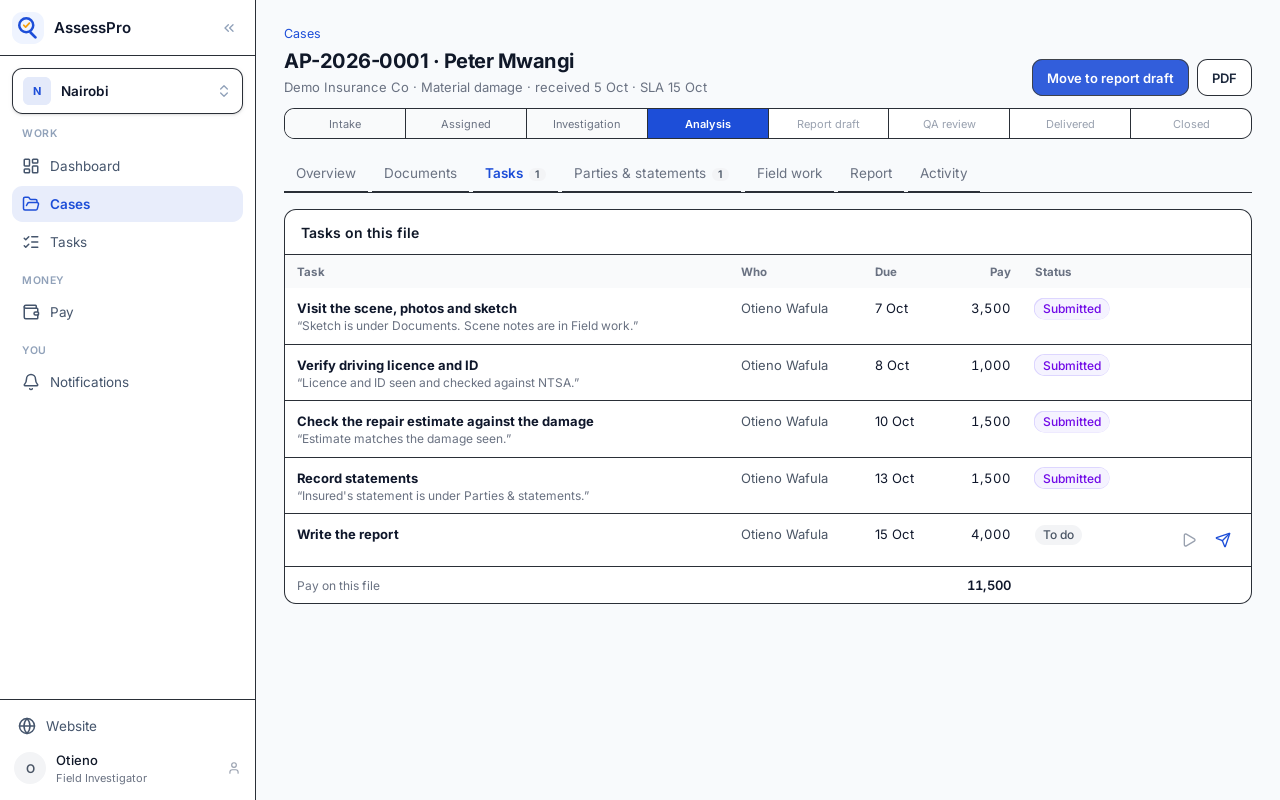
The file is at Analysis. Writing the report is the last task, and the next chapter.
Chapter 9
The investigator drafts the report and sends it for QA
The file is at Analysis. When the investigator is ready to write, choose Move to report draft.
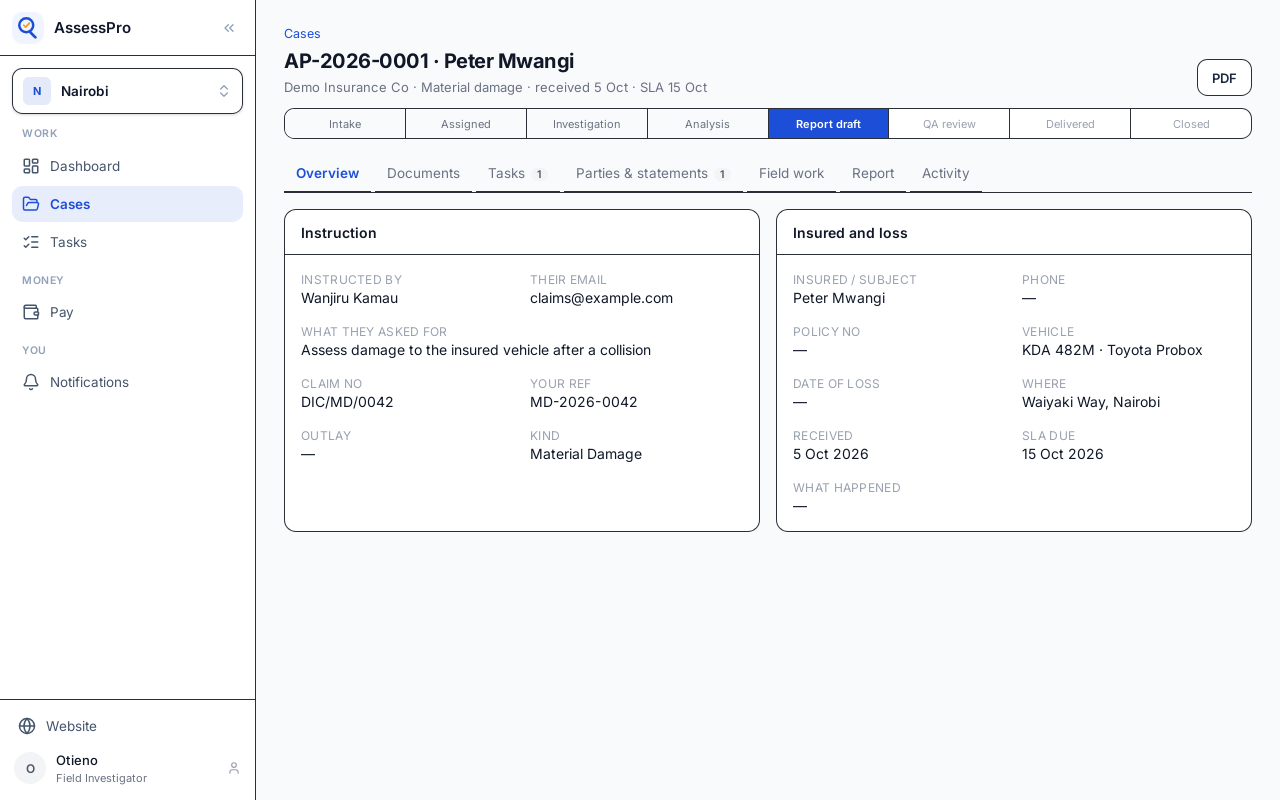
The report is under Report. Choose Start the report.
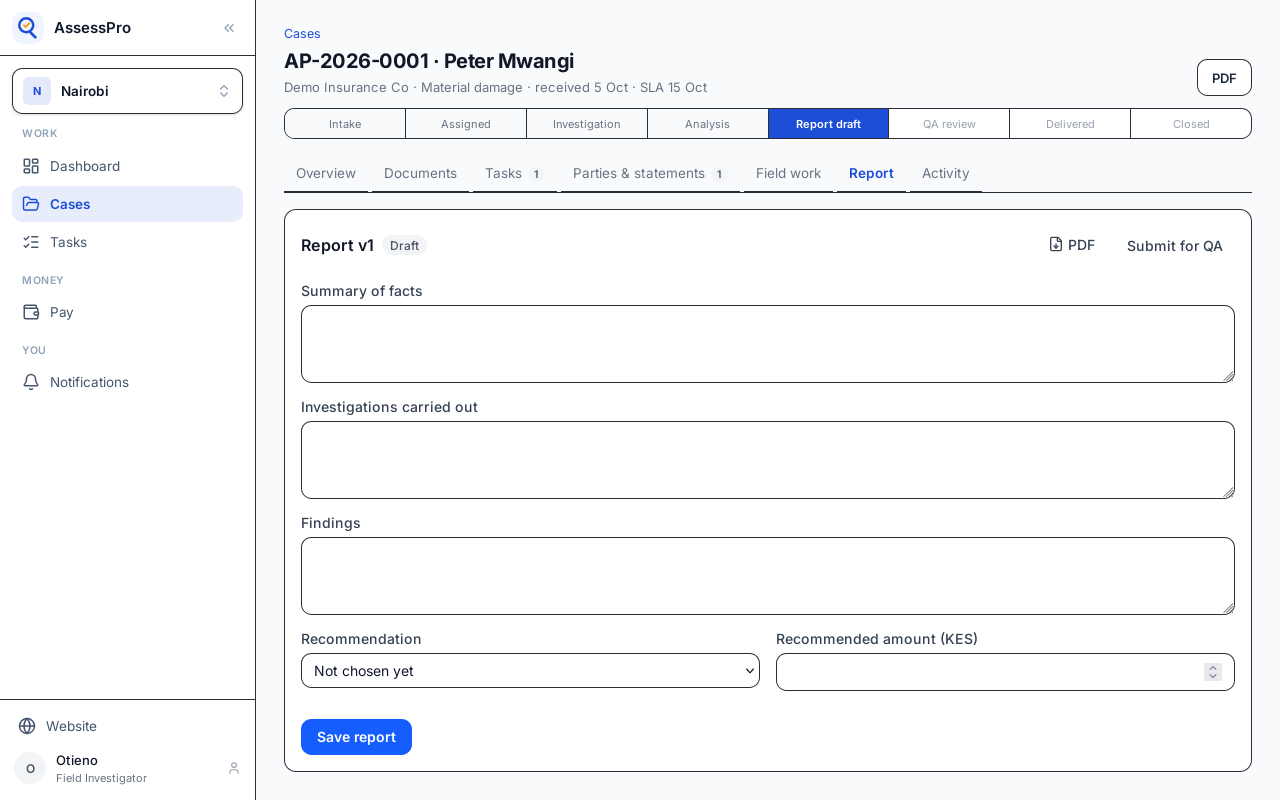
It has a summary of the facts, the investigations carried out, and the findings.
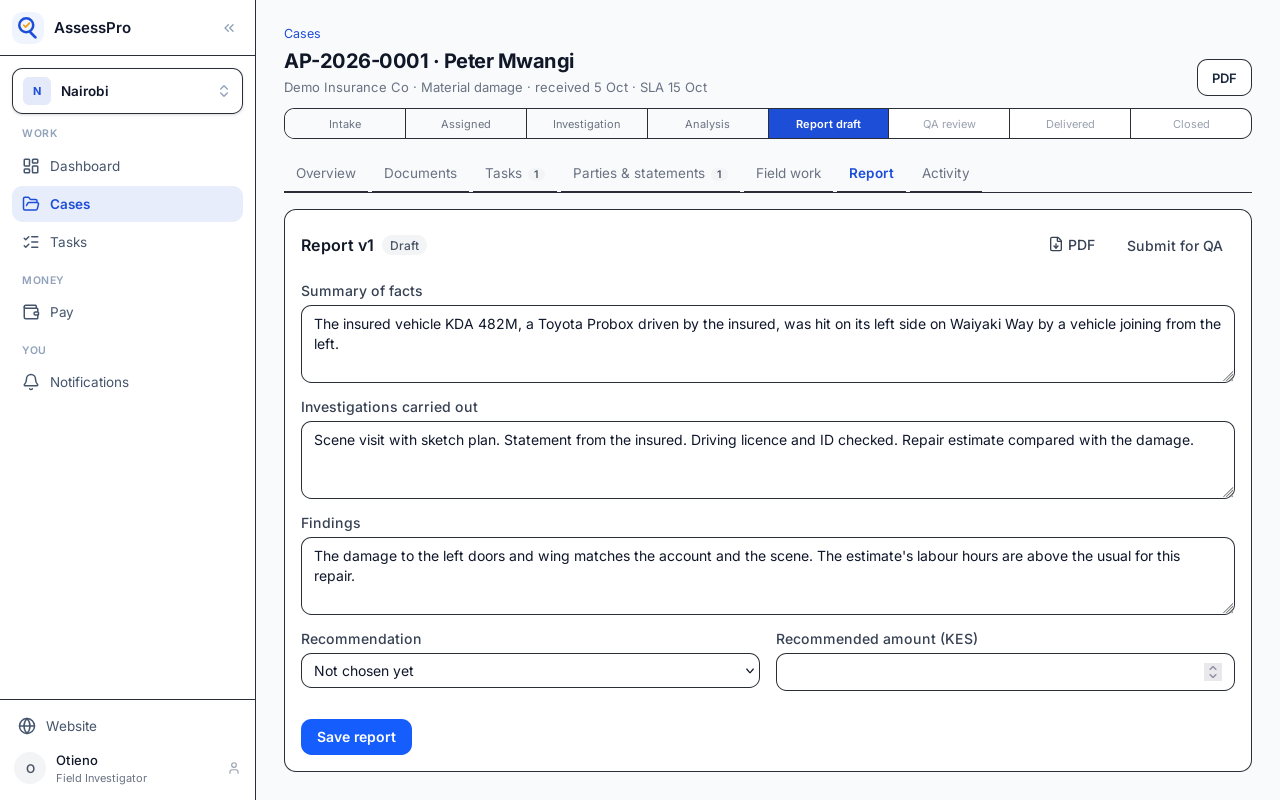
Then the recommendation to the client, and the amount.
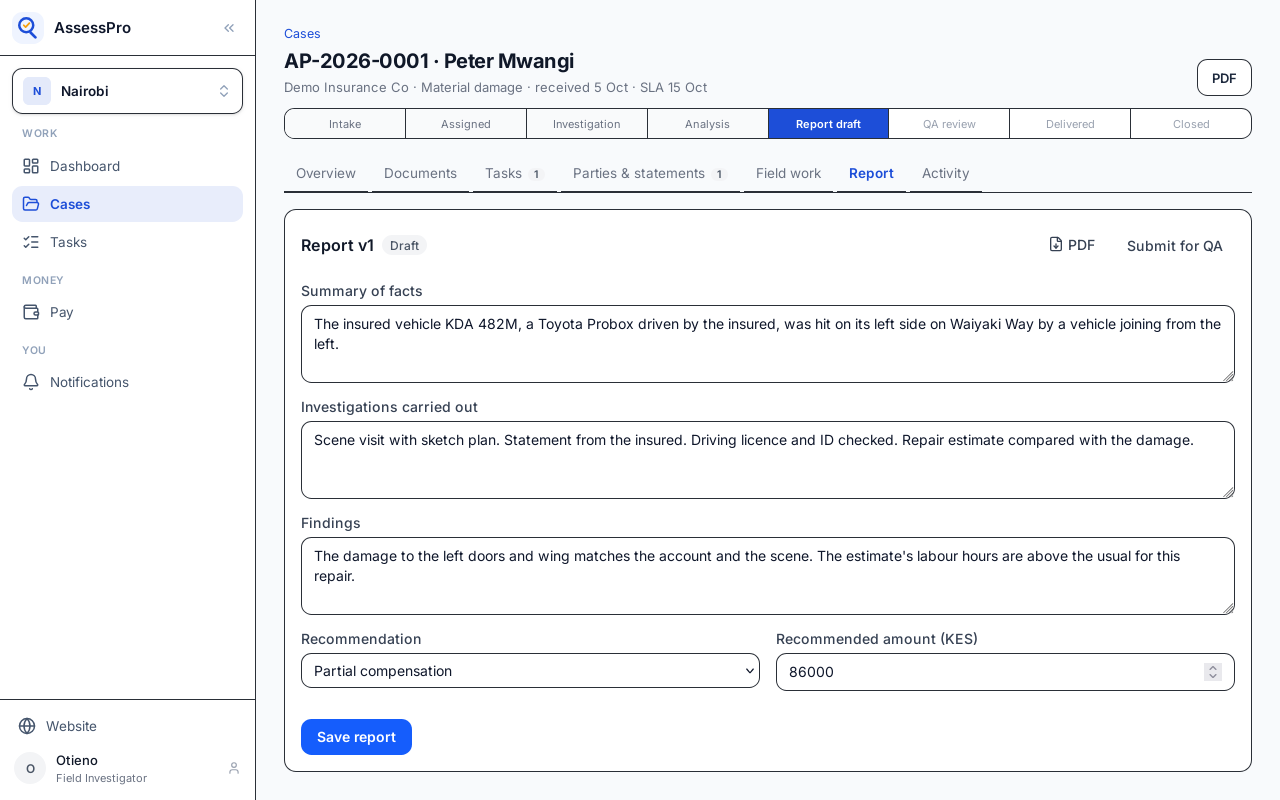
Choose Save report.
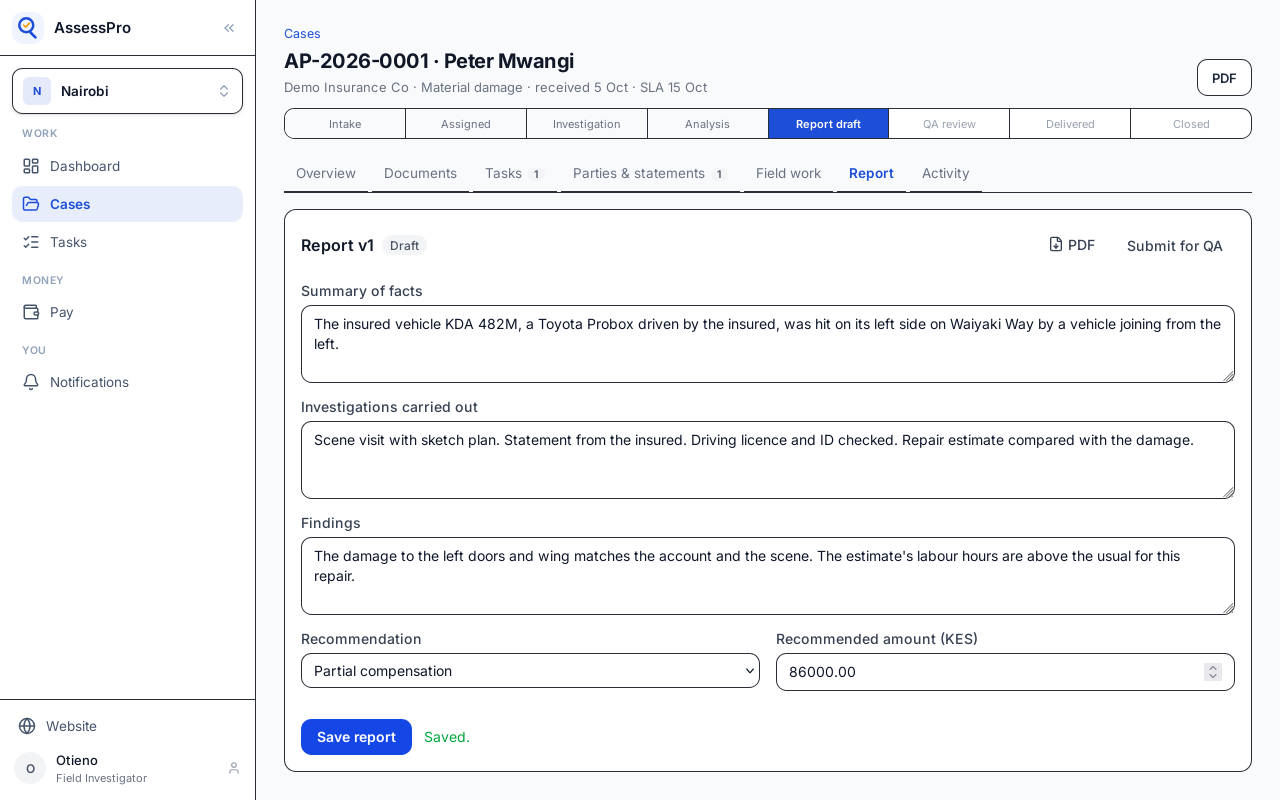
Submit for QA saves the draft and sends it to the office for sign-off. It needs a recommendation first.
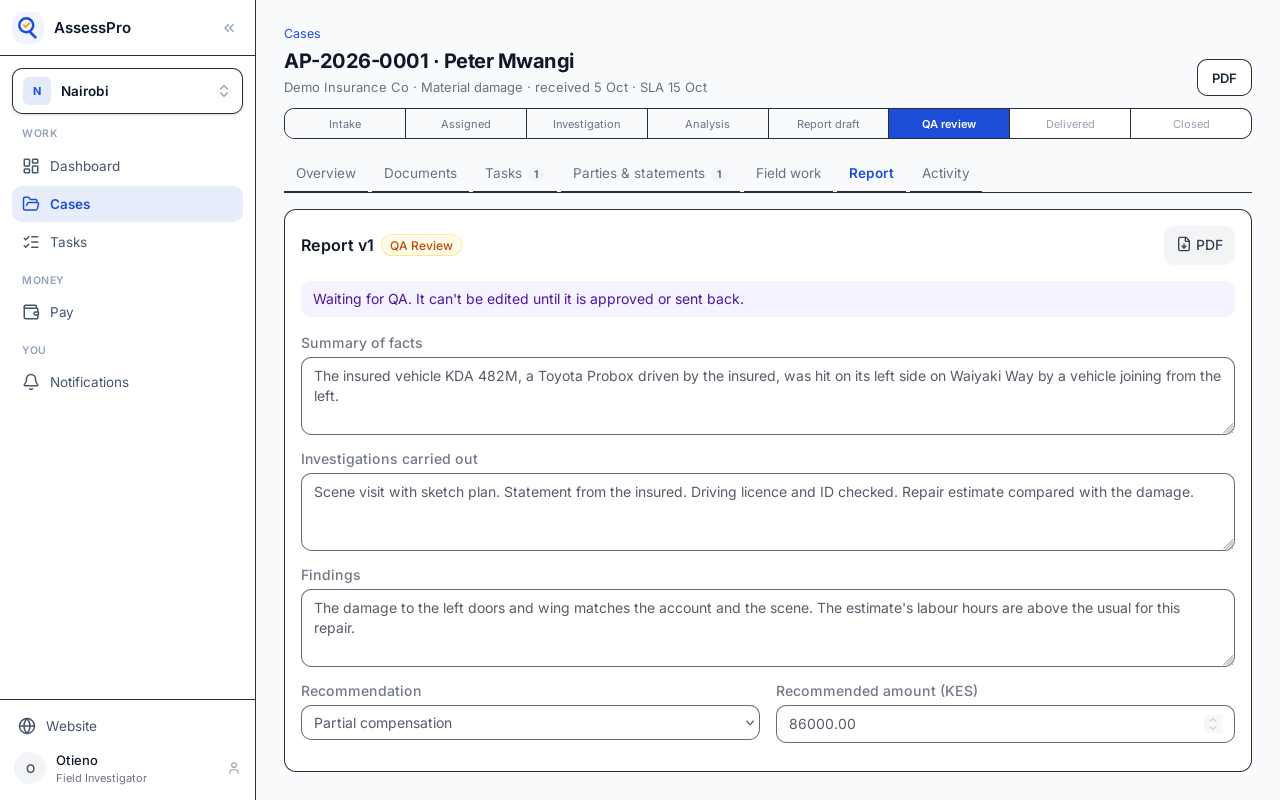
The report is waiting for QA, and the file has moved to QA review.
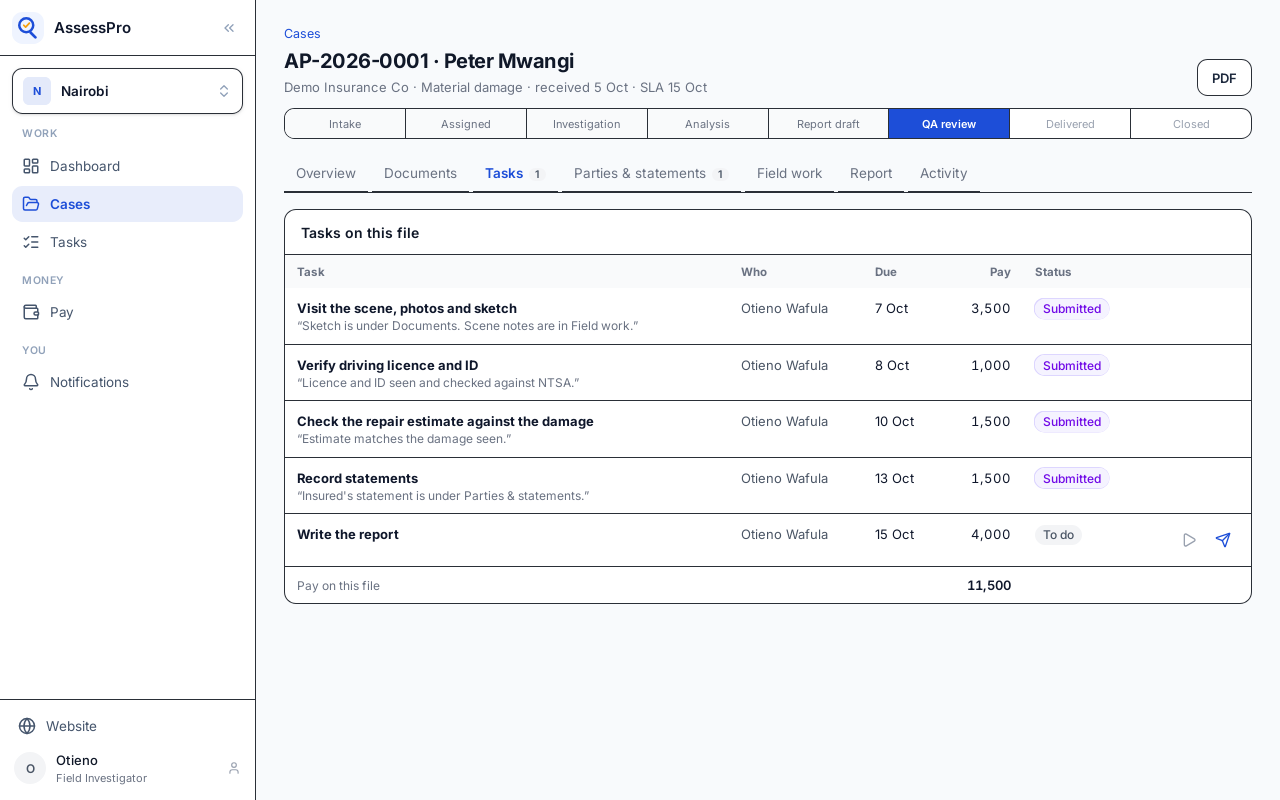
Last, the report task goes in for approval like the others, so it is paid with them.
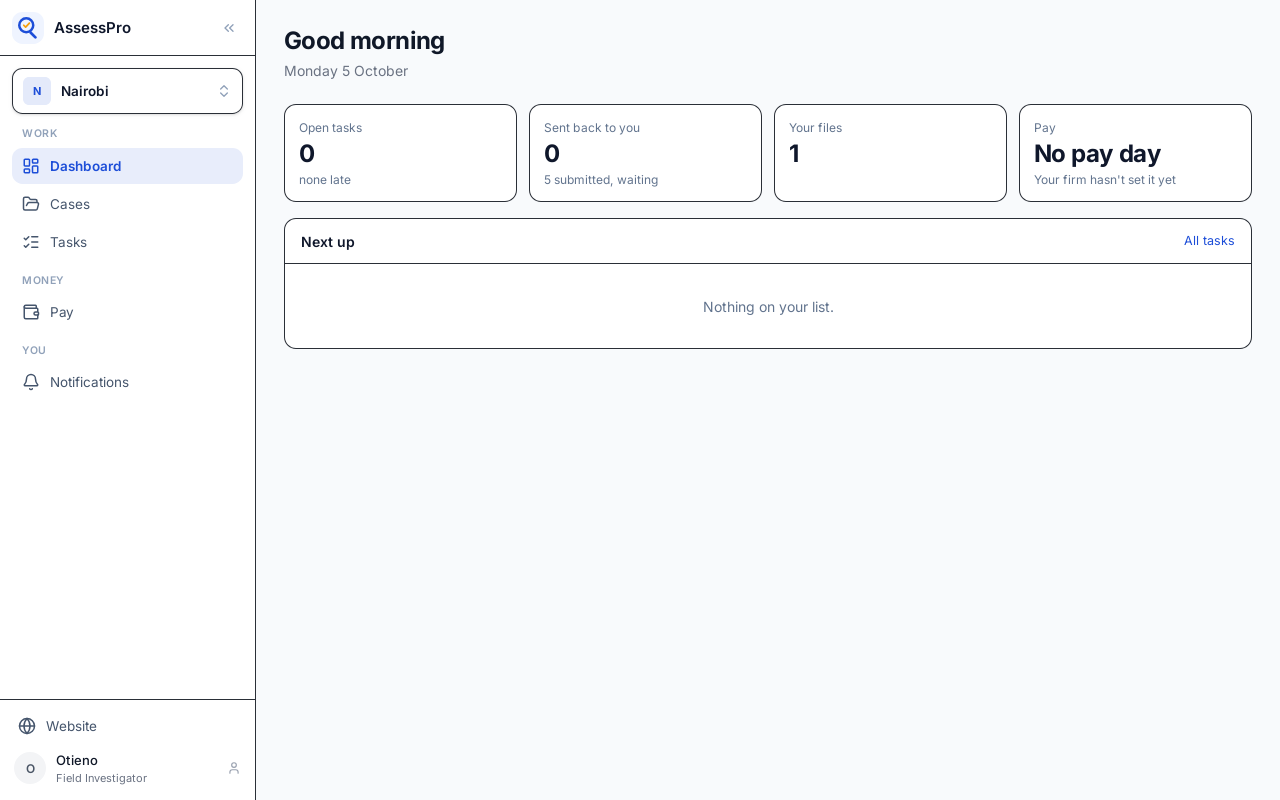
On the dashboard, nothing is open now. Five tasks are submitted and waiting for the office.
Chapter 10
The office approves tasks, sends one back, and signs off the report
Back in the office, the dashboard shows what came in. Task work to approve counts the tasks, and the pay they add up to.
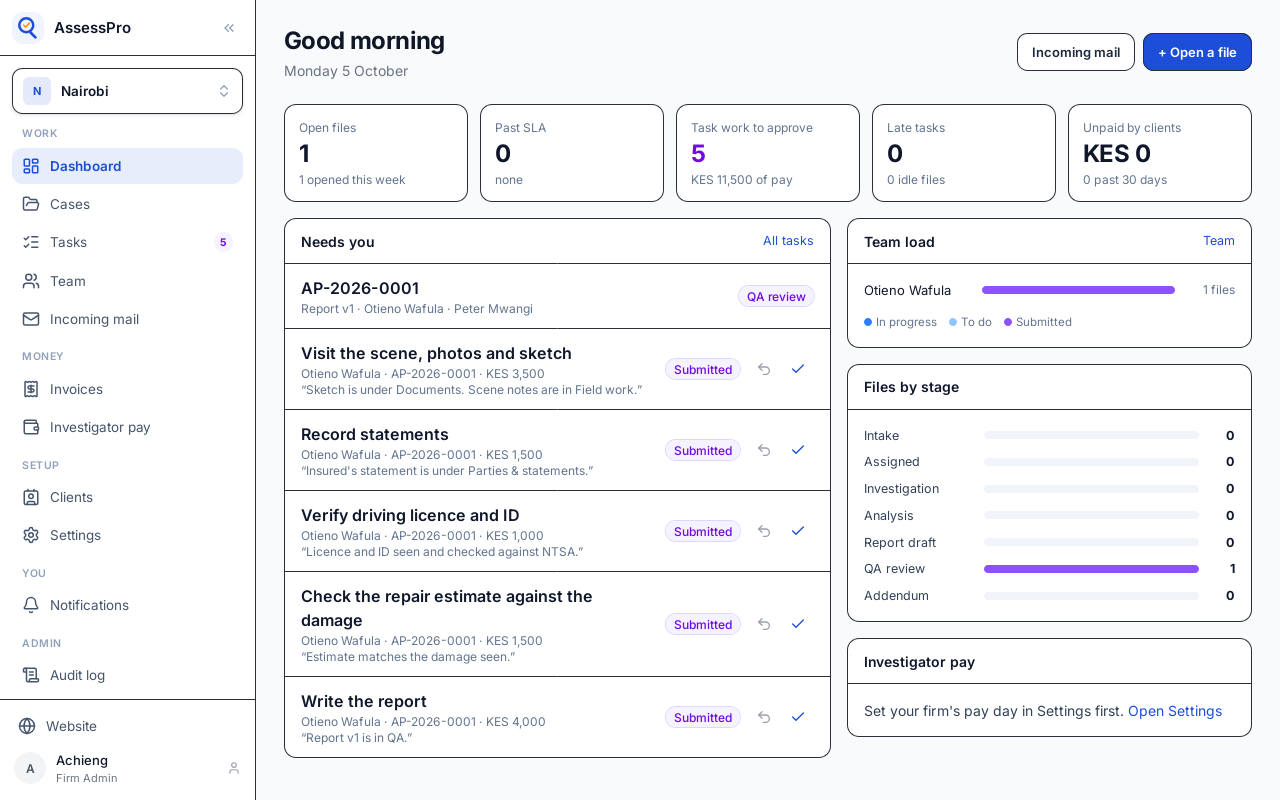
Needs you lists the report waiting for QA first, then each task with who did it, the file, the pay, and their note.
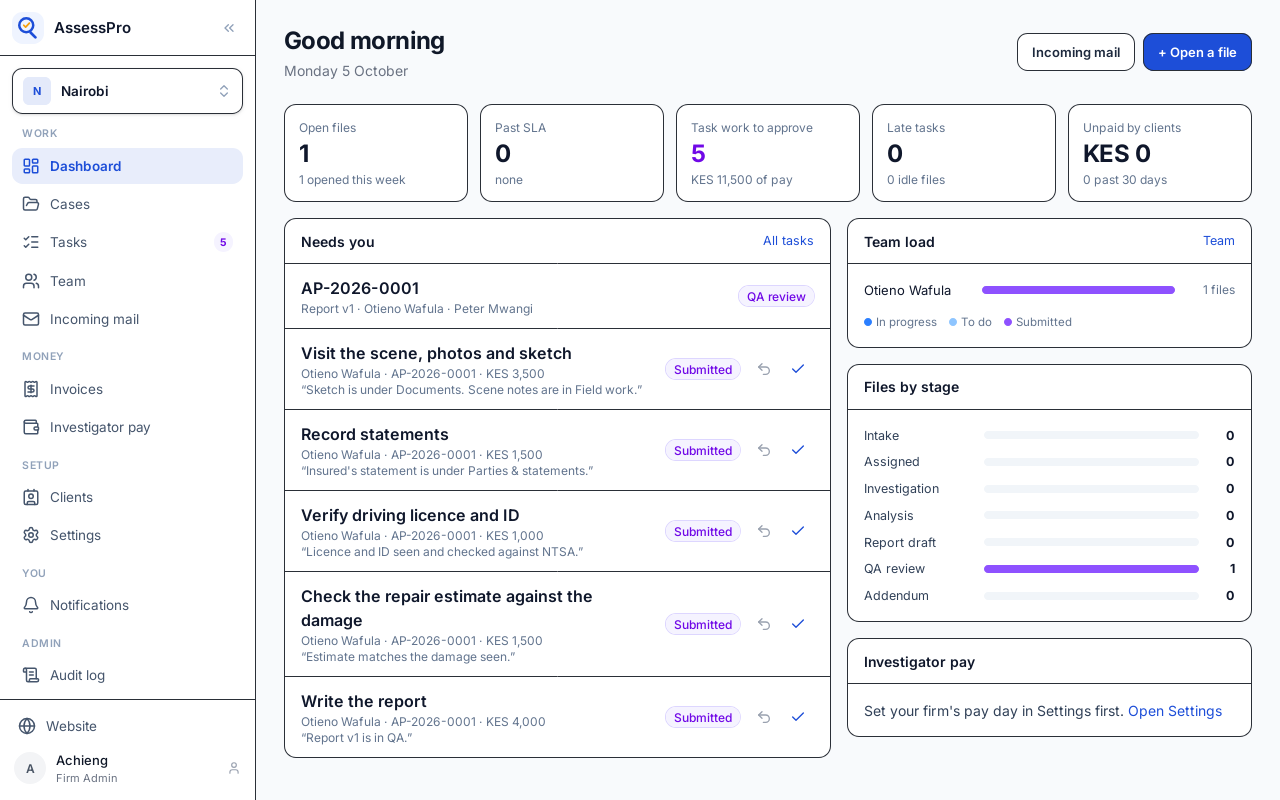
Approve takes a task as done. Its pay goes to the investigator in the pay cycle it was approved in.
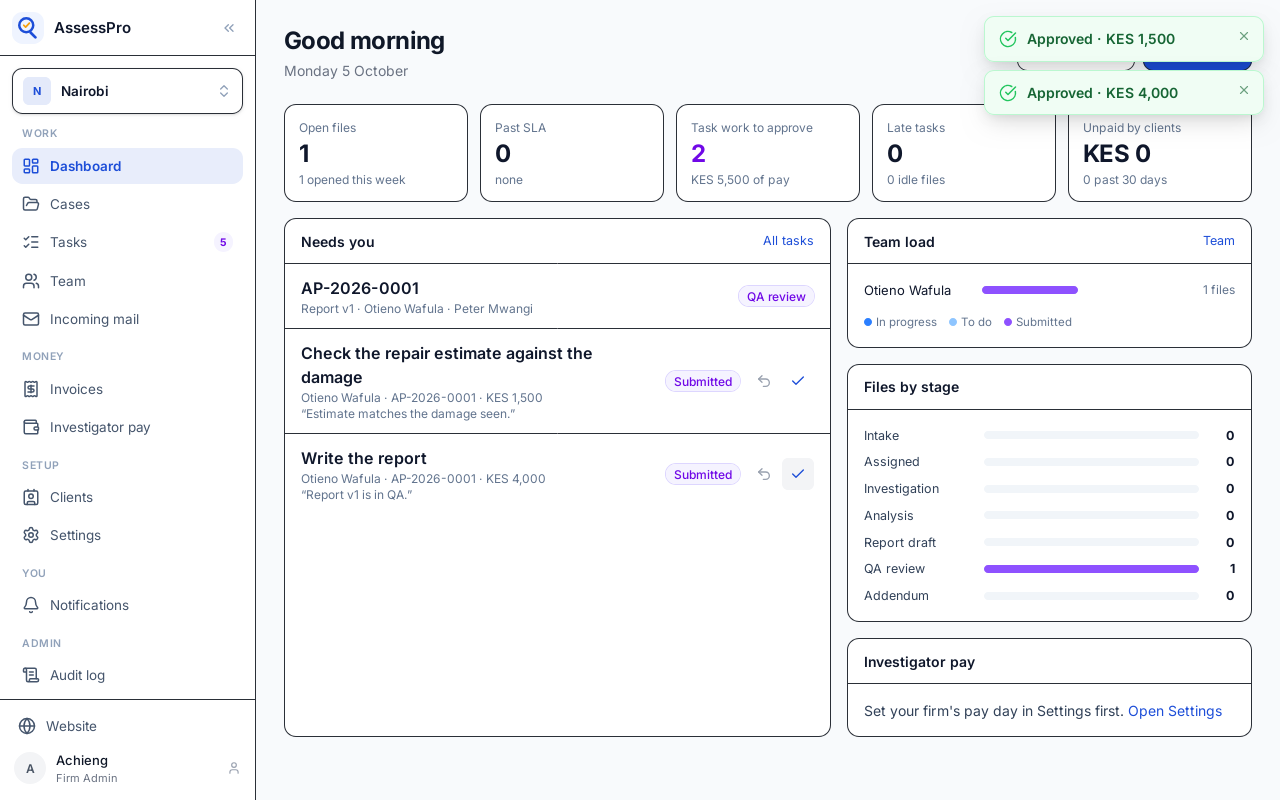
Send back returns work that isn't finished, with what needs redoing. Here, the estimate itself was never uploaded.
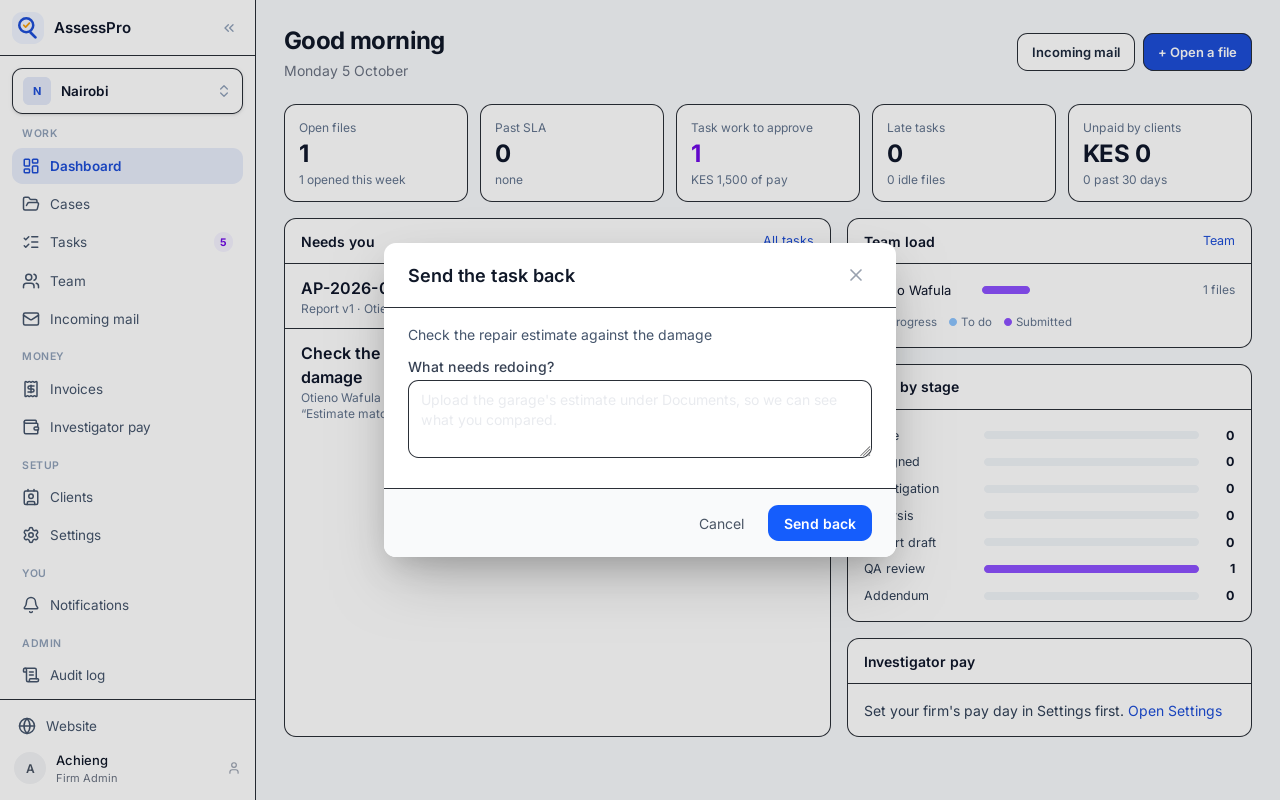
Choose Send back. It goes back to the investigator's list, marked Sent back, with the note.
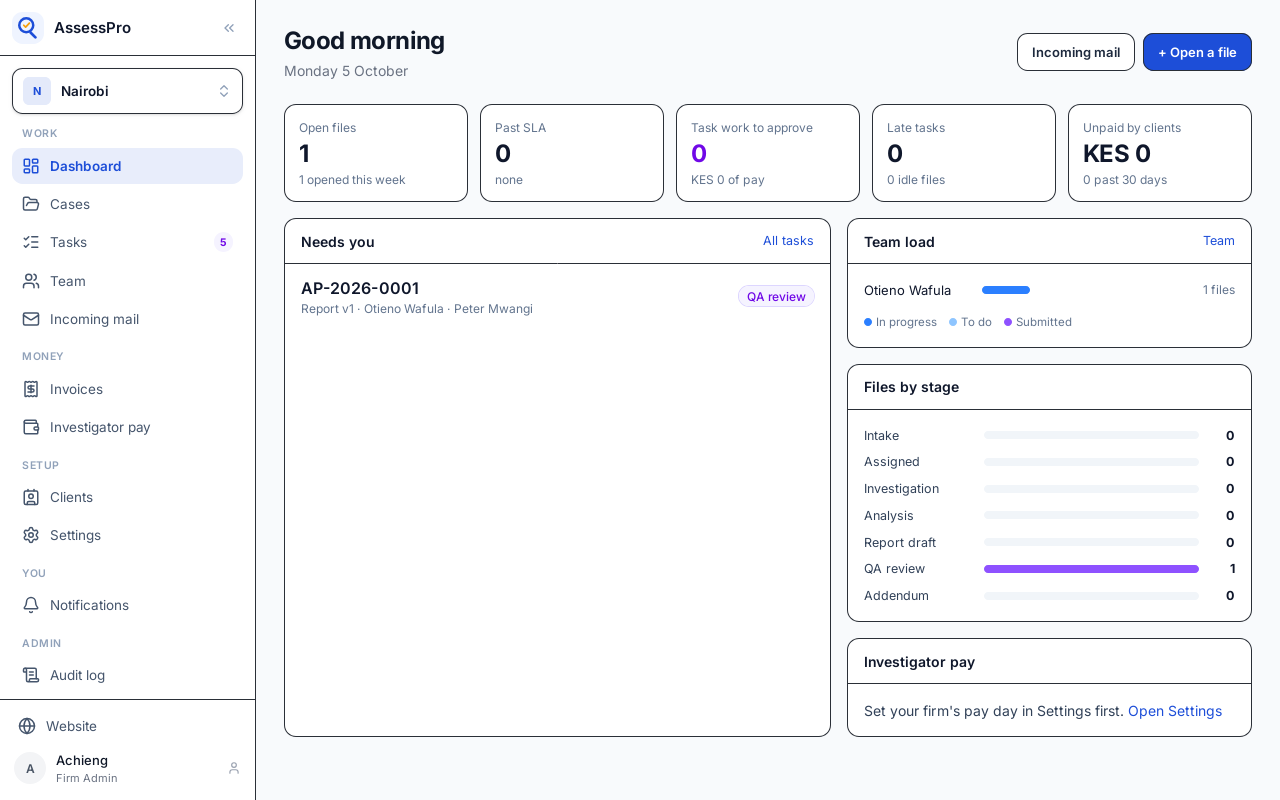
Now the report. Open it from Needs you.
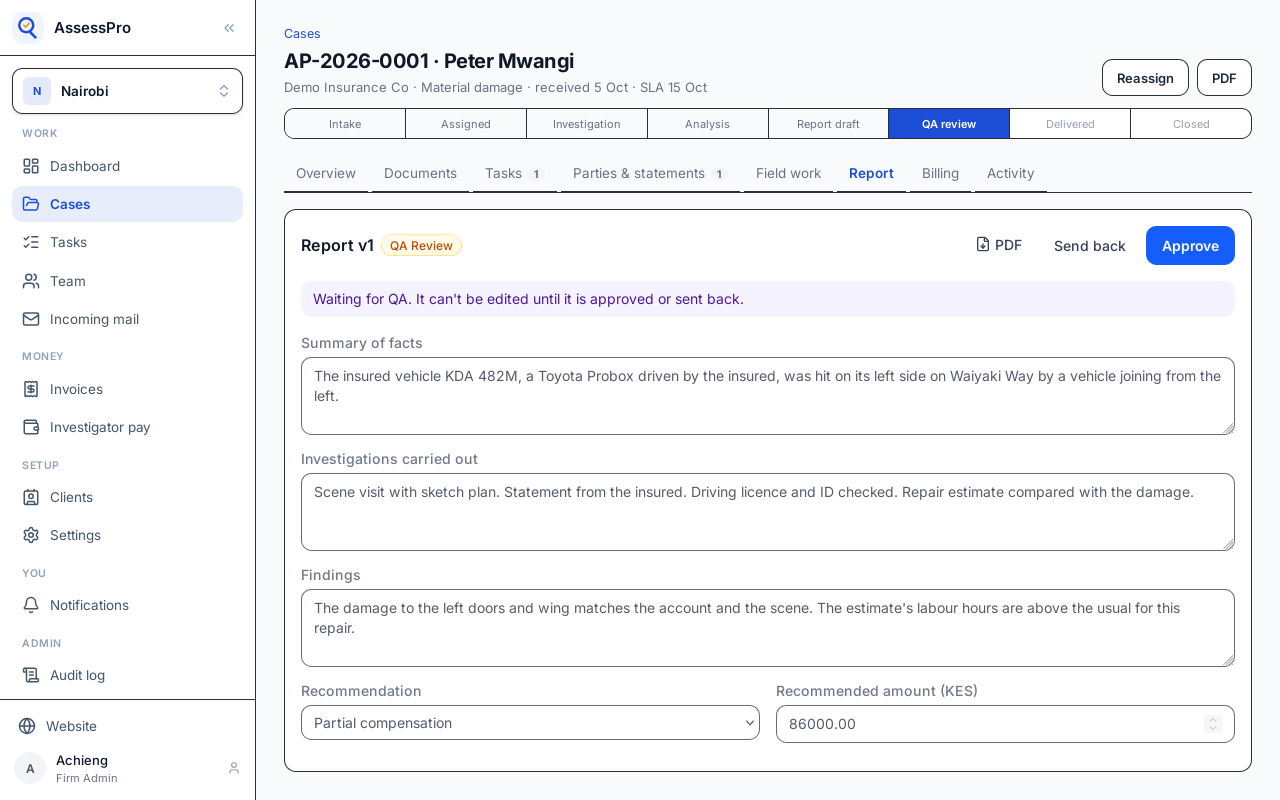
While it waits for QA, nobody can change it. The reviewer reads it, then approves it or sends it back with what needs fixing.
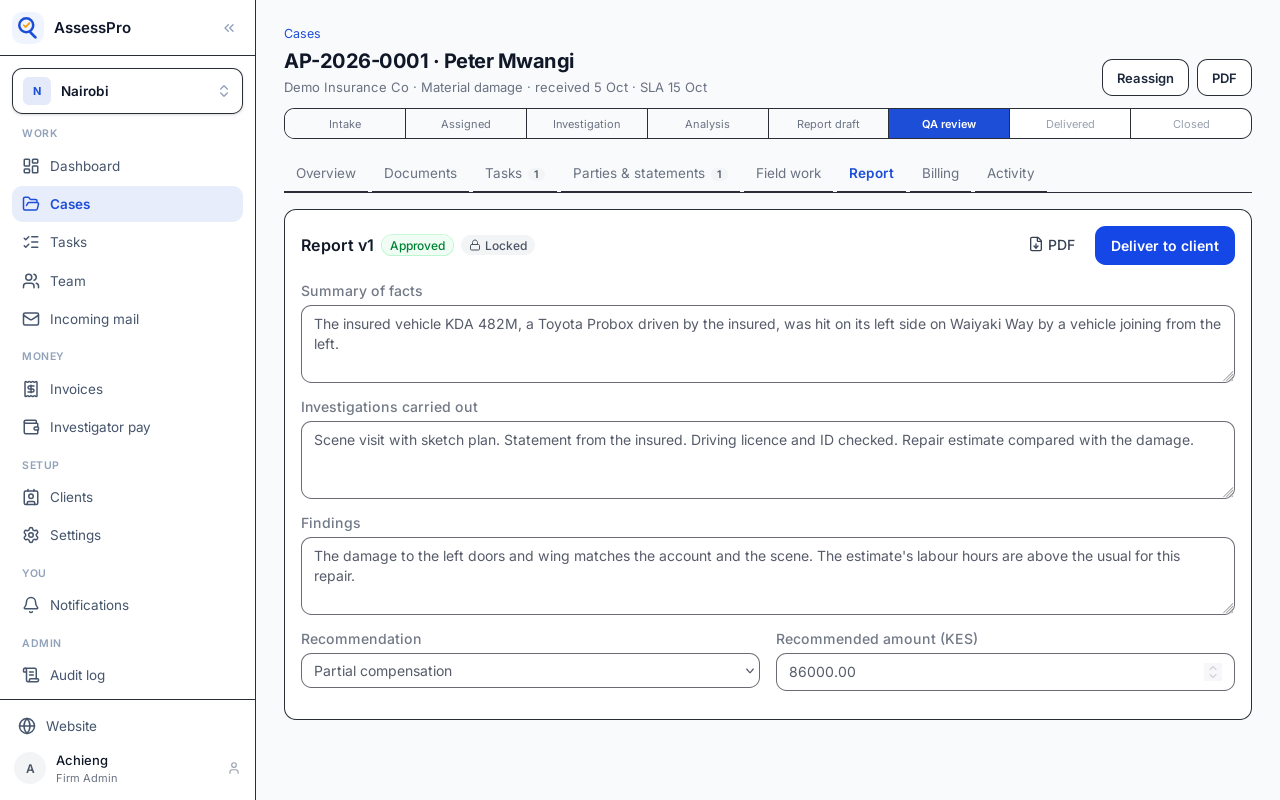
Choose Approve. An approved report is locked, and is ready to deliver to the client.
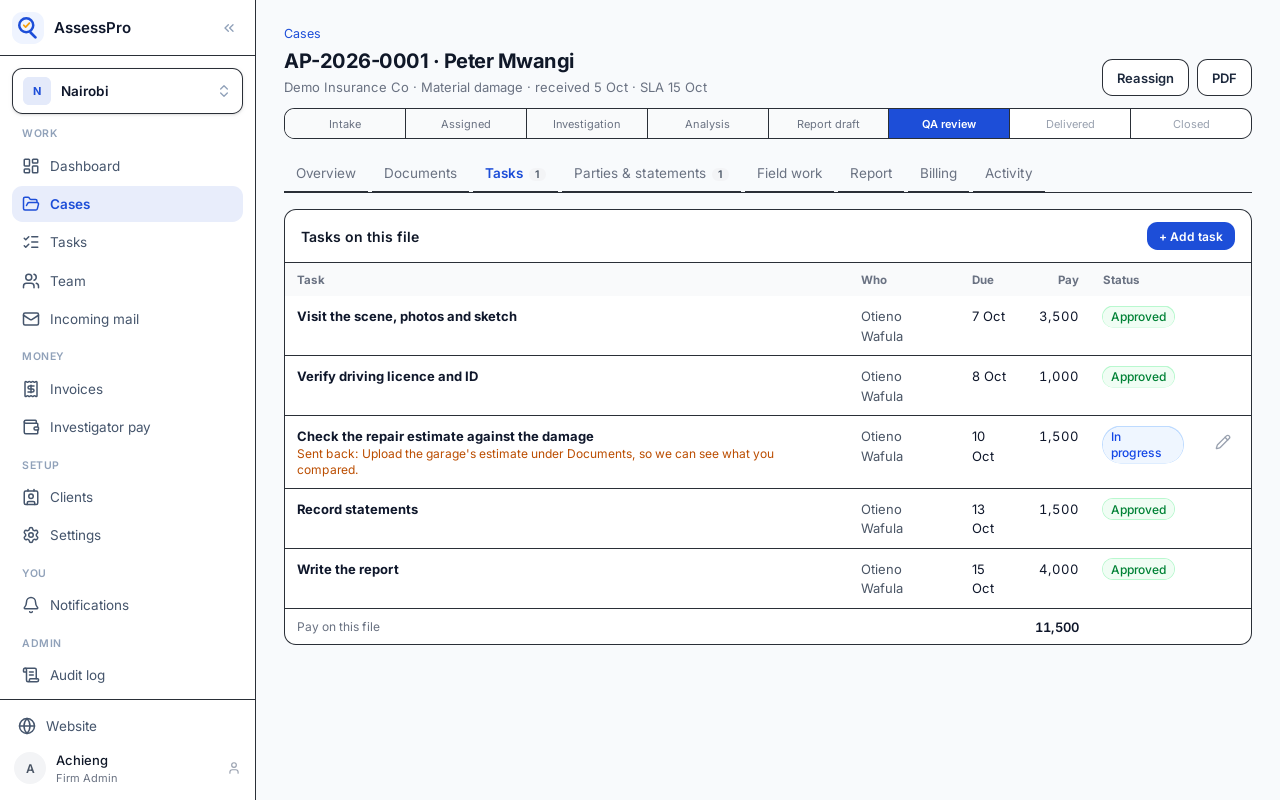
The file's Tasks tab shows where each task stands: four approved, one sent back.
Chapter 11
The report goes to the client, and the invoice follows
An approved report is delivered from the file's Report tab. Choose Deliver to client.
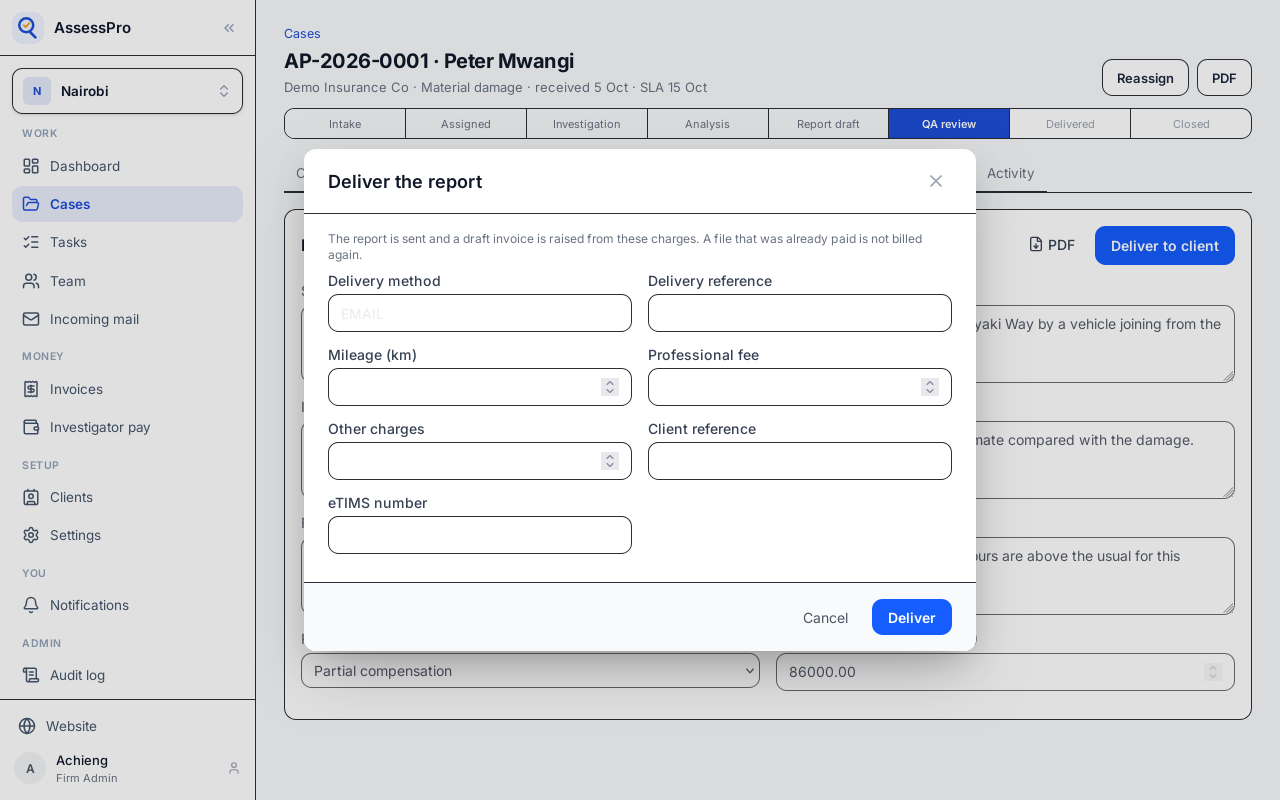
Say how it went out, and its reference.
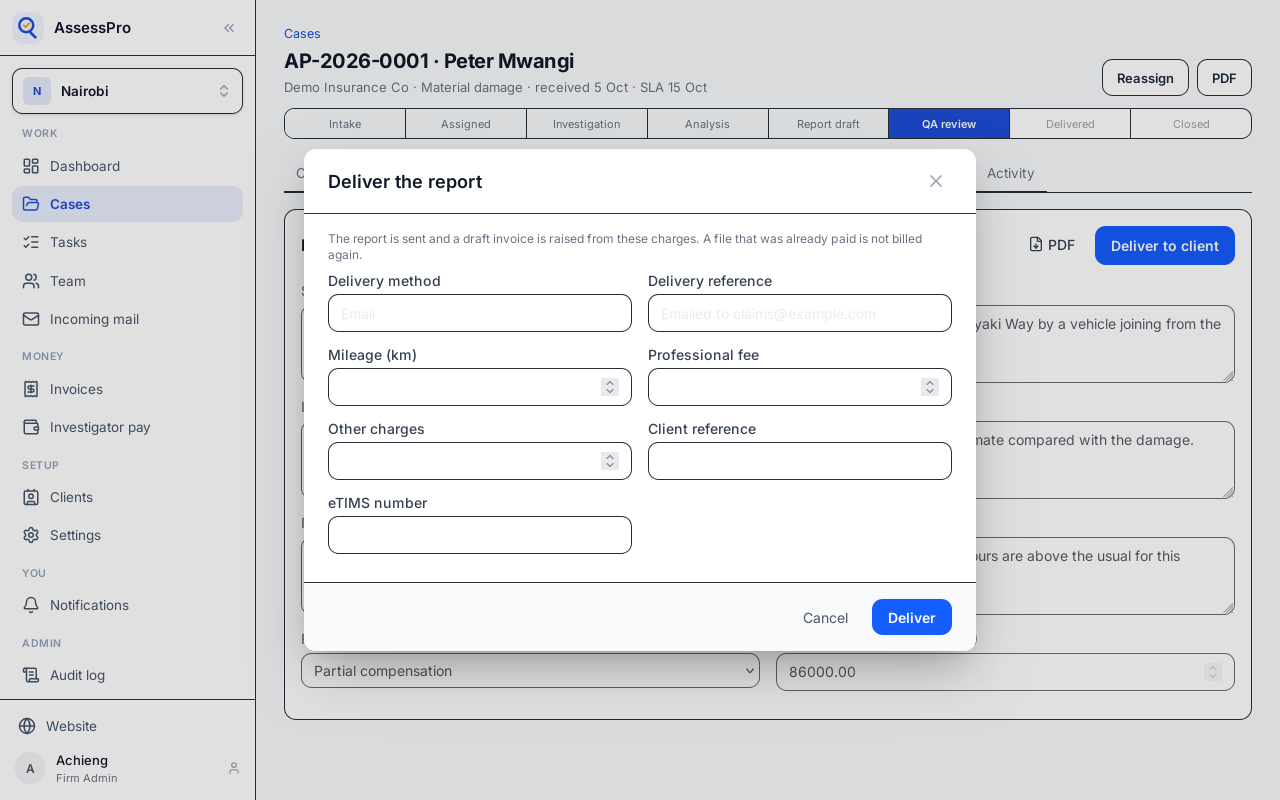
Delivering also raises a draft invoice from the charges here. Left blank, the professional fee is the client's default fee. Choose Deliver.
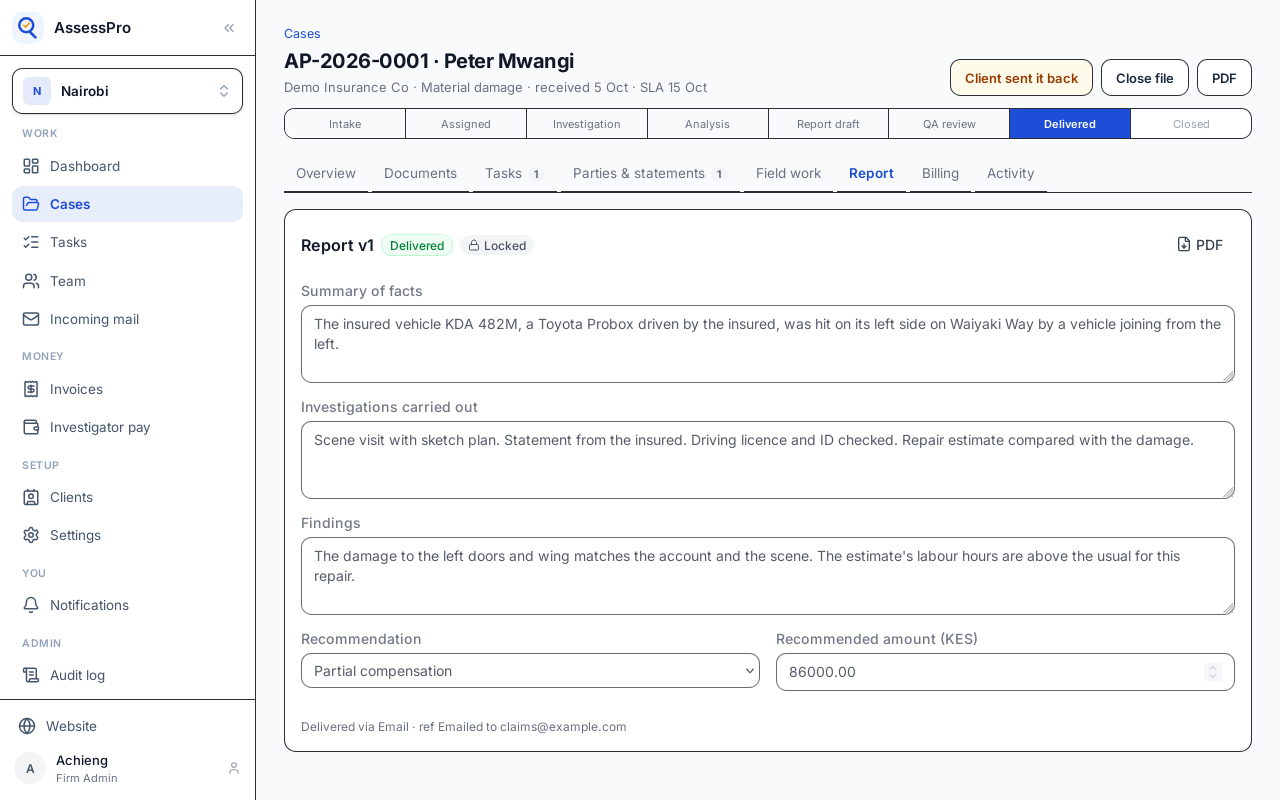
The file moves to Delivered, and the draft invoice is raised.
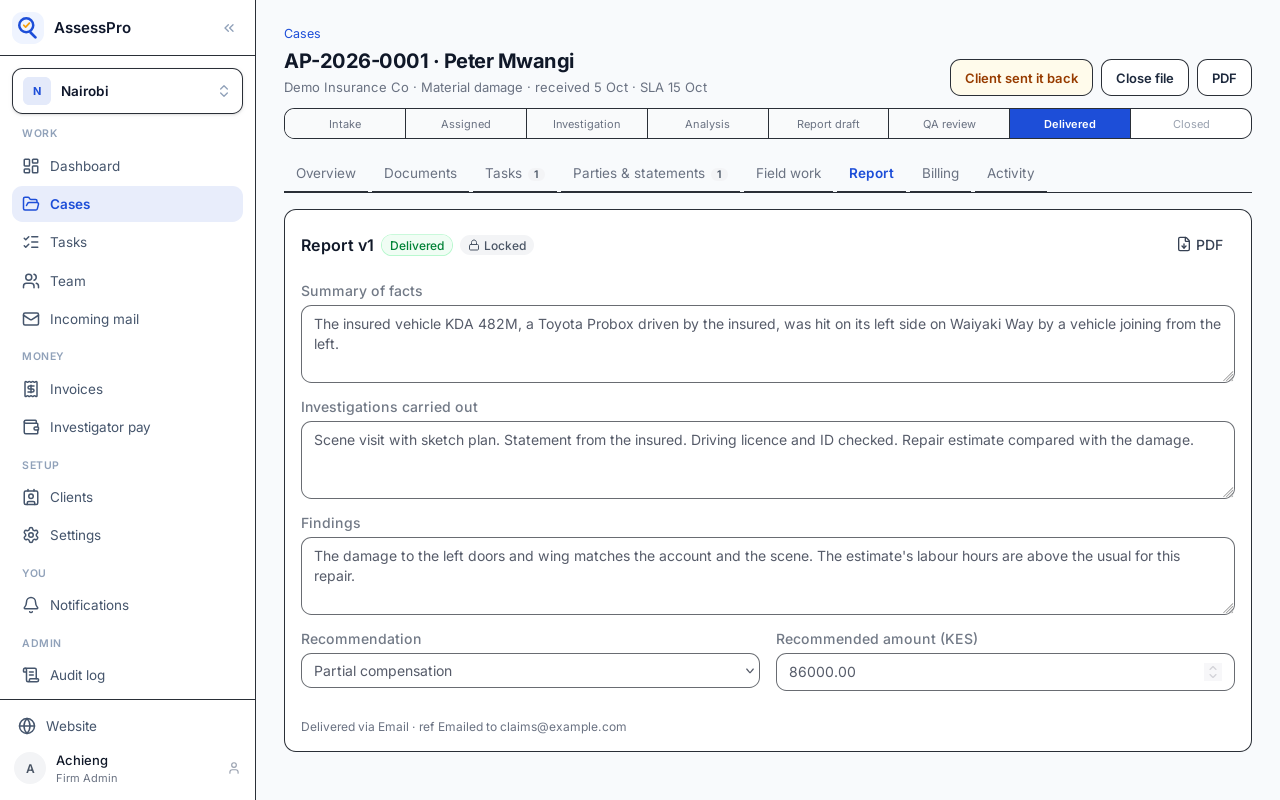
The file's Billing tab lists its invoice.
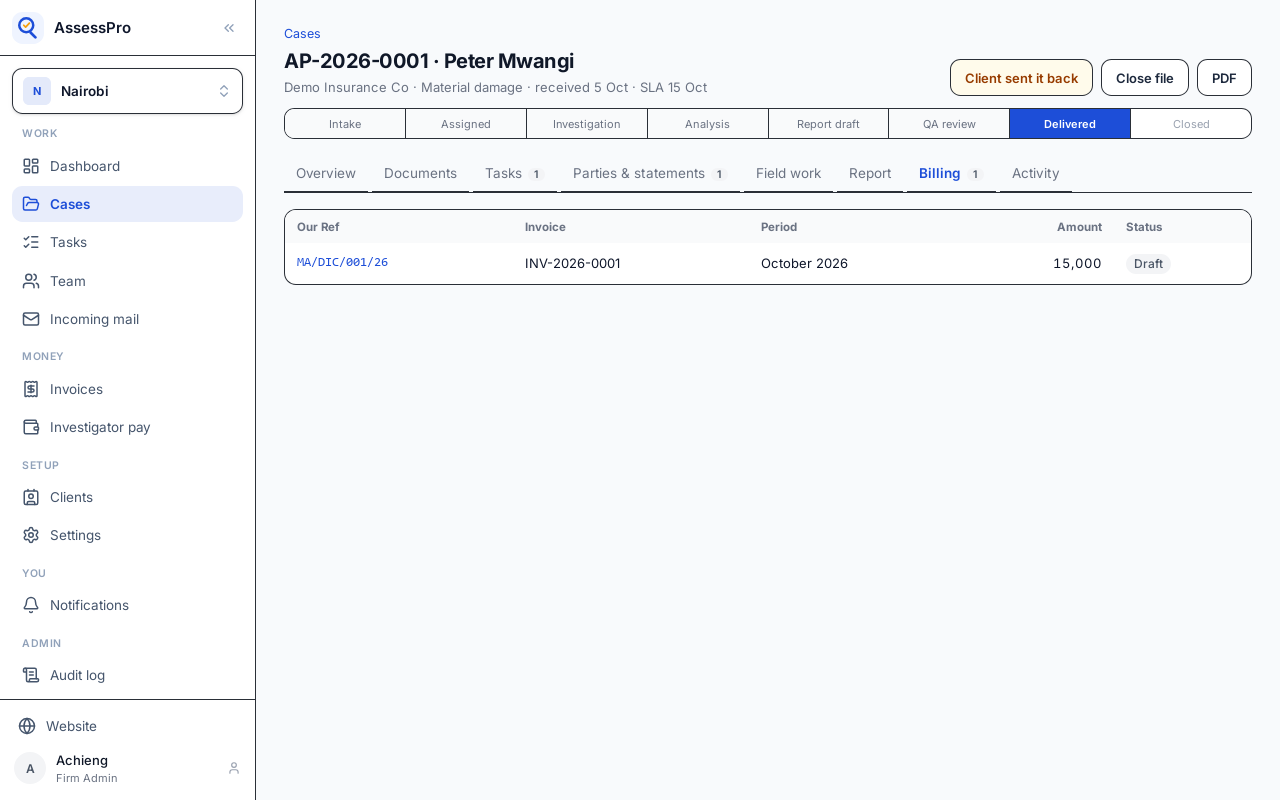
Every invoice is under Money, in Invoices. A row has our reference, the client's own reference from the file, the billing month, and the amount.
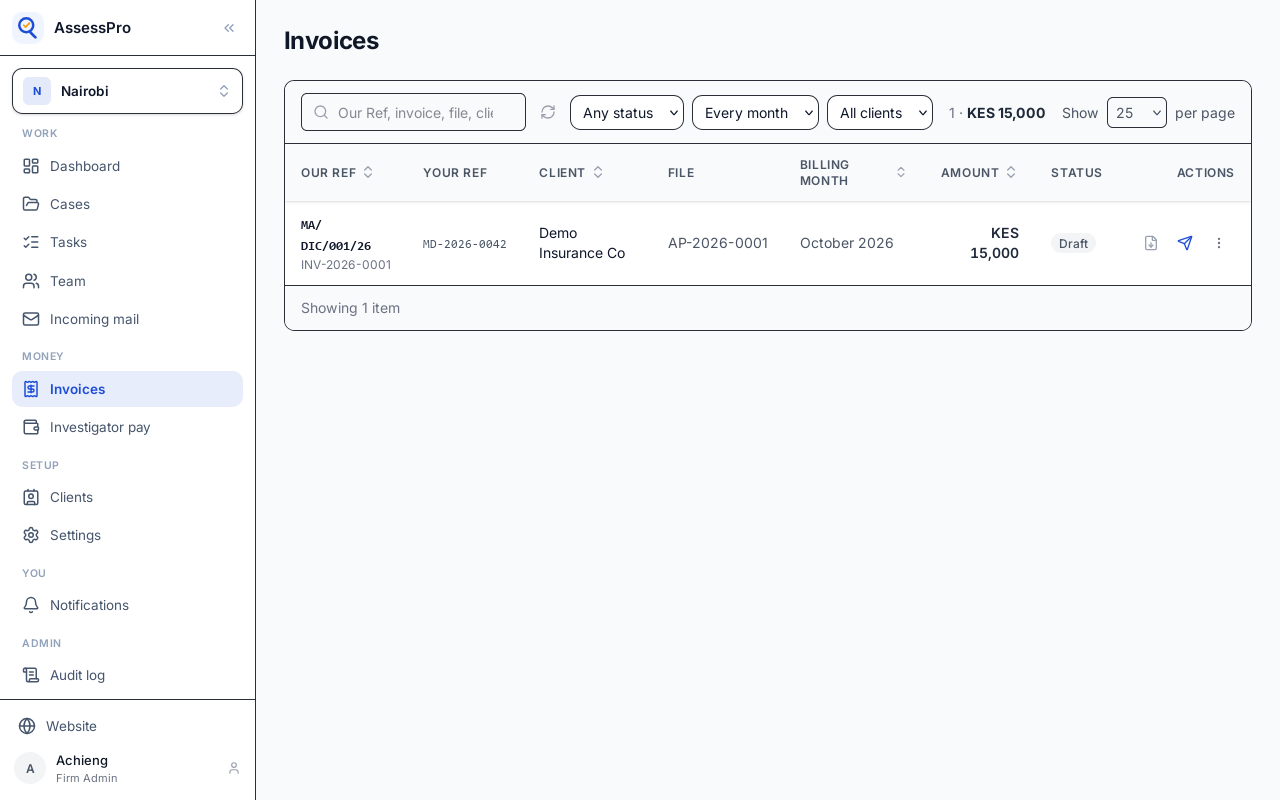
The billing month follows the client's cut-off day. Choose Send.
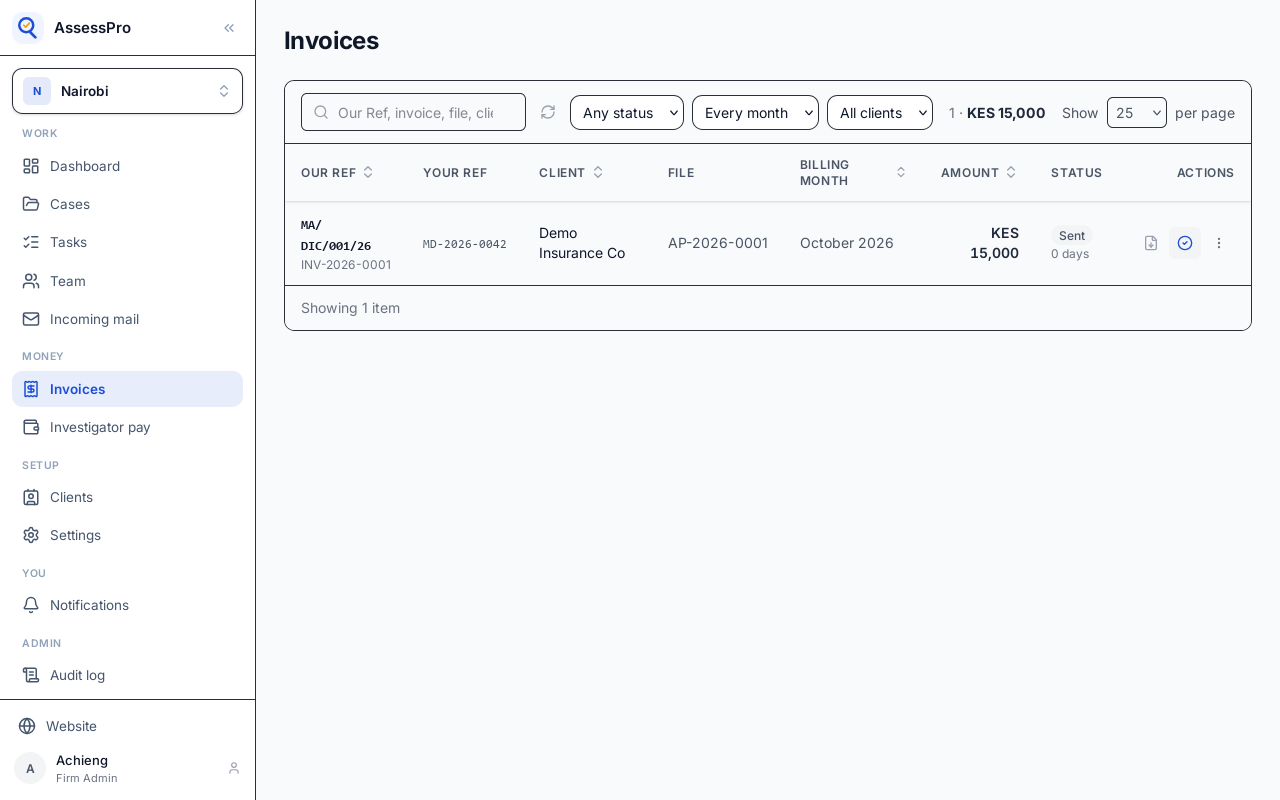
The invoice is Sent, and is emailed to the client's accounts address. Under its status, the days it has been outstanding since it was raised.
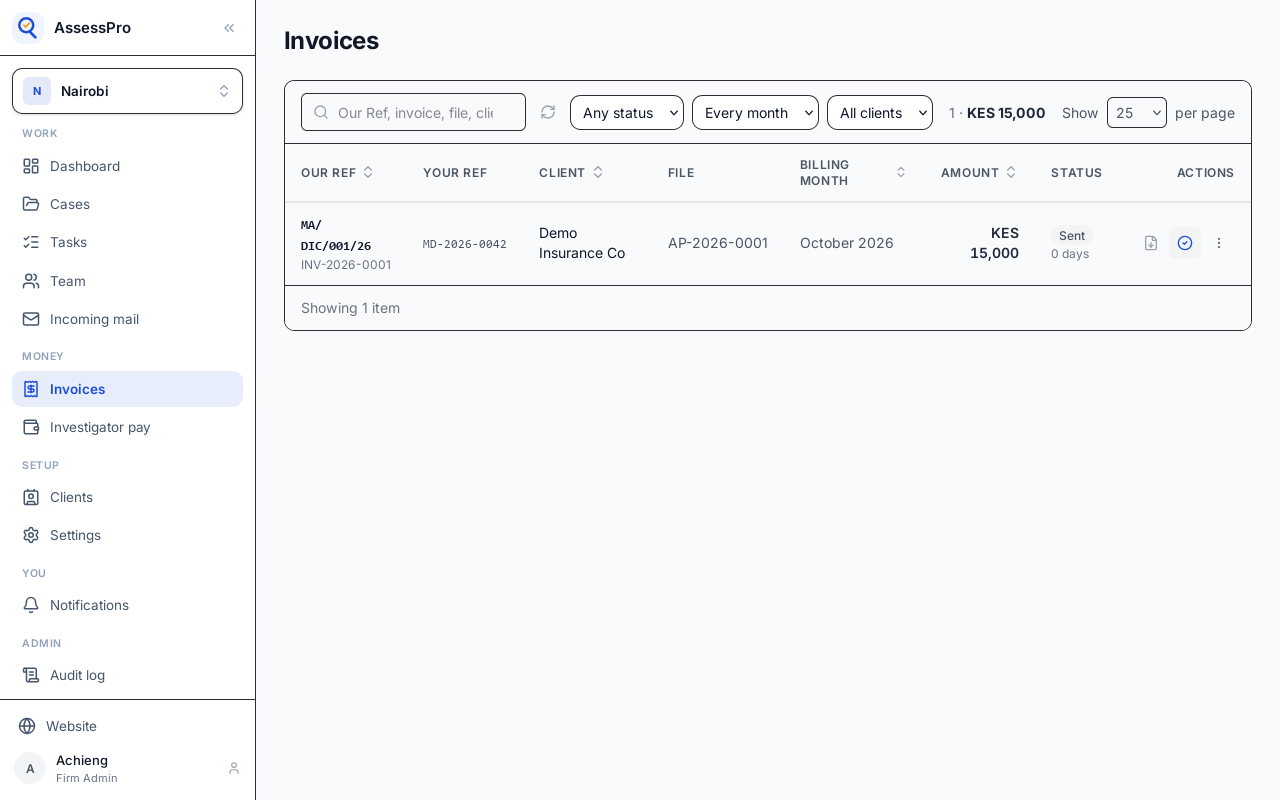
Until it is paid, a reminder can go from the row's menu. When the client pays, choose Mark paid.
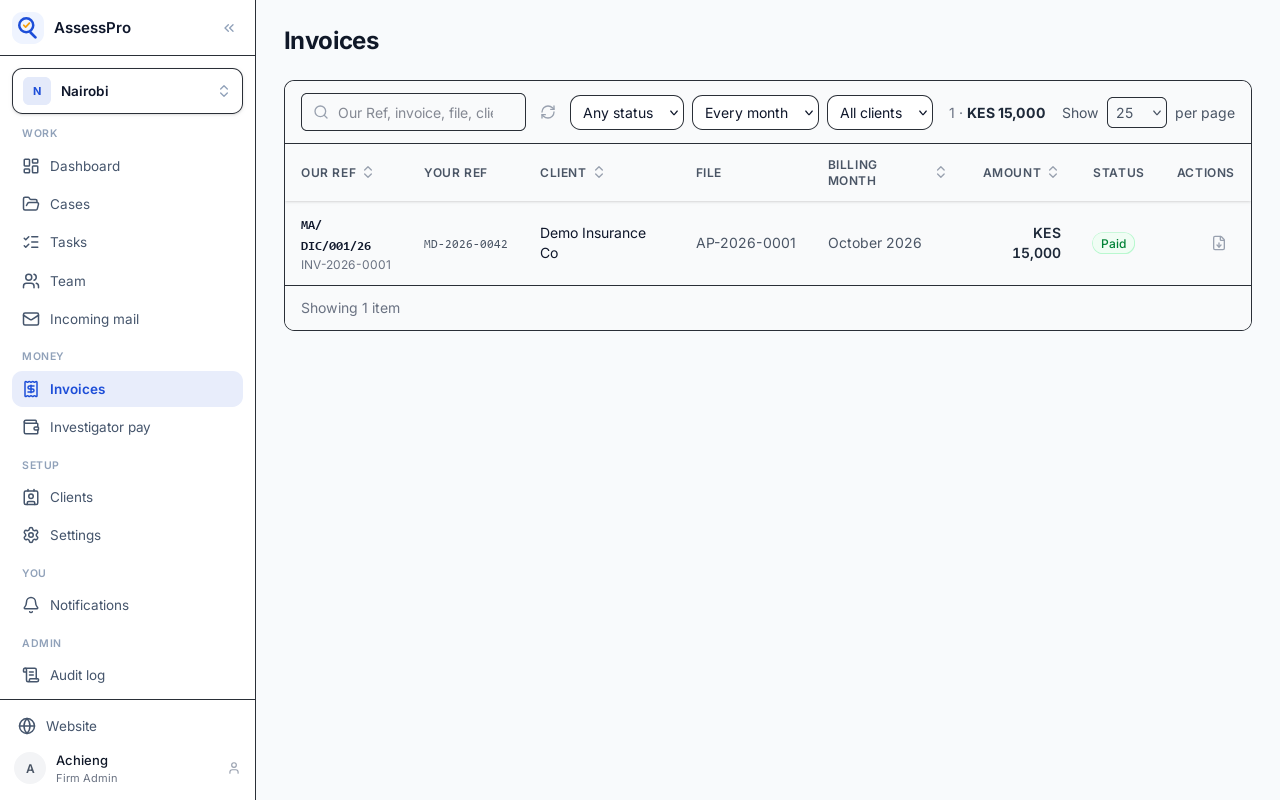
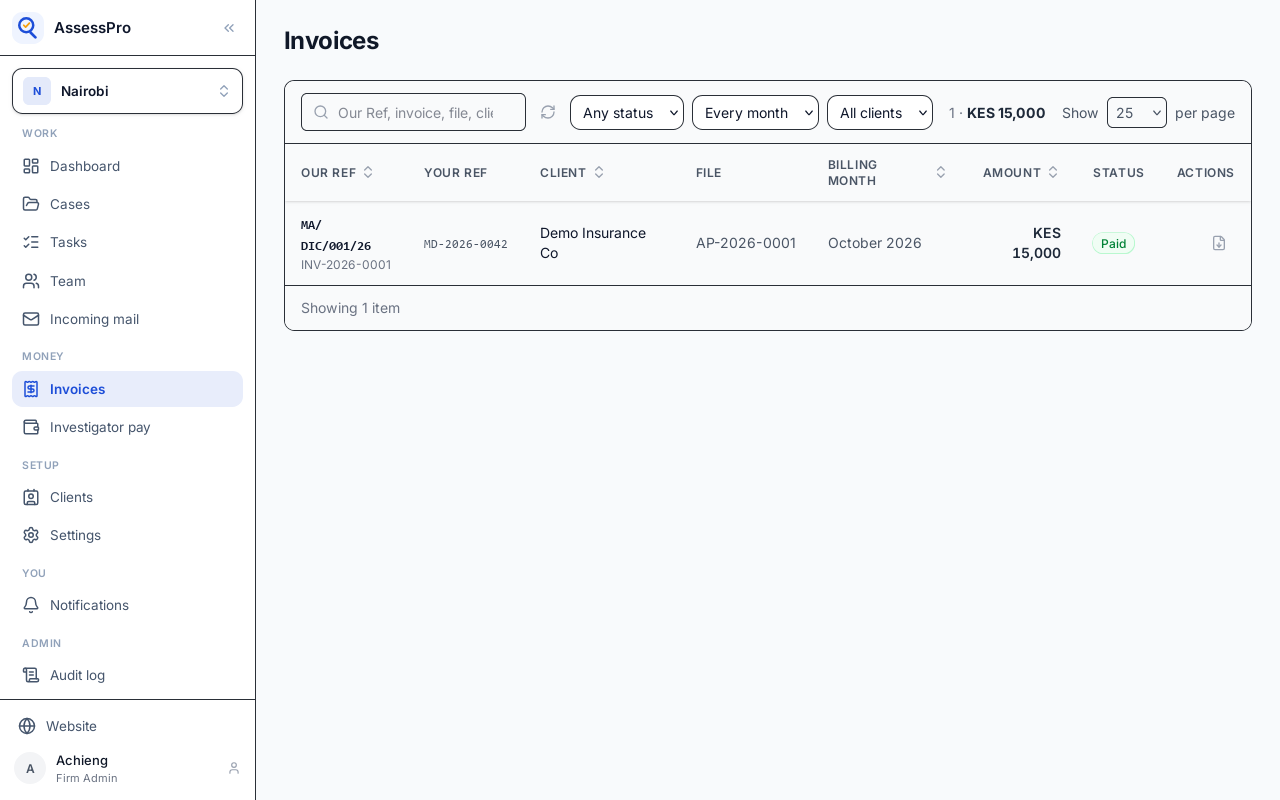
The invoice is Paid.
Chapter 12
The investigator puts right what the office sent back
When the office sends work back, the investigator's dashboard counts it under Sent back to you.
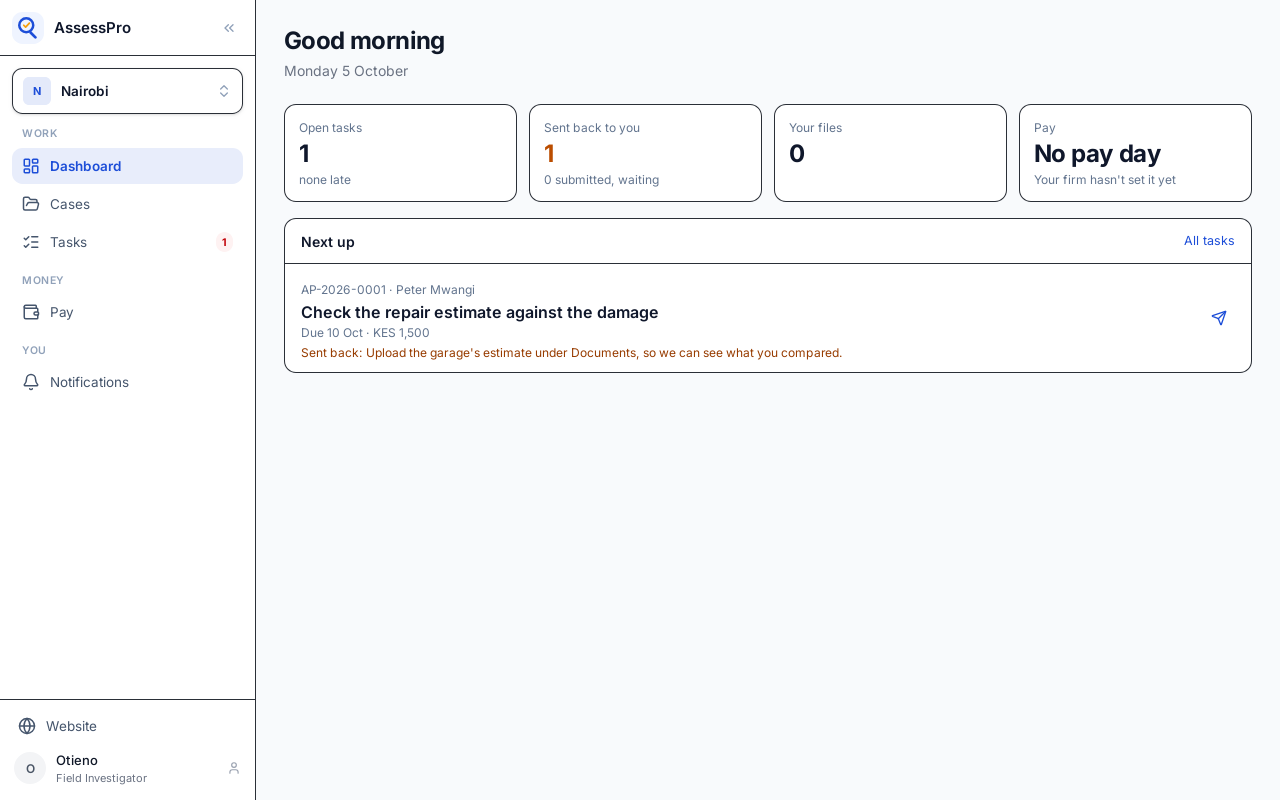
Next up shows the task again, with the office's note under it.
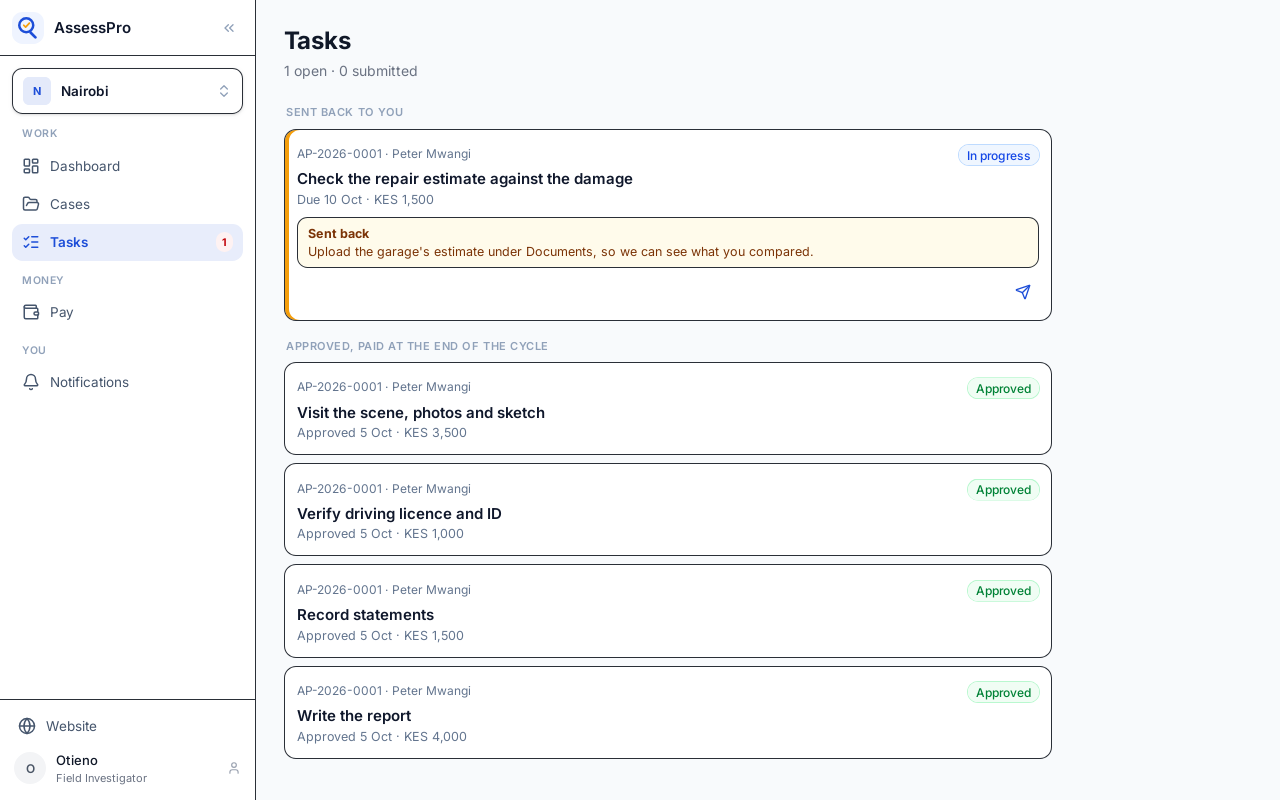
On Tasks, it heads the list, under Sent back to you.
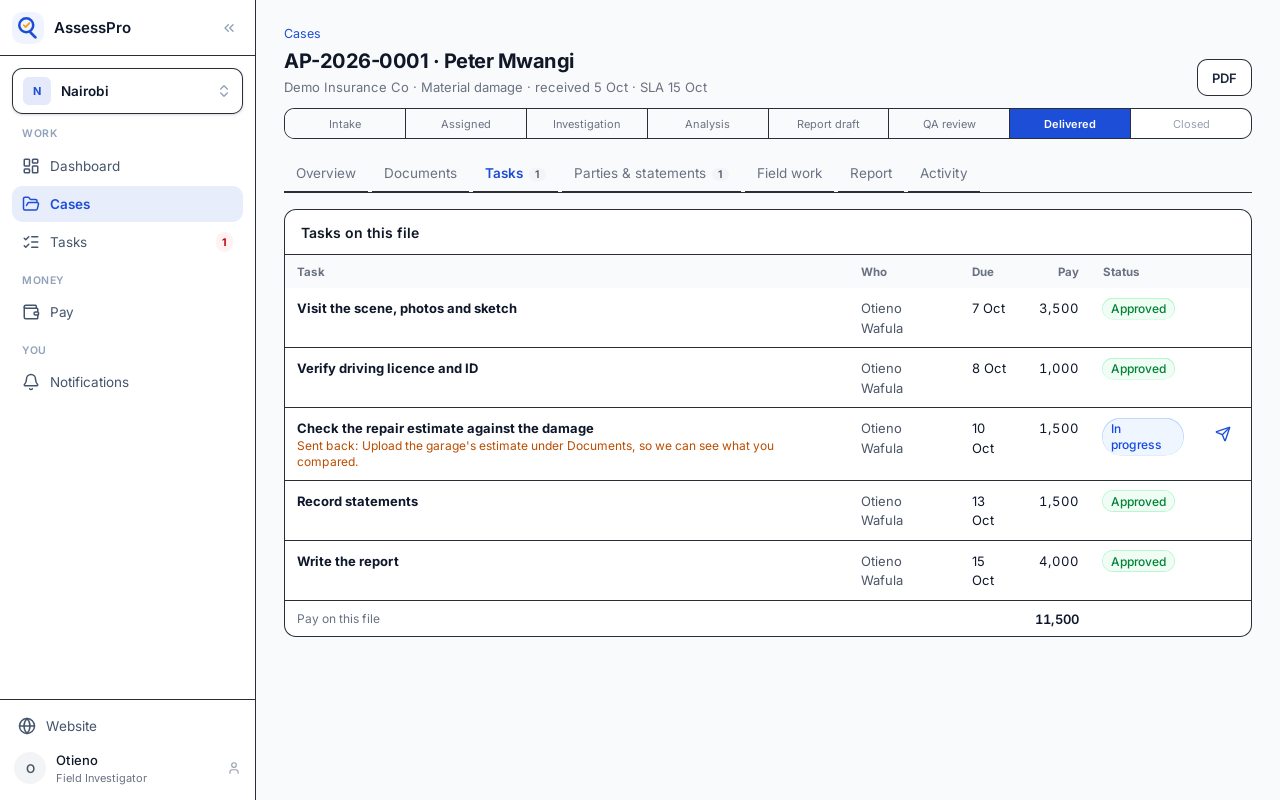
The note asks for the garage's estimate. It goes under Documents: Upload document, and choose the file.
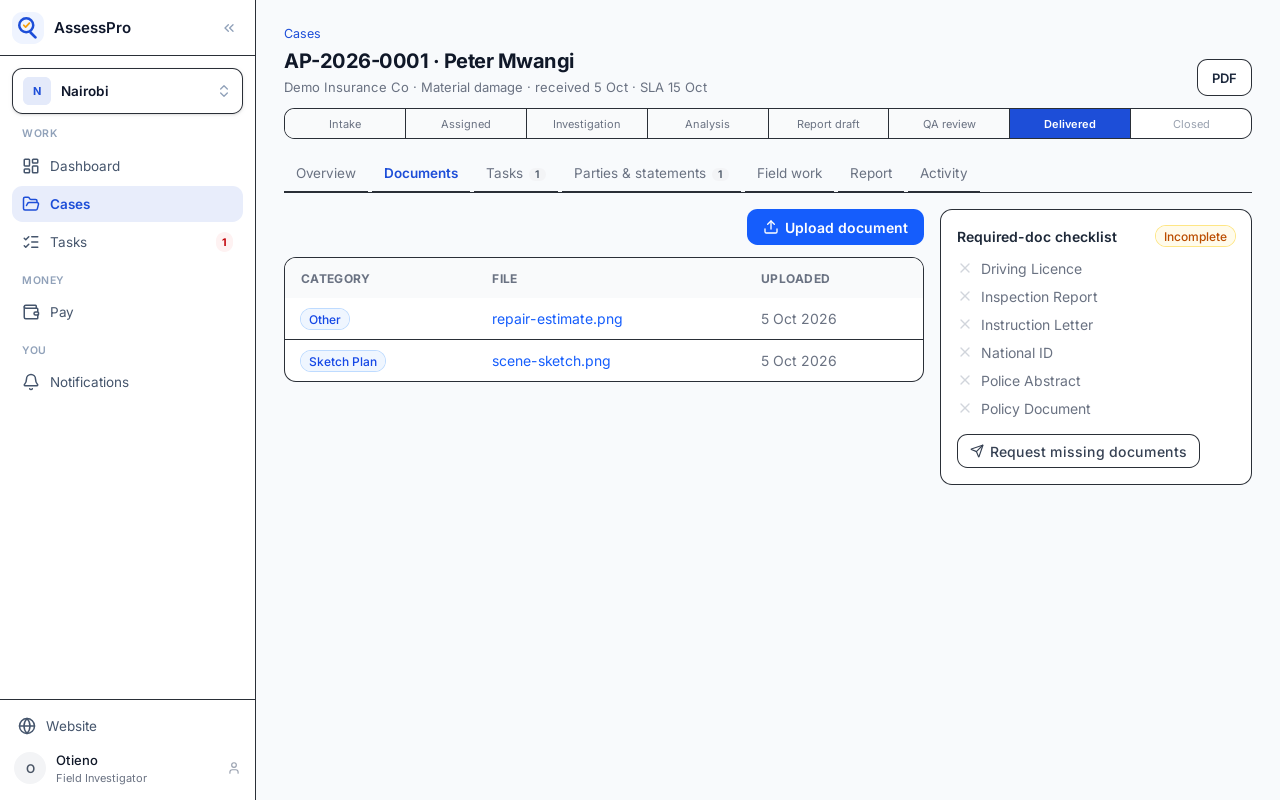
The estimate is on the file. Back on Tasks, the task is open again, with the note.
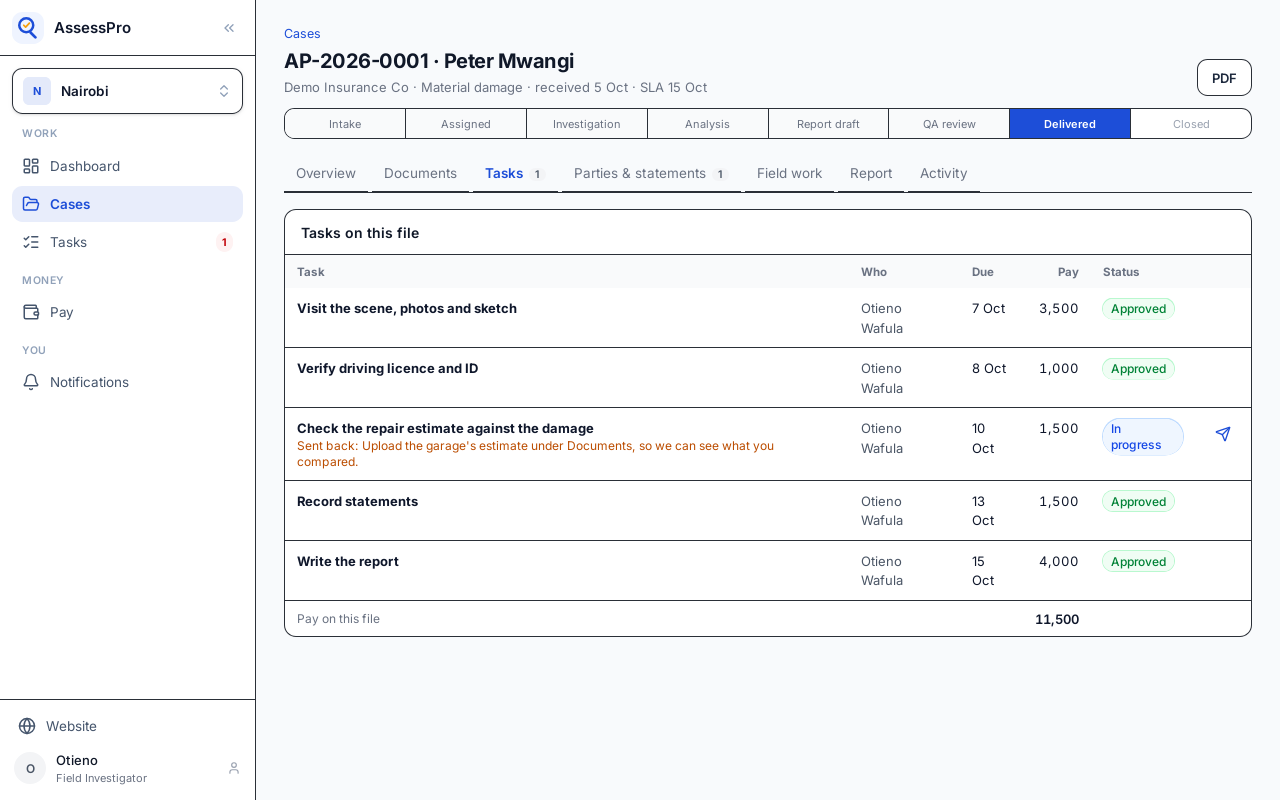
Choose Submit for approval, and say what changed.
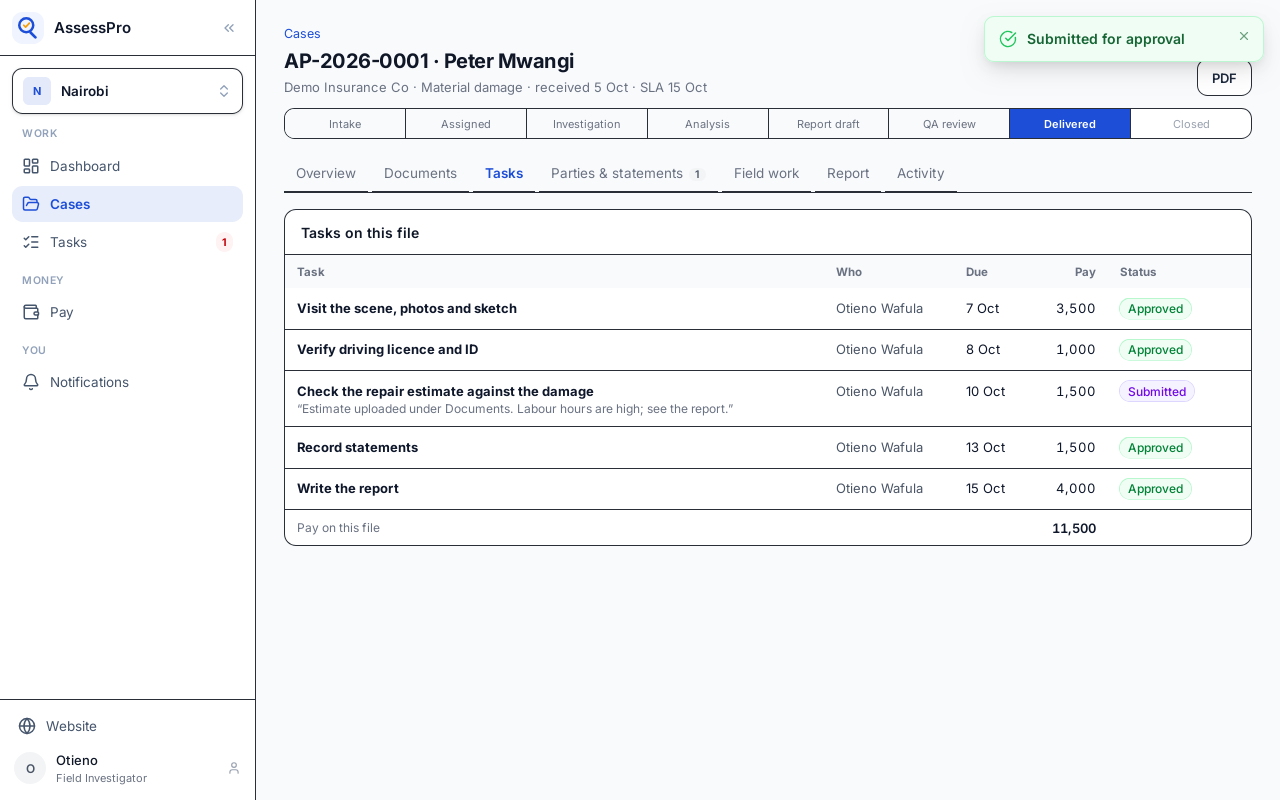
It is Submitted again, waiting for the office.
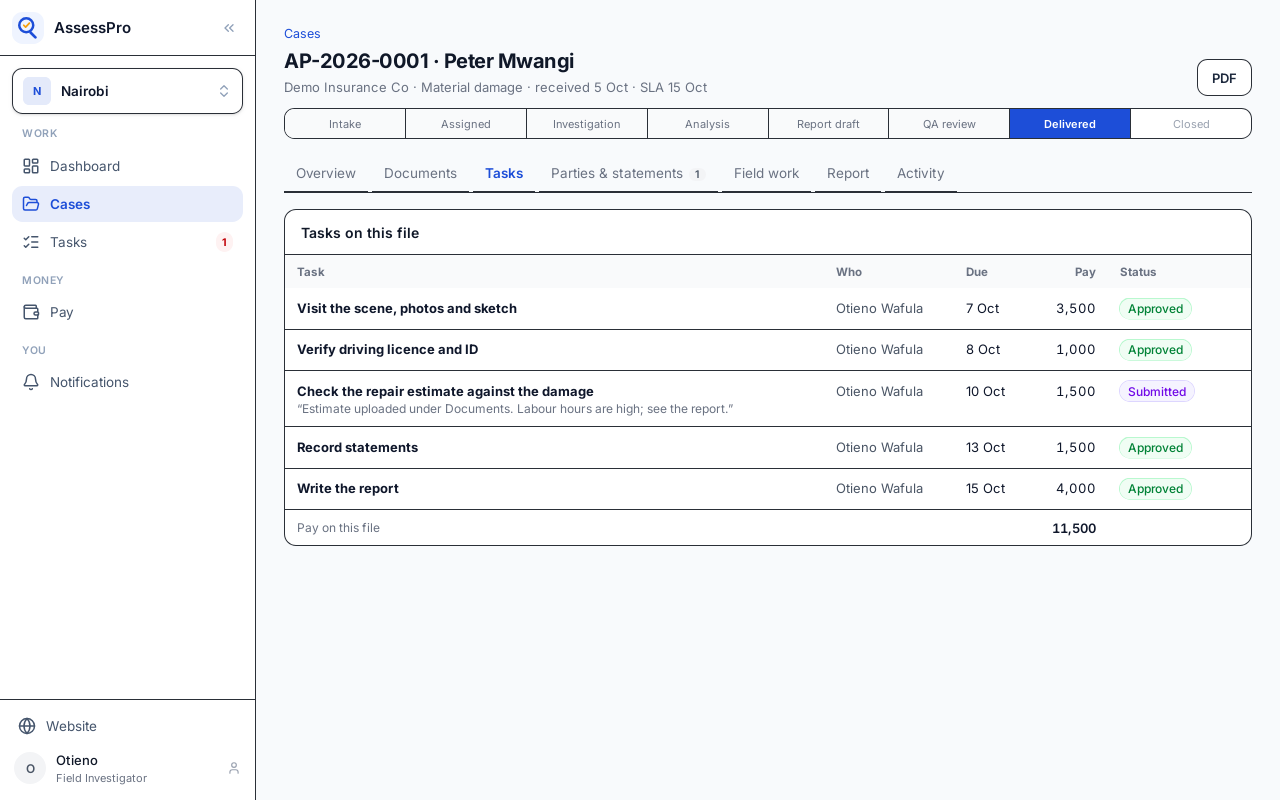
Chapter 13
The pay day, and paying the month's approved work
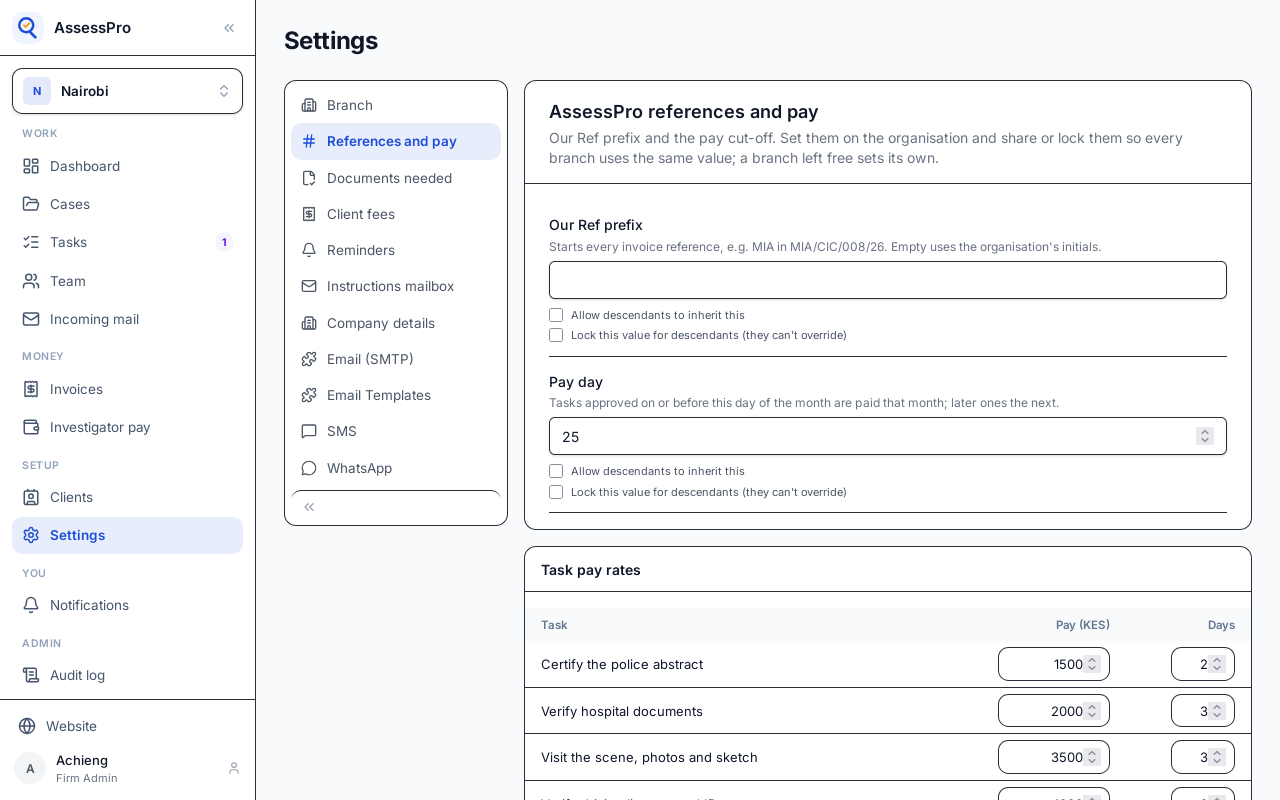
Investigators are paid in monthly cycles, and a cycle needs the branch's pay day. Until it is set, the dashboard asks for it.
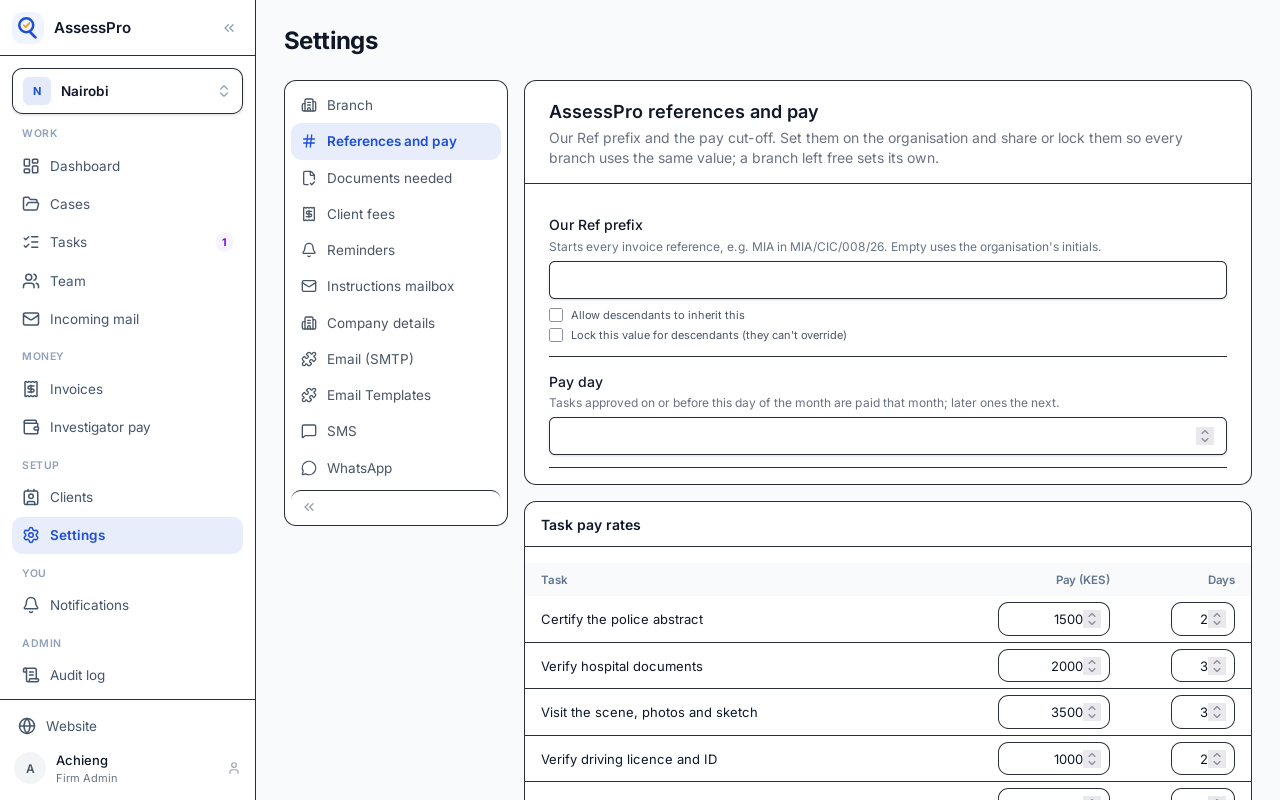
It is in Settings, under References and pay. Tasks approved on or before the pay day are paid that month, and later ones the next. Here, the 25th.
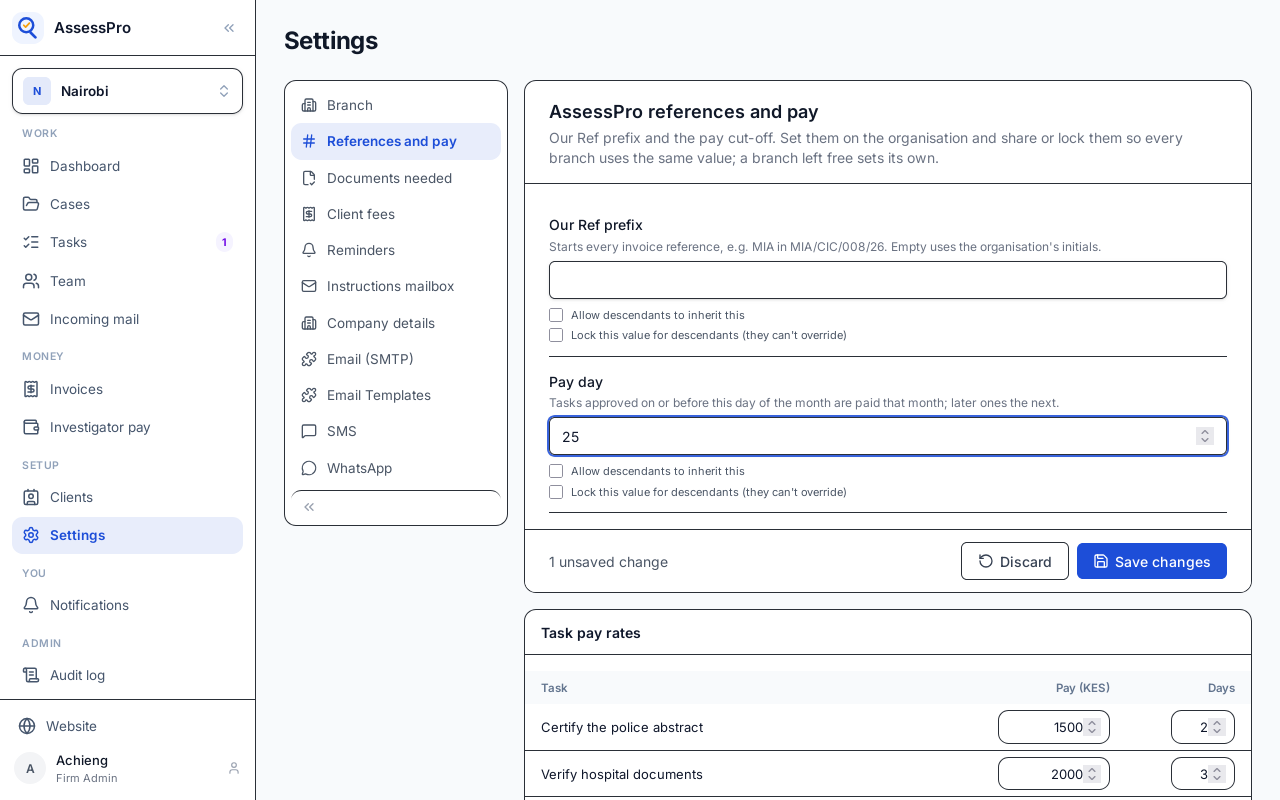
Choose Save changes.
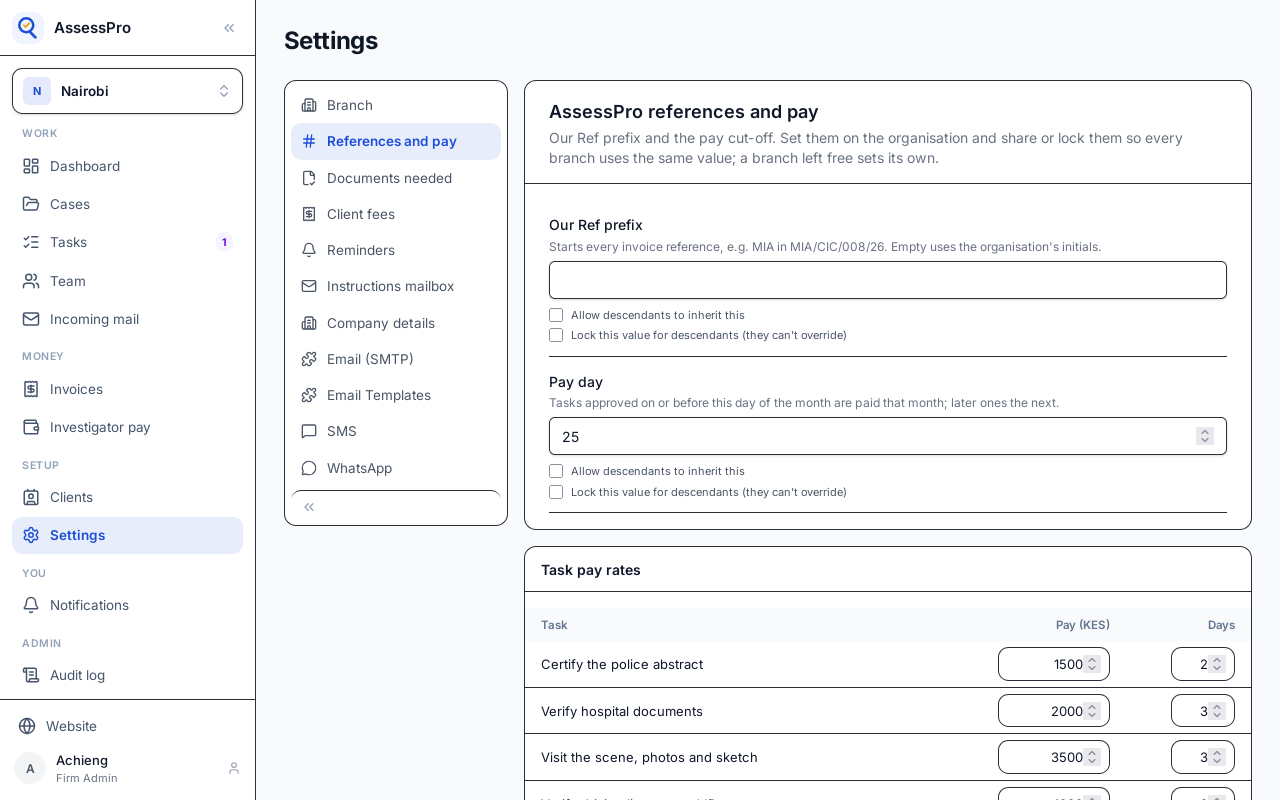
Below it, the task pay rates: what each standard task pays, and how many days it is given.
The resubmitted task is back in Needs you. Now that there is a pay day, Approve says which month's pay it goes into.
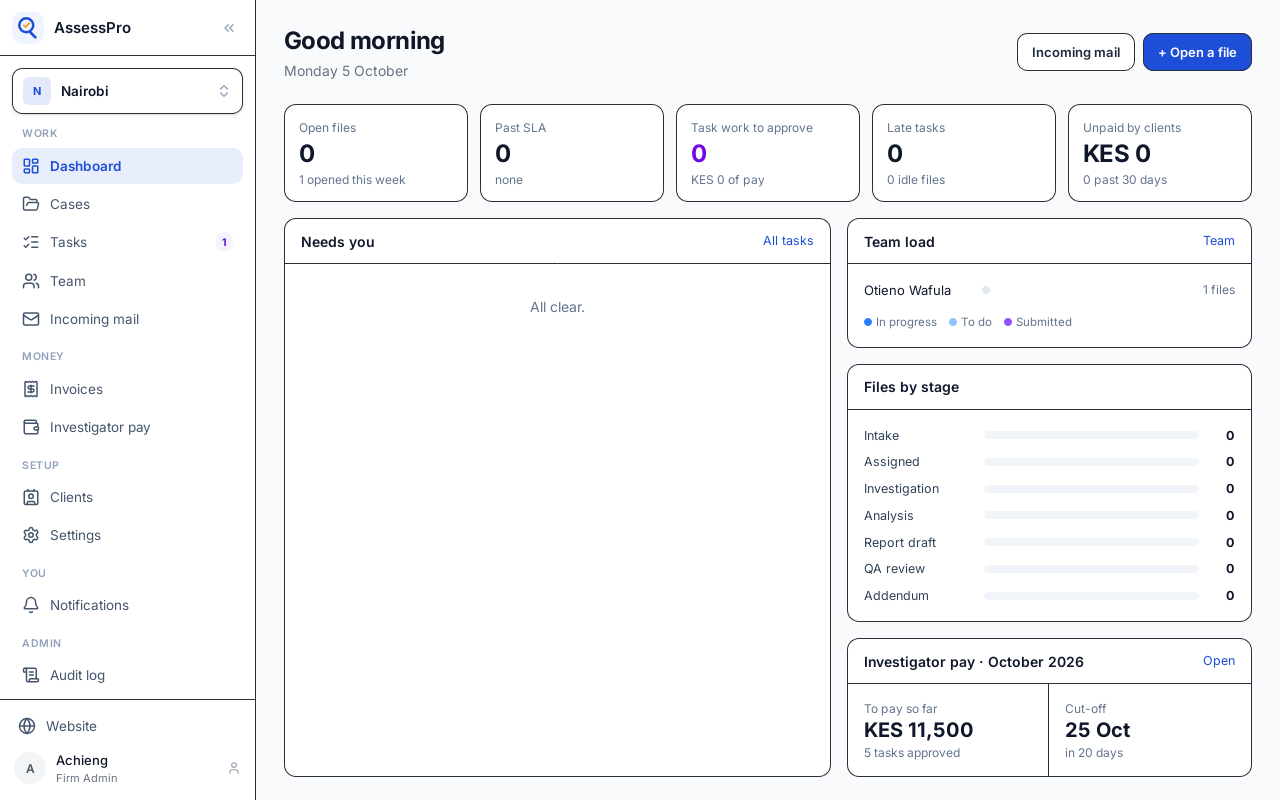
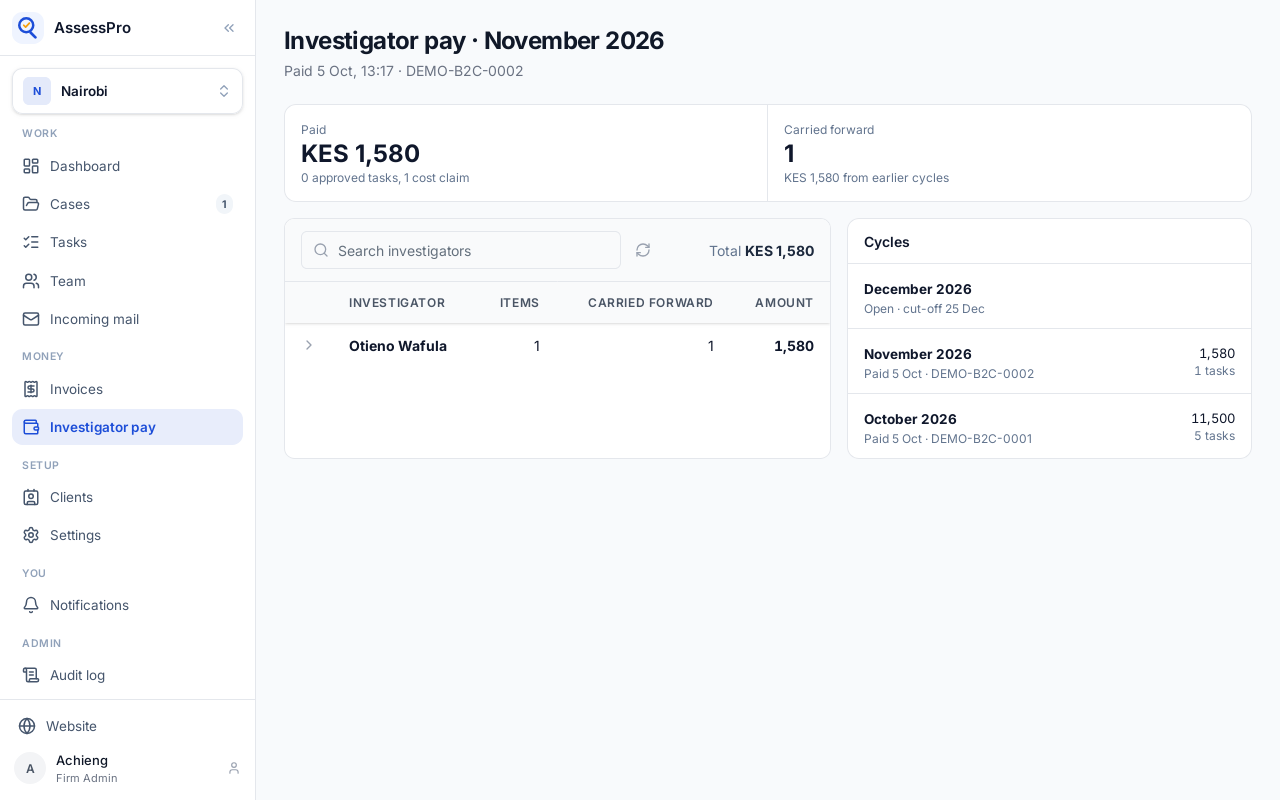
Investigator pay, under Money, shows the open cycle: the total so far, and the cut-off date.
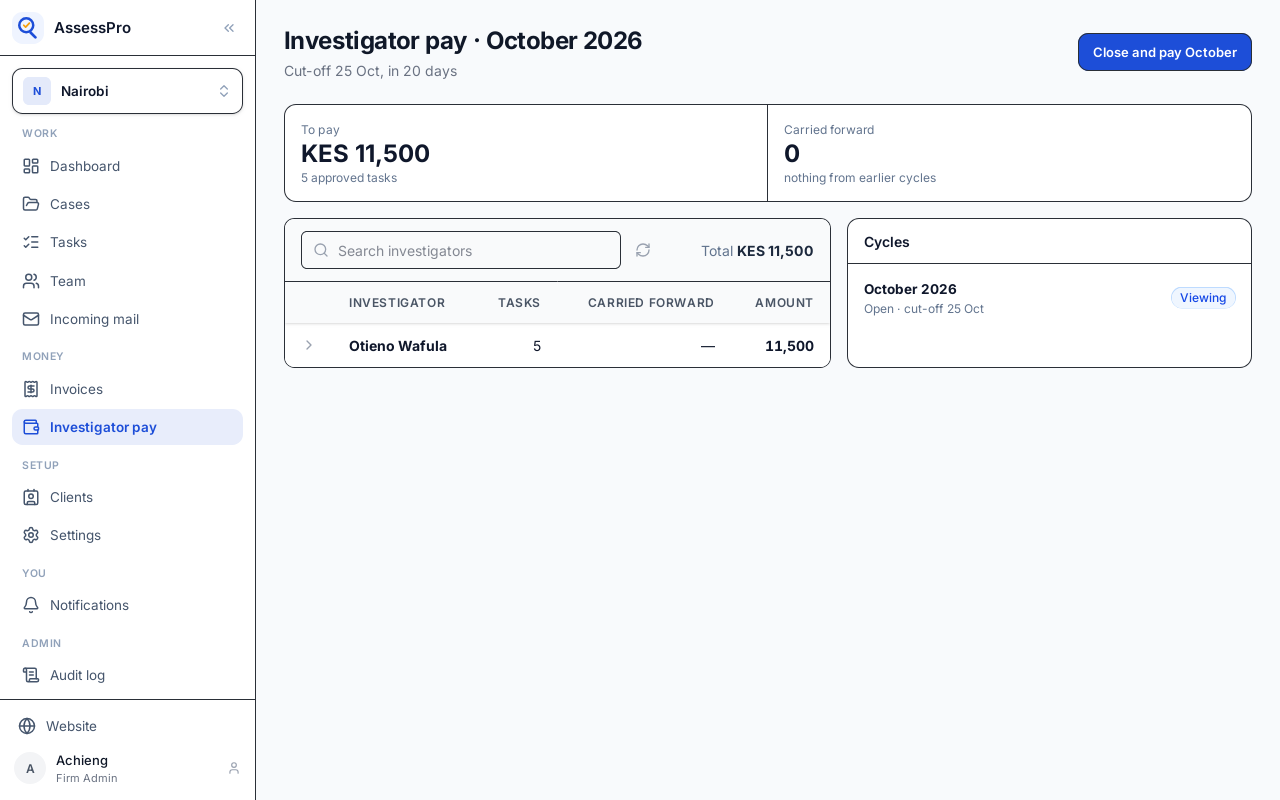
Each investigator is listed with how many approved tasks they have in the cycle, and the amount.
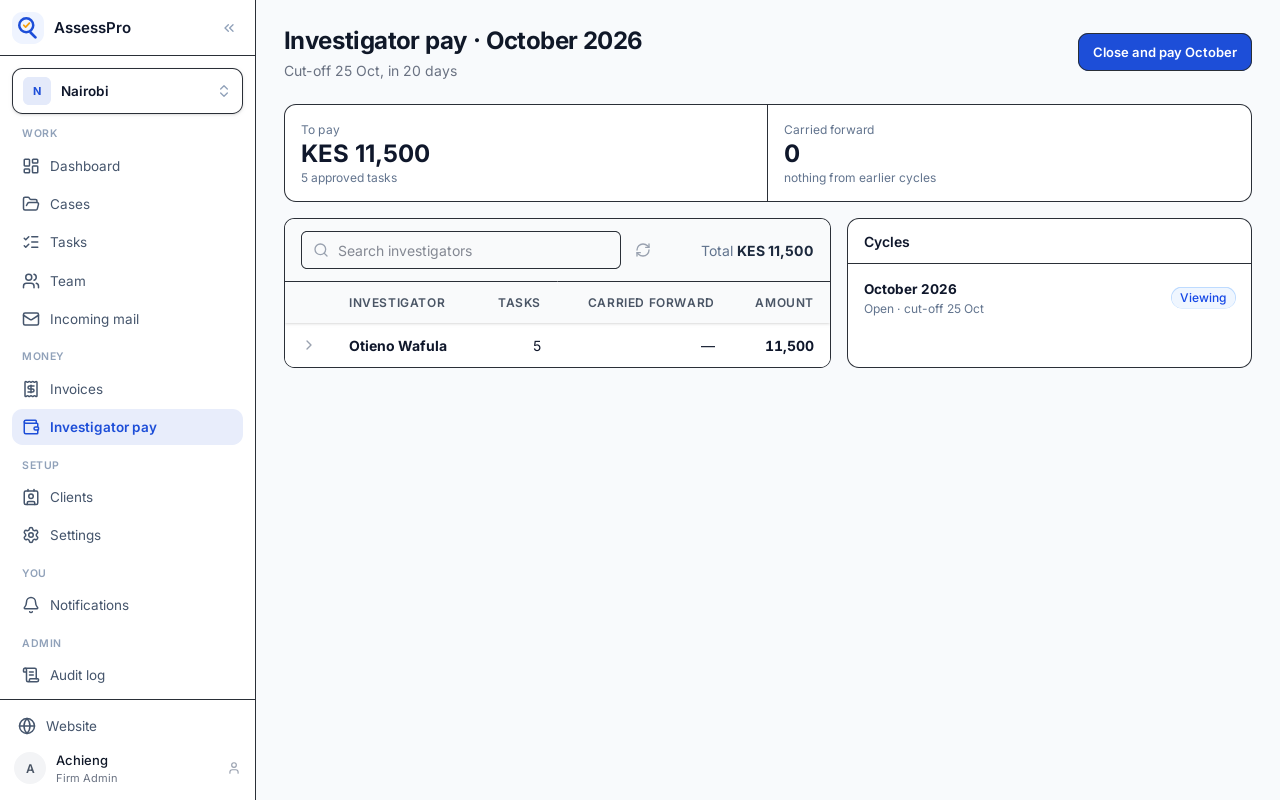
To pay, accounts or an admin chooses Close and pay, and adds the payment's reference.
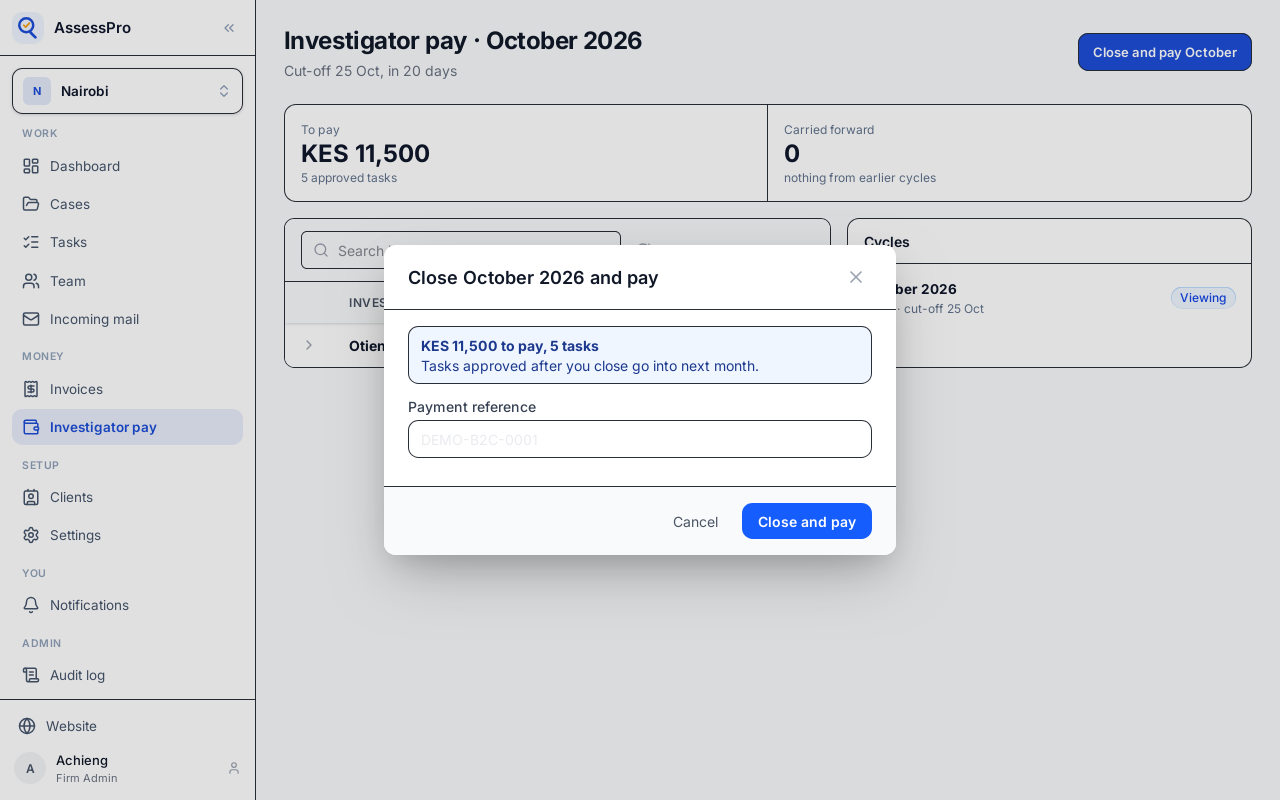
Closing pays every approved task in the cycle. Anything approved after that goes into the next month.
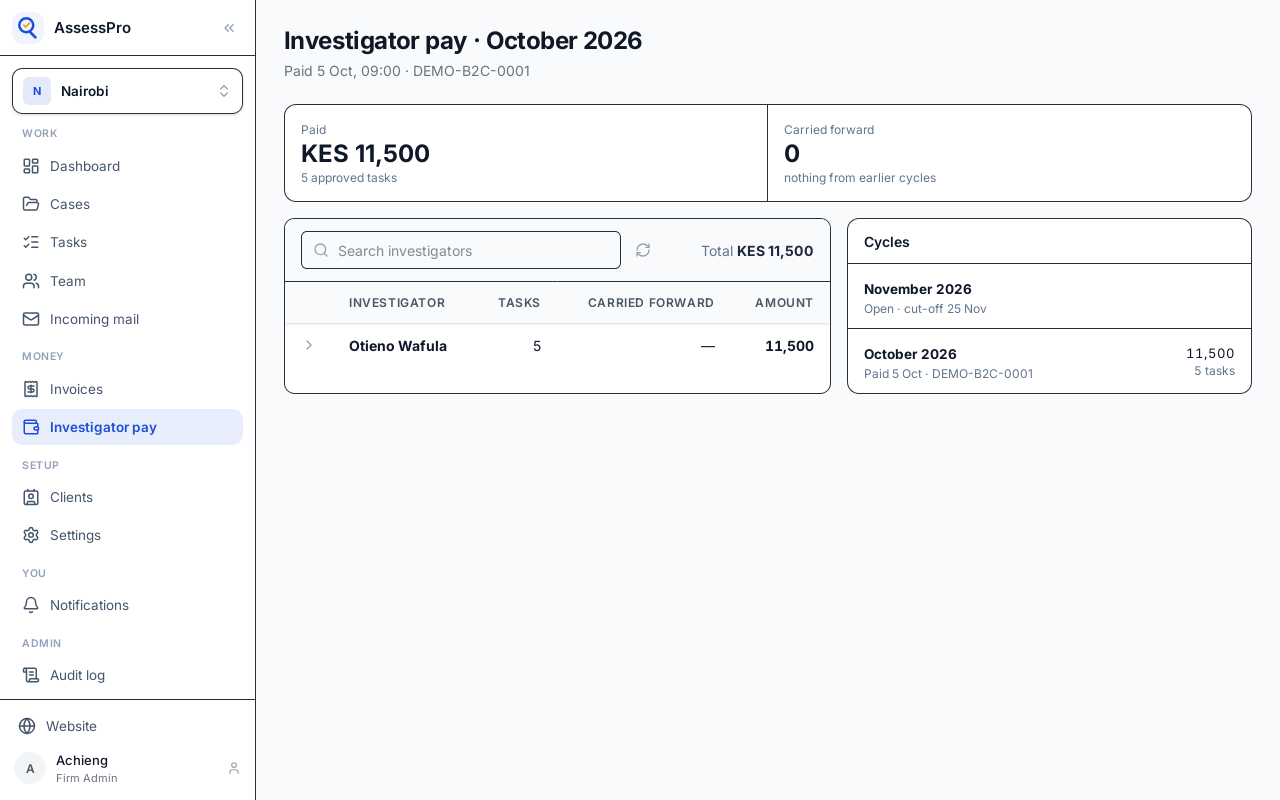
The cycle shows when it was paid and the reference, and the next month is open.
Chapter 14
Every branch at once: overview, branches, people and shared settings
Above the branches is the company. The switcher at the top of the menu has it, as All branches.
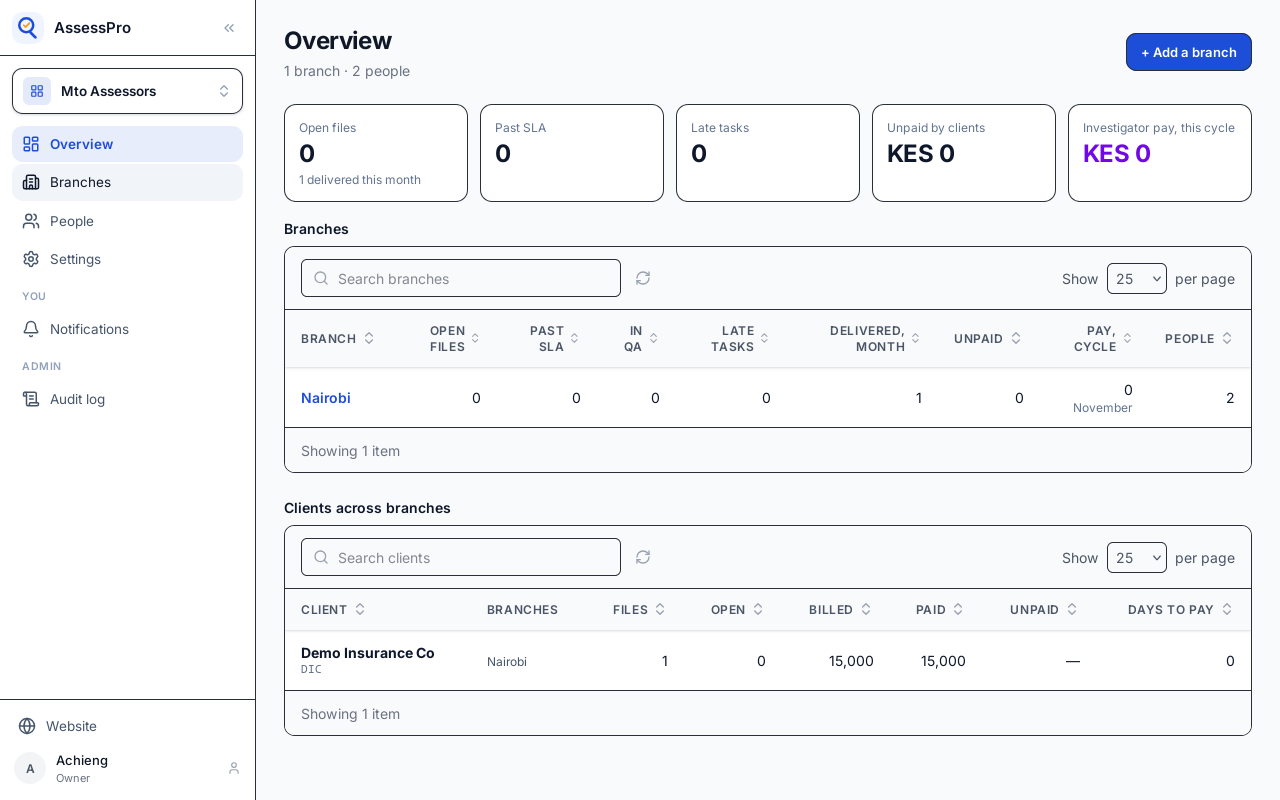
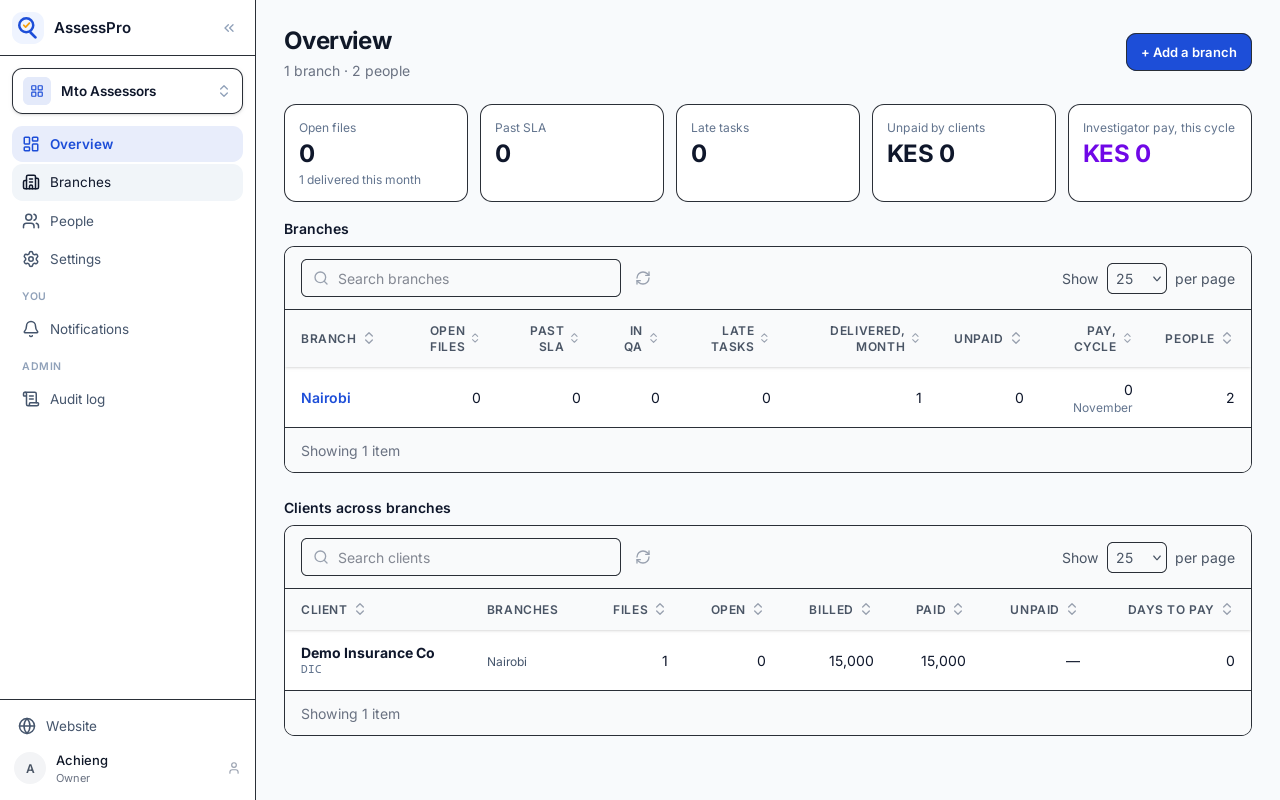
The company's Overview adds up every branch: open files, files past SLA, late tasks, what clients owe, and this cycle's investigator pay.
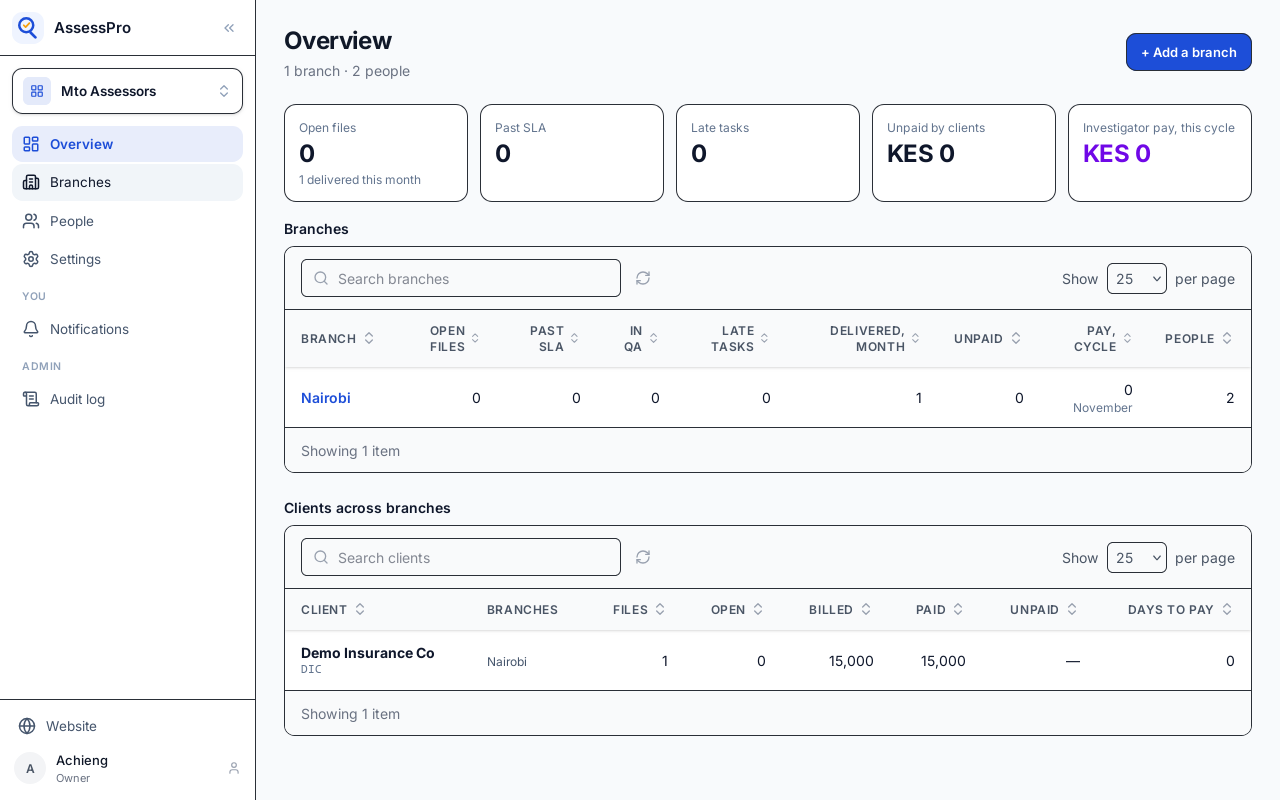
Below it, each branch on a row, then the clients across branches: what they were billed, what they paid, and how long they take to pay.
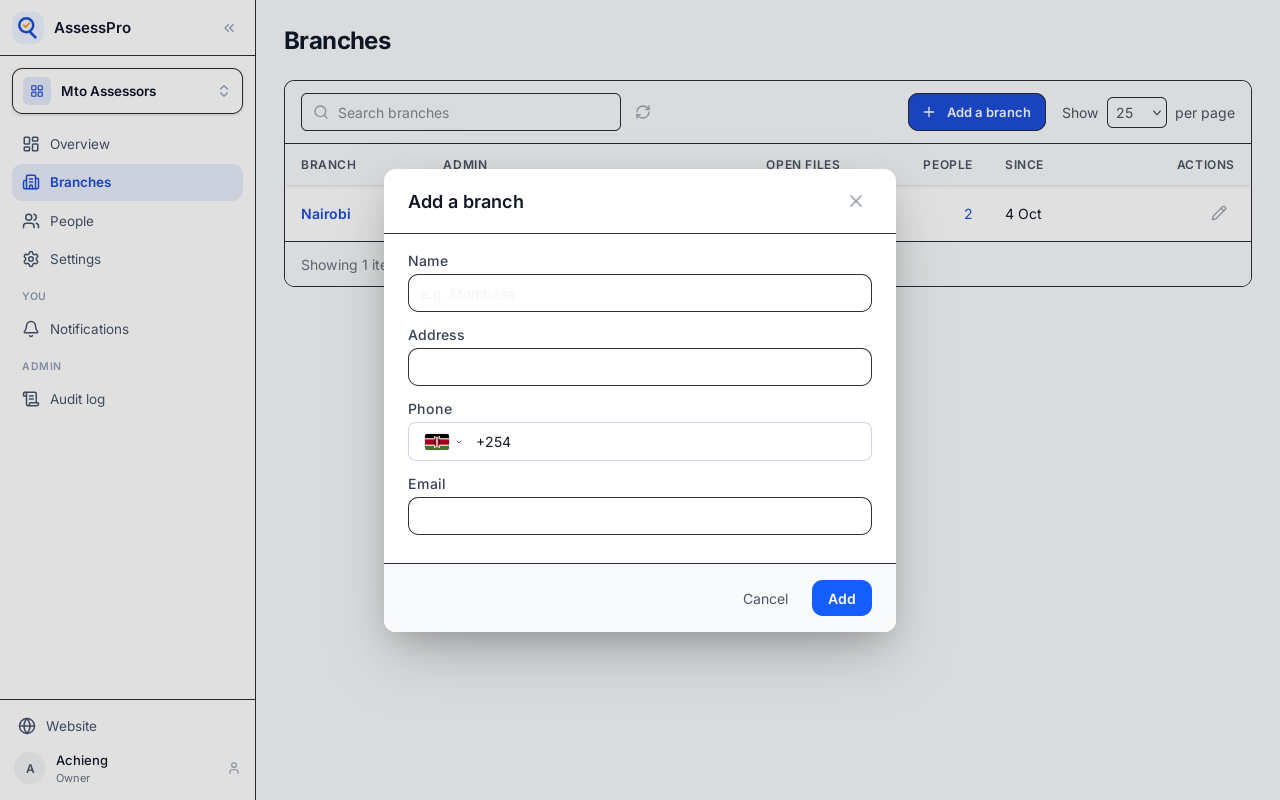
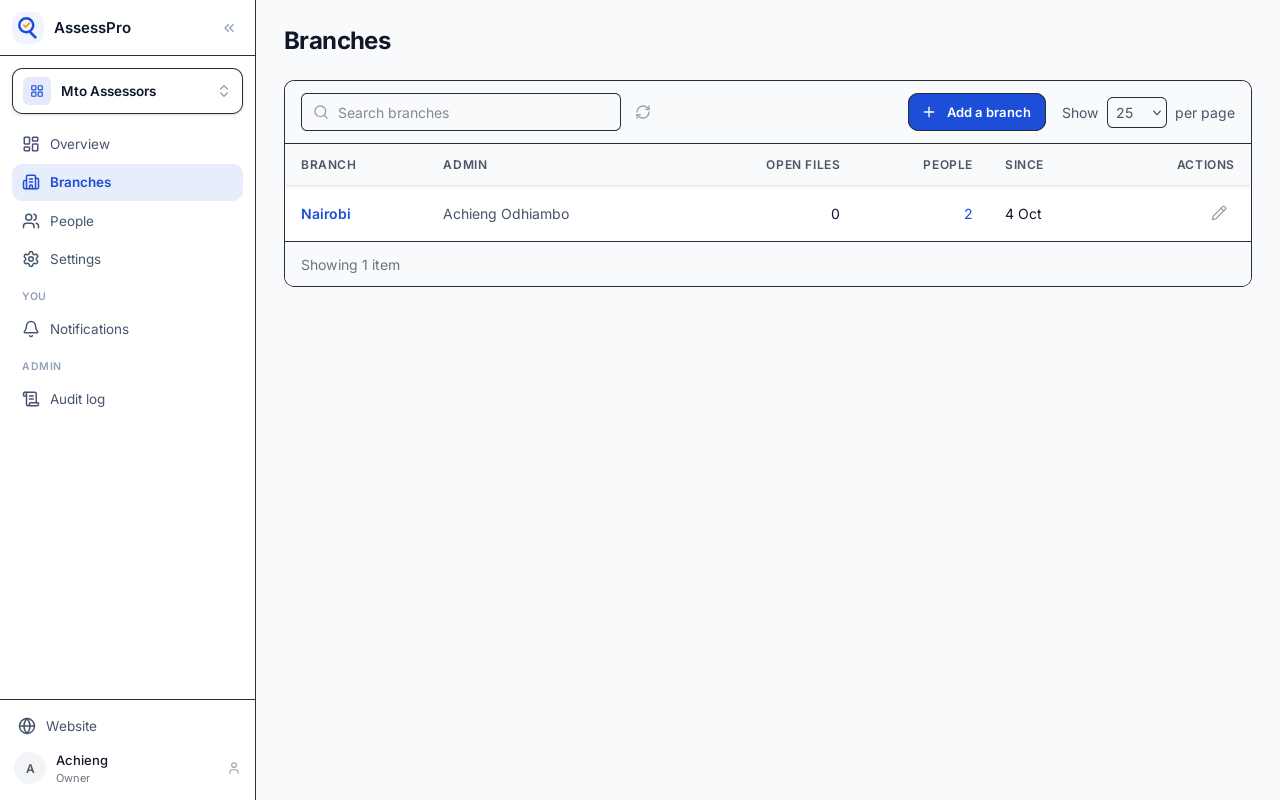
Branches lists them with their admin, open files and people. Add a branch opens another one: its name, address, phone and email.
Whoever adds a branch is its admin, and invites its people from that branch's Team page.
People is everyone in the company, with each branch they work in and their role there.
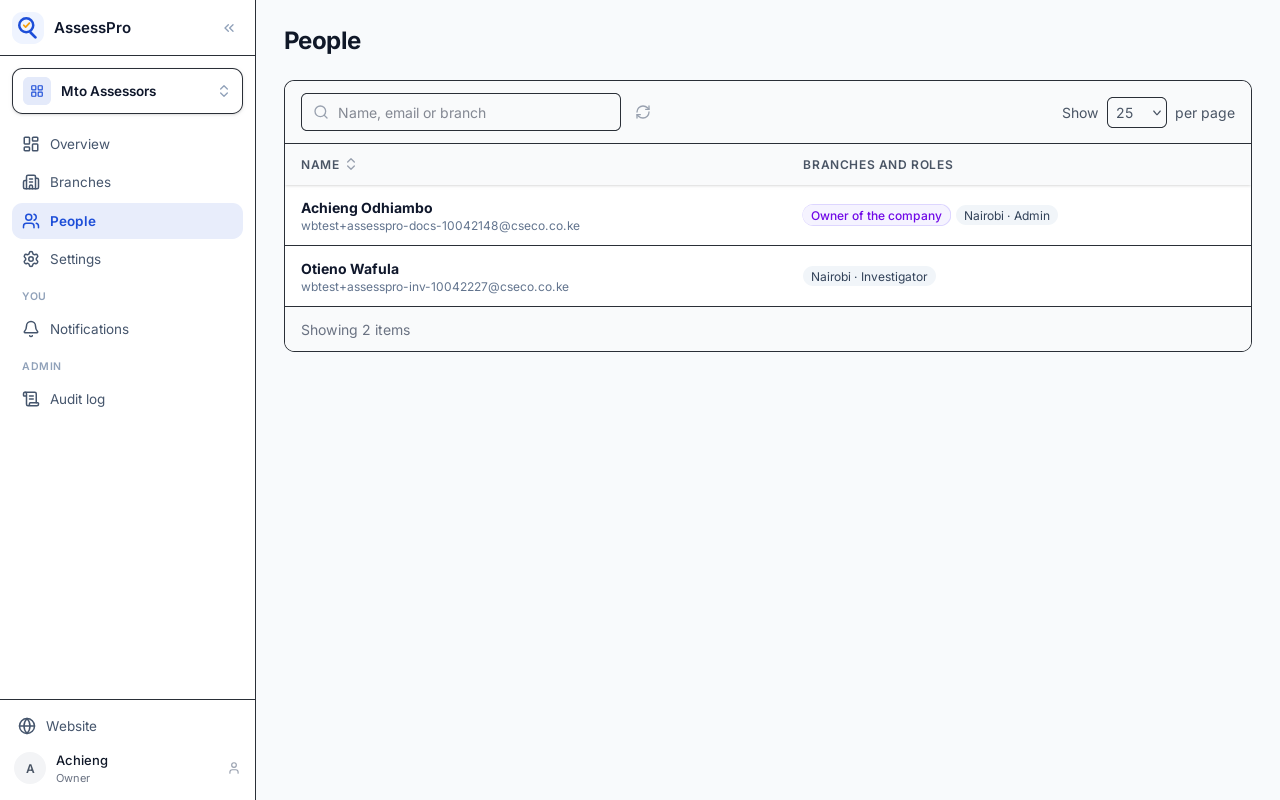
Settings here sets values for the whole company: the Our Ref prefix, the pay day, and the task pay rates.
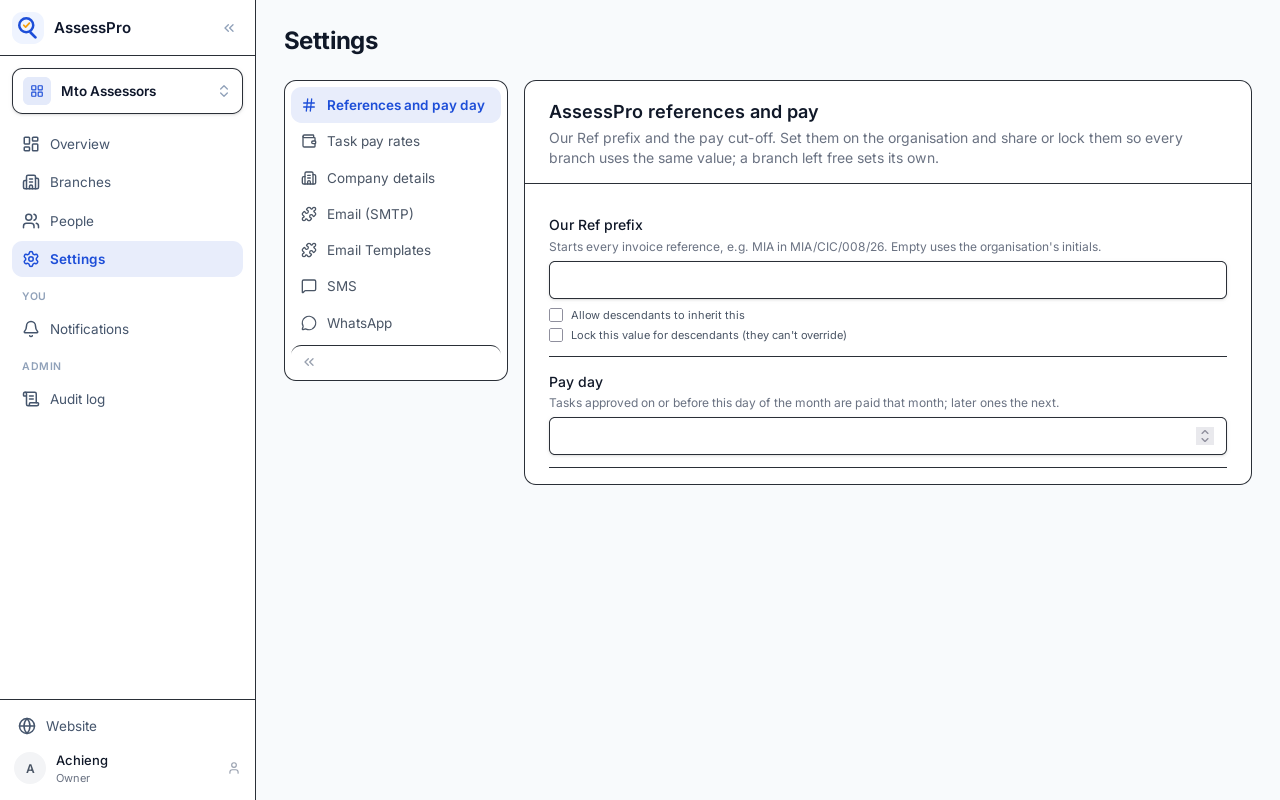
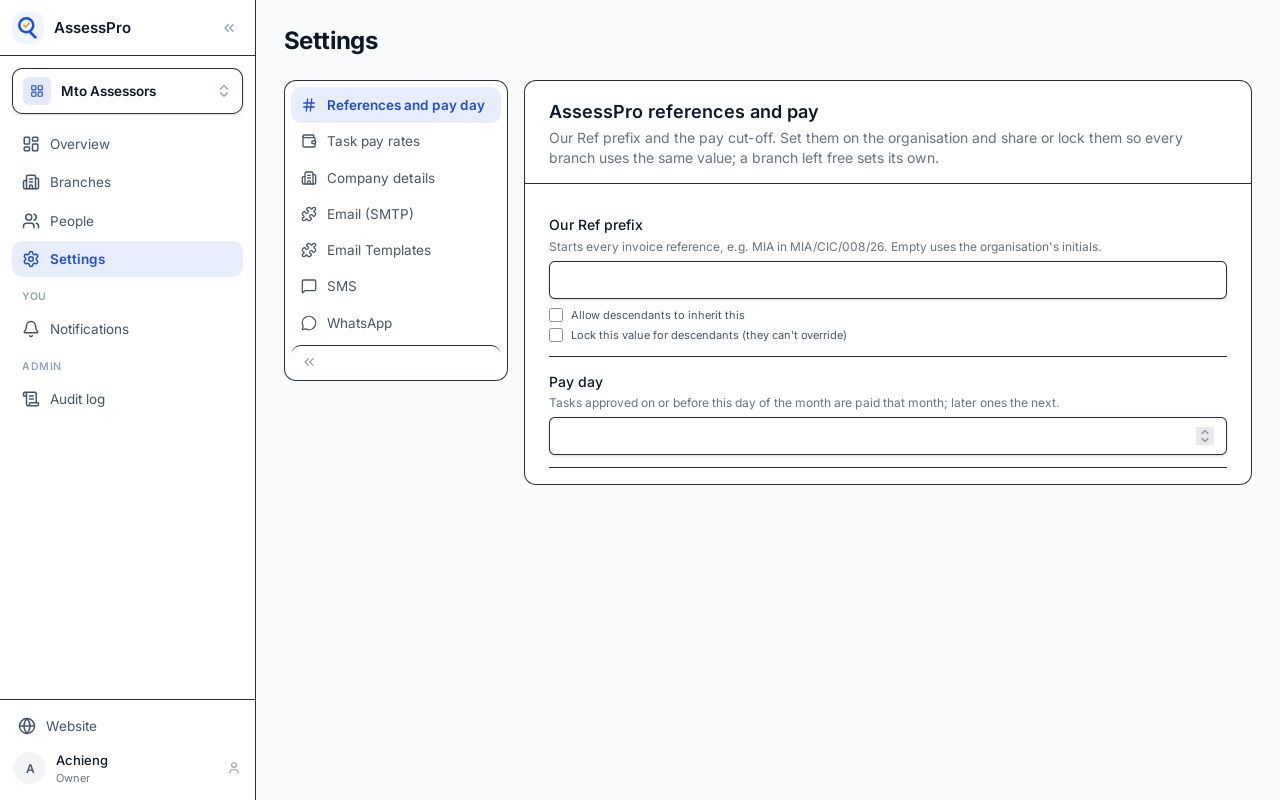
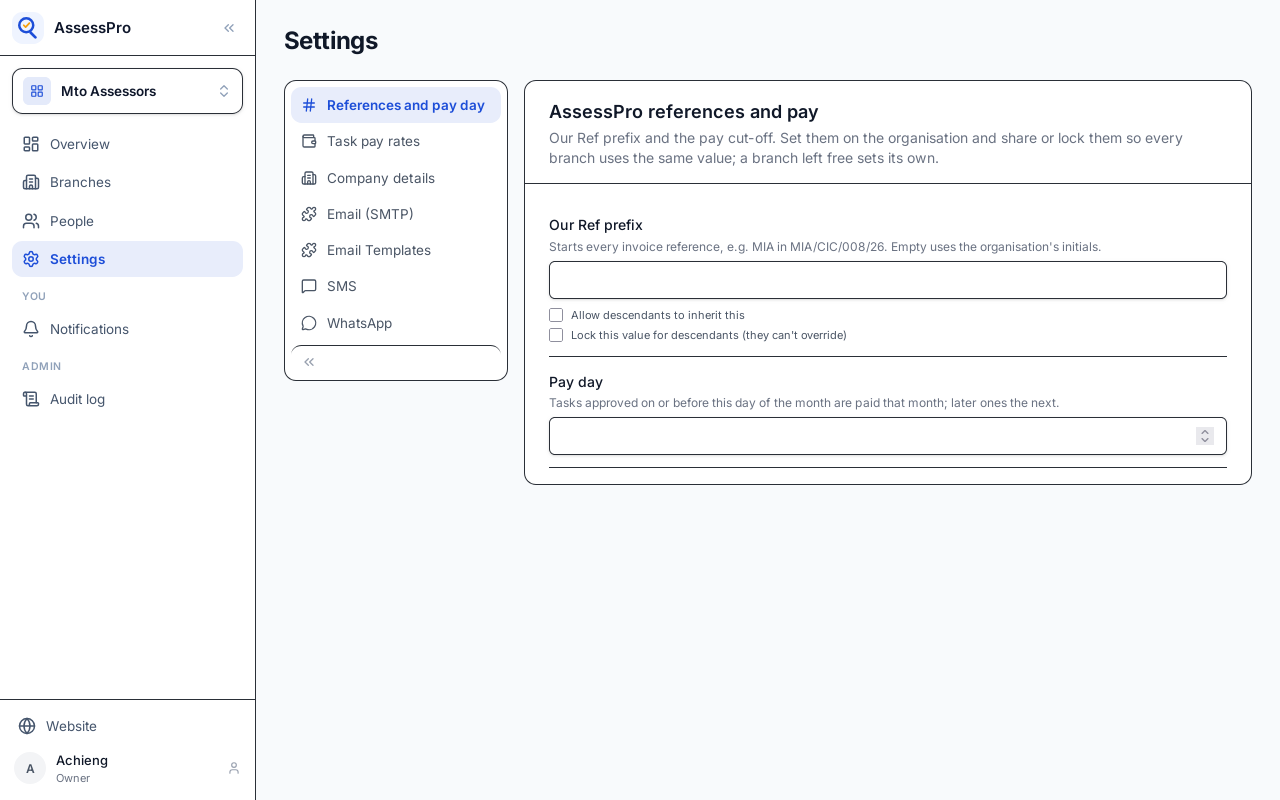
A value set for the company can be shared, so a branch starts from it and may change it, or locked, so no branch can.
That is a file's whole round in AssessPro, from the client's instruction to the investigator's pay.
Chapter 15
Clients email their instructions; the branch opens files from them
A branch can take its instructions straight from email. Settings, Instructions mailbox, sets it up.
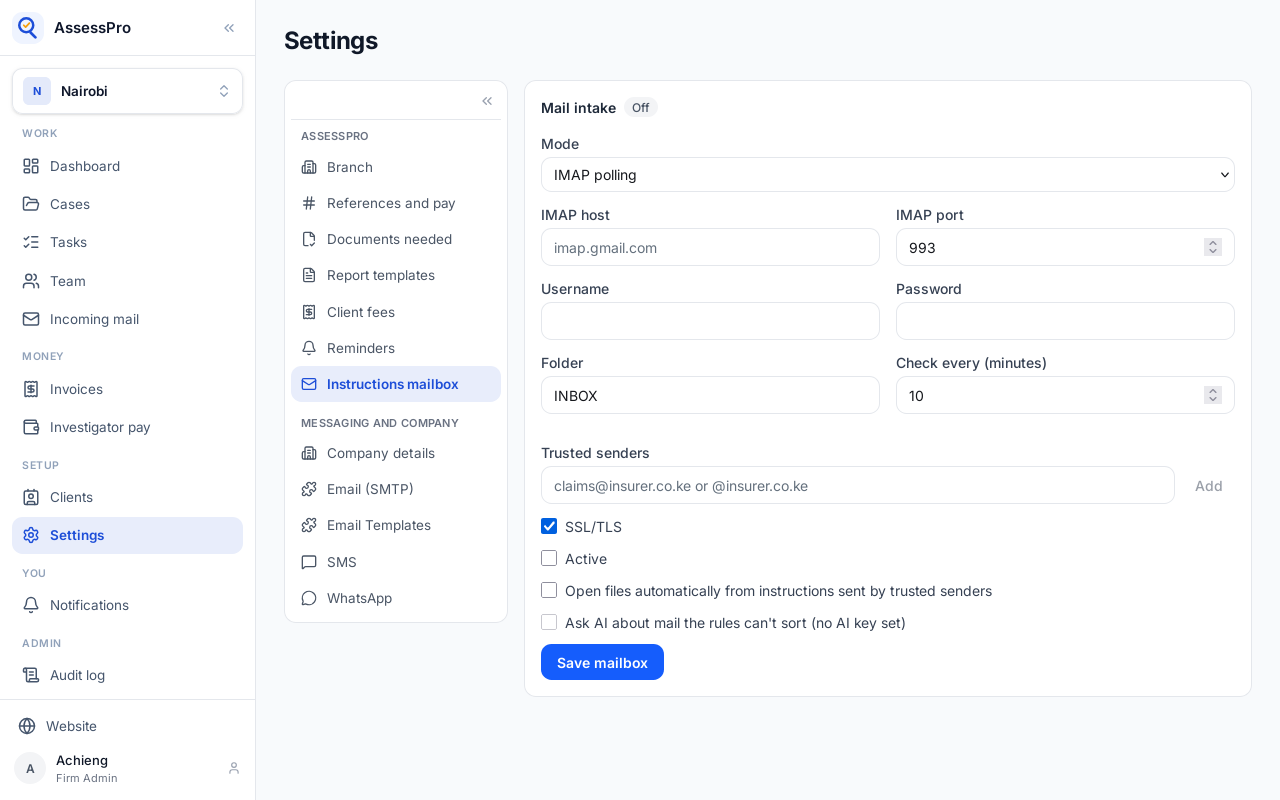
With IMAP polling, the branch checks a mailbox on a schedule: the host, port, username and password, the folder, and how many minutes between checks.
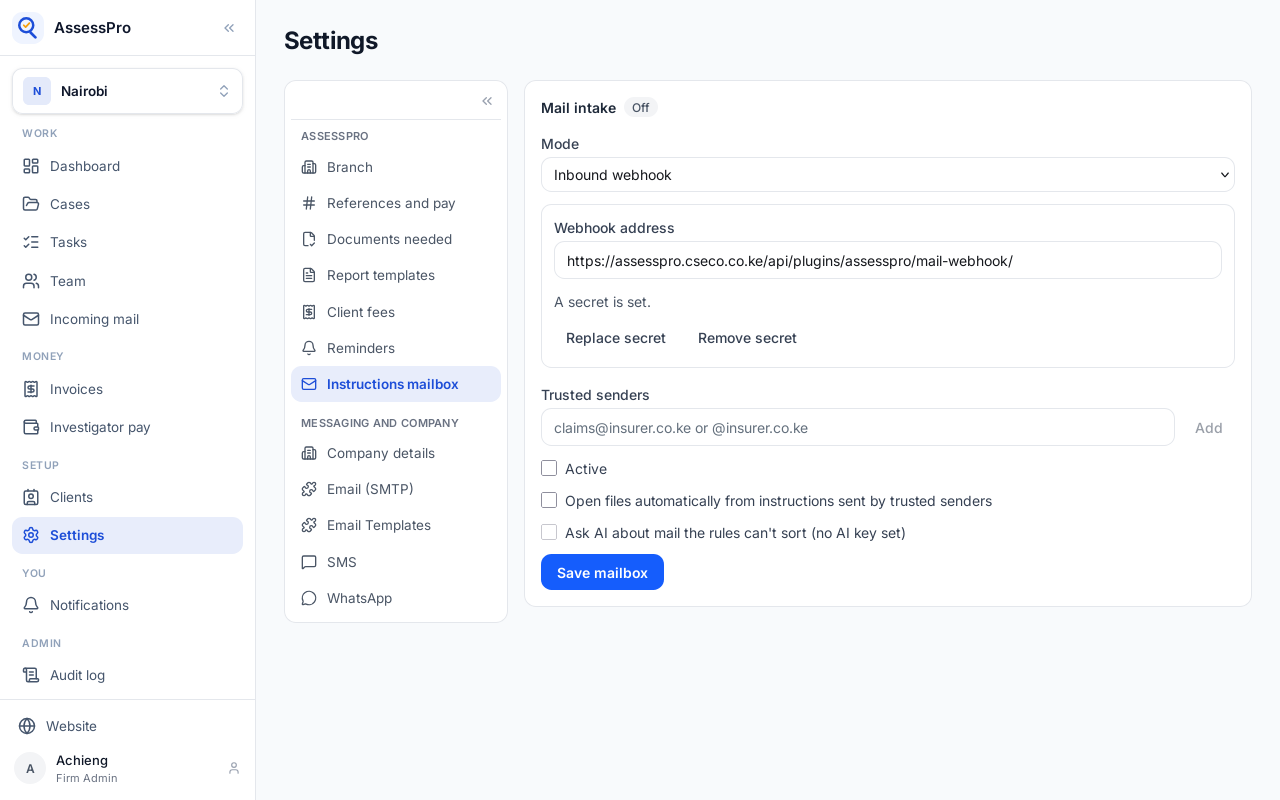
With an inbound webhook, the mail provider sends each email here instead. It sends the secret with every email, and the secret is shown once, when it is made.
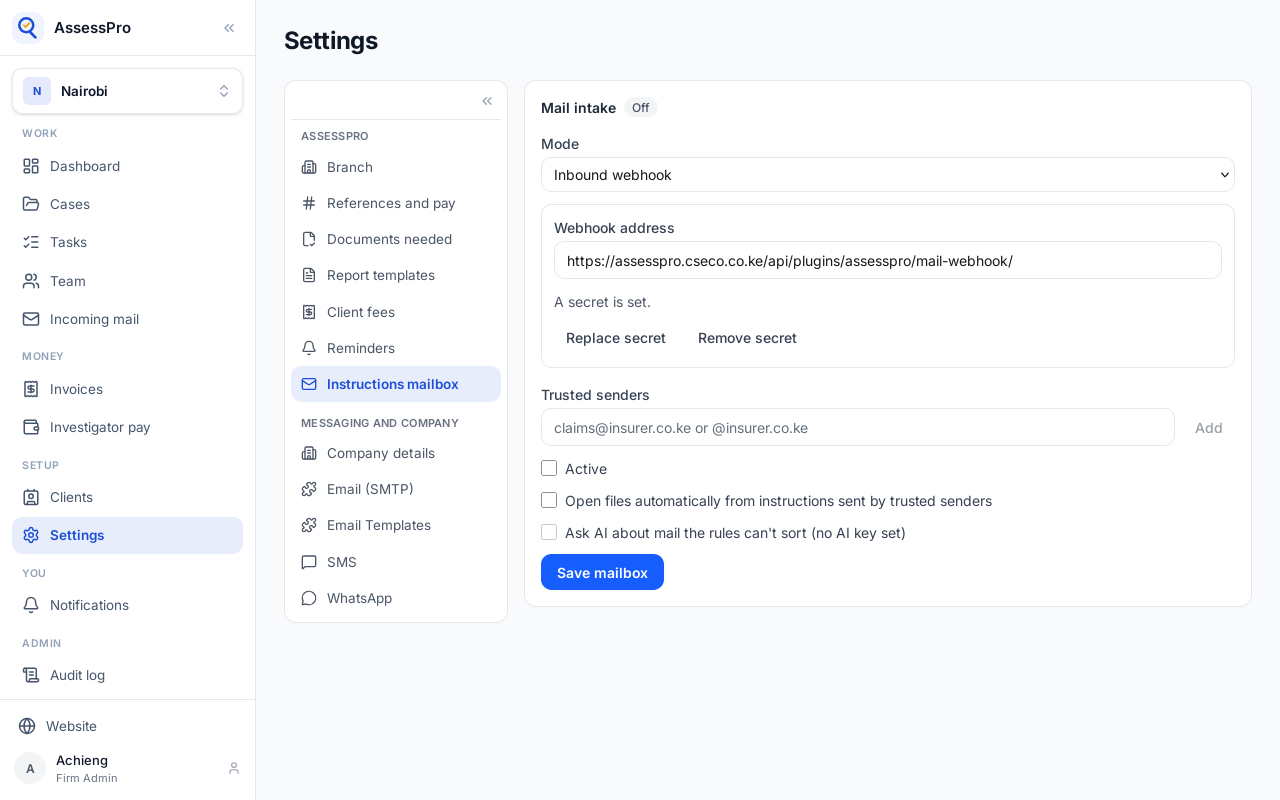
Trusted senders are the addresses and domains whose instructions count. A client's own email address is trusted already. Add another, an address or a whole domain.
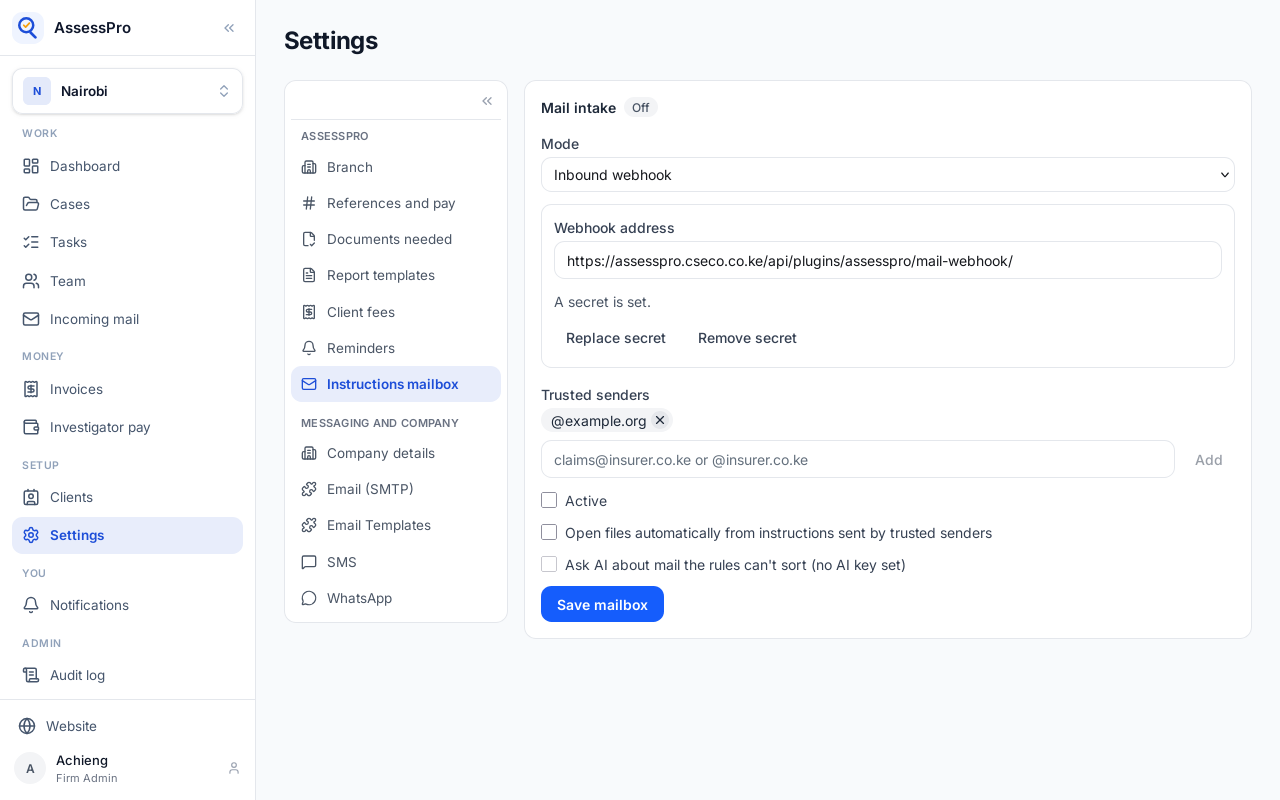
Turn the mailbox on, and choose whether instructions from trusted senders open files by themselves.
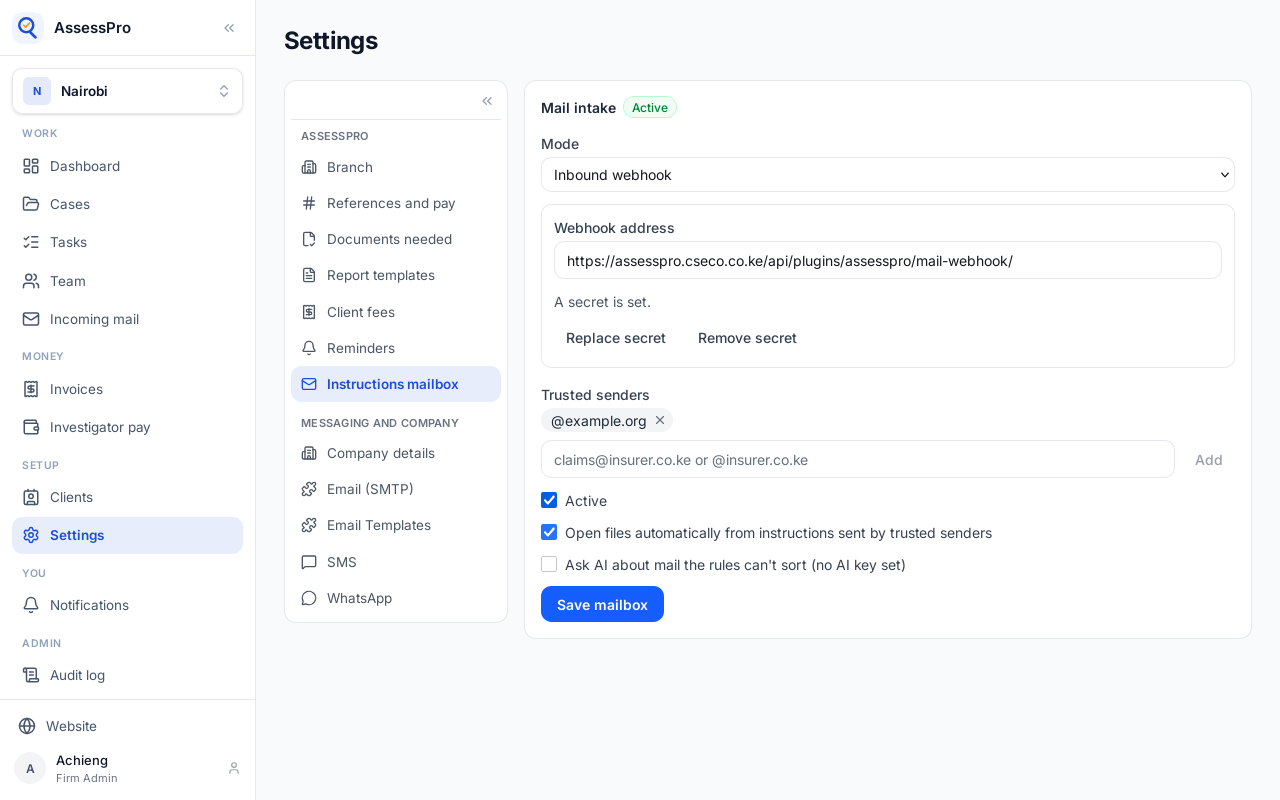
Ask AI is for mail the rules can't sort. It needs an AI key, and none is set for this branch, so it stays off.
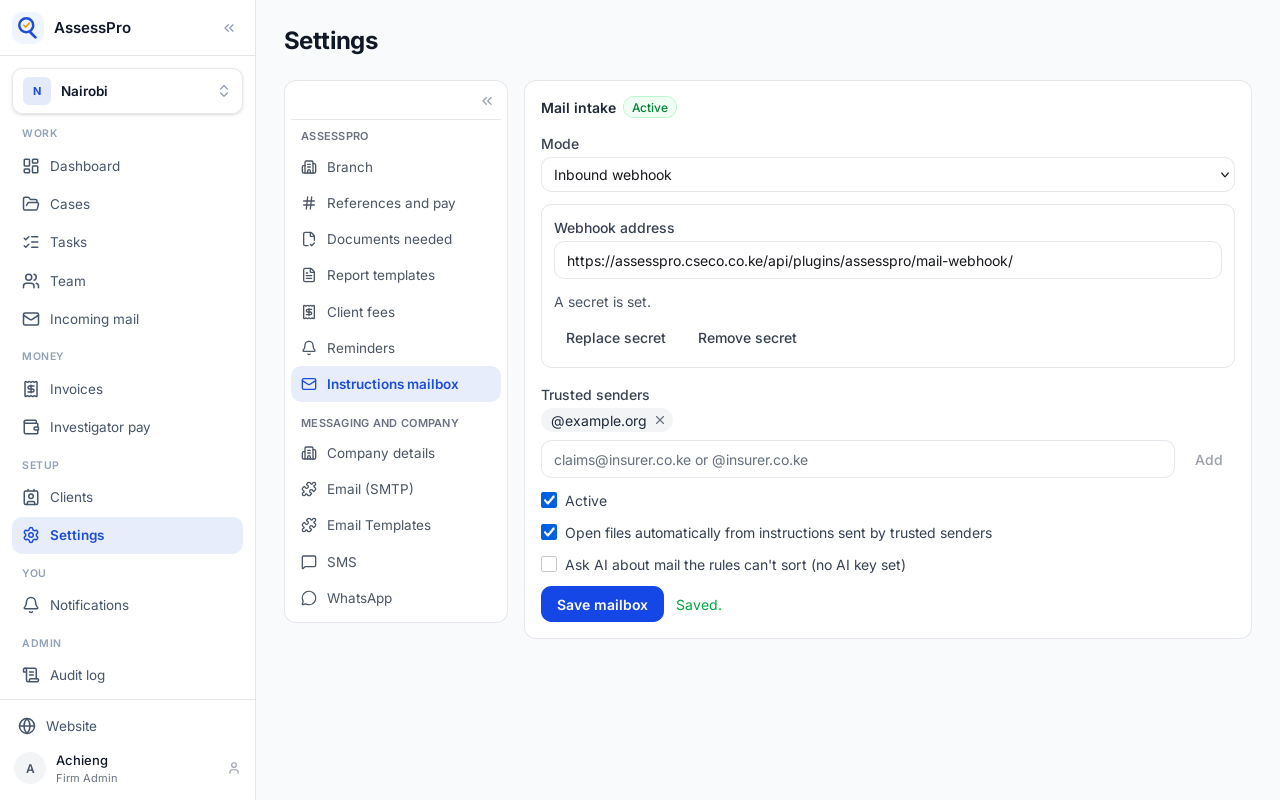
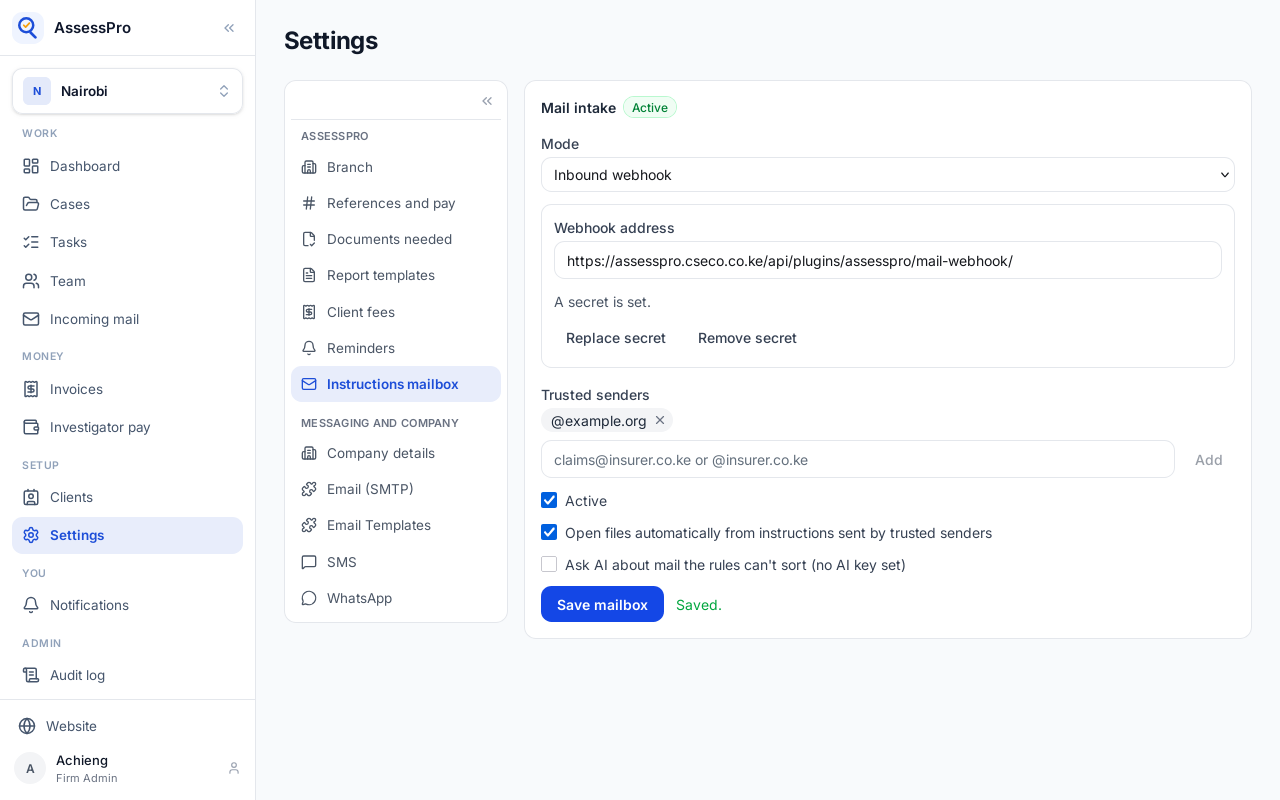
Save mailbox.
Emails then show under Incoming mail.
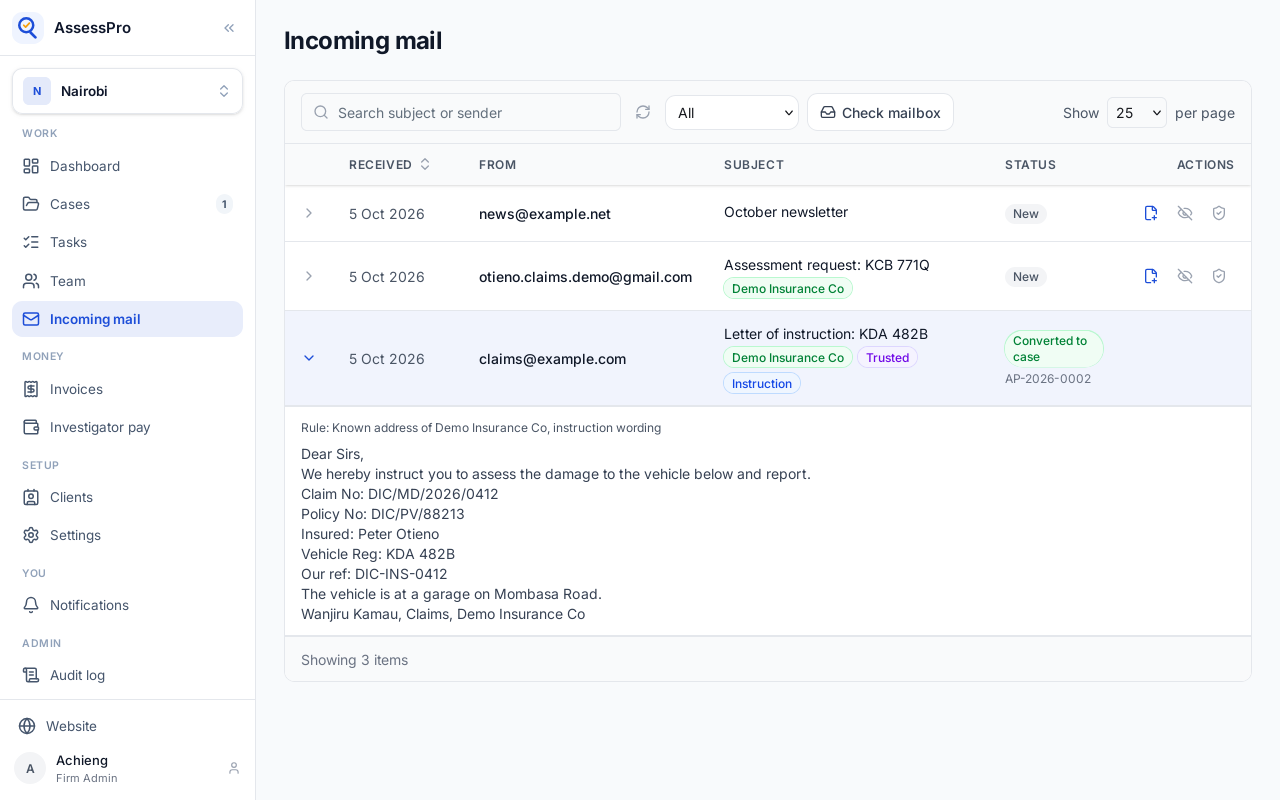
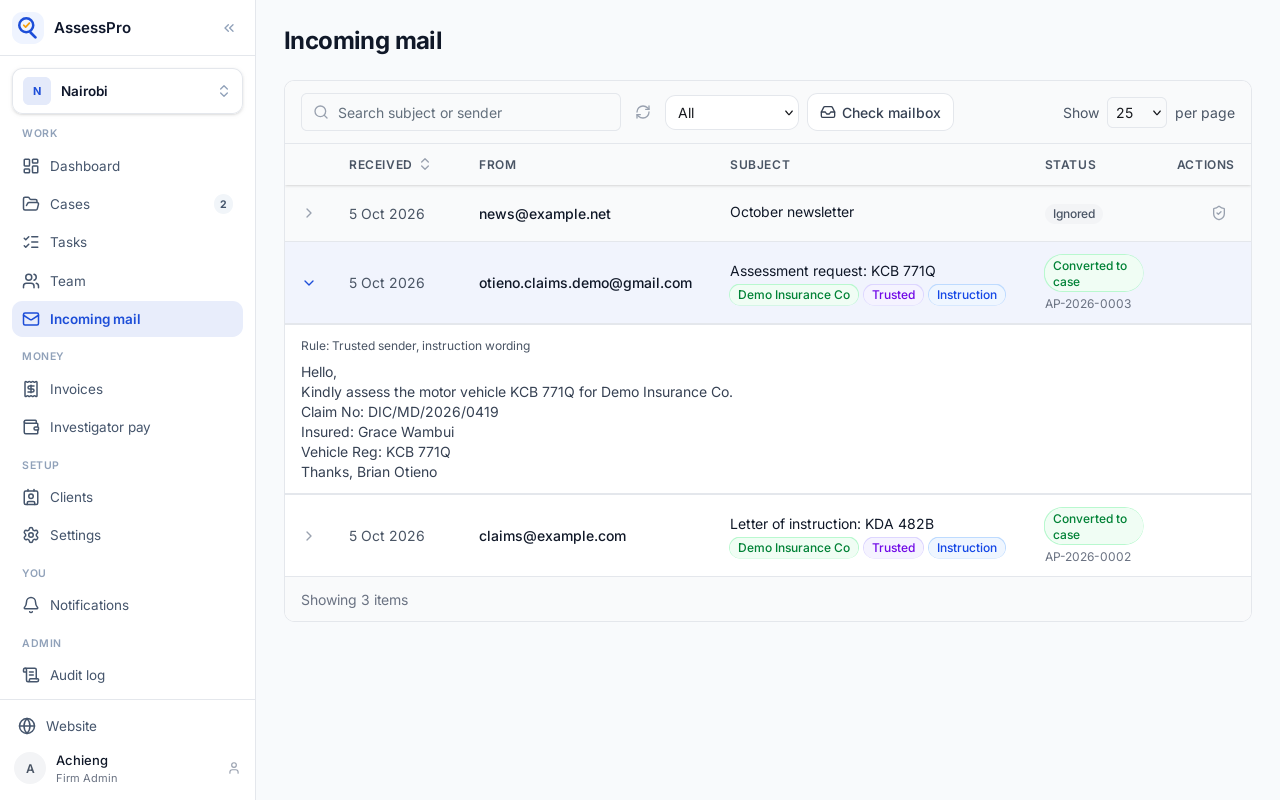
Opening a row shows how it was sorted. The instruction from the client's own address opened a file by itself, with the claim number, the insured and the vehicle read from the email. The file's number is under Converted.
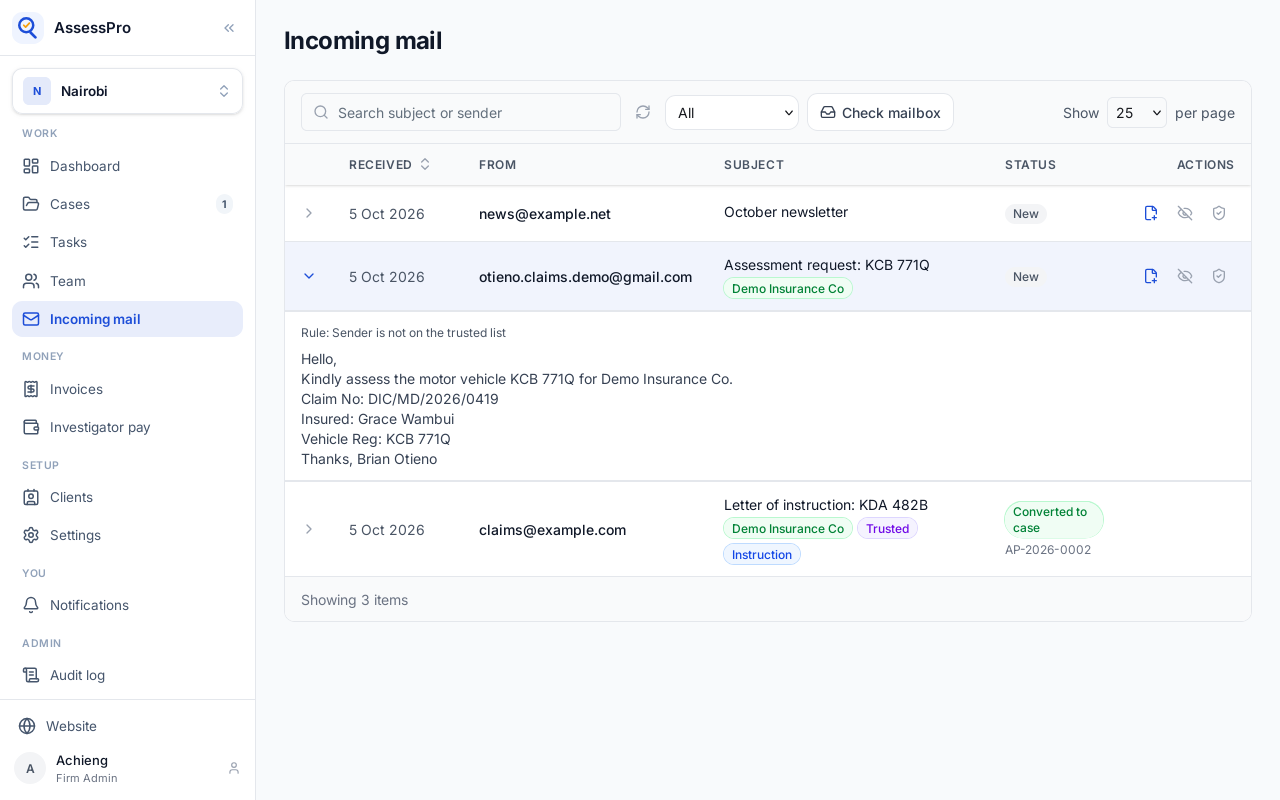
The instruction from a webmail address is waiting. Its sender is not on the trusted list.
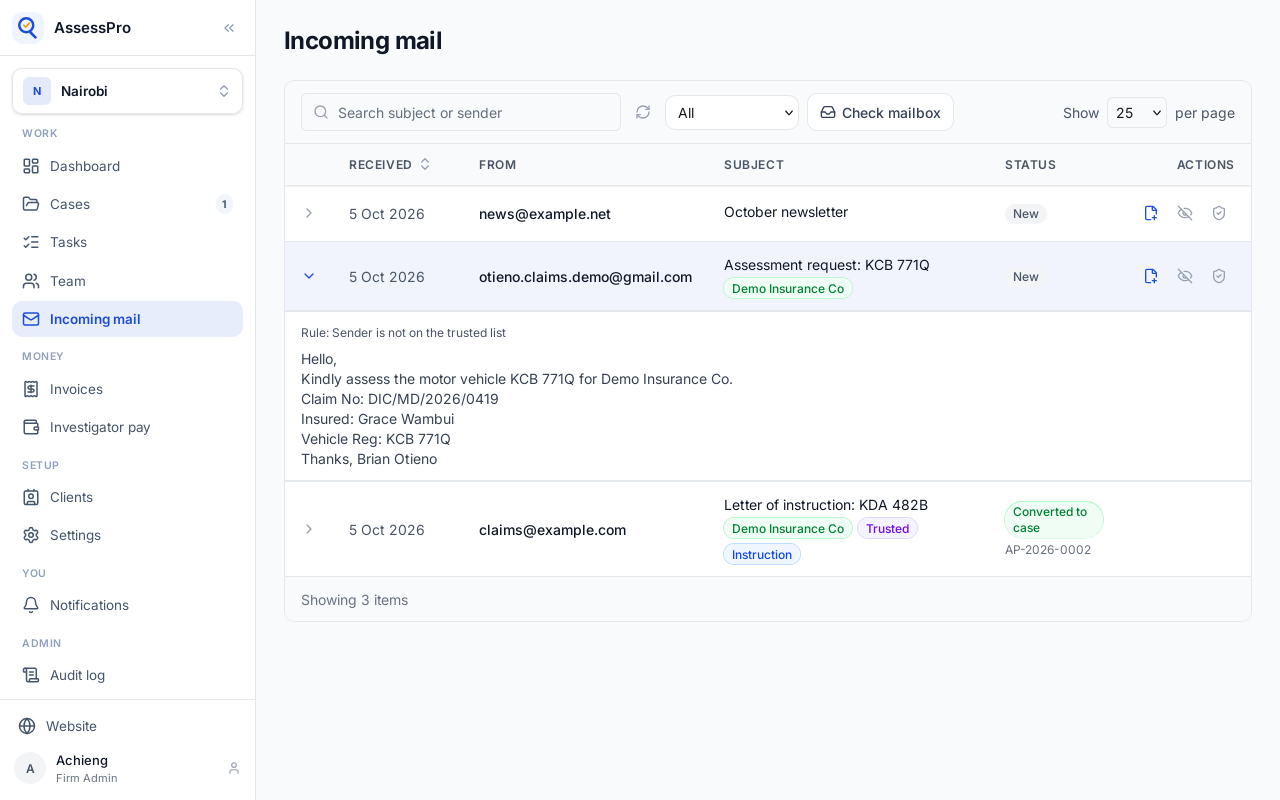
If it is someone the branch works with, Trust this sender. For a company's own domain it also offers anyone at that domain; for webmail, only the address.
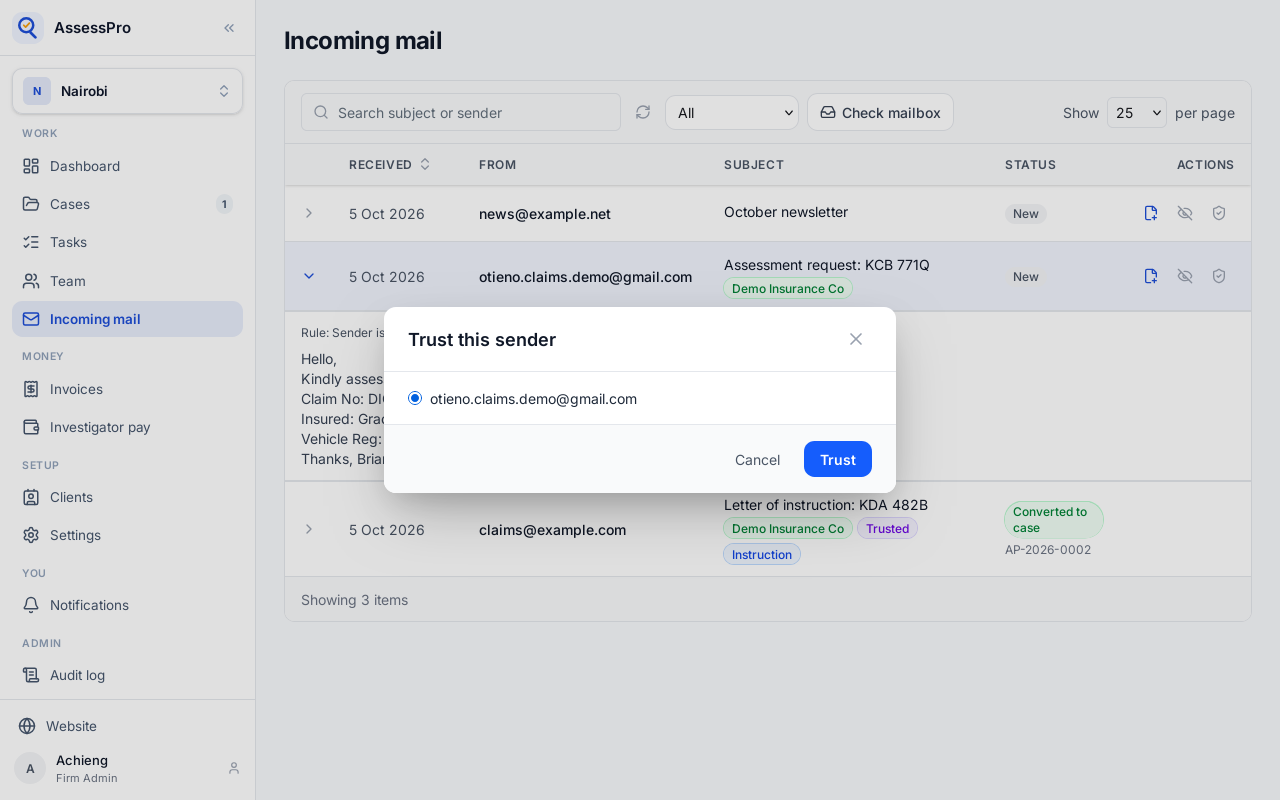
Choose Trust.
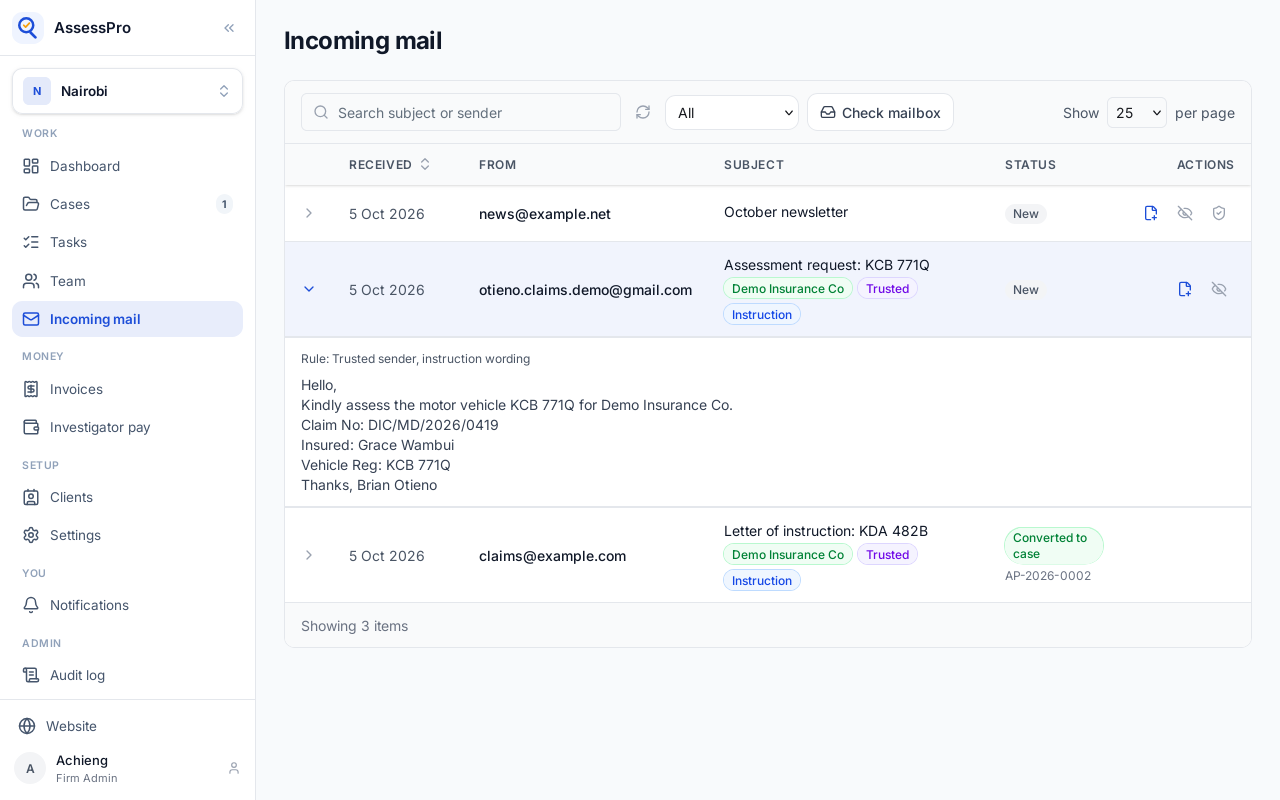
It is marked Trusted and read as an instruction now. Trusting a sender never opens a file by itself, so open this one by hand.
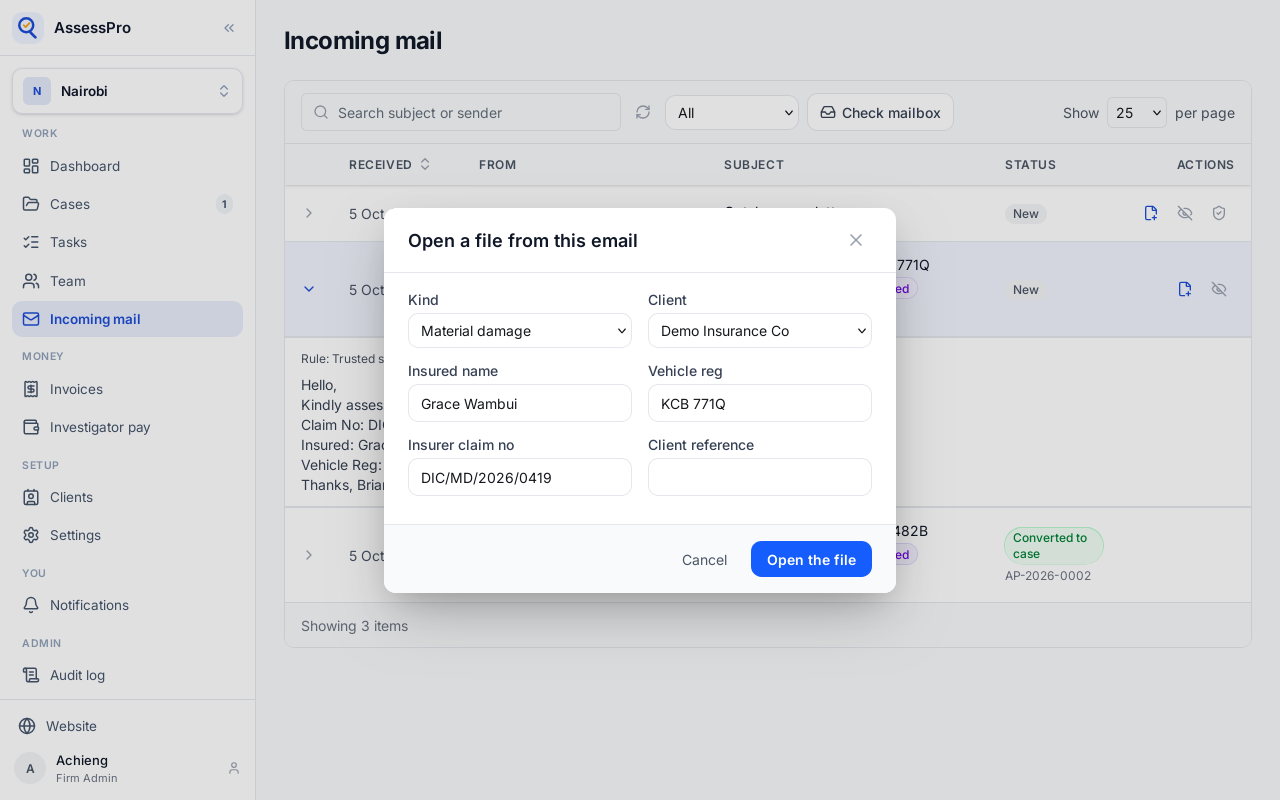
The details found in the email are filled in. Check the kind and the client, then Open the file.
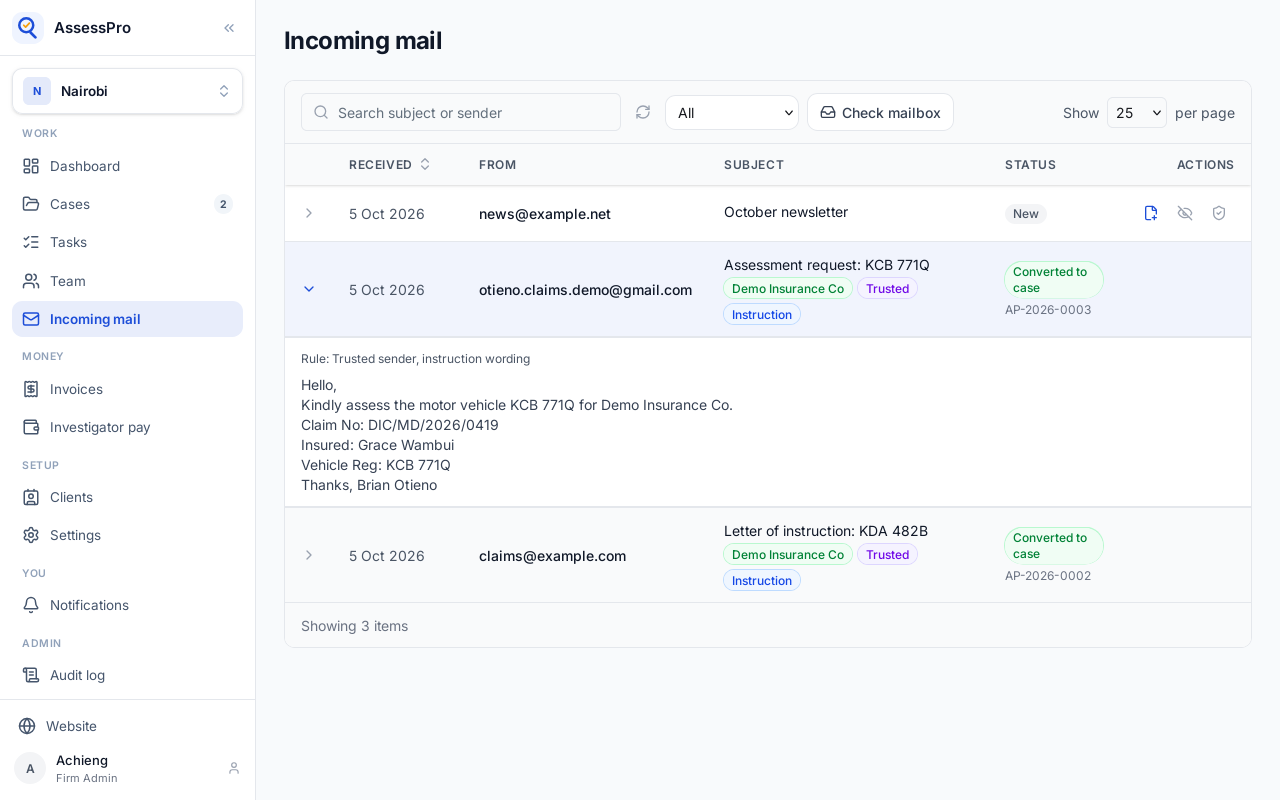
Mail that isn't work for the branch, like this newsletter, can be ignored.
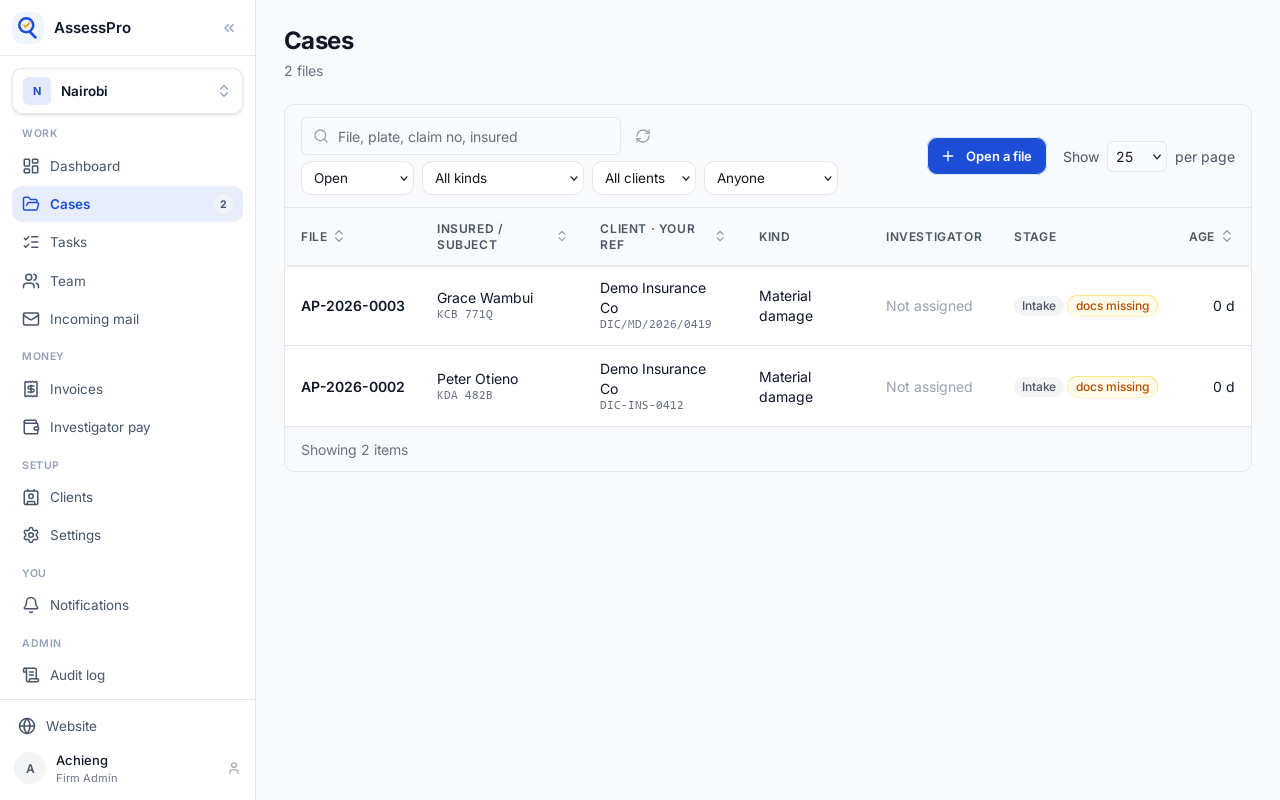
Both new files are on Cases, at intake, ready to assign.
Chapter 16
The investigator claims what working the file cost
Whatever working a file costs the investigator goes on the file's Costs tab.
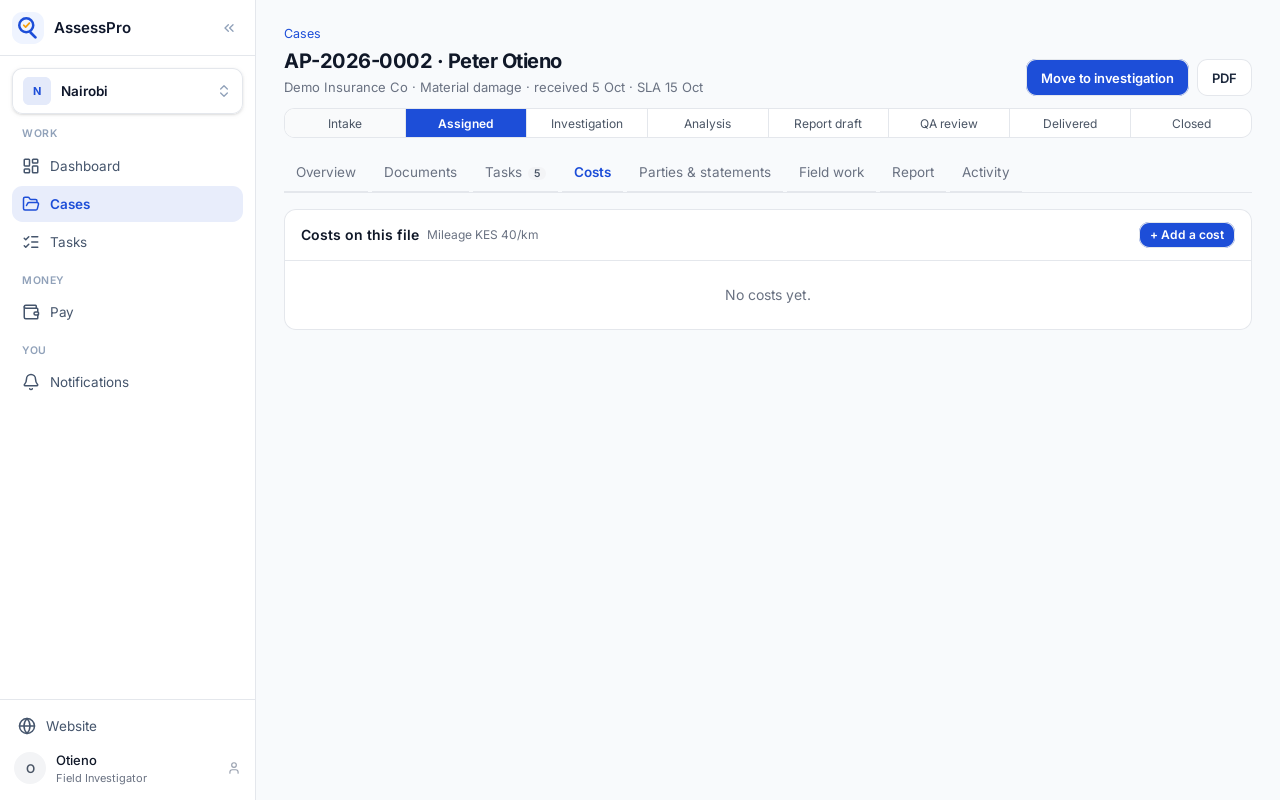
Add a cost. Mileage is the distance driven, paid at the rate on the client's rate card.
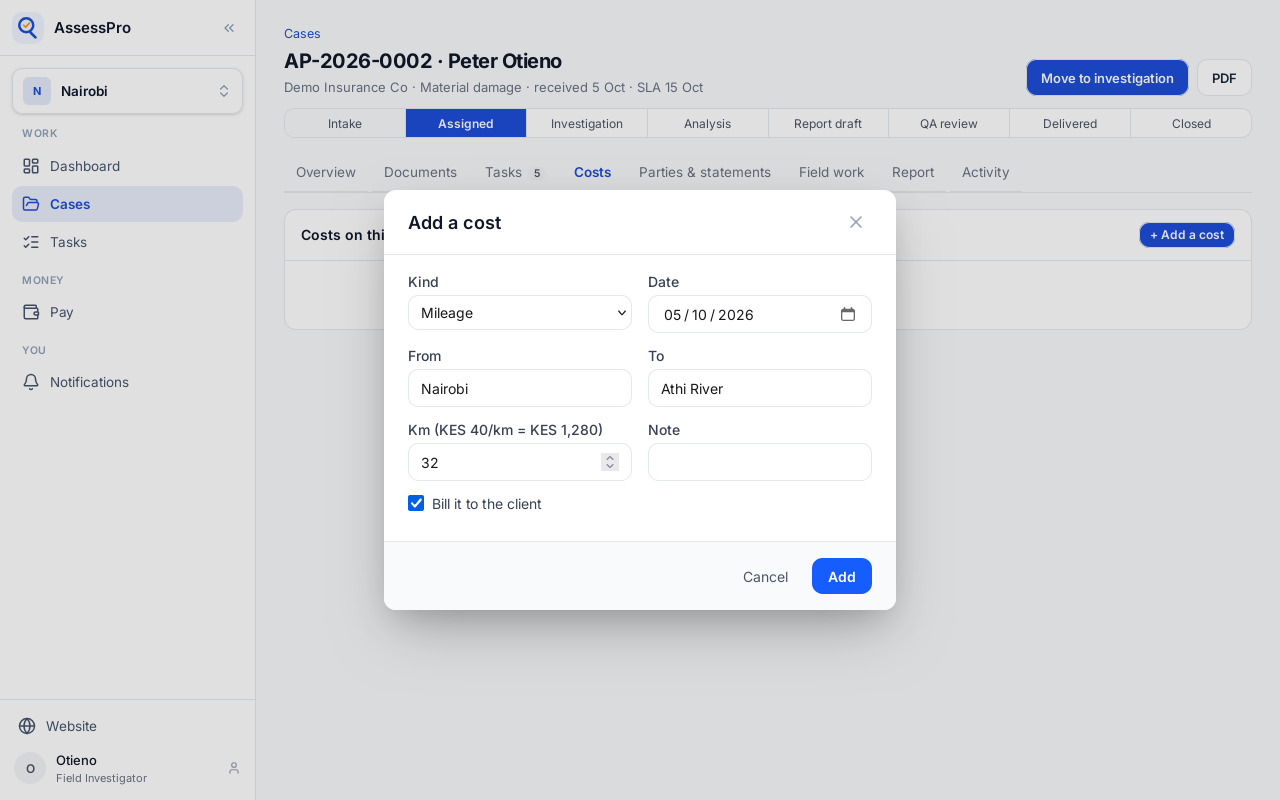
The amount is worked out as you type the kilometres. Mileage needs no receipt.
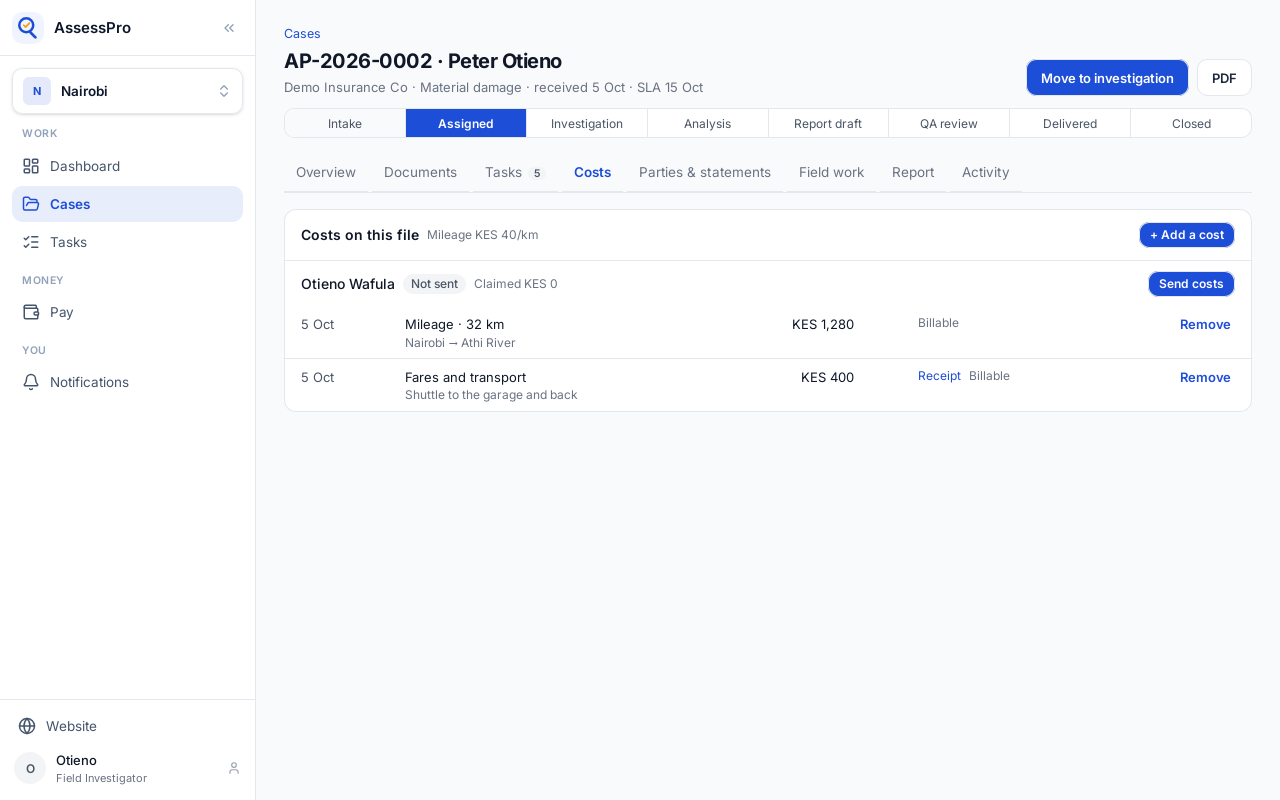
A fare is an amount, with a photo of its receipt.
Each kind of cost is billed to the client or not by default, and the box can change that. Lunch isn't billed.
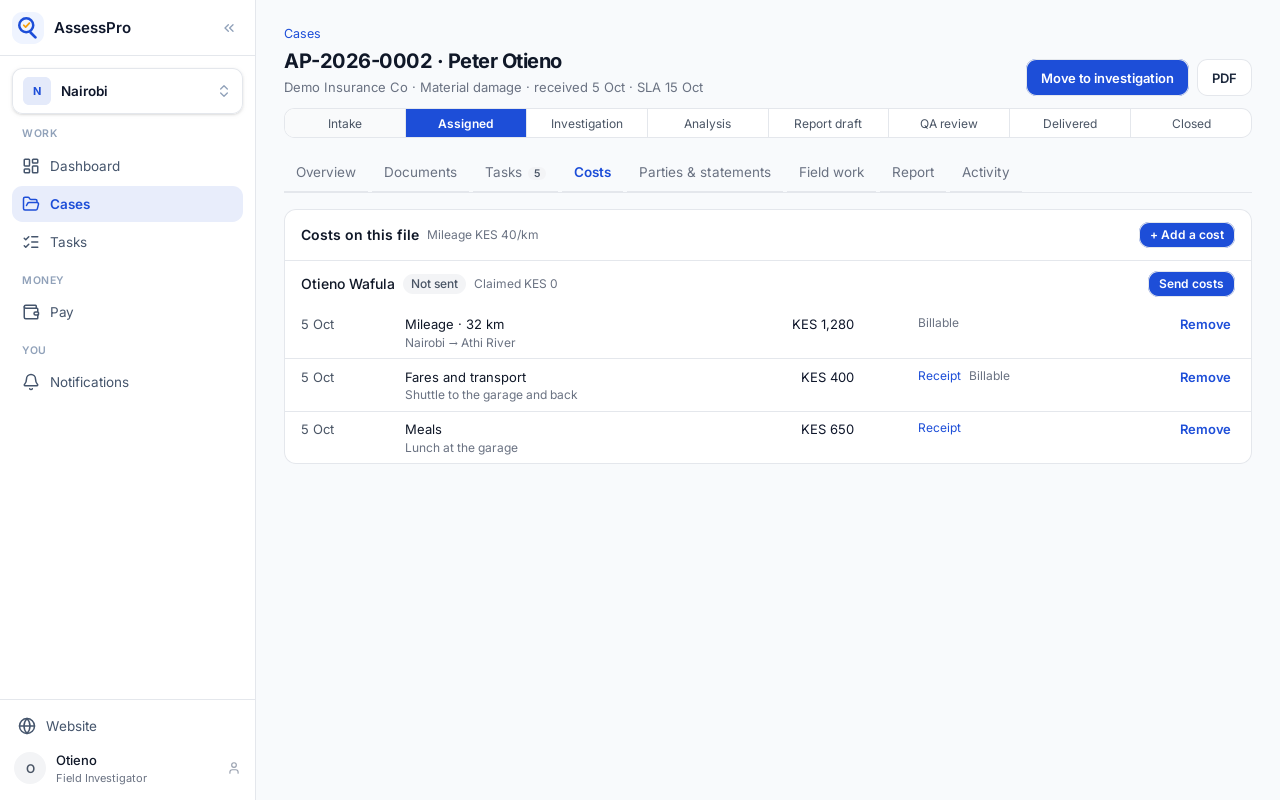
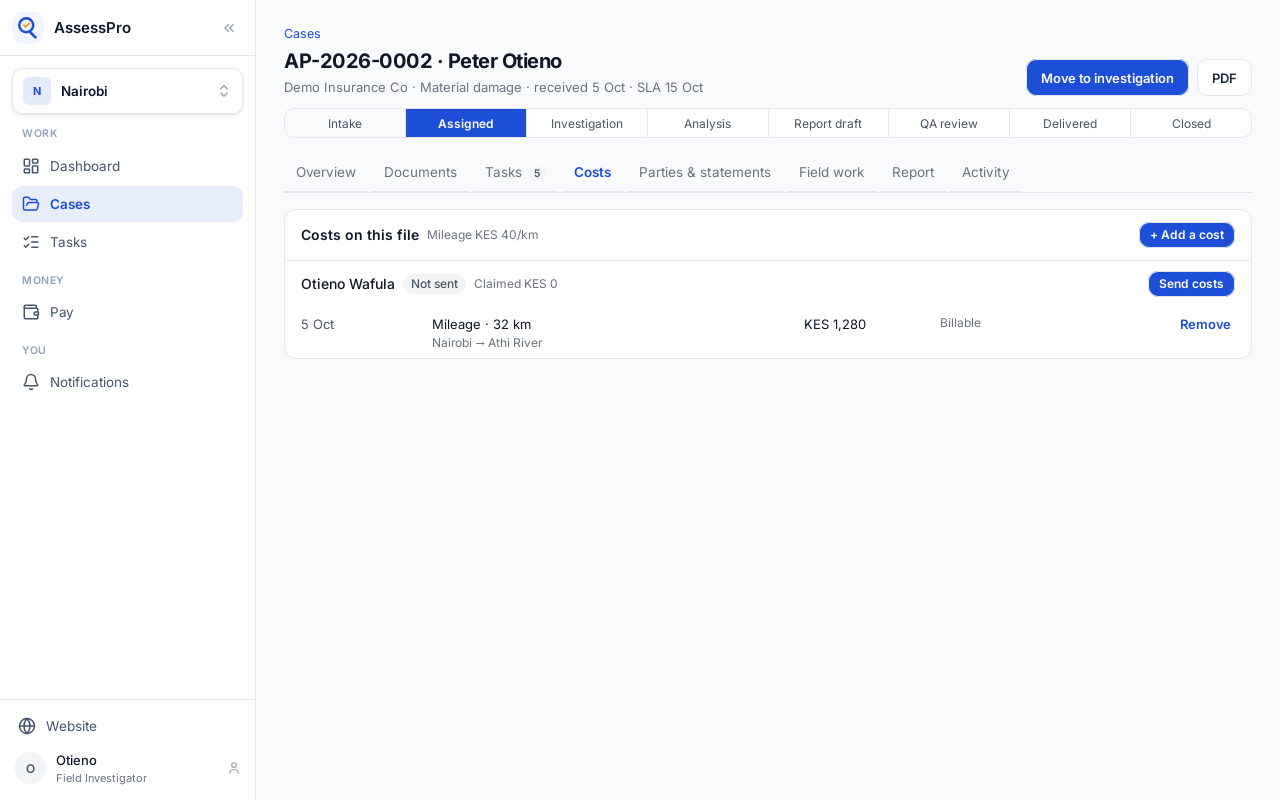
Each cost is on the list with its receipt, and whether it is billable.
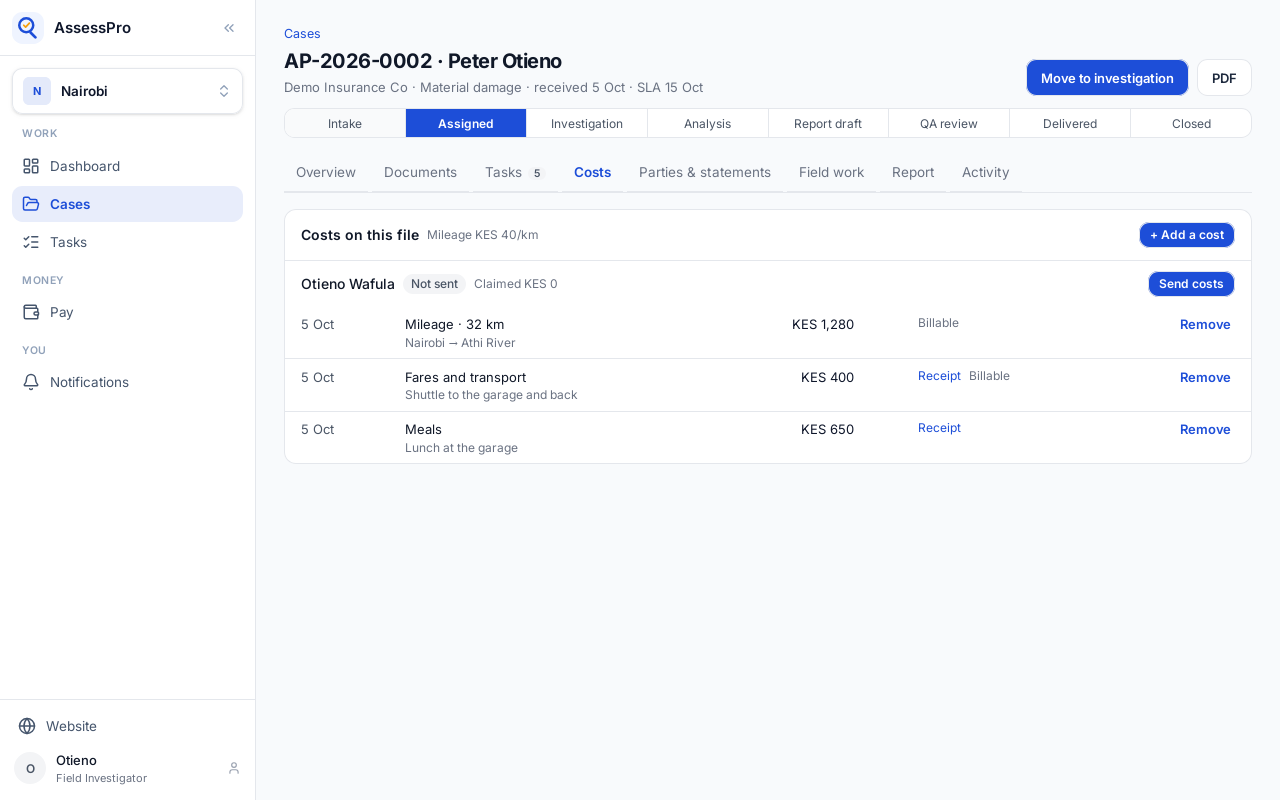
Send costs hands them to the office. They also go by themselves when the investigator hands in their last task on the file.
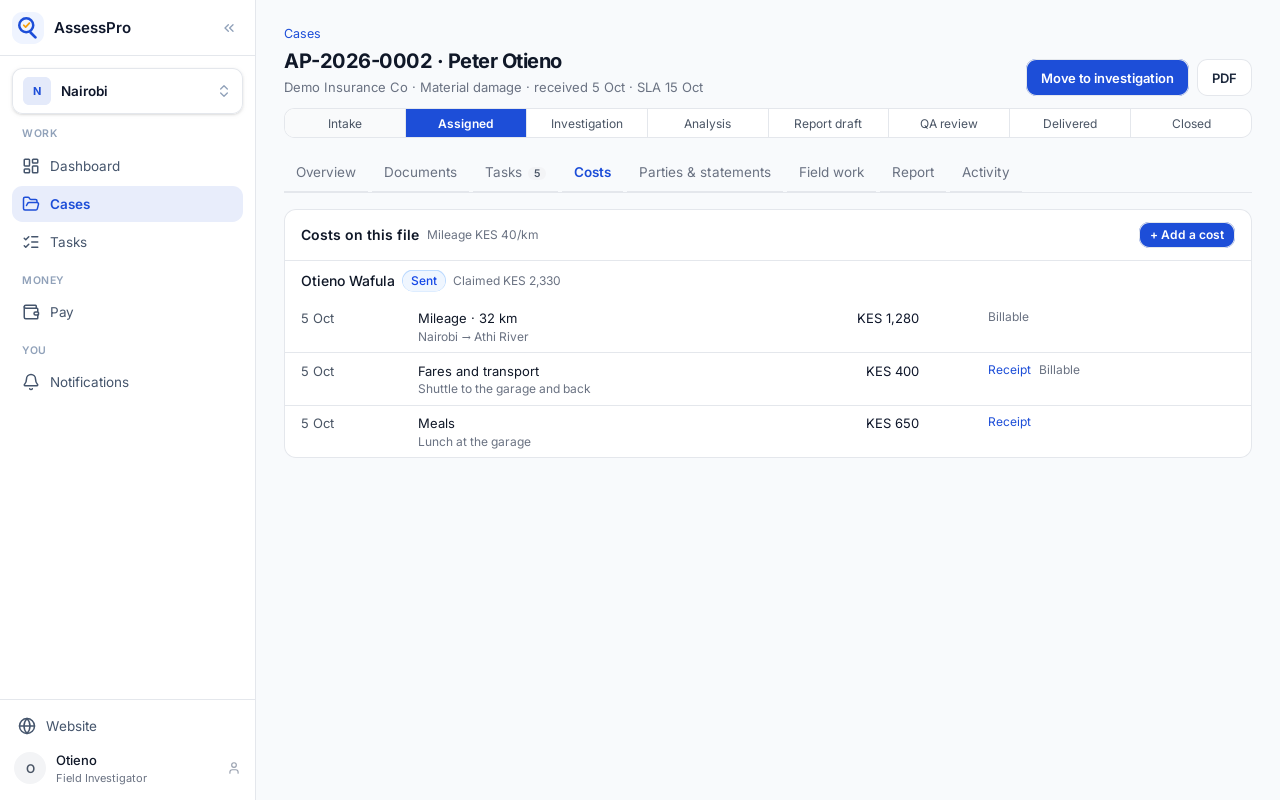
The costs are Sent, and the office checks them next.
Chapter 17
The office approves, reduces or refuses each cost
Costs sent by investigators wait for the office on Tasks, under Costs to check.
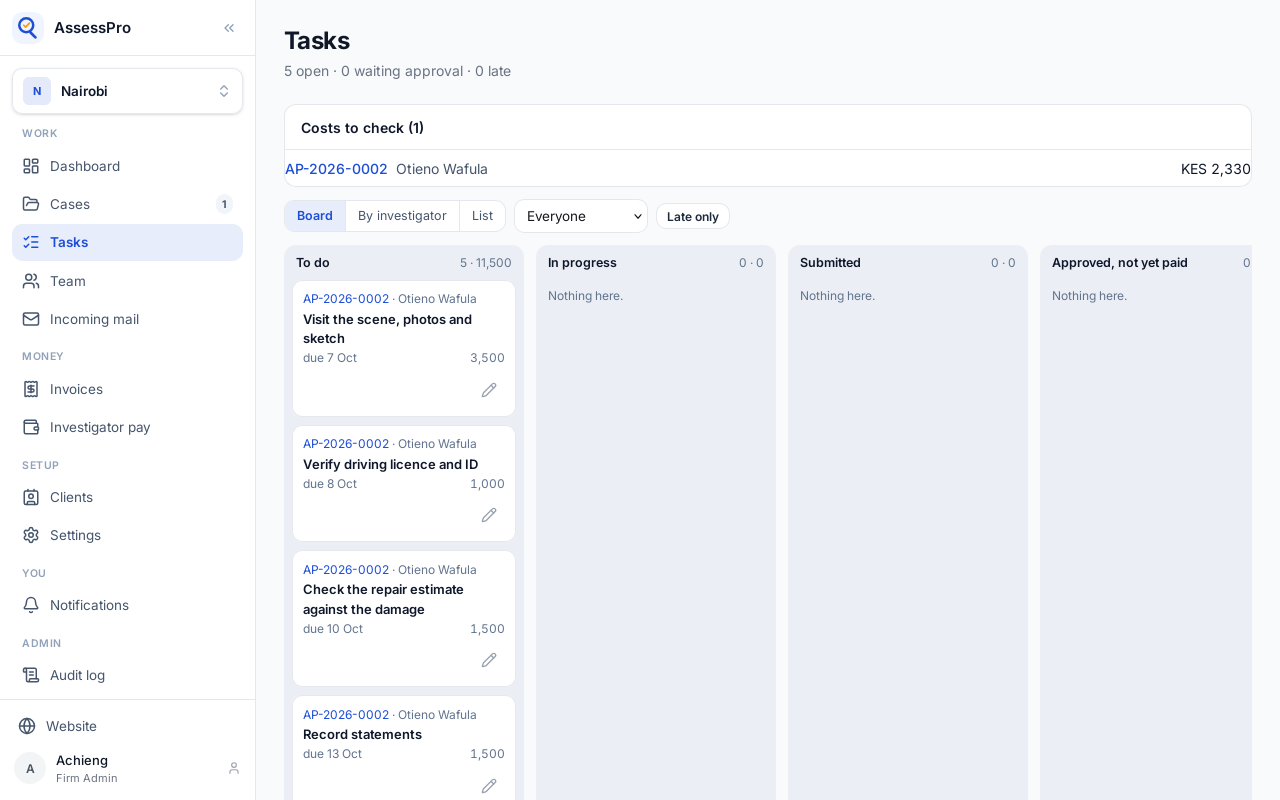
Each claim shows its file, the investigator and the amount. Open the file to check it.
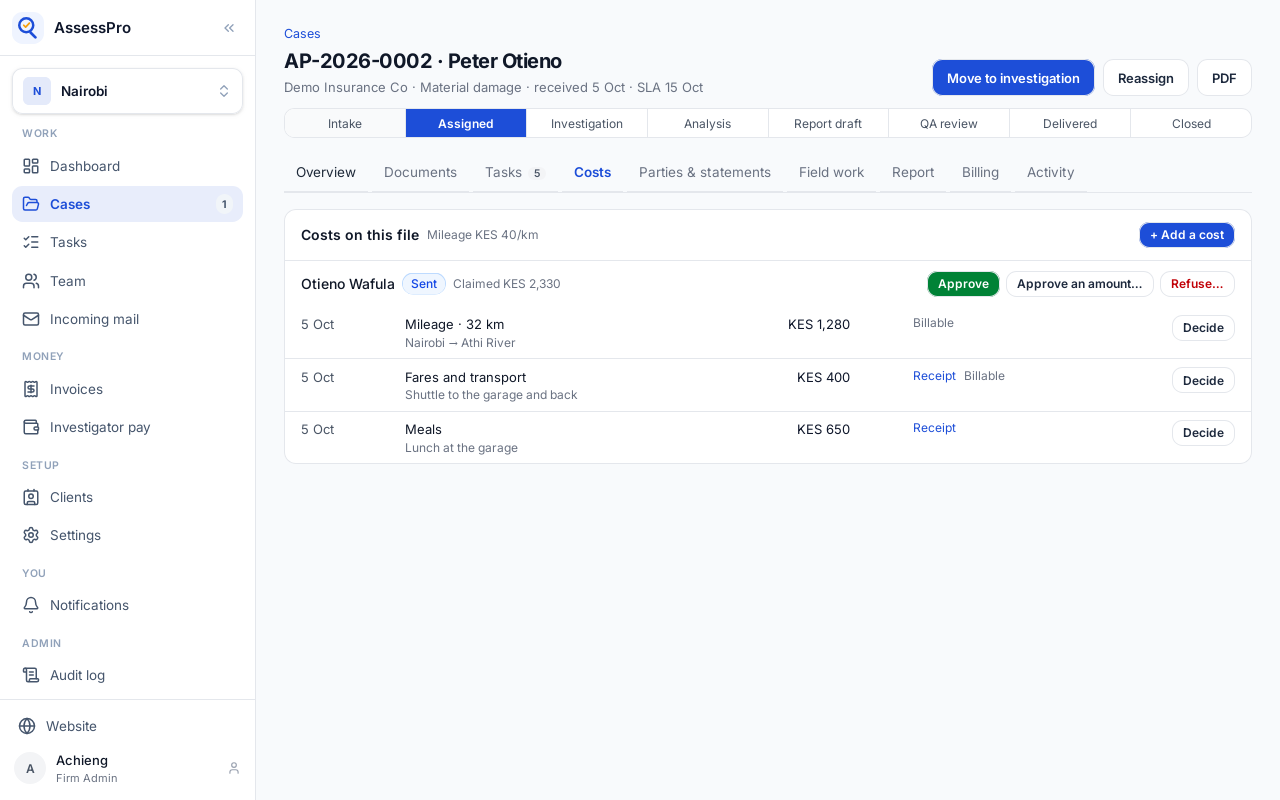
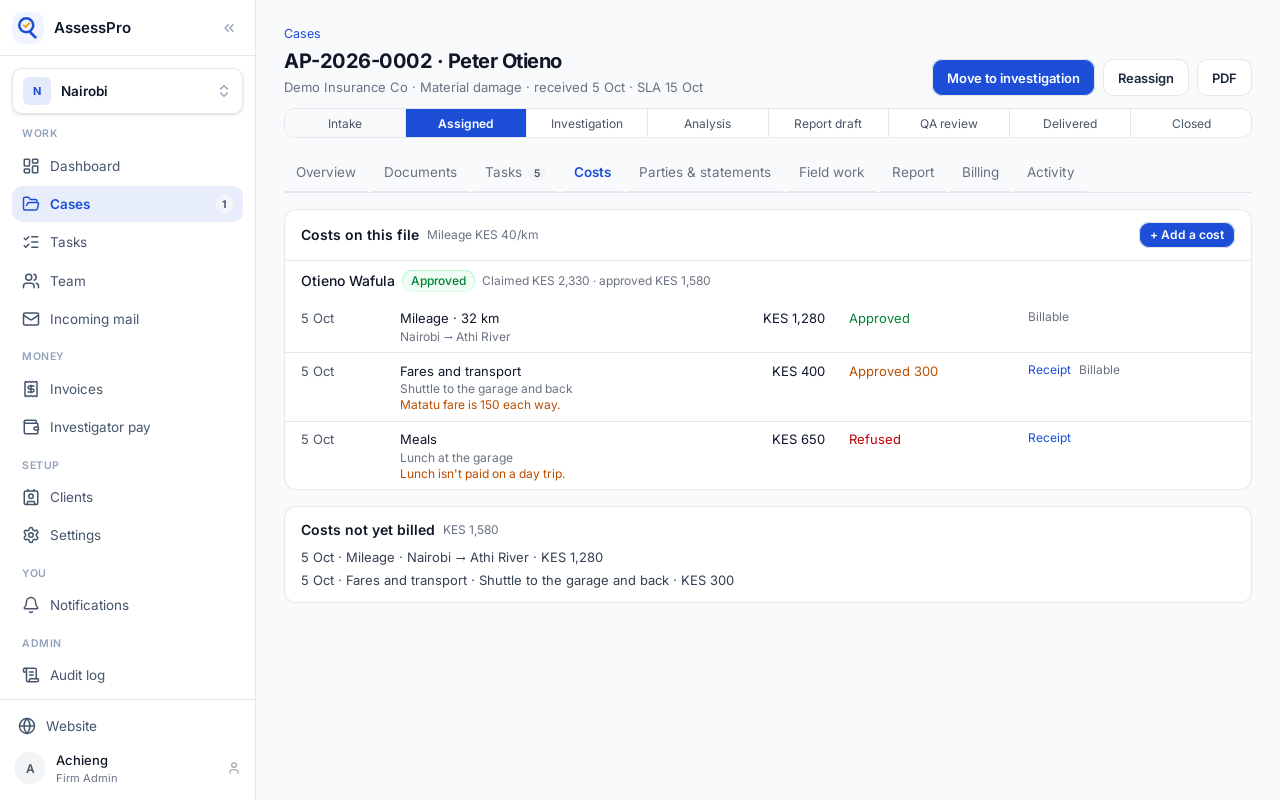
Each cost has Decide. A cost can be approved, approved for less, refused, or asked about.
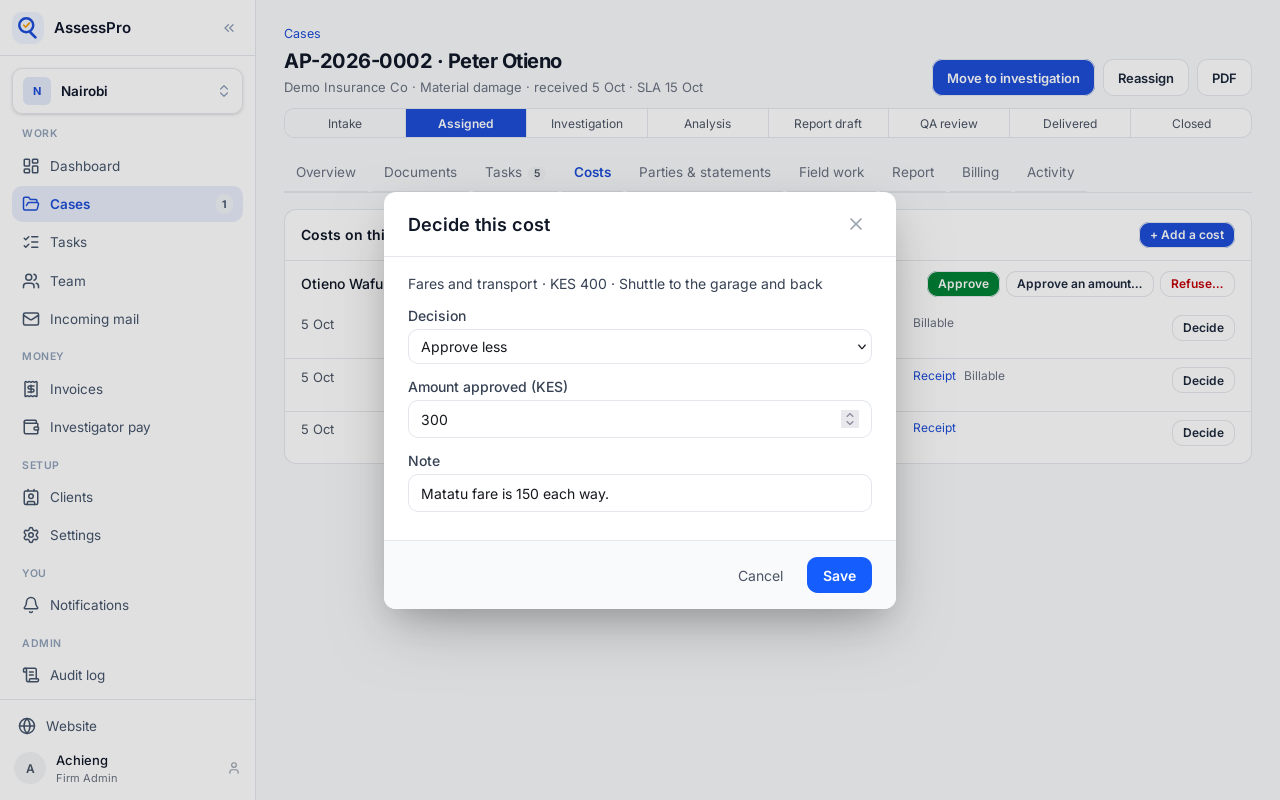
Approve less takes the amount allowed and a note the investigator sees.
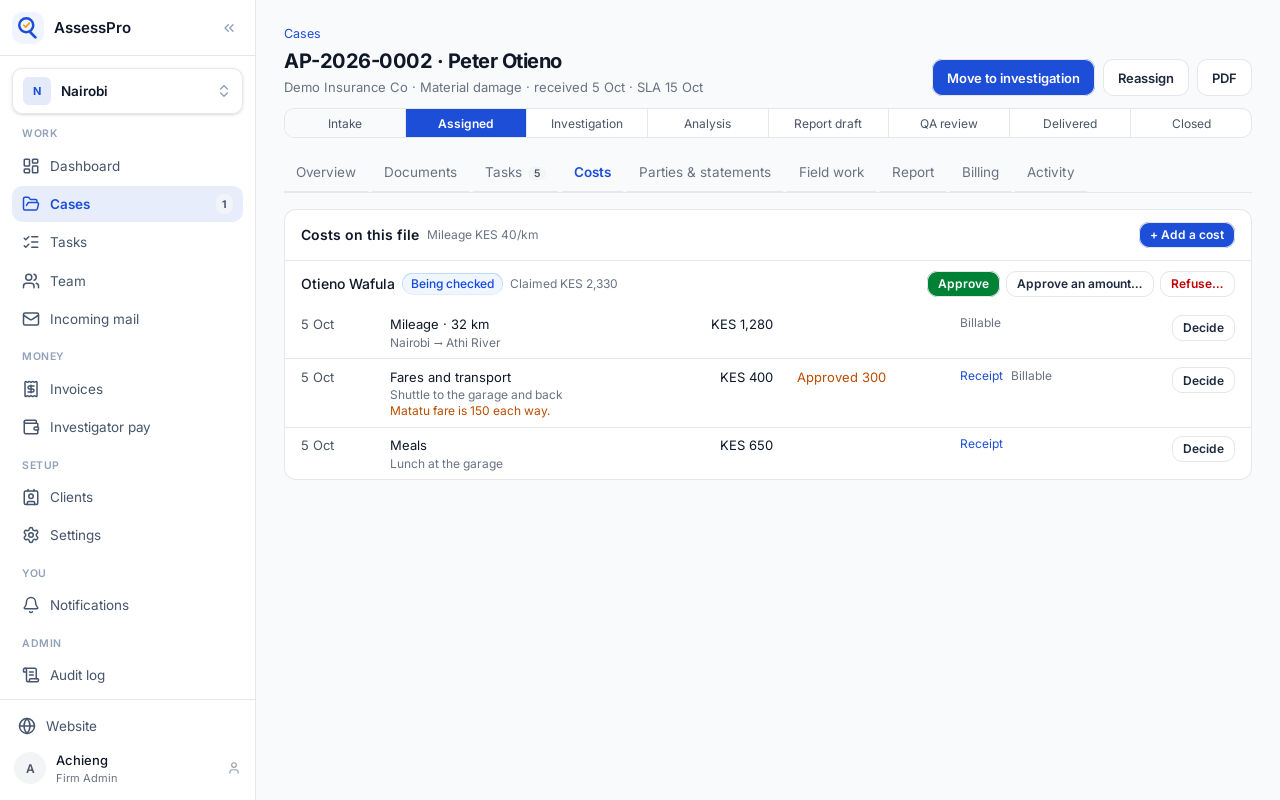
Refusing a cost needs a reason.
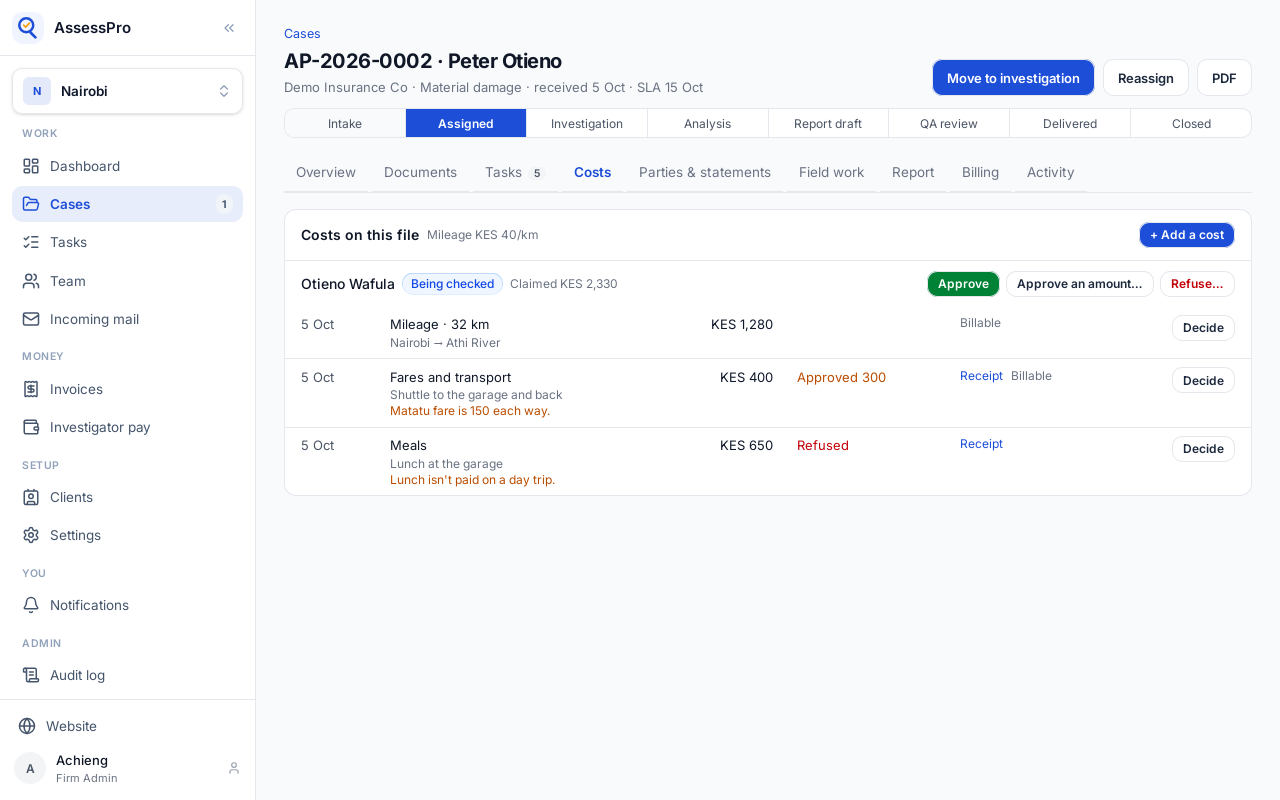
A question sends the claim back to the investigator to answer before anything is approved.
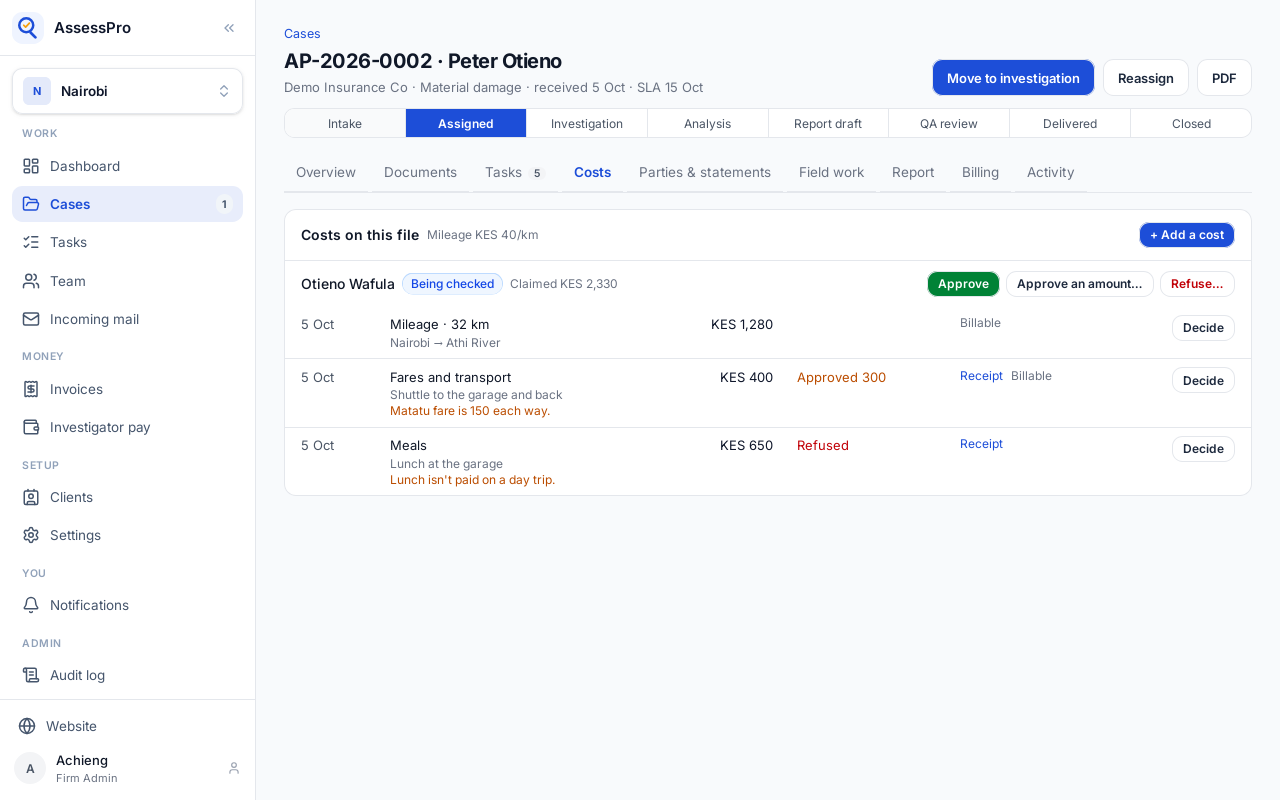
Approve an amount is the other way: one figure for the whole claim, shown spread across the costs before it is approved.
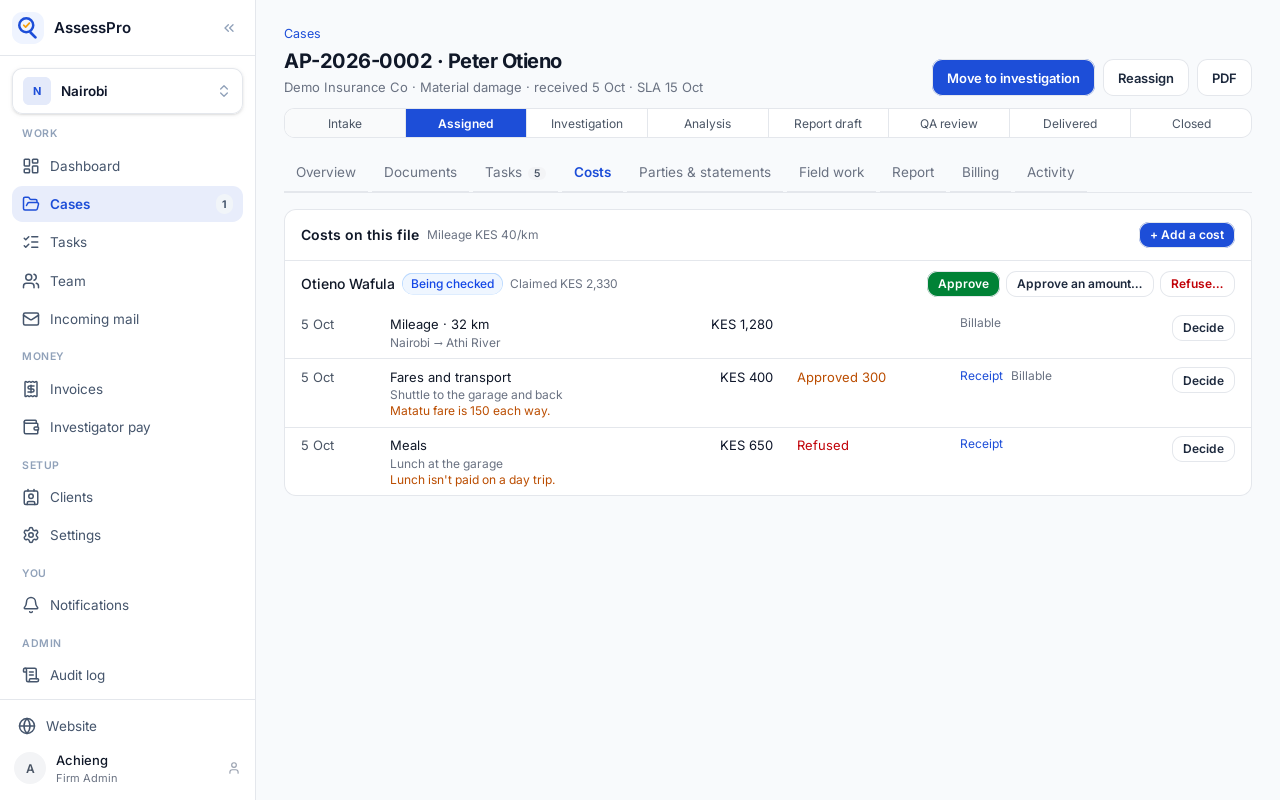
Approve then approves the claim. A cost nobody decided, here the mileage, is approved as claimed.
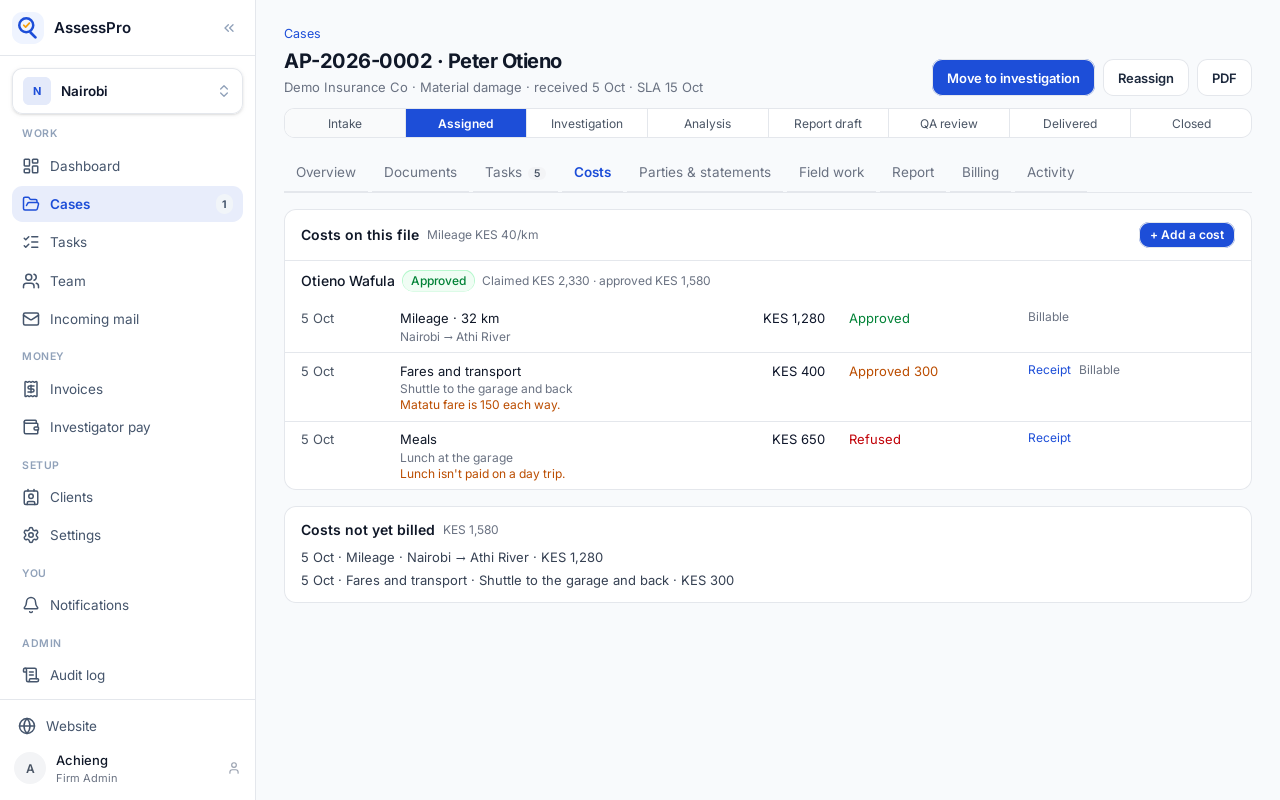
The claim is Approved, for the mileage and the reduced fare. Billable costs that are approved wait under Costs not yet billed until they go on the client's invoice.
Chapter 18
Approved costs are repaid with the investigator's pay
Approved costs are repaid with the investigator's pay, in the cycle their approval falls in.
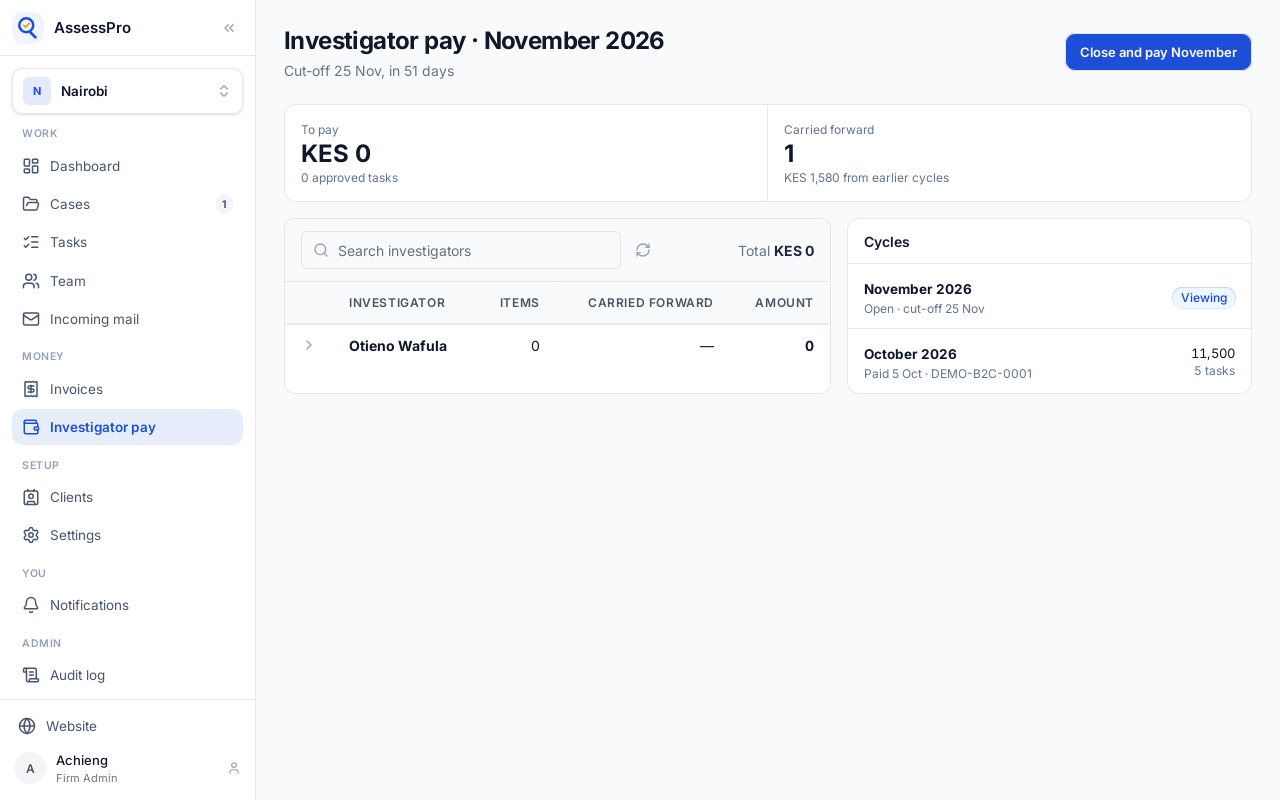
October is already paid, so these costs are carried forward into November, the open cycle.
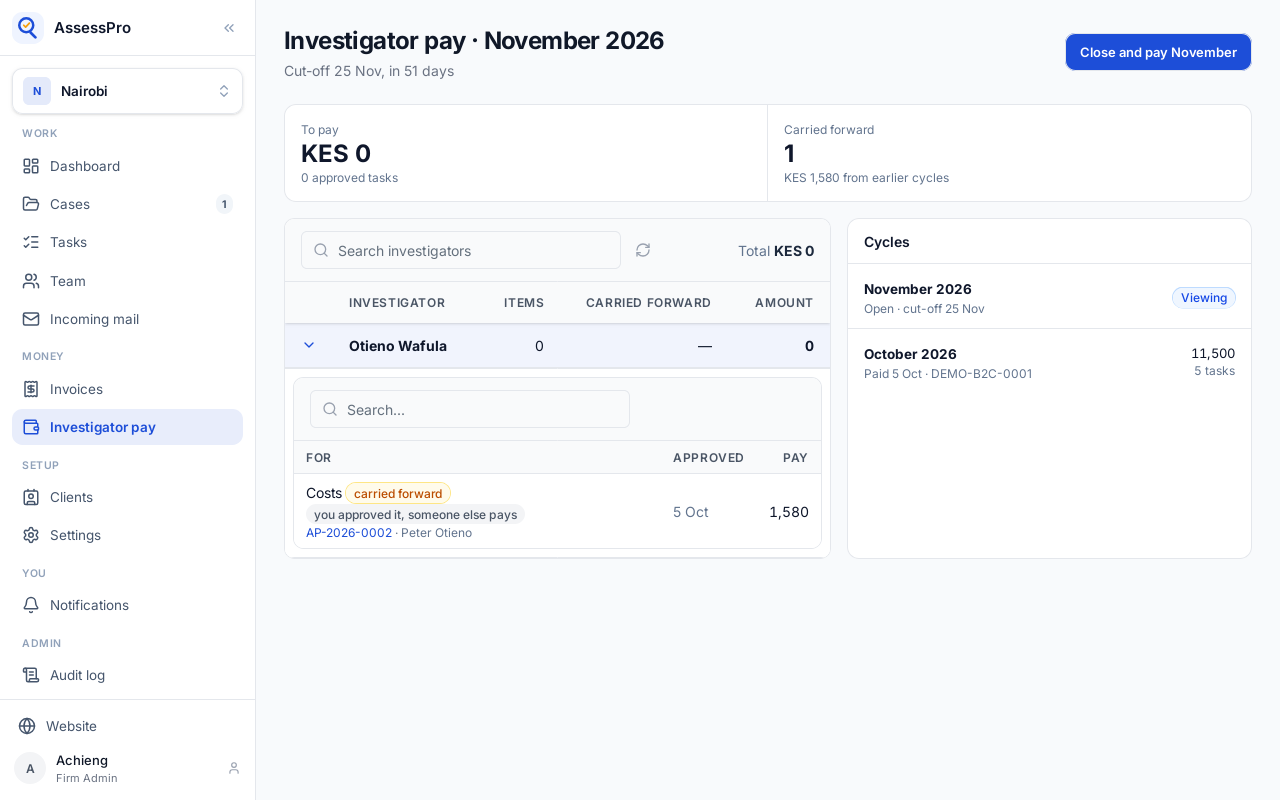
Whoever approved costs can't repay them as well: the cycle holds them for someone else, and leaves them out of the total.
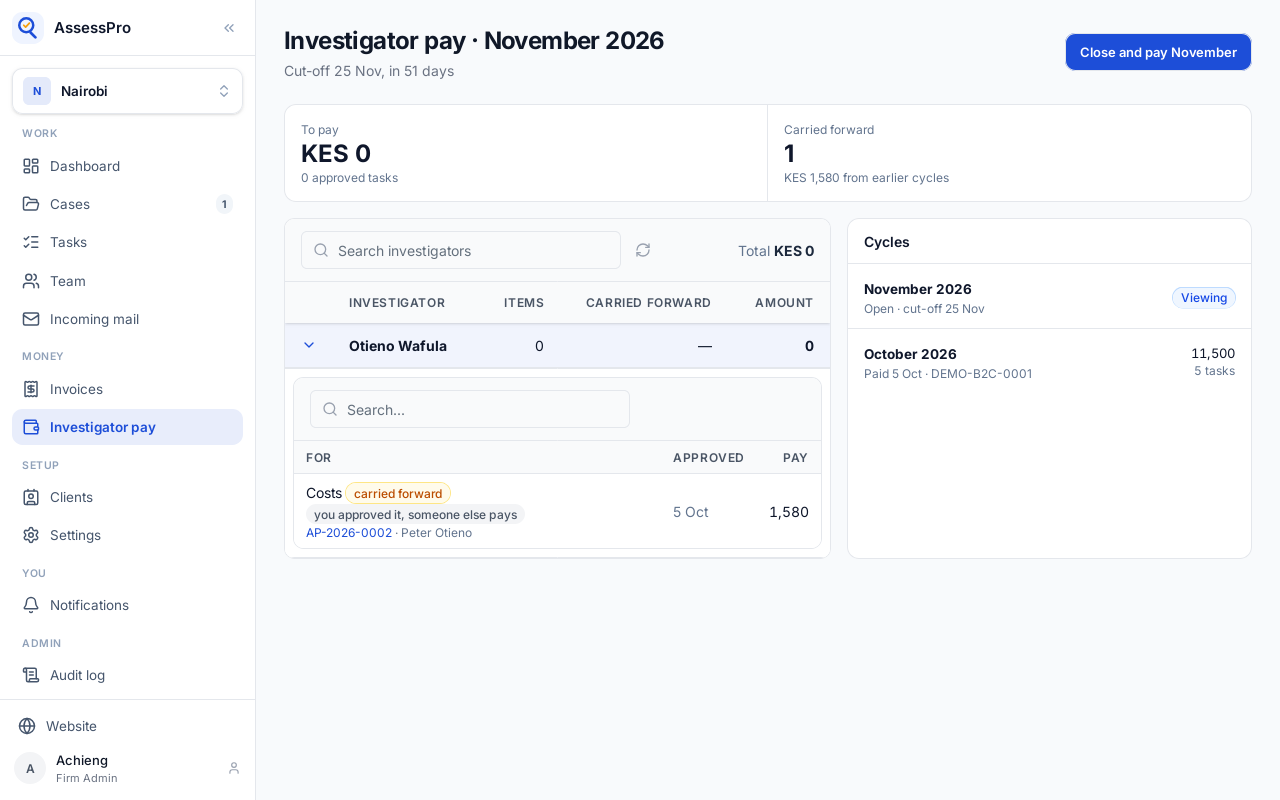
This branch has one admin, who approves and pays. The setting for that is in Settings, under References and pay.
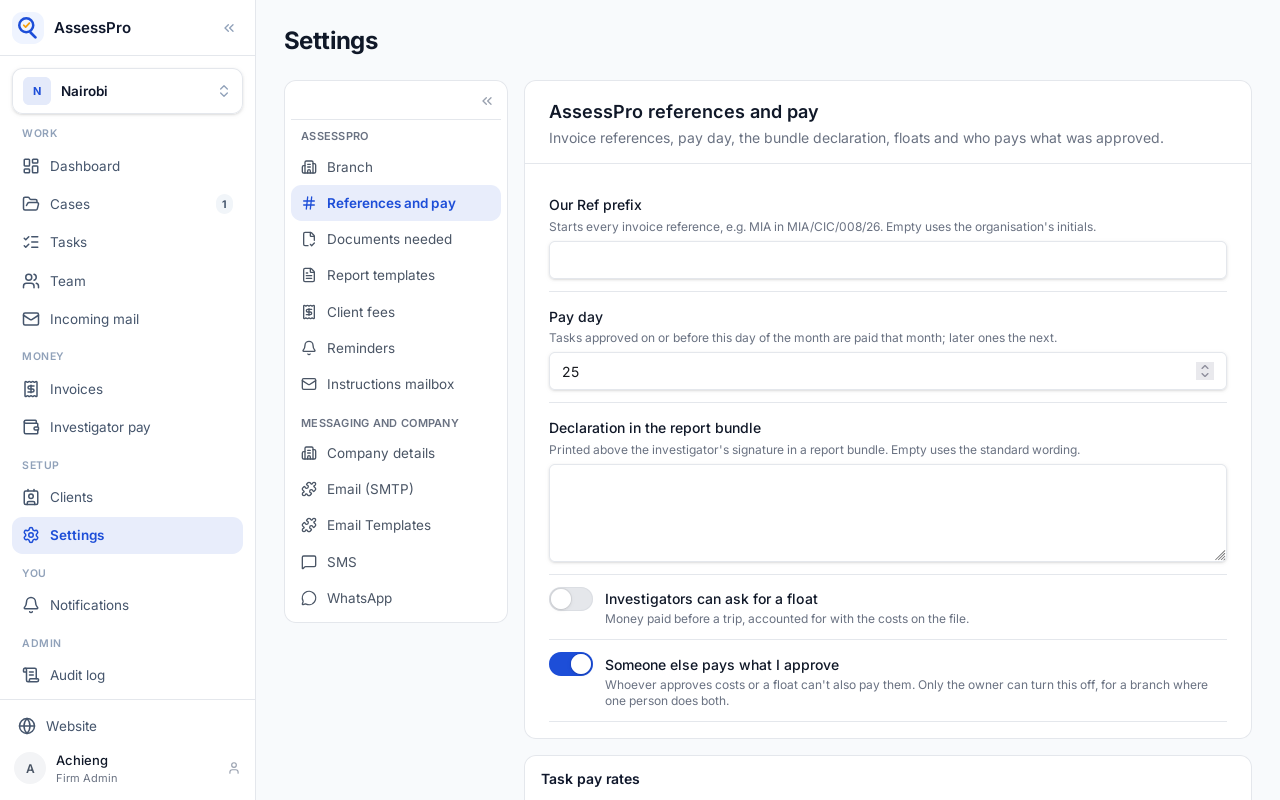
Someone else pays what I approve is on for every branch to start with. Only the owner can turn it off.
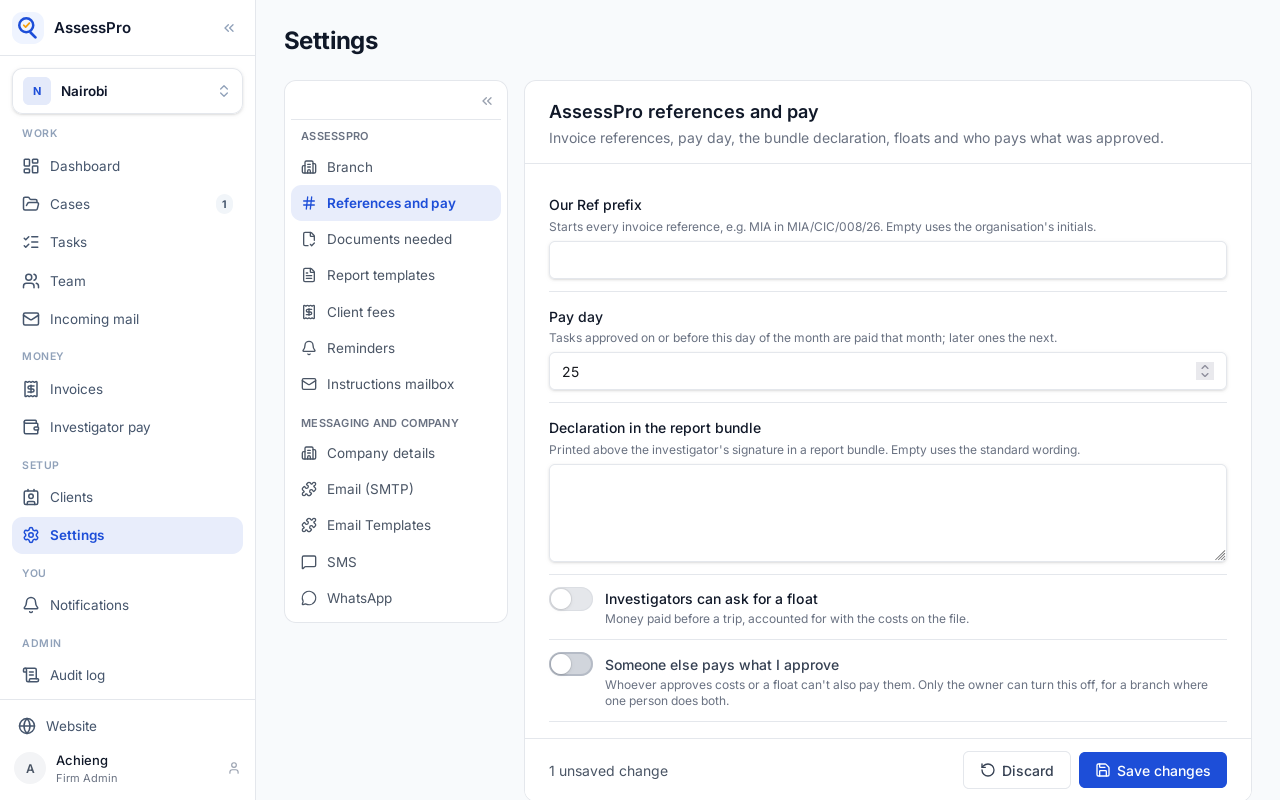
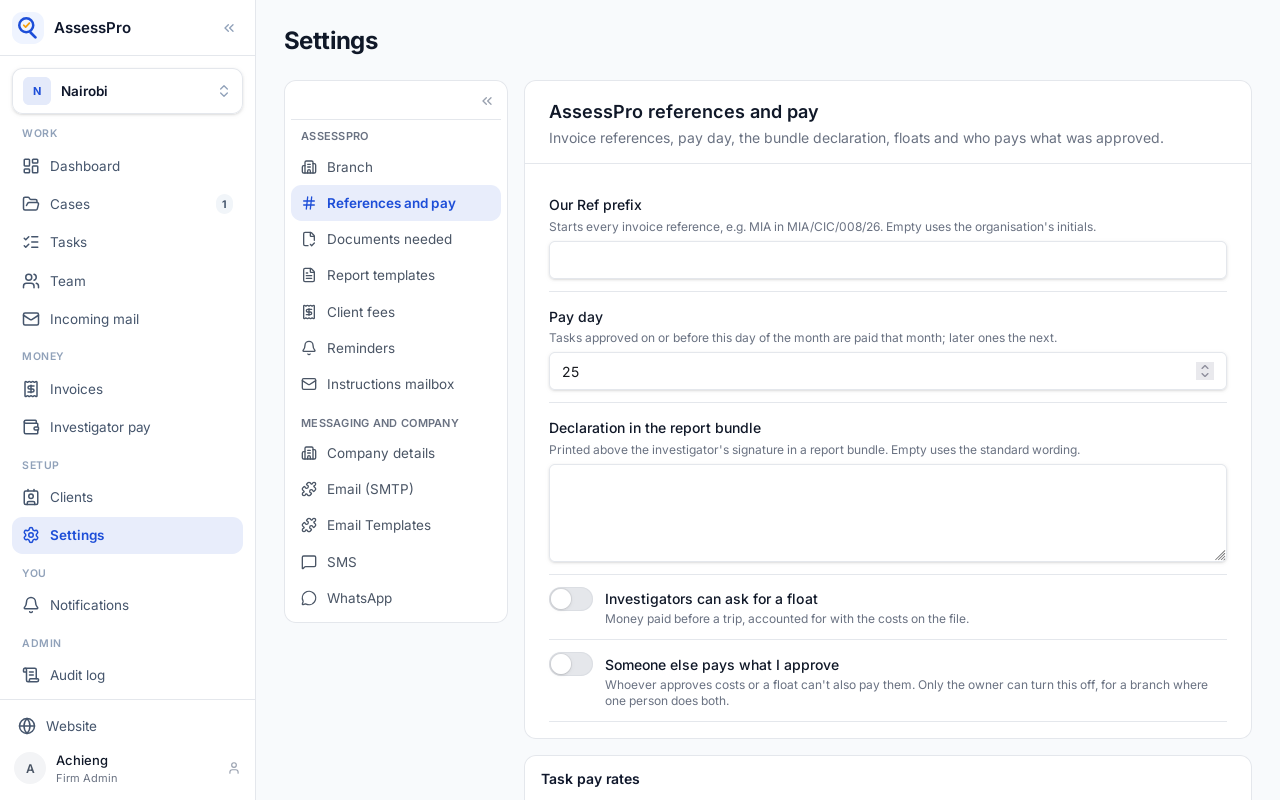
Turning it off is kept in the audit log, and each payment made by the person who approved it says so.
Back on Investigator pay, the costs are in the cycle's total.
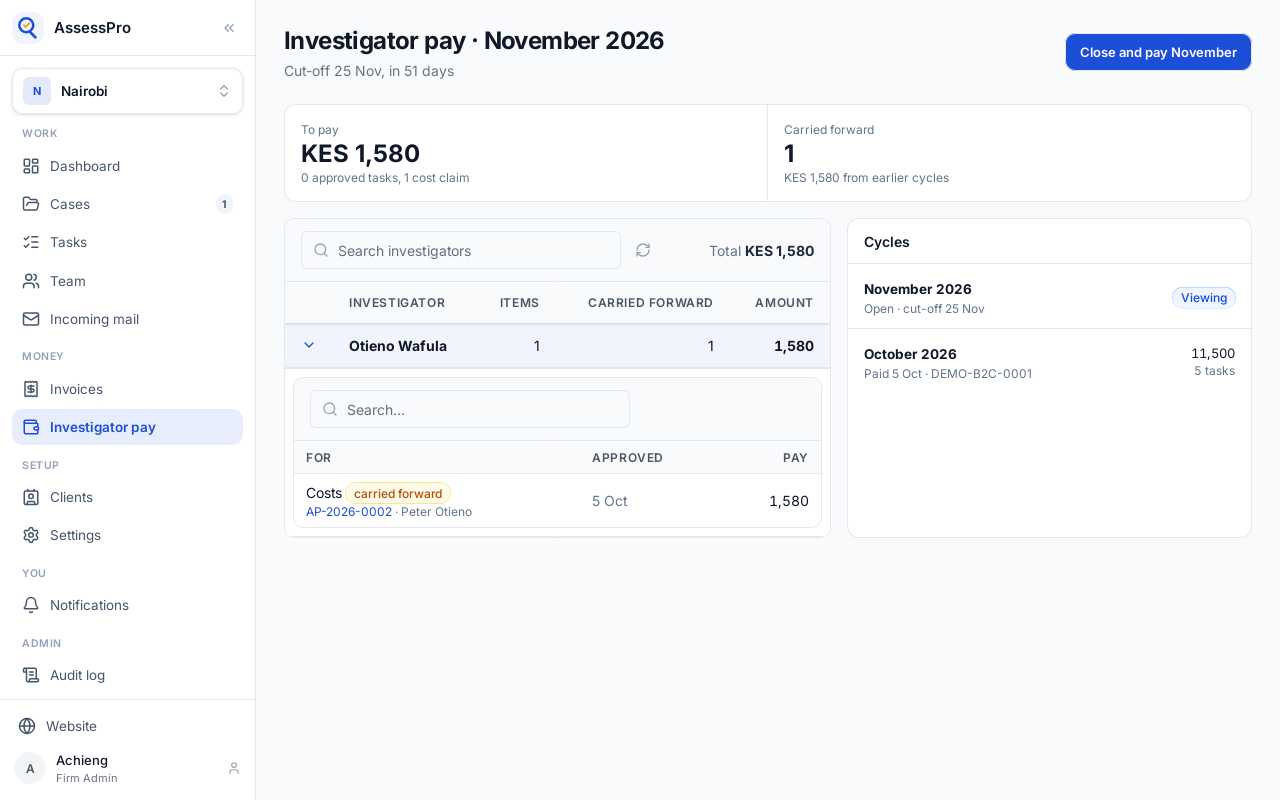
Close and pay, with the payment's reference, repays them with everything else in the cycle.
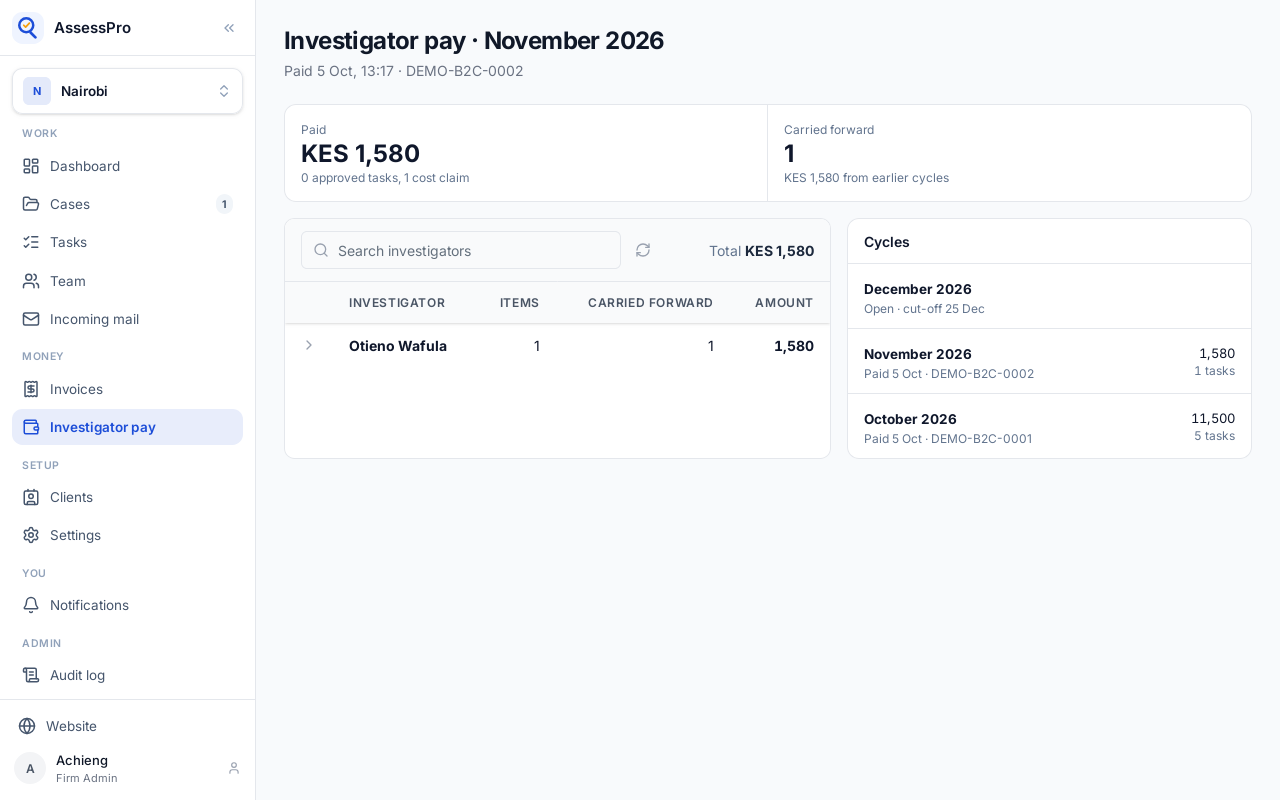
The investigator sees the costs as Repaid on the file, with the cycle they were paid in.
Chapter 19
The sections a branch's reports start with, per kind of file
A report is made of sections. Settings, Report templates, sets the sections a branch's reports start with.
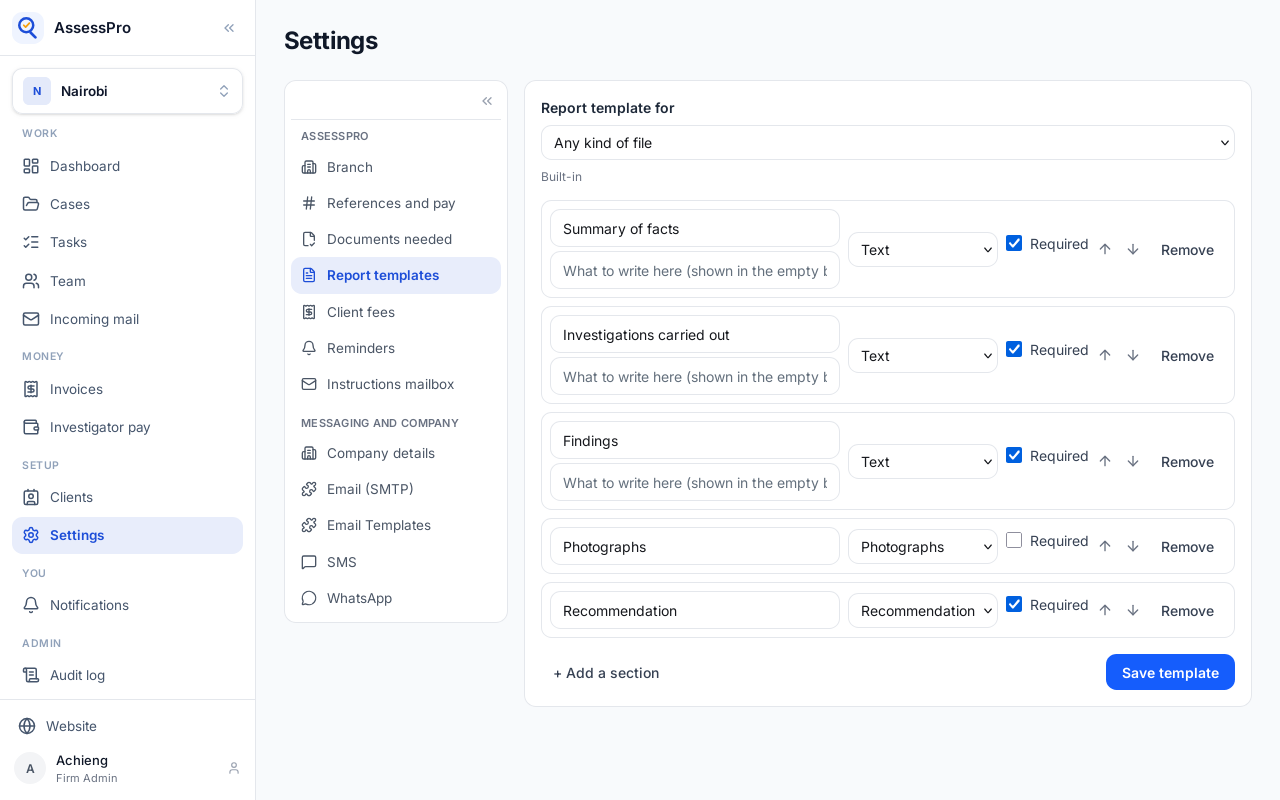
These are the built-in ones: summary of facts, investigations carried out, findings, photographs and the recommendation.
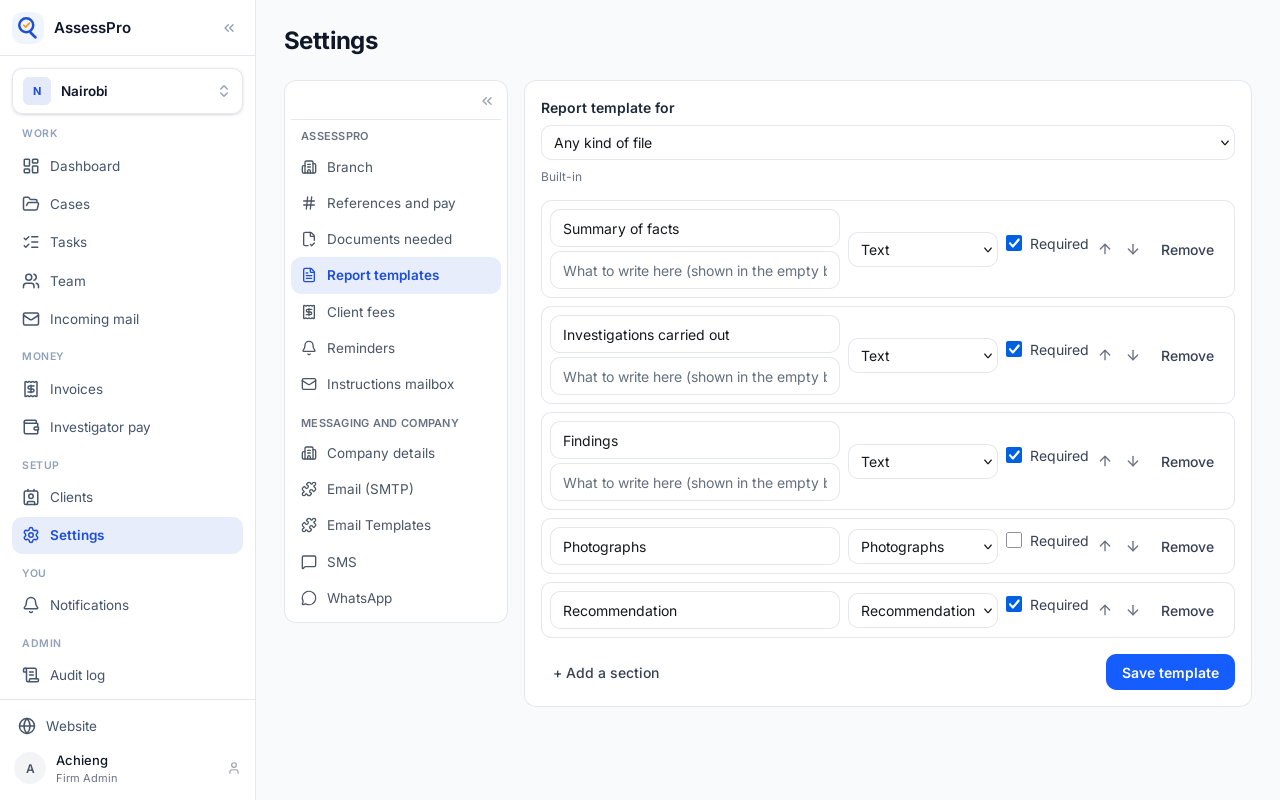
A template can be for any kind of file, or for one kind. A report takes the template for its file's kind, then the one for any kind, then the built-in sections.
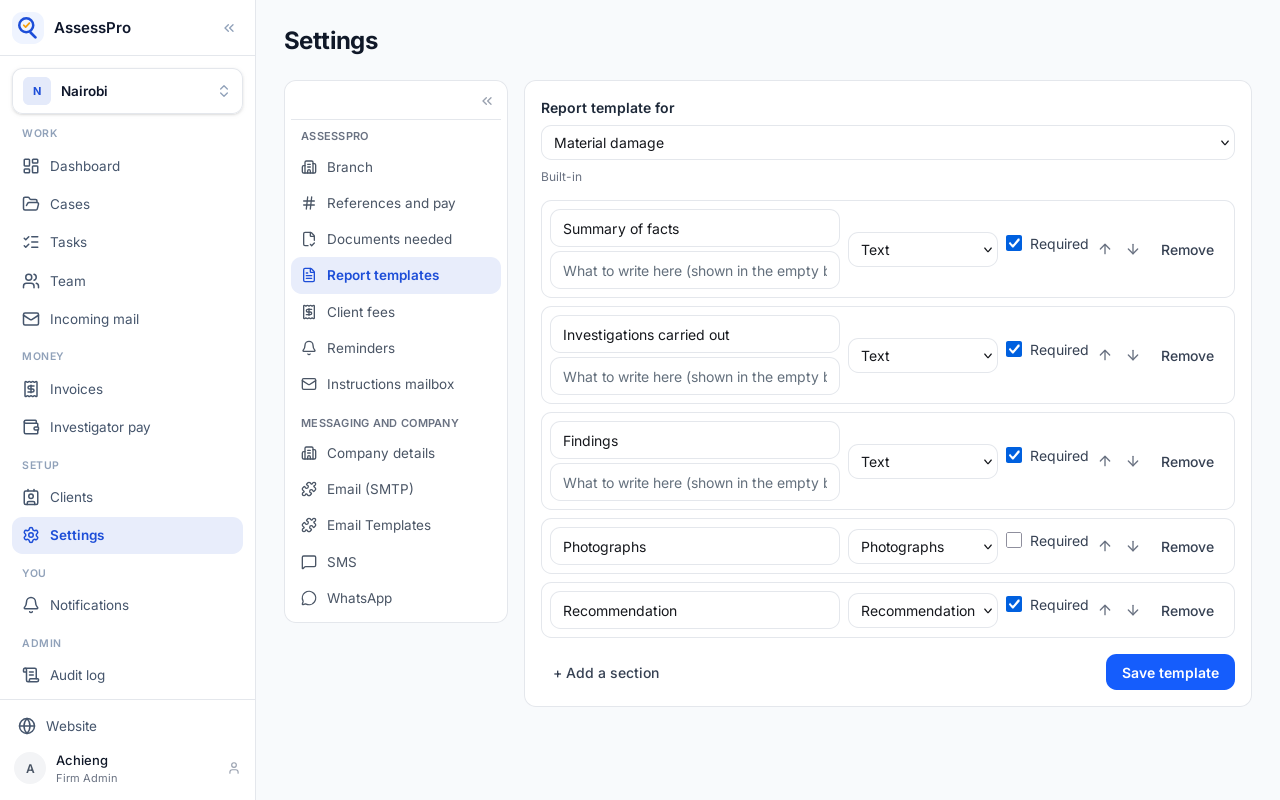
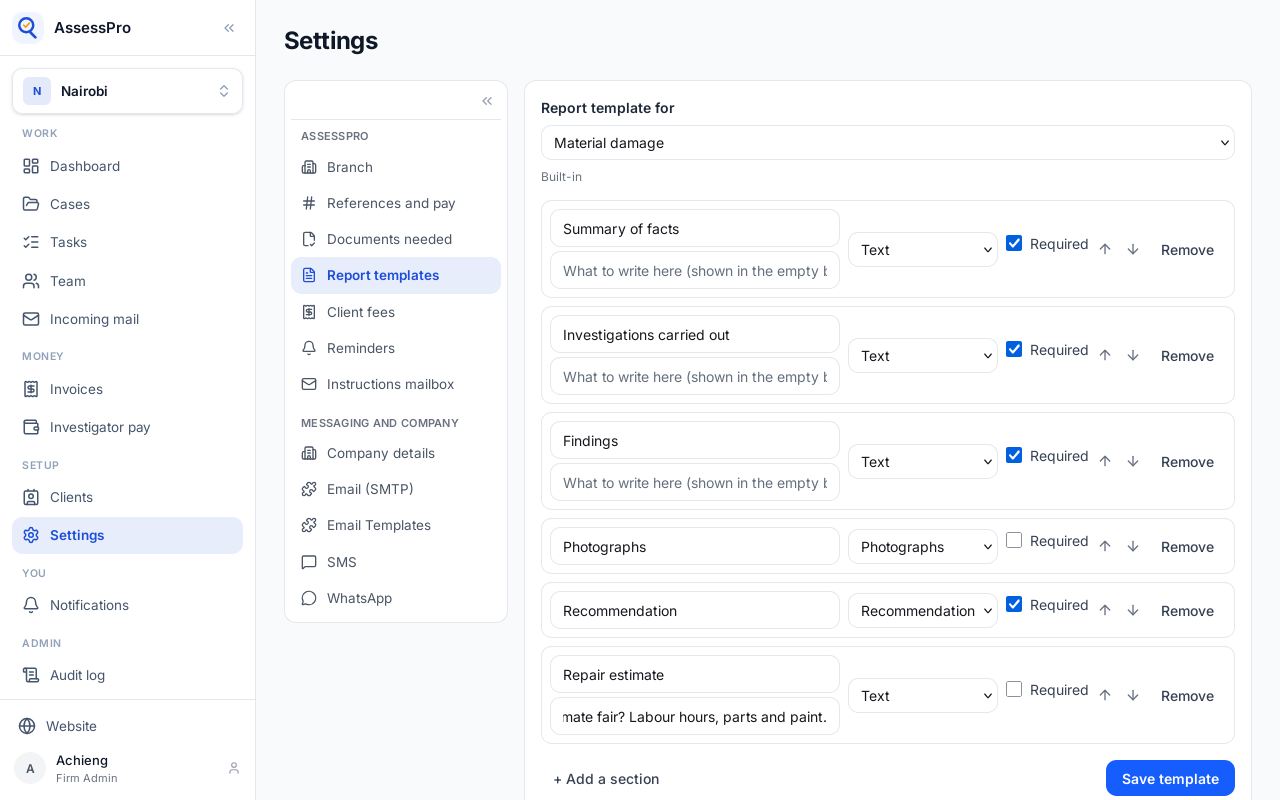
Material damage reports here get a section of their own for the garage's estimate. Add a section.
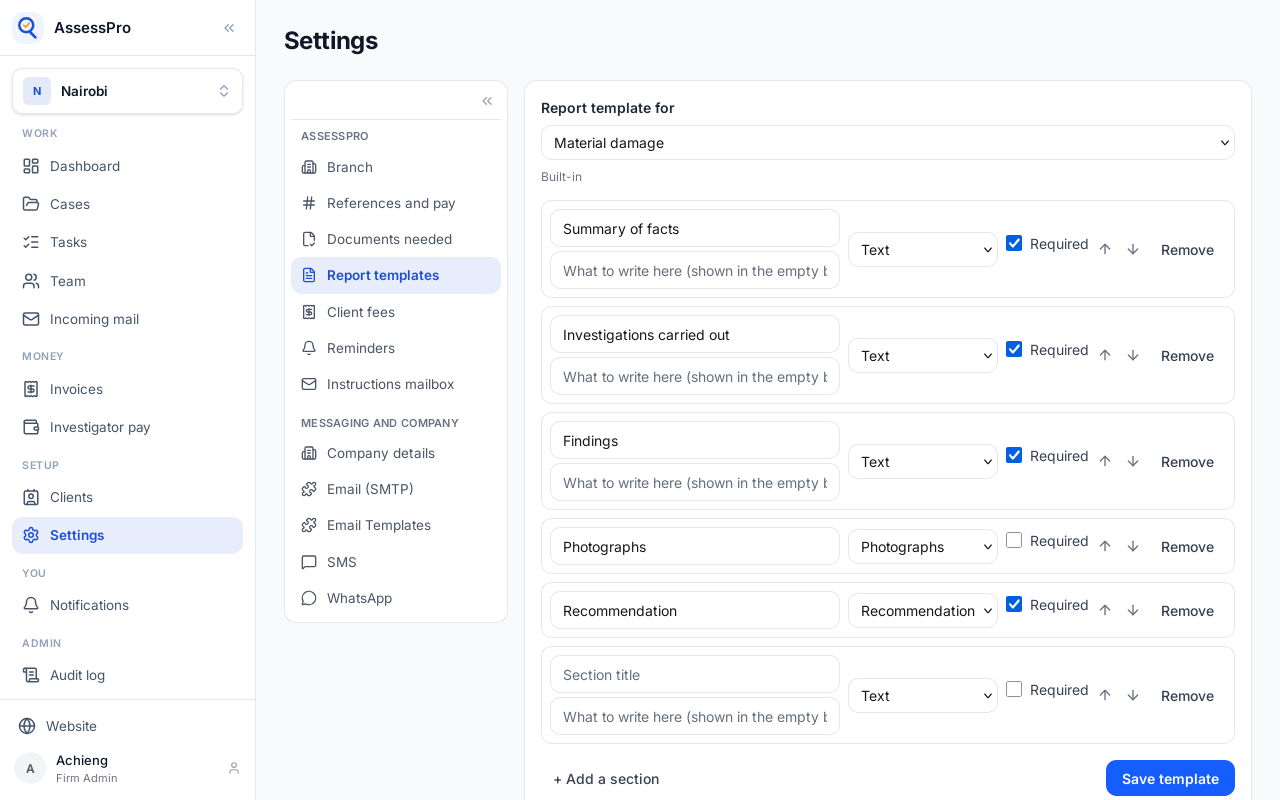
A title, and what to write there. That shows in the empty box when the report is written.
A section is text, photographs or the recommendation. Required means a report can't leave it out; the writer can still add sections of their own.
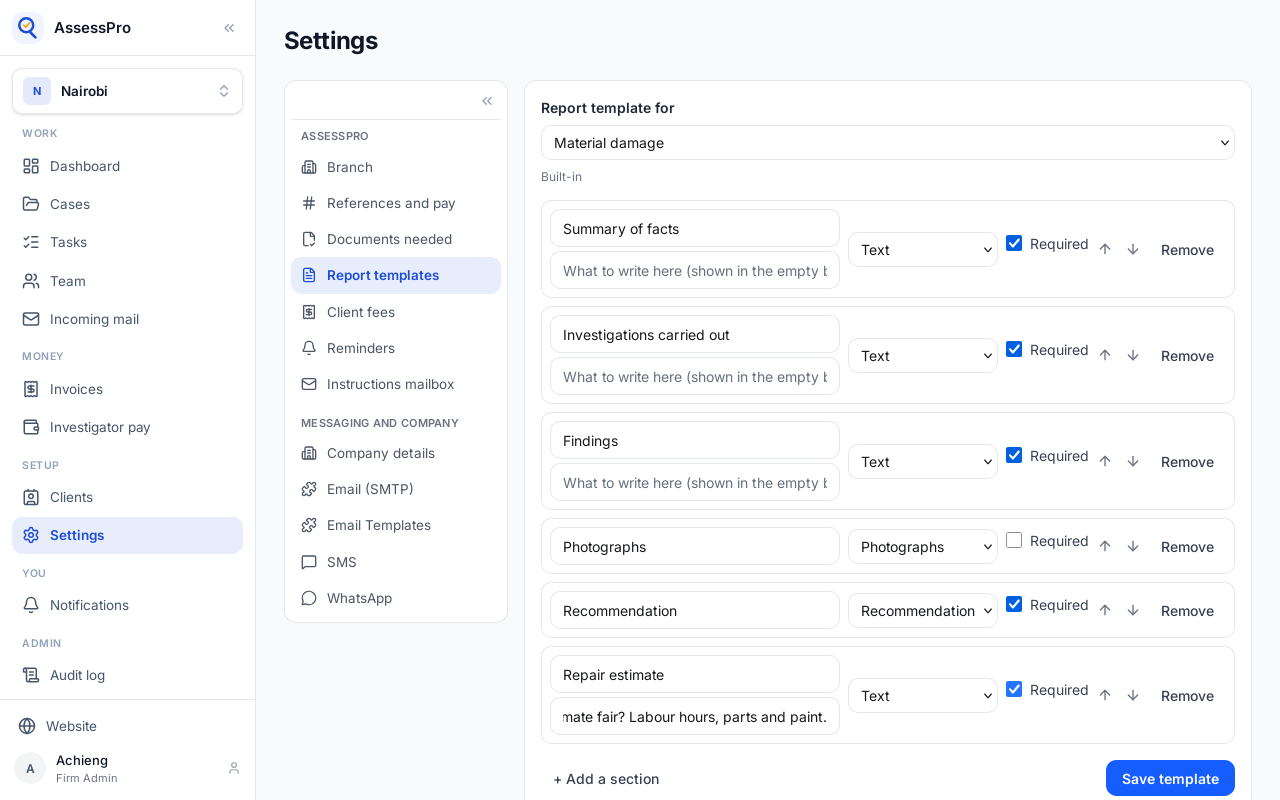
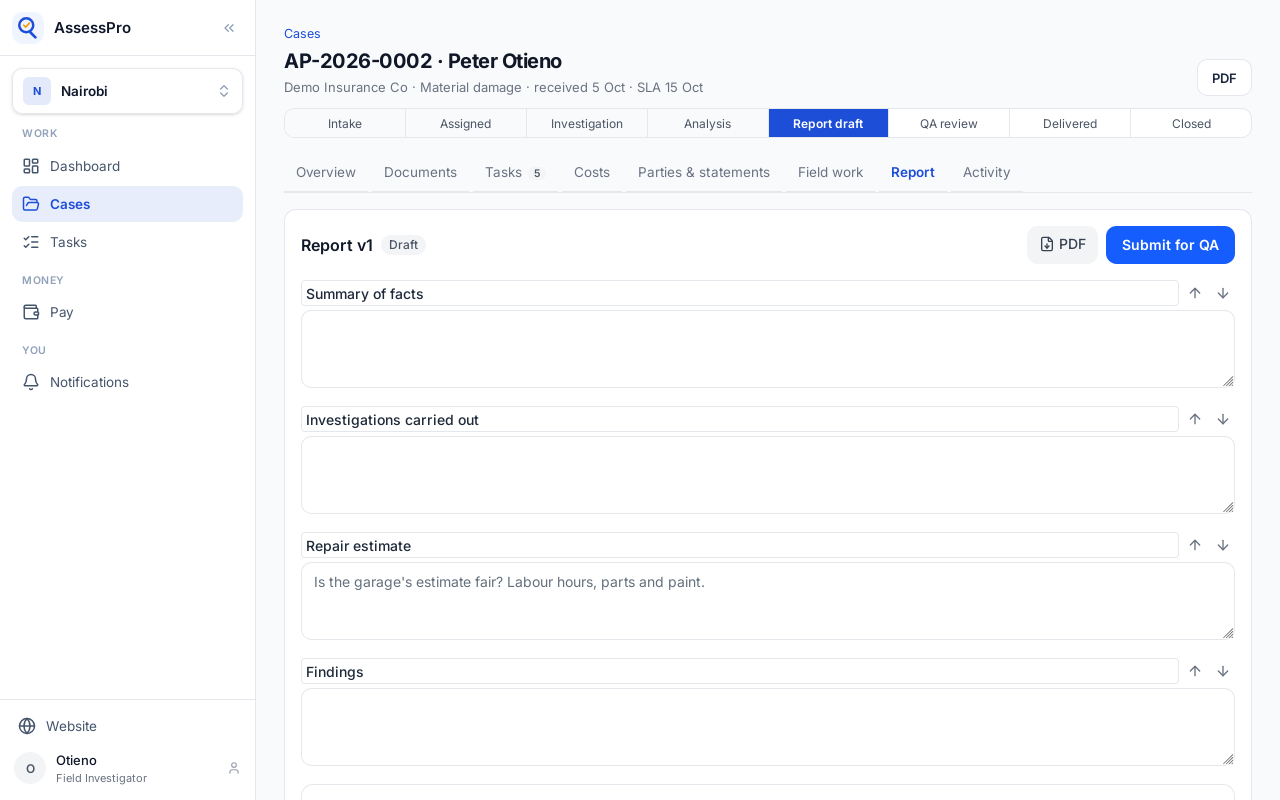
The arrows set the order. This one goes before Findings.
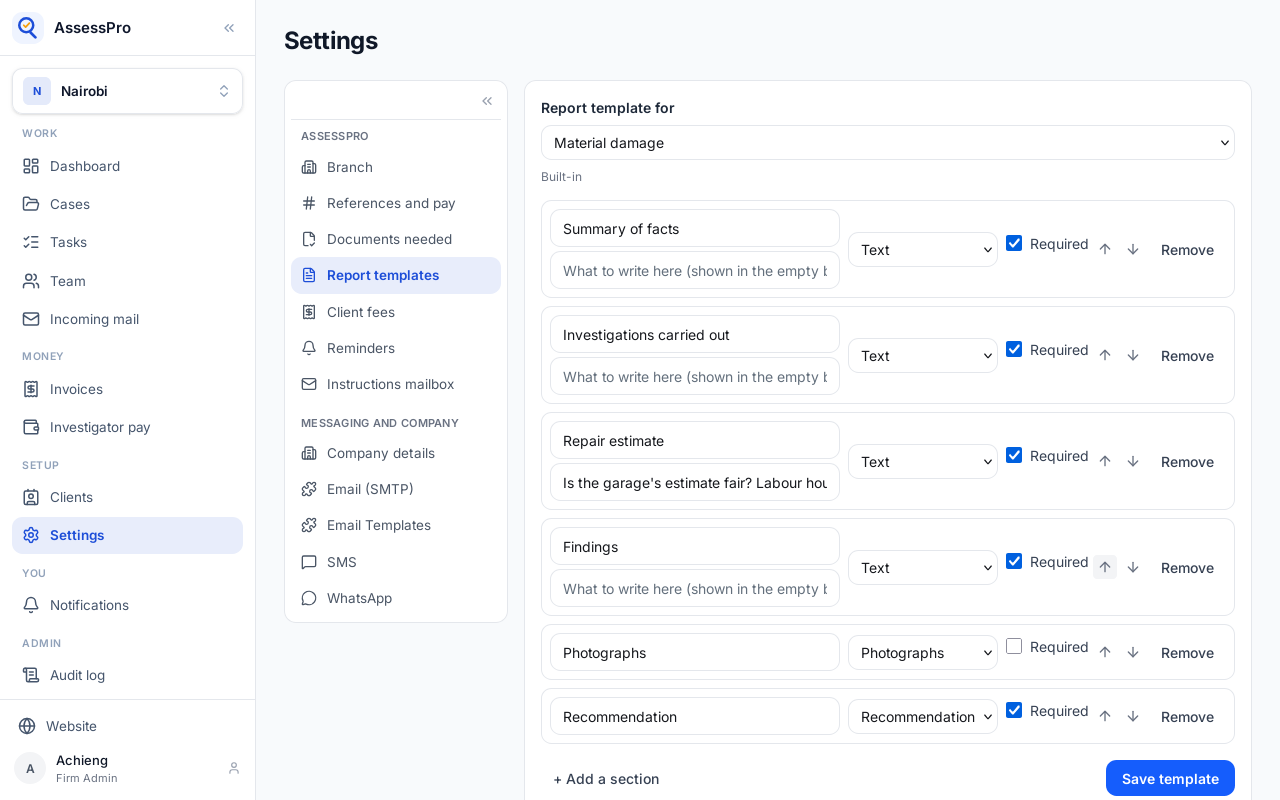
Save template. New reports on material damage files start from it; reports already written keep their sections.
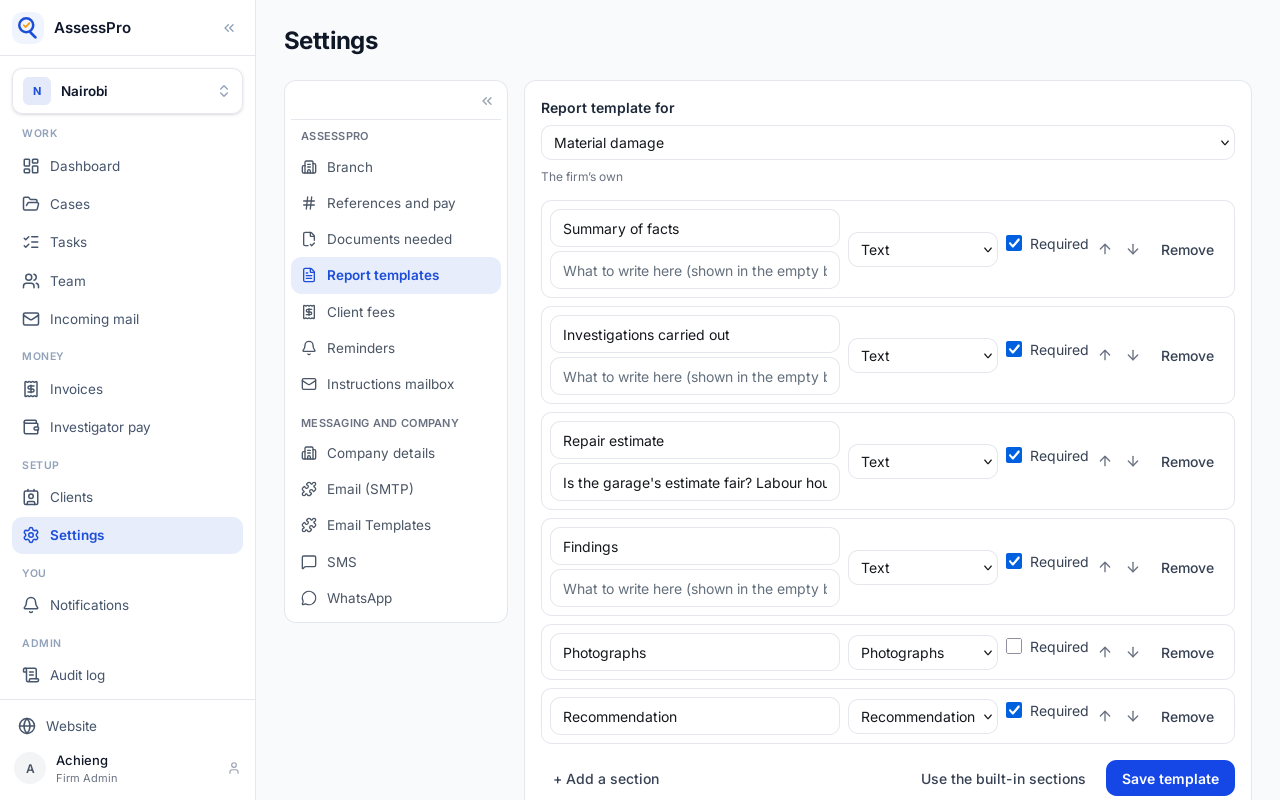
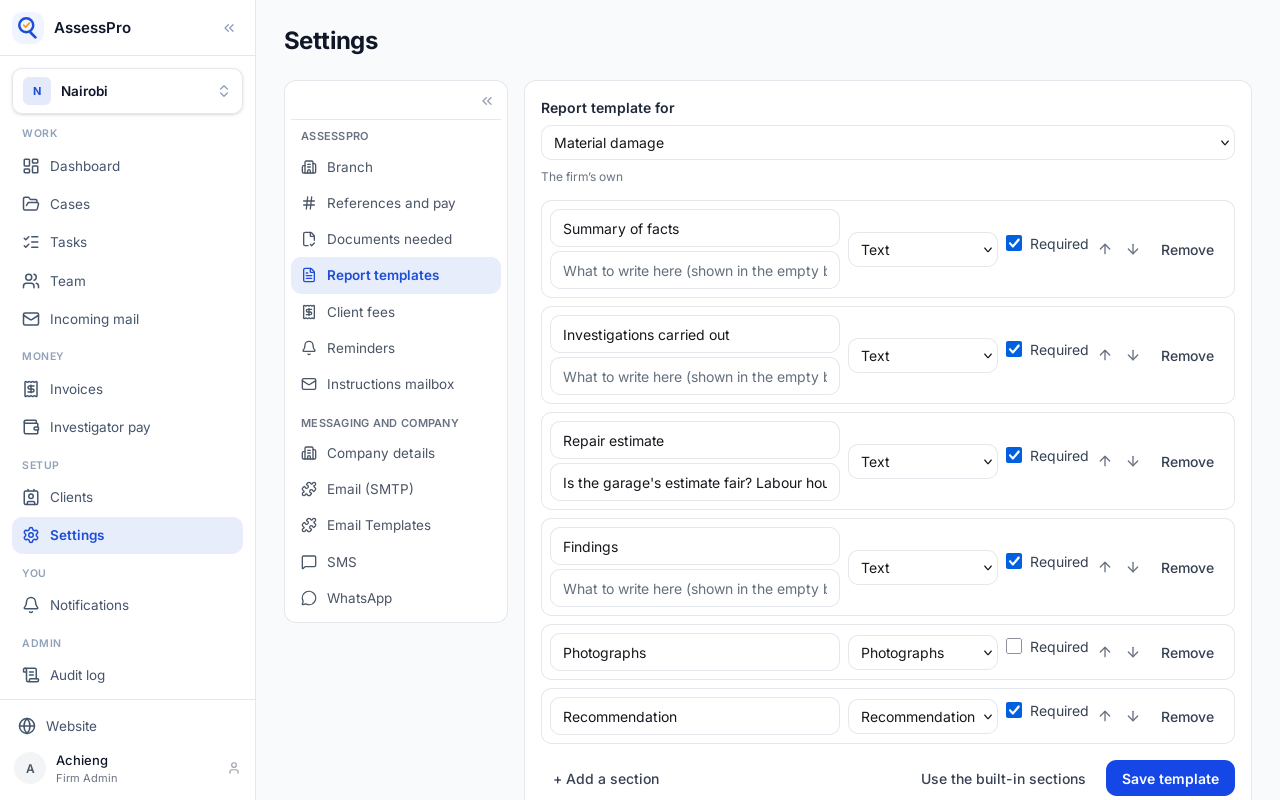
Use the built-in sections goes back to the standard ones for that kind of file.
Chapter 20
Photos on the file become the report's numbered exhibits
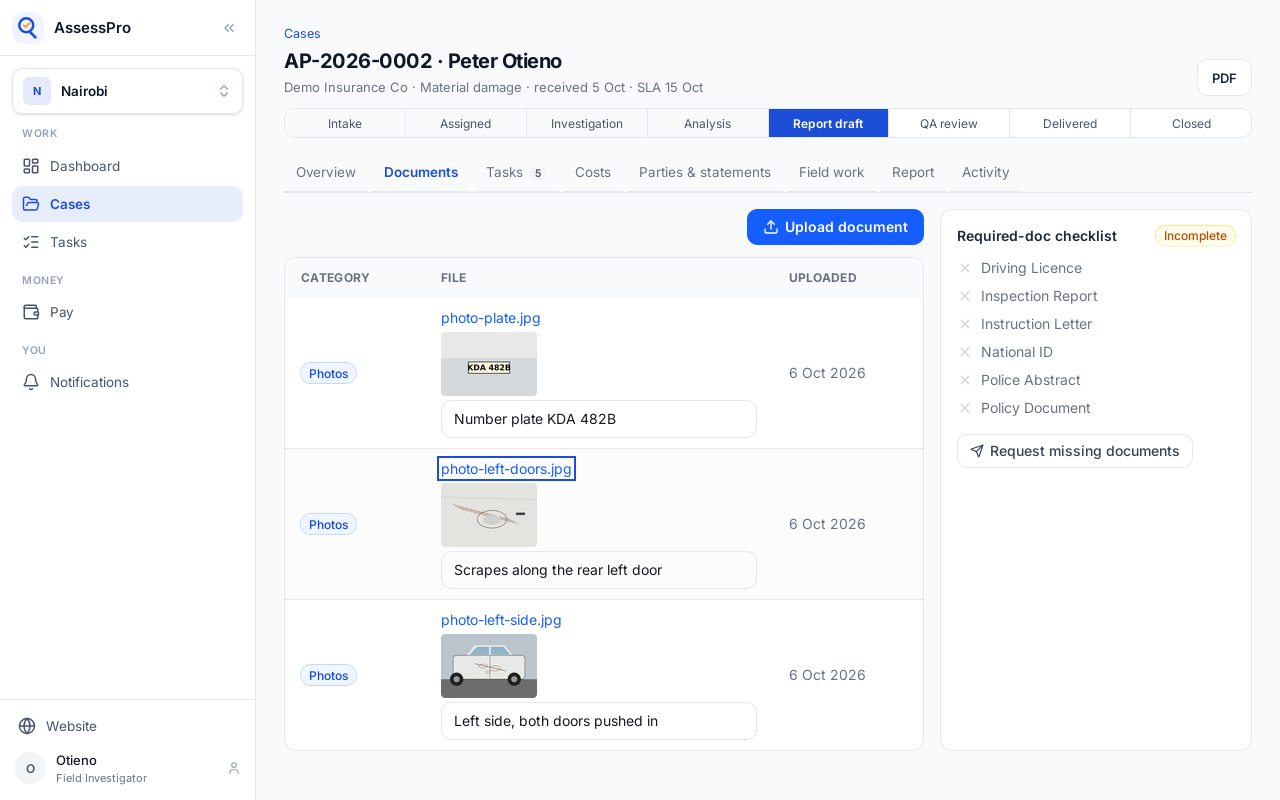
Photos from the scene and the garage go on the file under Documents, as Photos.
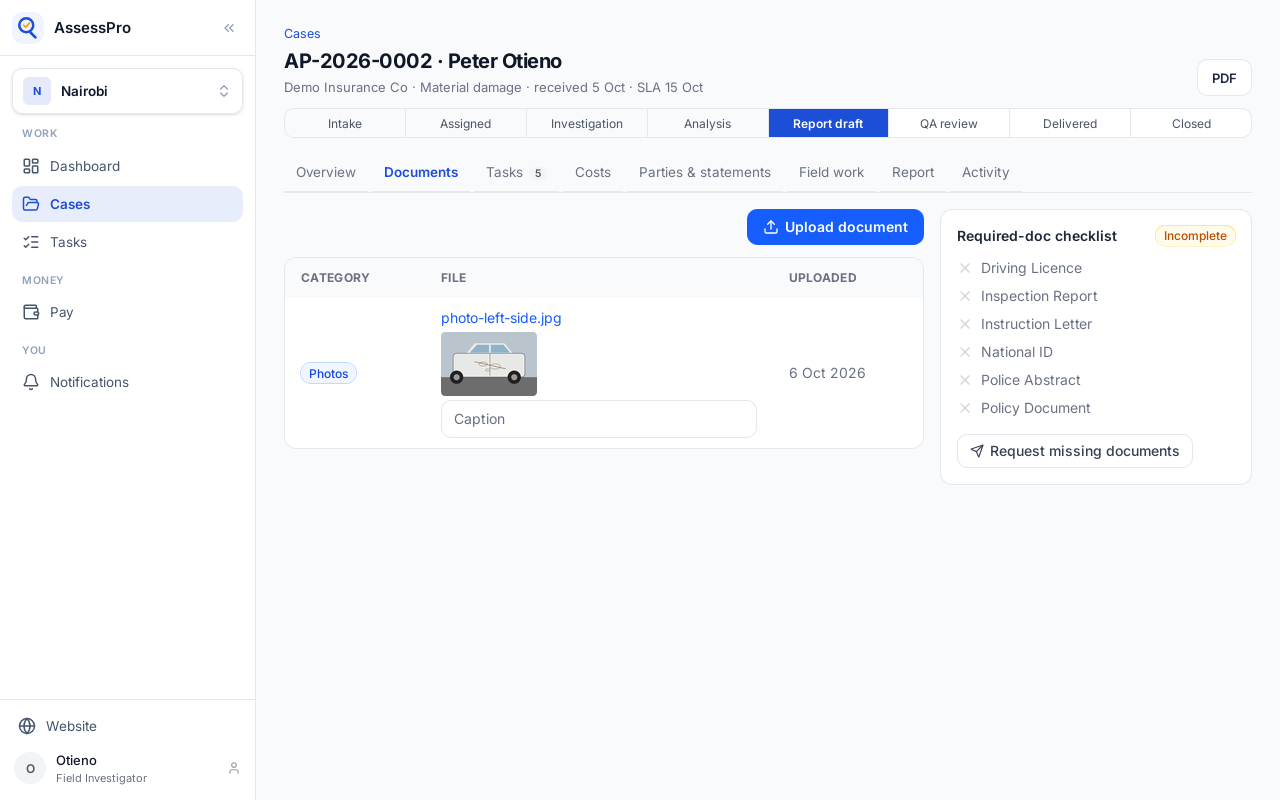
A photo shows a preview, and a caption box under it. The caption is saved when you leave the box.
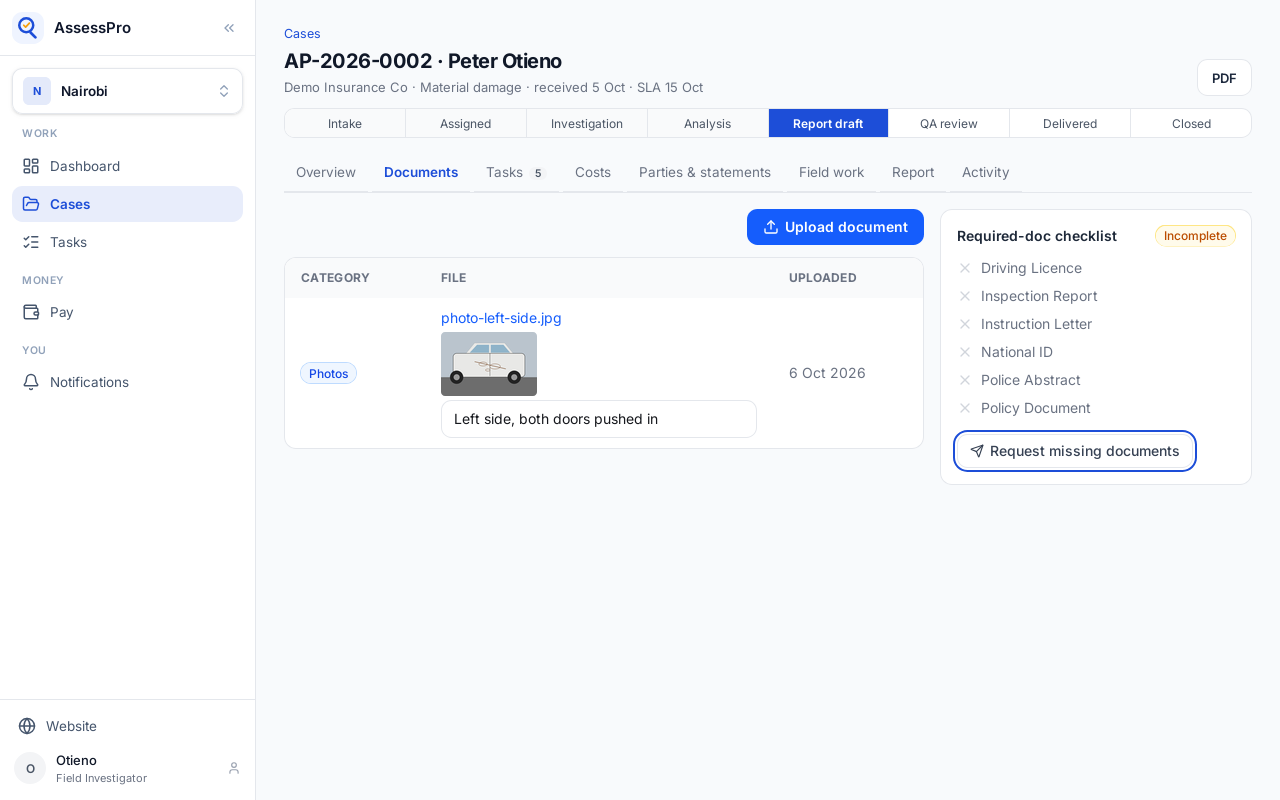
Phone photos come as they are, HEIC included; AssessPro keeps a copy any browser and the report can show.
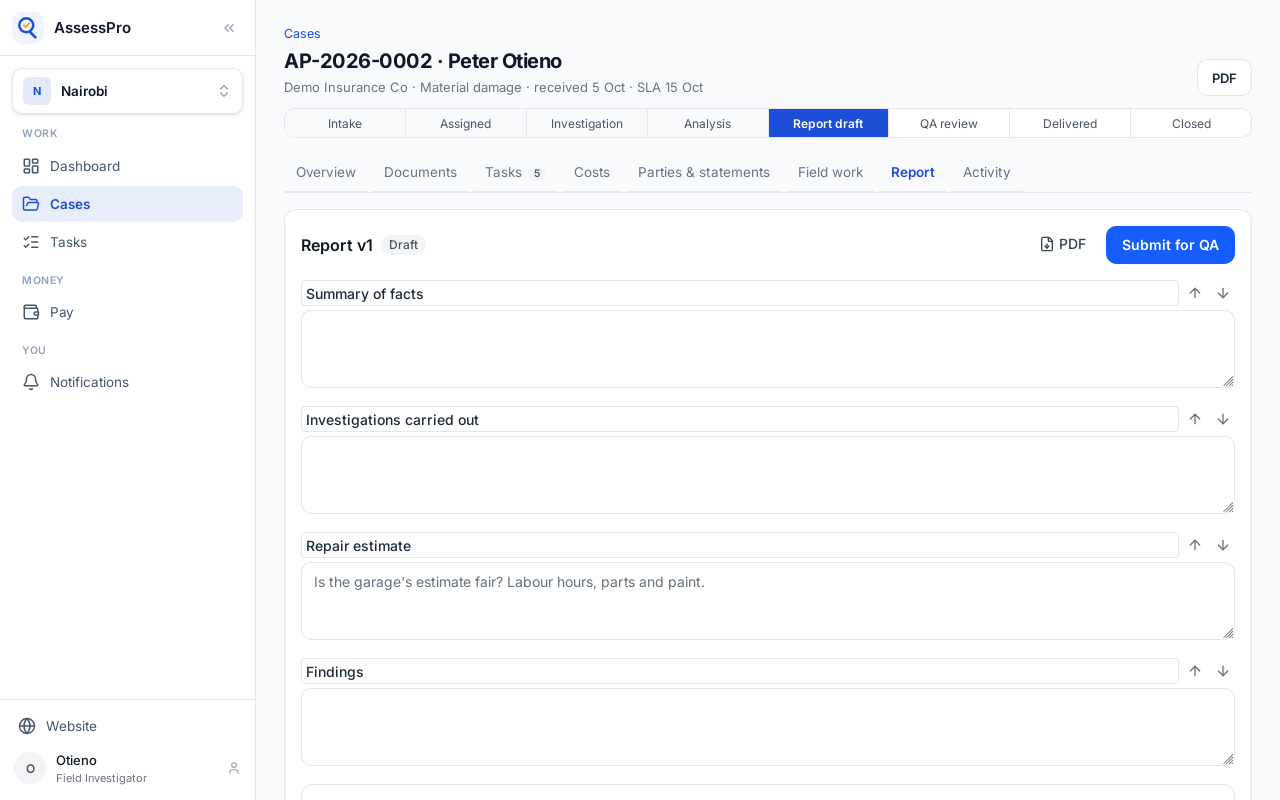
Then the report. Start the report gives it the sections of the branch's template for this kind of file.
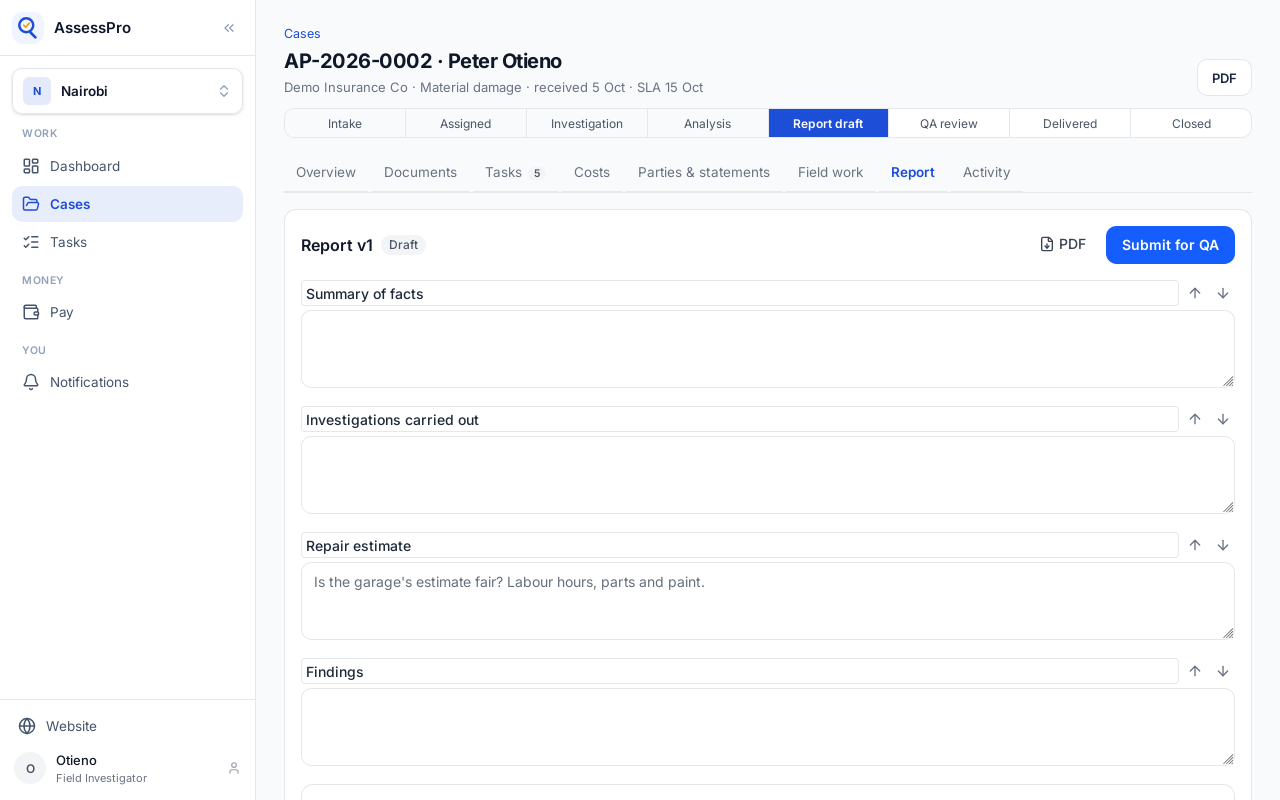
This material damage file has the Repair estimate section the branch added, before Findings.
Under Photographs, choose the photos the report shows. Each one picked becomes Photo 1, Photo 2 and on, in that order.
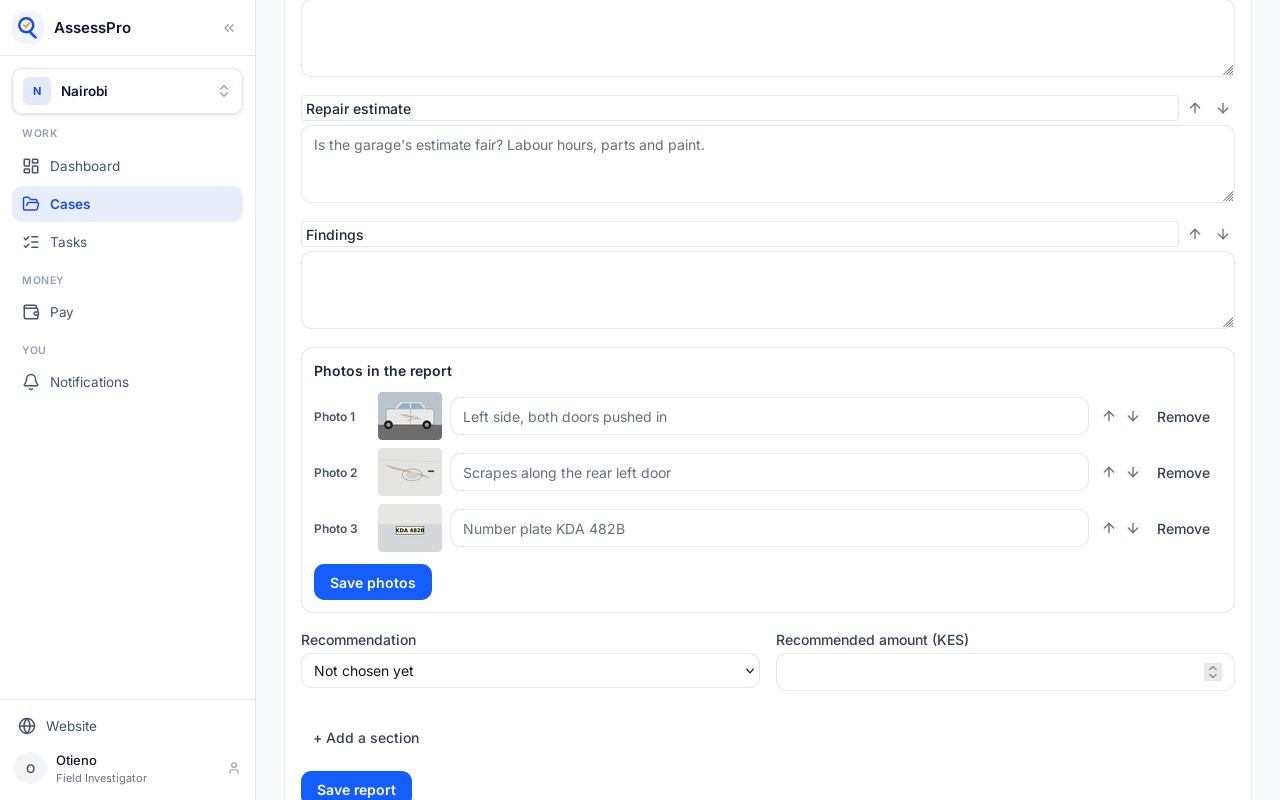
Each takes the caption from the file; a caption typed here is for this report only.
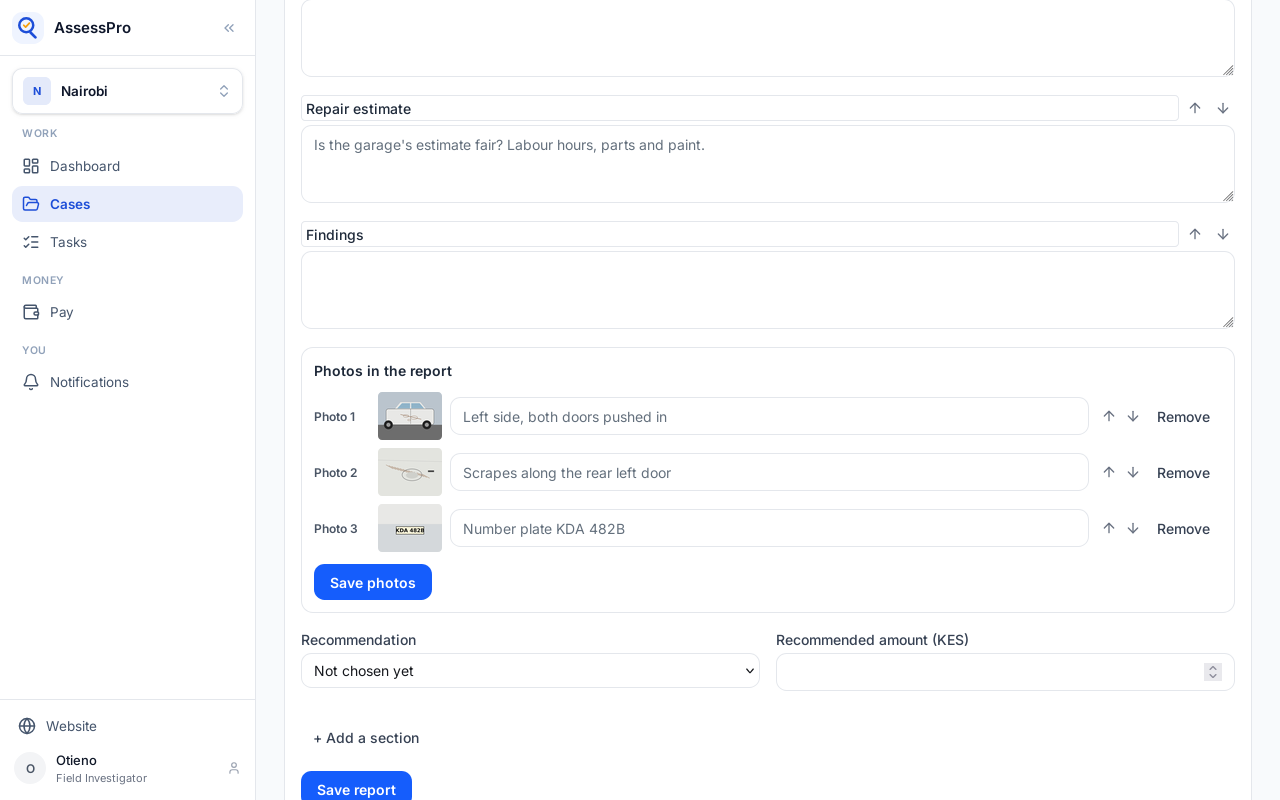
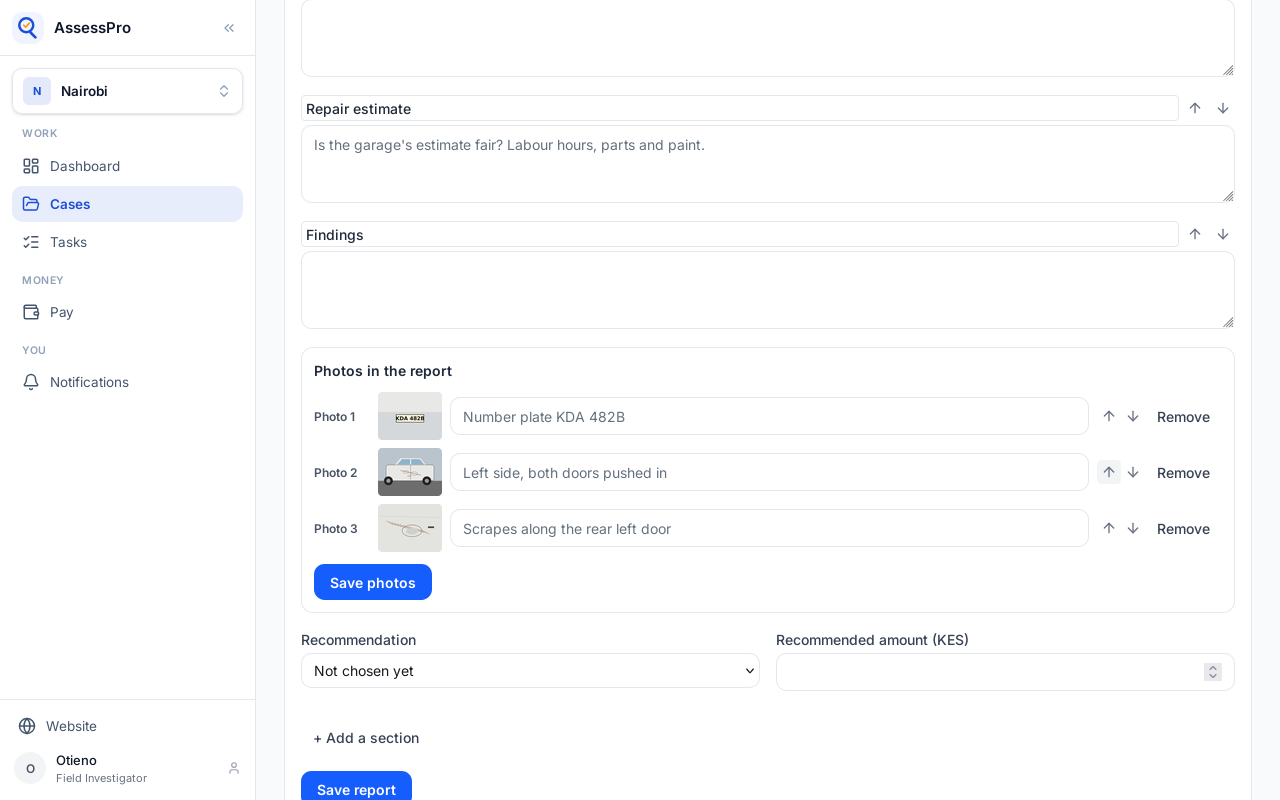
The arrows change the order. The plate goes first.
Save photos.
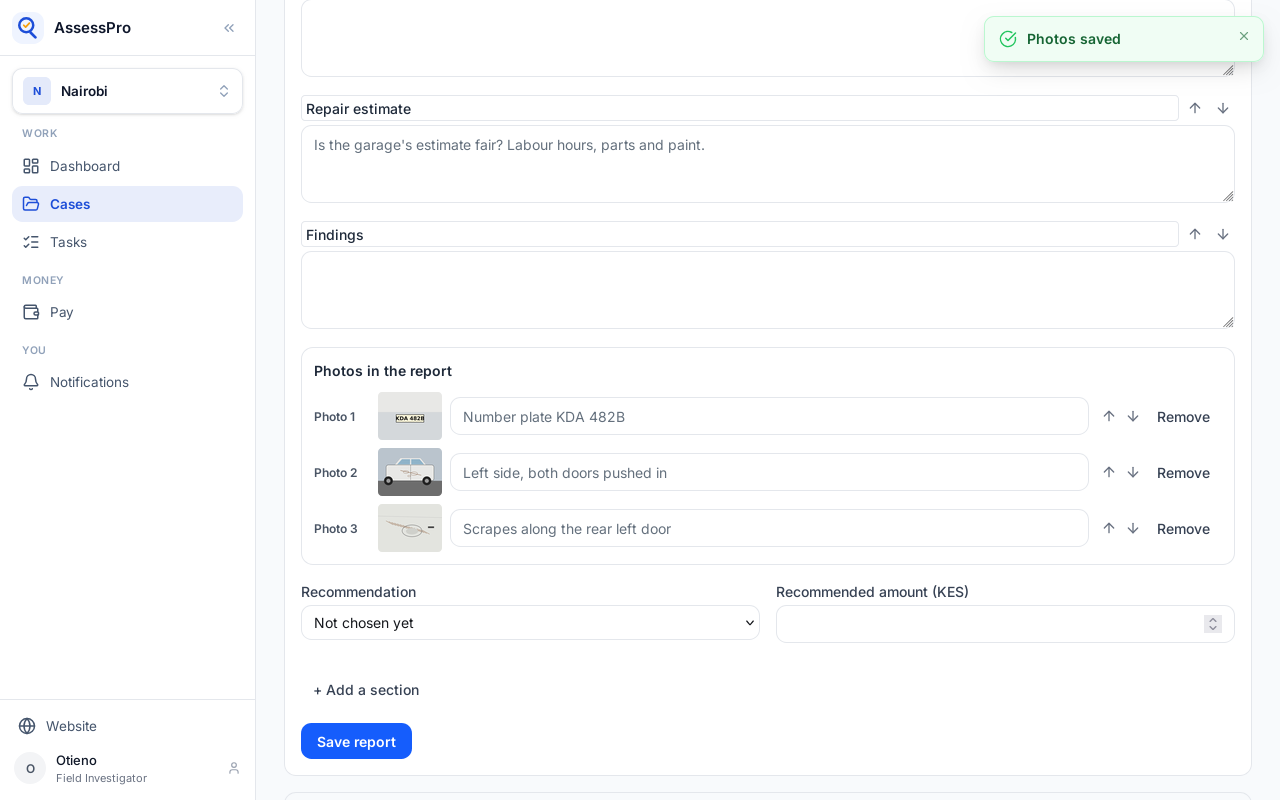
In the report's PDF they print under Photographs, two to a page, each with its number and caption, so the findings can say "see Photo 2".
Chapter 21
The report and its documents in one PDF, signed and frozen
When a client or a court wants the report with its documents in one PDF, that is the bundle, on the file's Report tab.
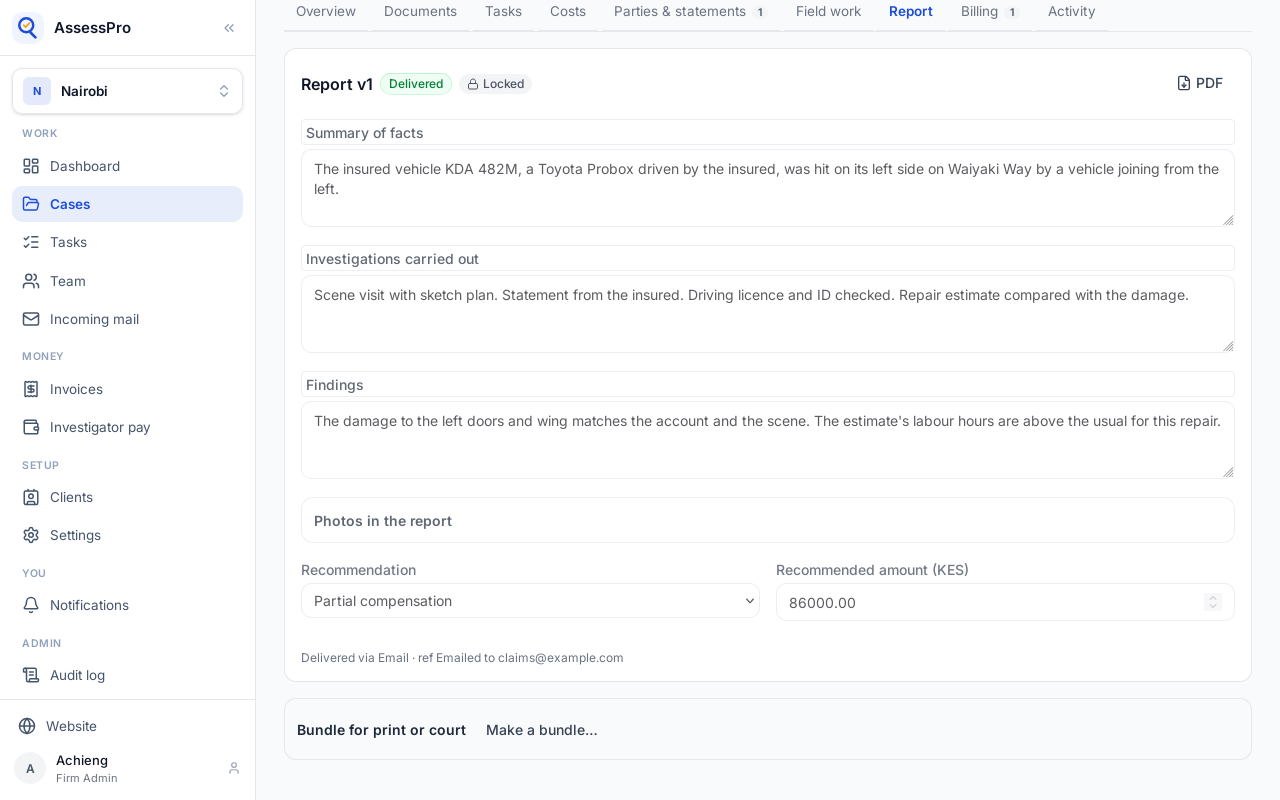
Make a bundle, and tick the documents that go in after the report and its photos.
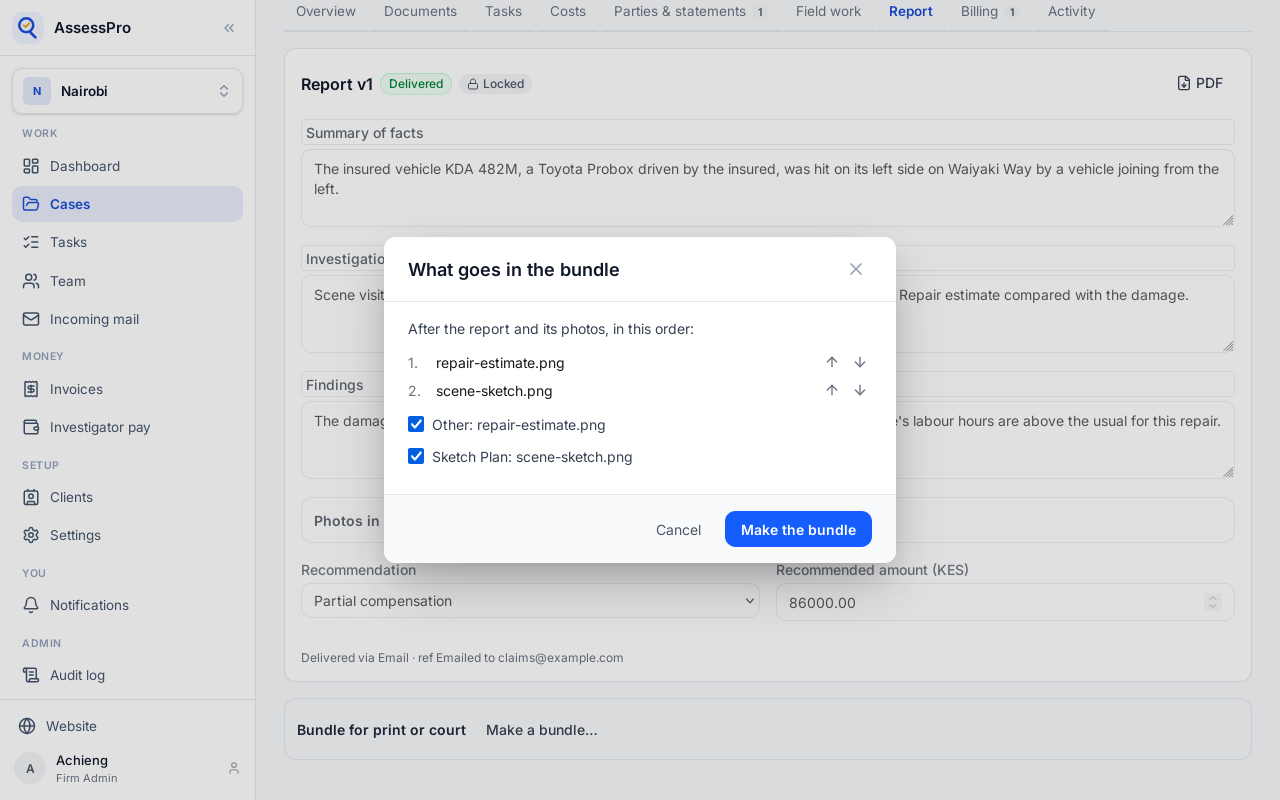
The arrows set their order. Then Make the bundle.
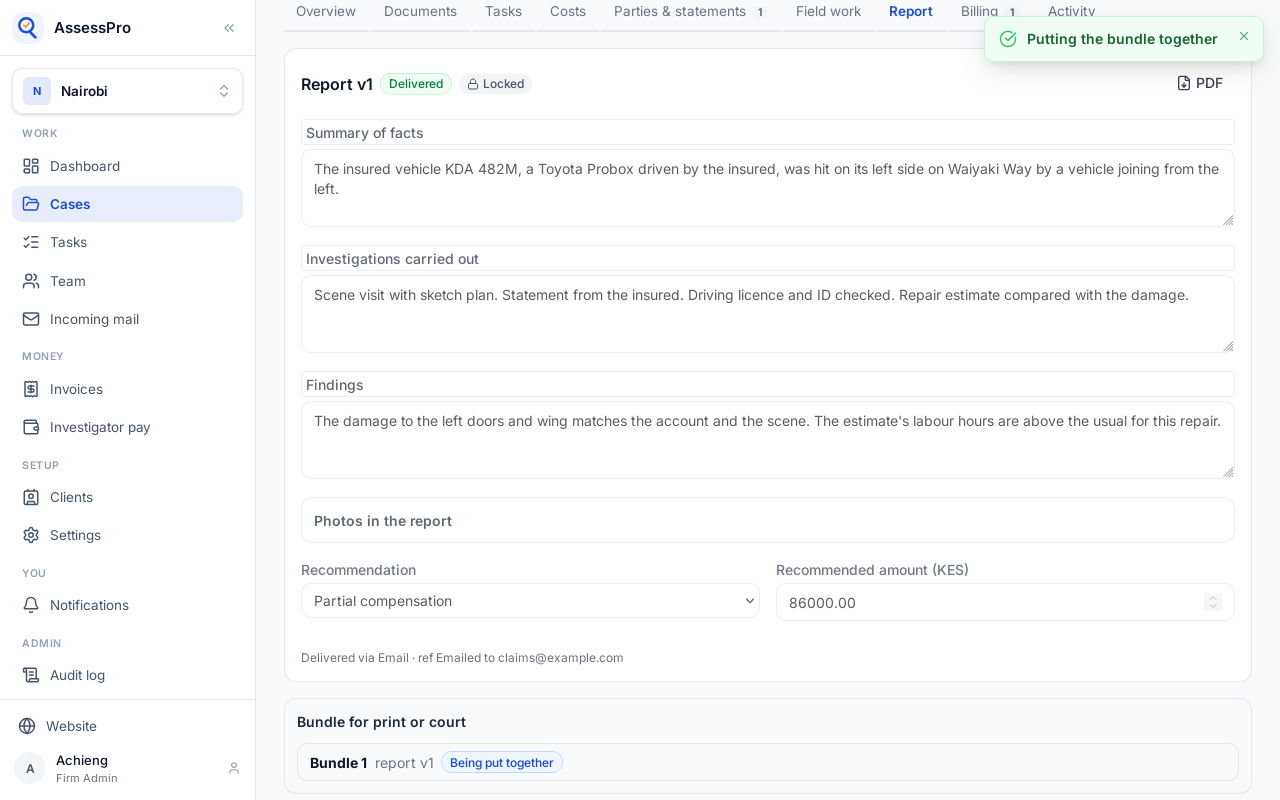
It is put together in the background: a cover, an index with page numbers, the report, the documents, and the declaration, with the file and page number on every page.
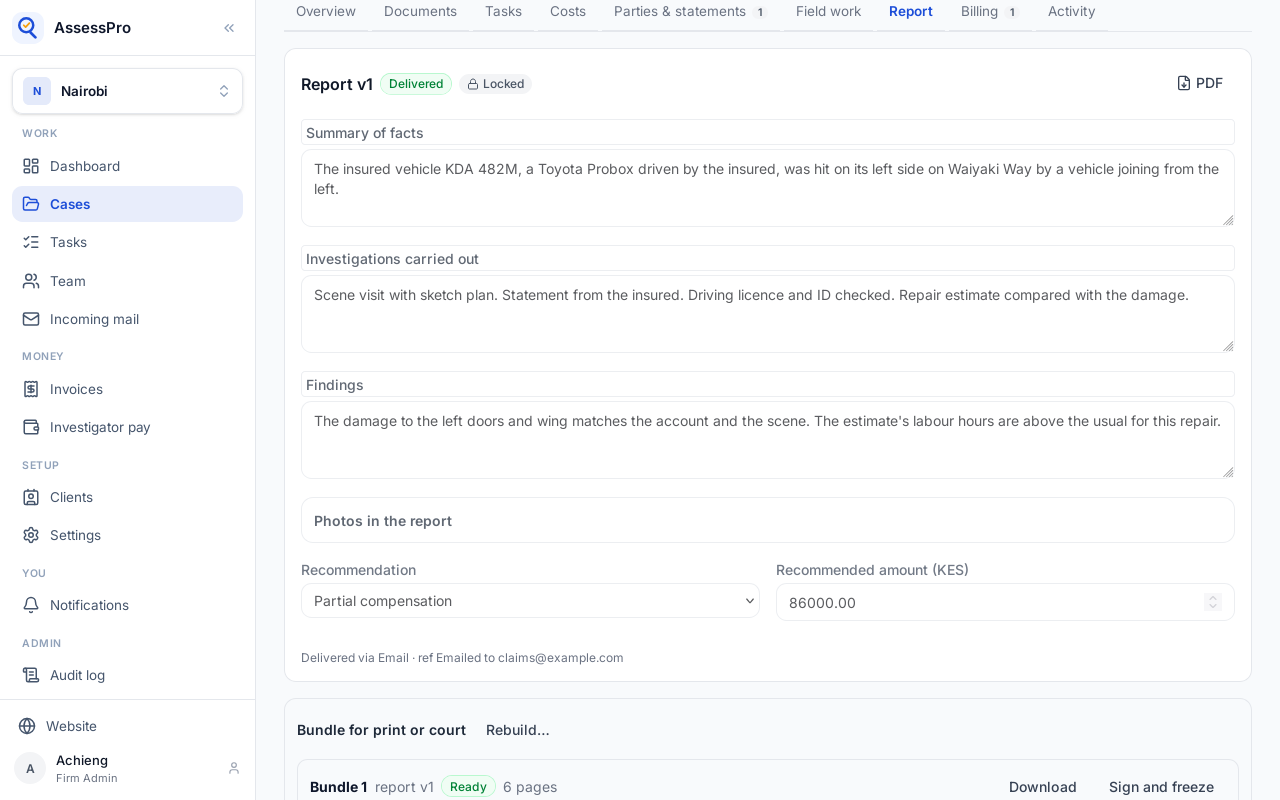
When it is Ready, it shows its pages and a fingerprint of the file. Download opens it.
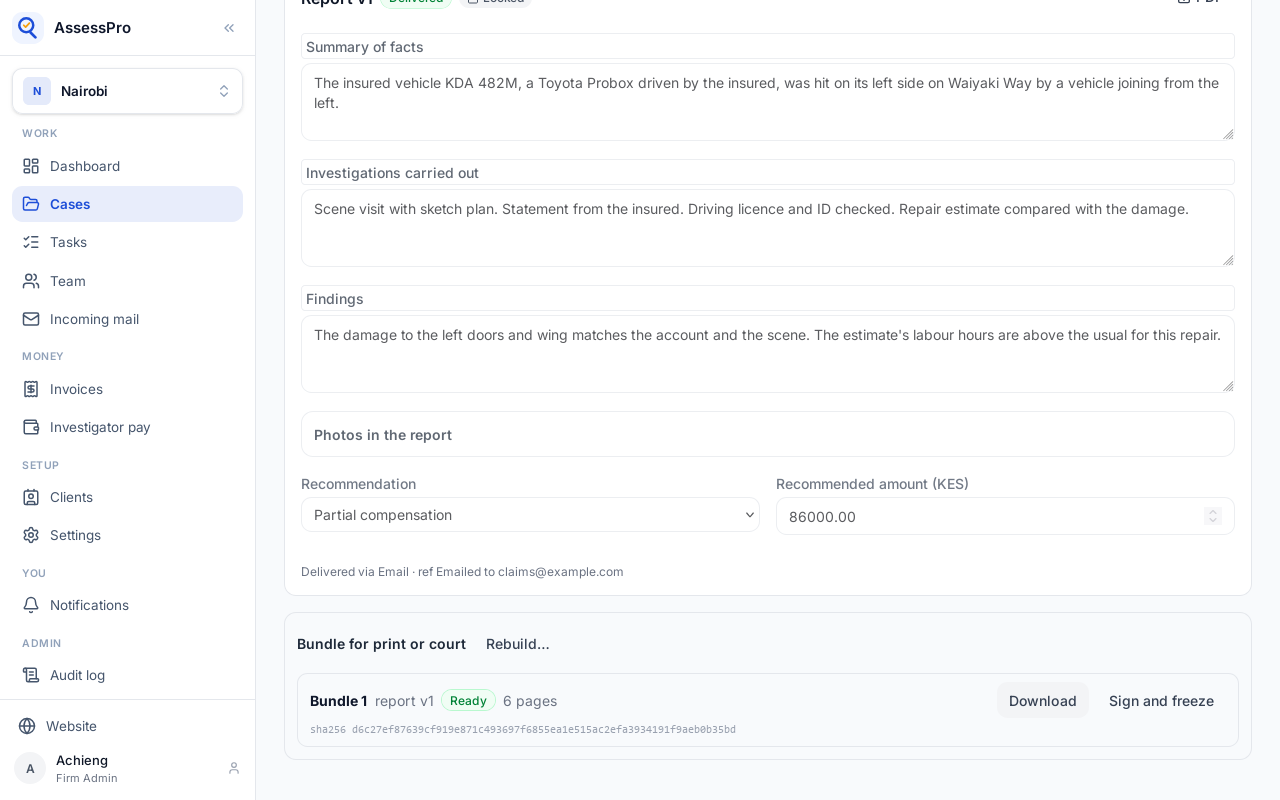
The declaration at the end is signed by whoever freezes the bundle, with their own signature if they keep one. It goes in under My account.
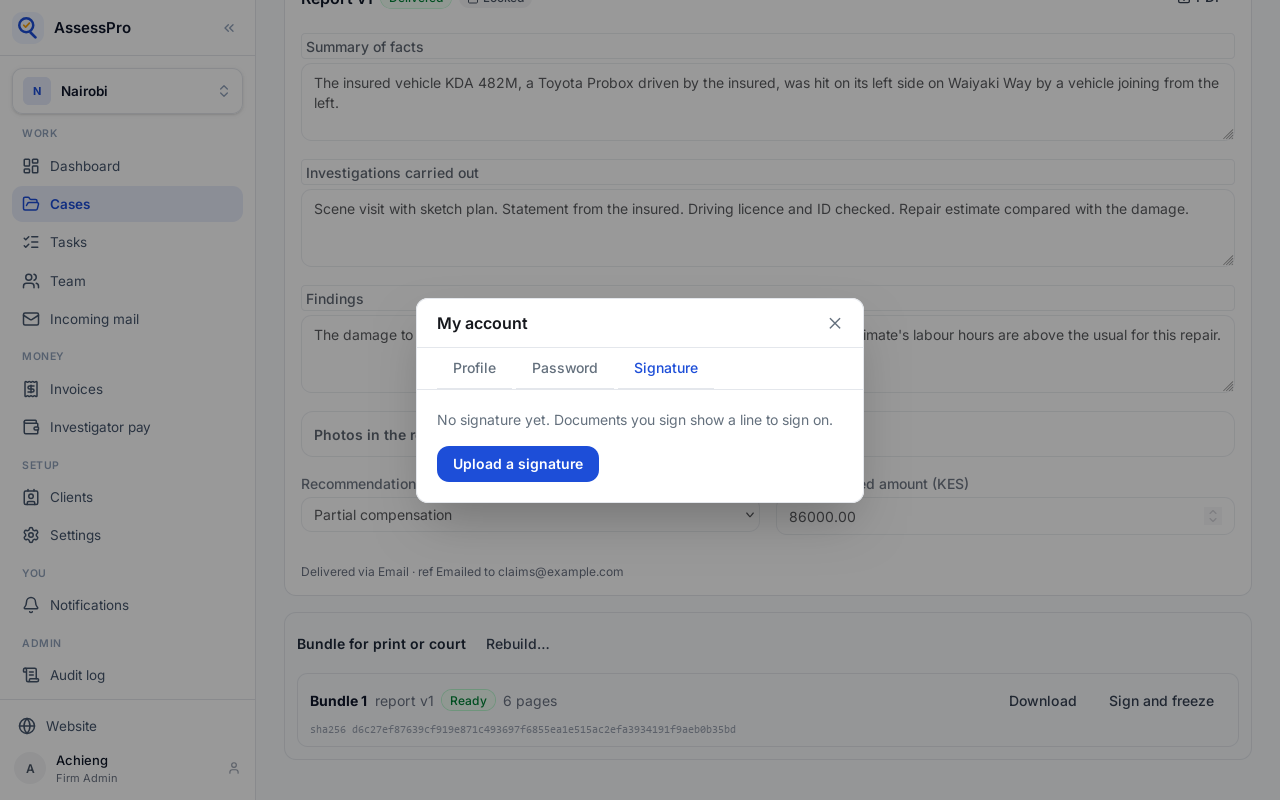
Upload a signature: a picture of it. Only its owner can put it on a document.
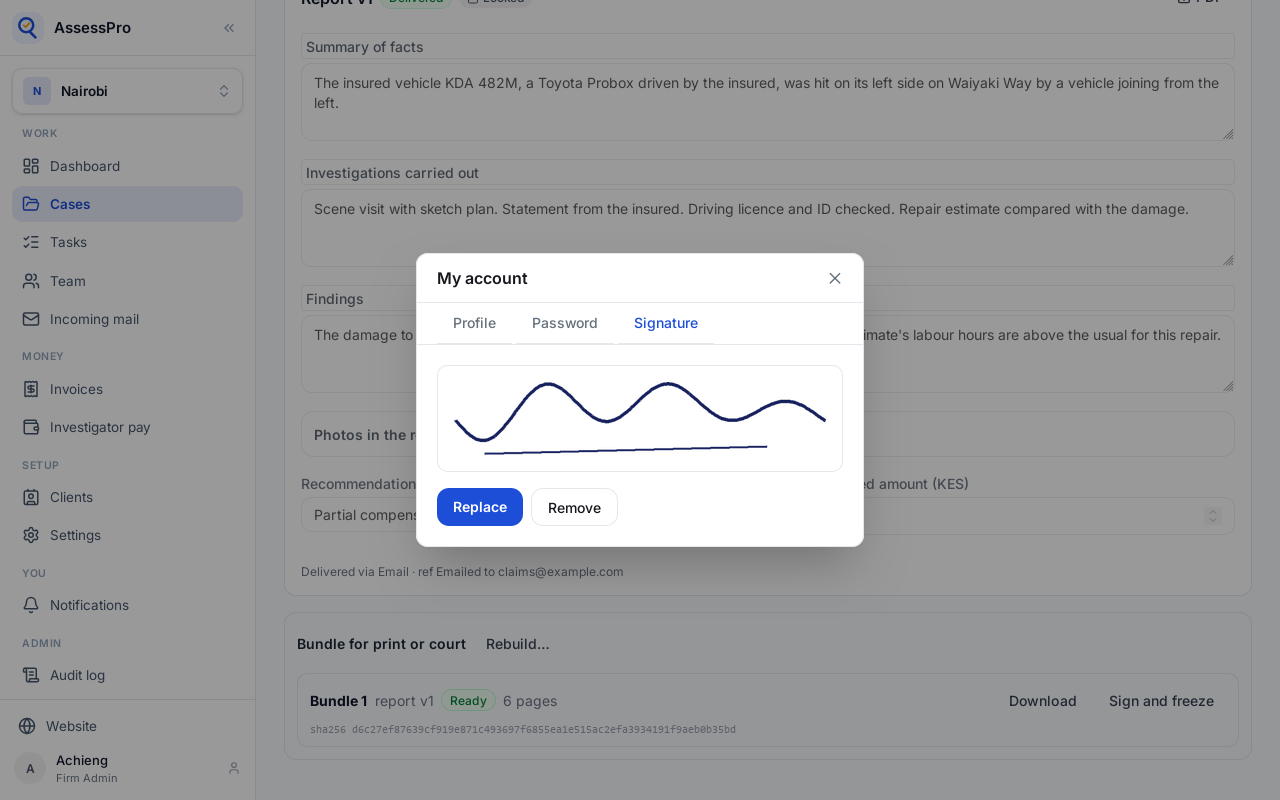
Each time it is put on a document, that is recorded.
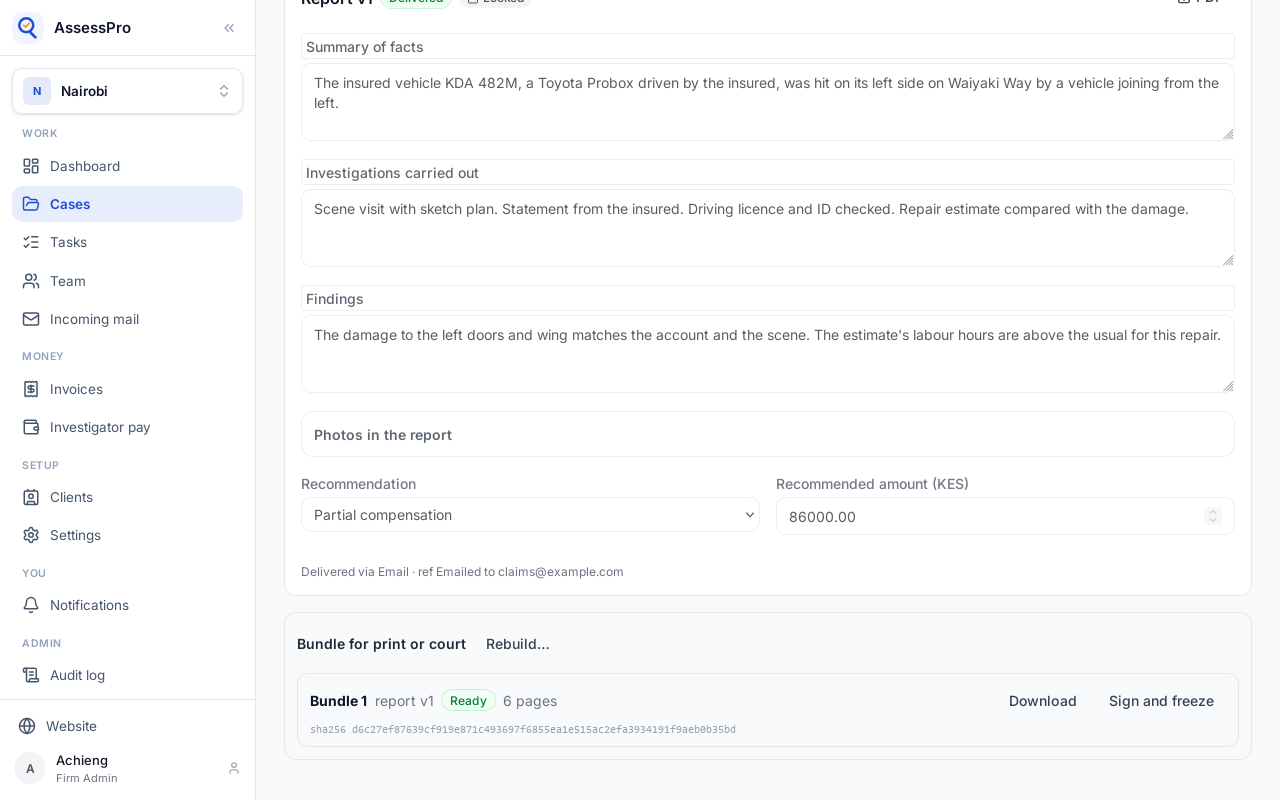
Back on the bundle, Sign and freeze.
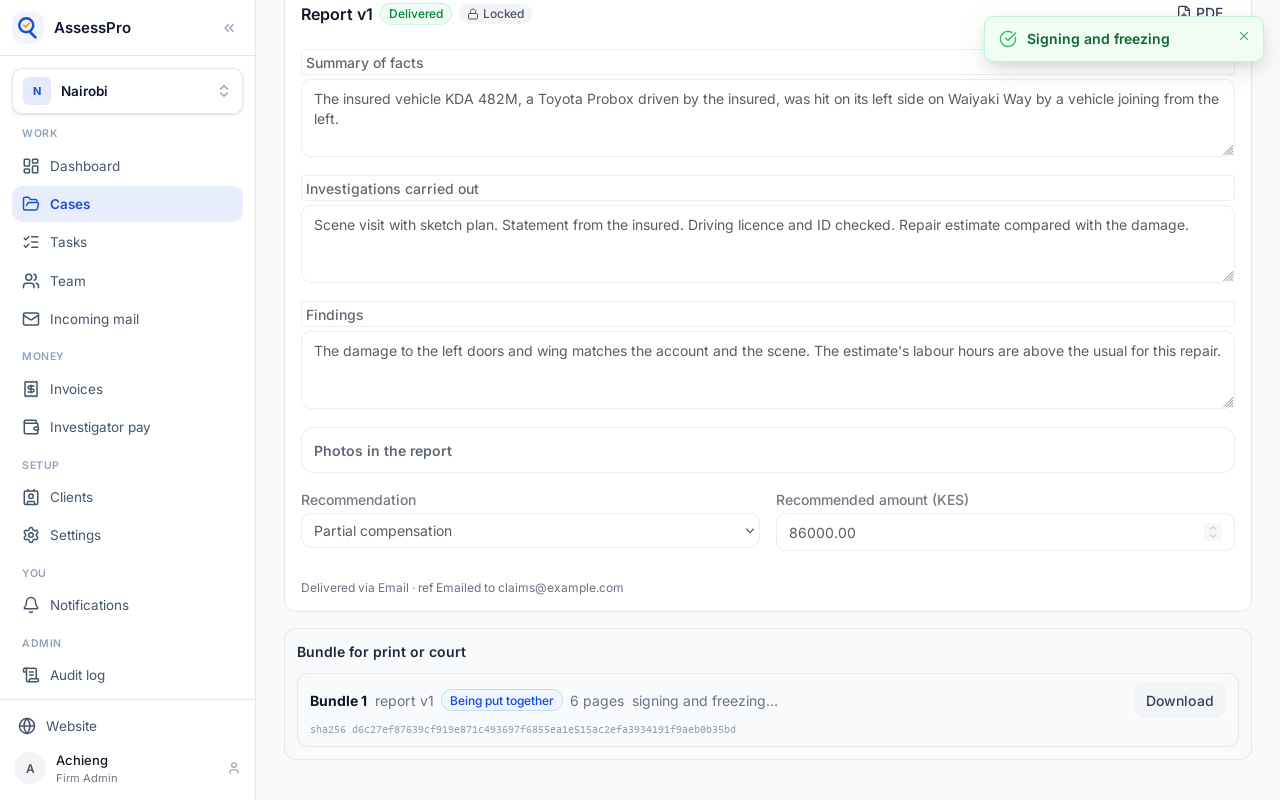
It is put together again with the signature, then frozen: it can't be rebuilt, and Make a bundle starts a new one.
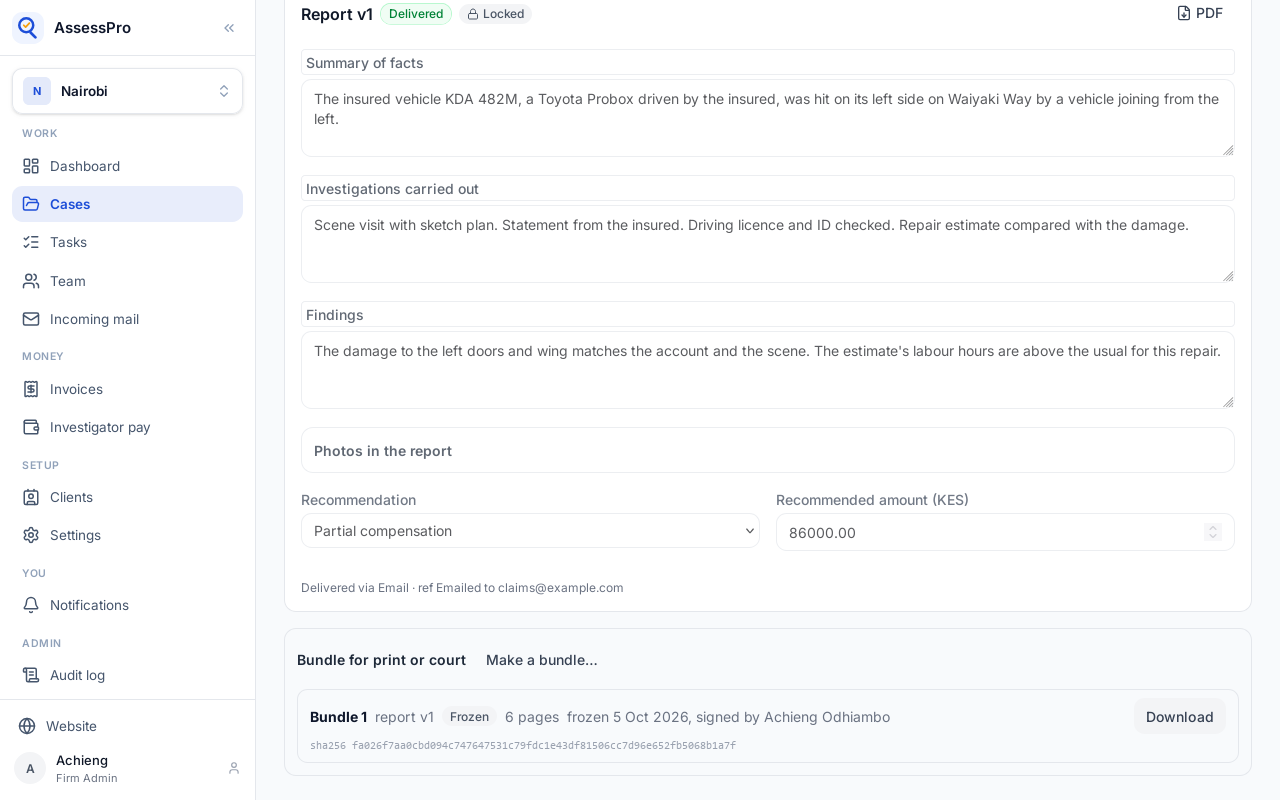
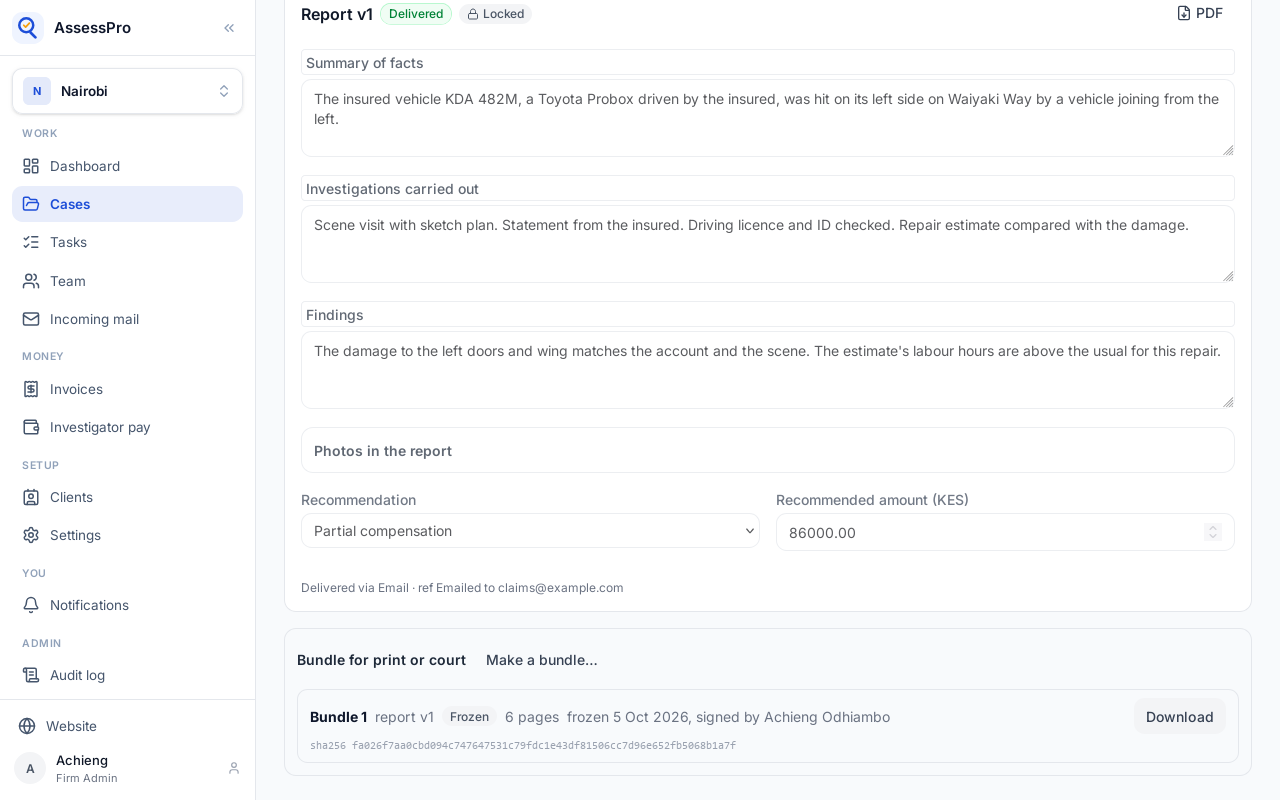
It says who signed it, and when. With the fingerprint, anyone can check the PDF wasn't changed after.
Chapter 22
Money before a trip, accounted for with the costs
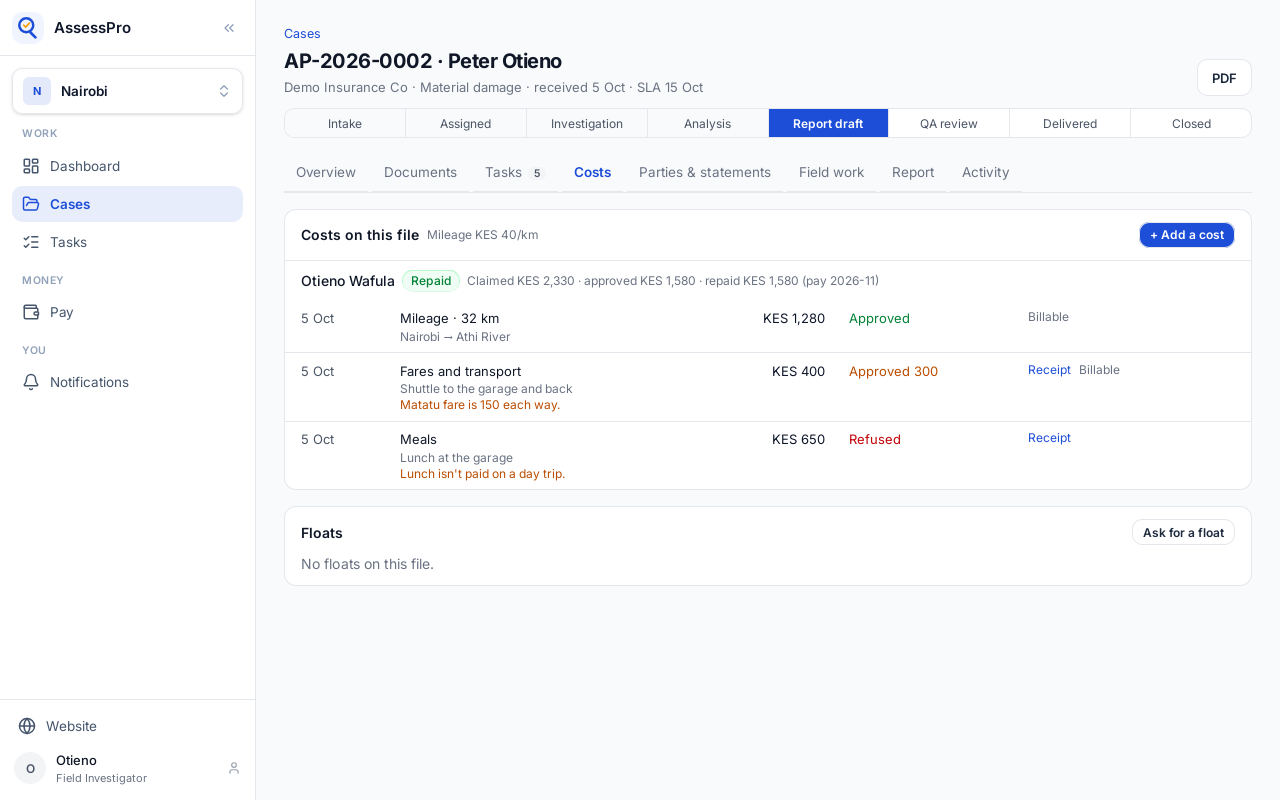
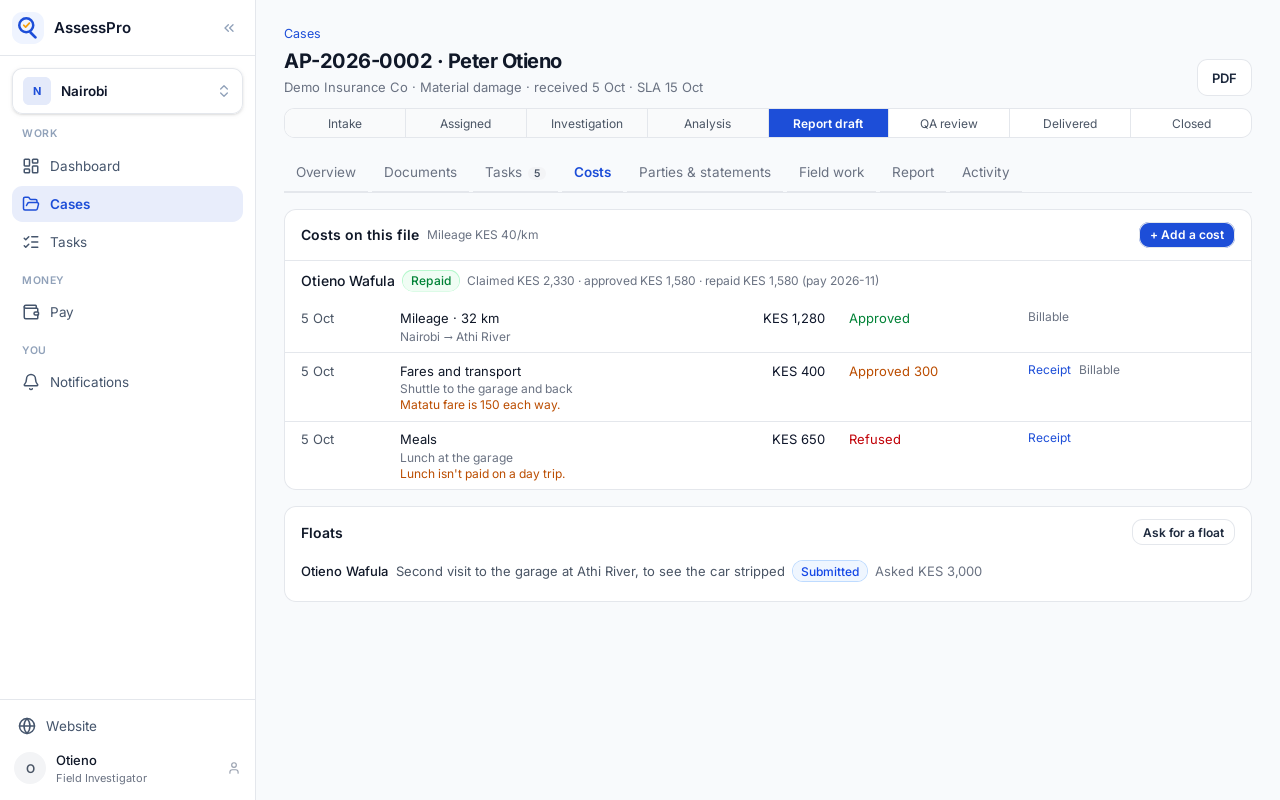
When a branch pays floats, an investigator can ask for money before a trip. It is on the file's Costs tab, under Floats.
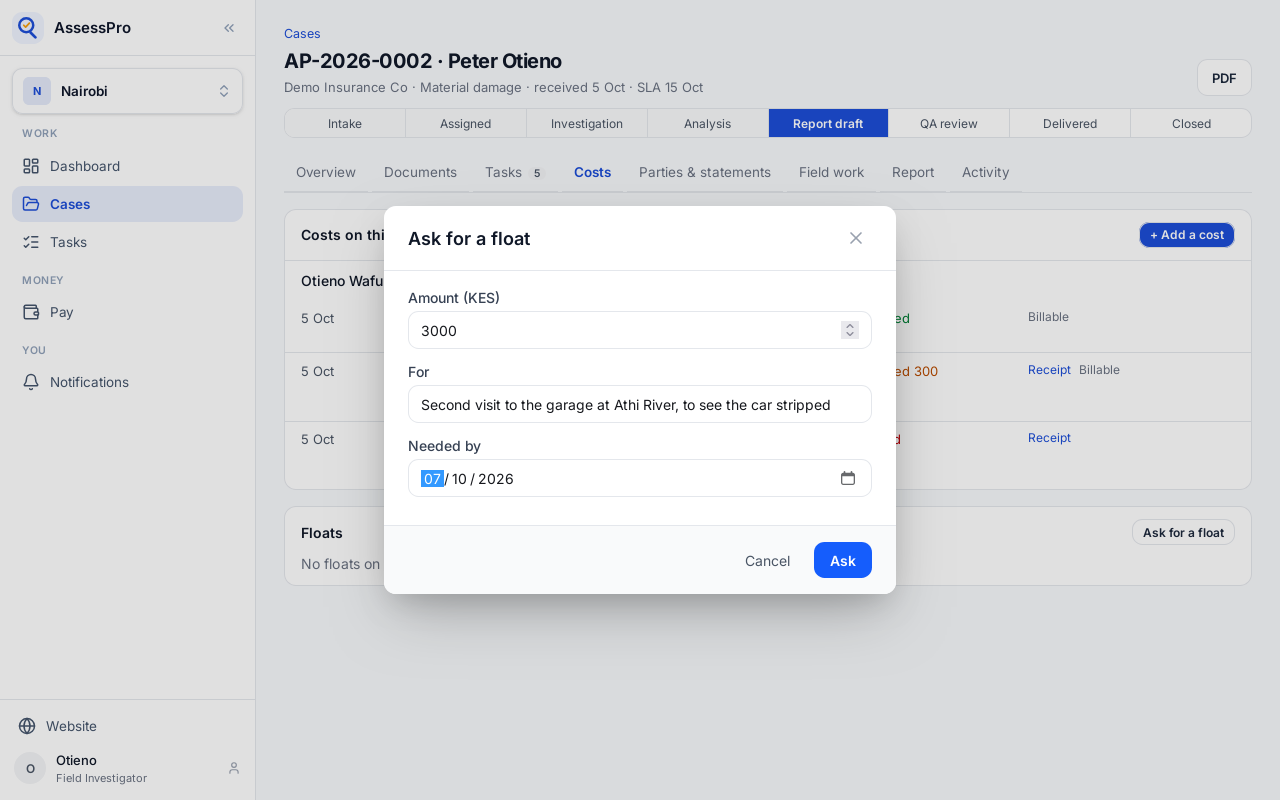
Ask for a float: how much, what it is for, and when it is needed.
Ask sends it to the office.
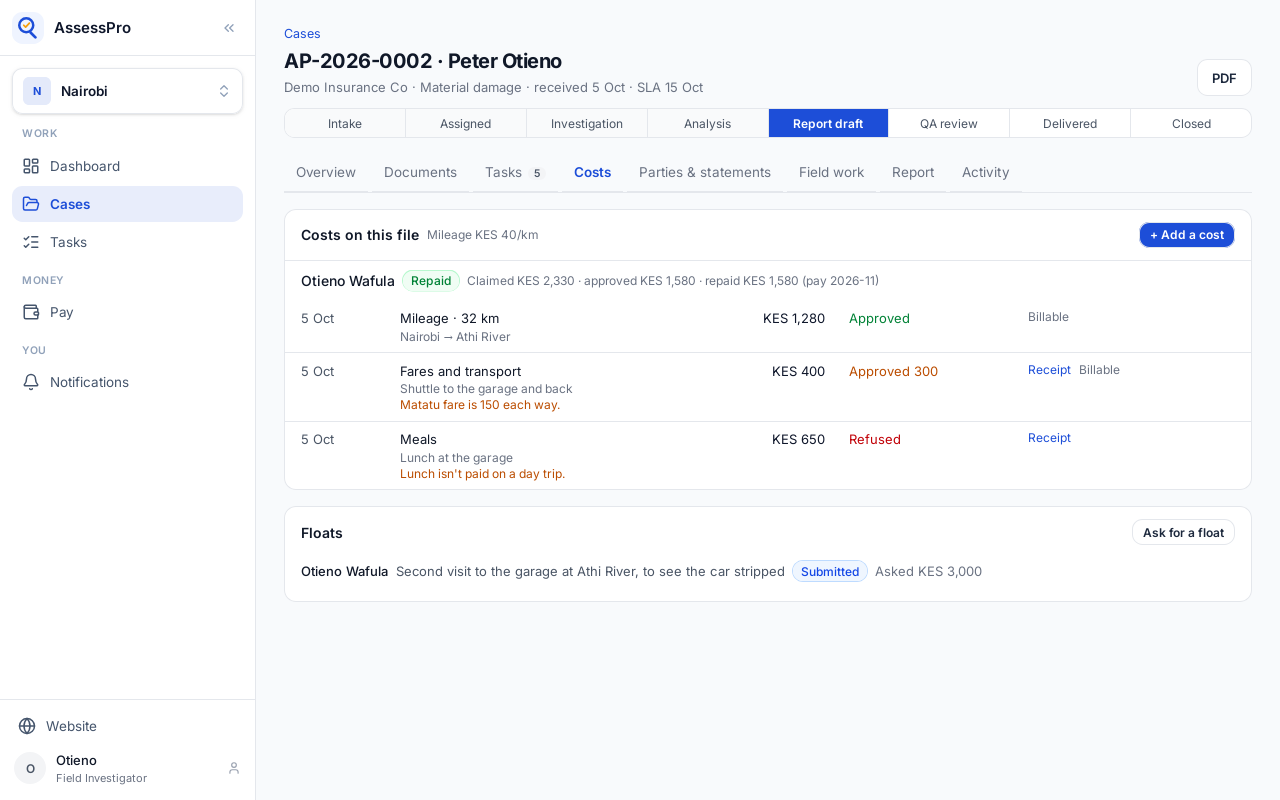
It waits for the office to approve it, all or part, and then for someone to pay it.
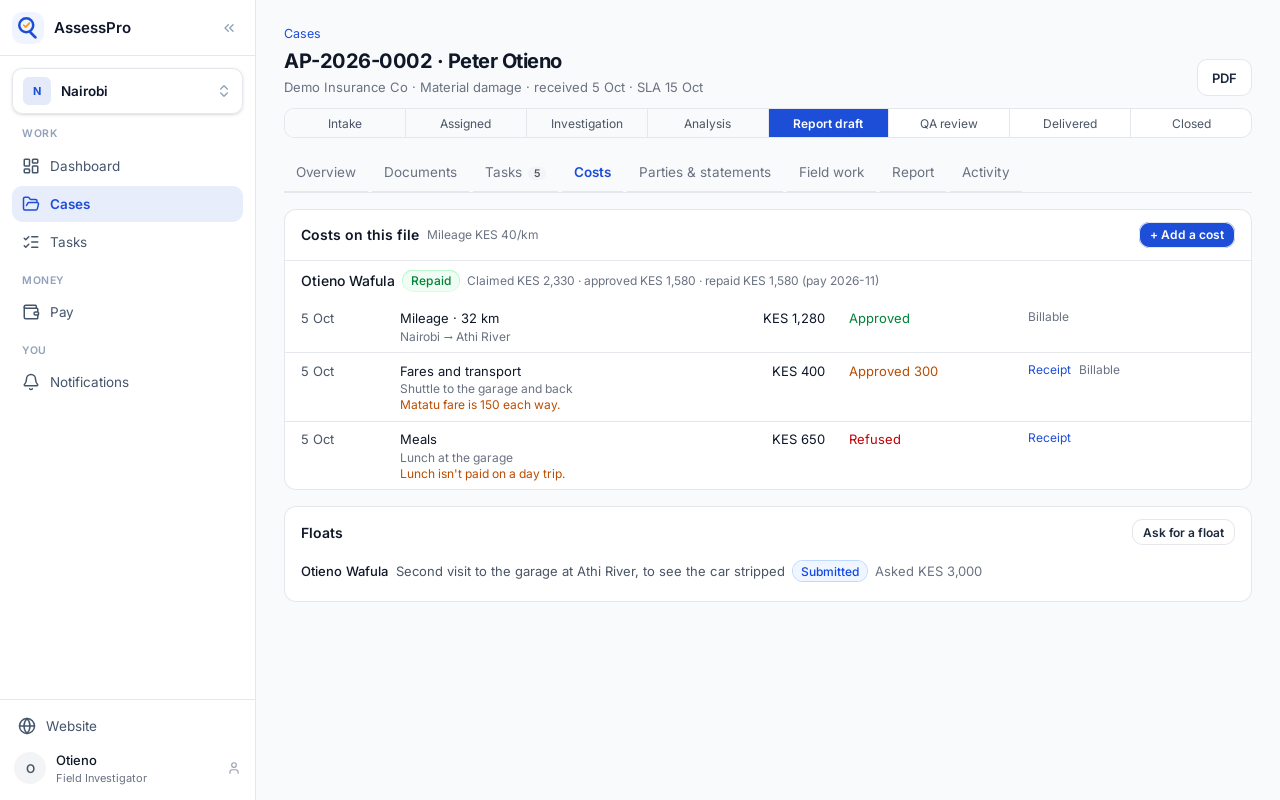
Once it is paid, the next costs sent on this file are met from the float first. What isn't spent is owed back, and the office records it when it comes back.
Chapter 23
The office decides on a float and records paying it
When an investigator asks for a float, it shows on Tasks, under Floats, for whoever approves task work.
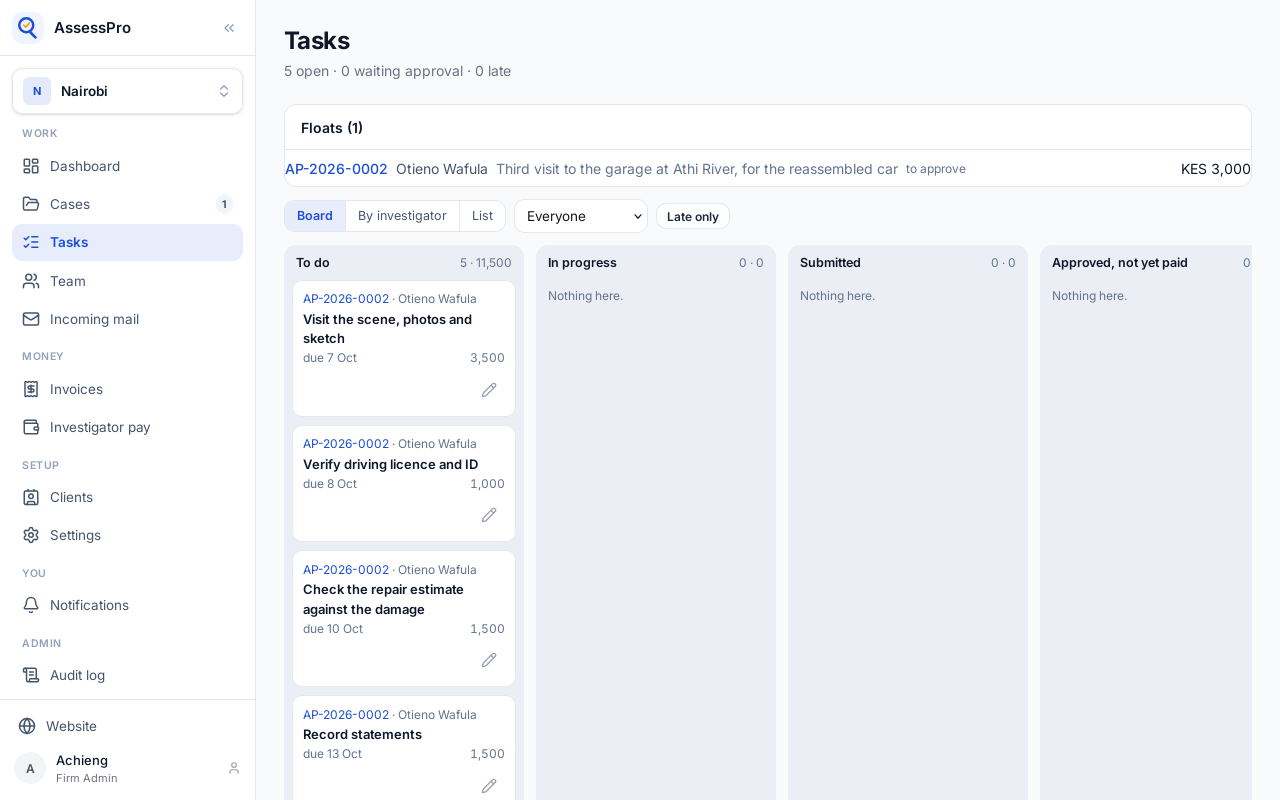
Each one says who asked, what for, and how much. The file number opens the file's Costs tab.
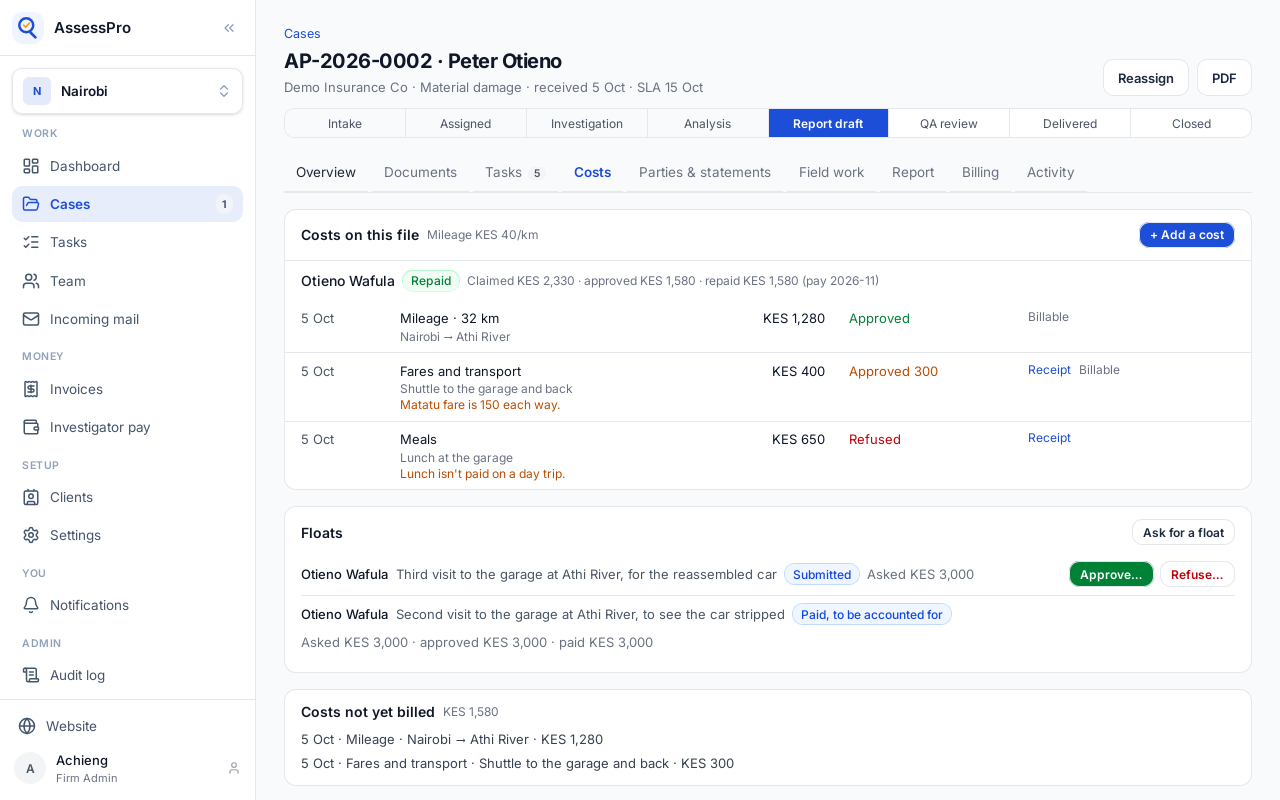
Approve the whole amount, or less. Here the office approves two nights at most.
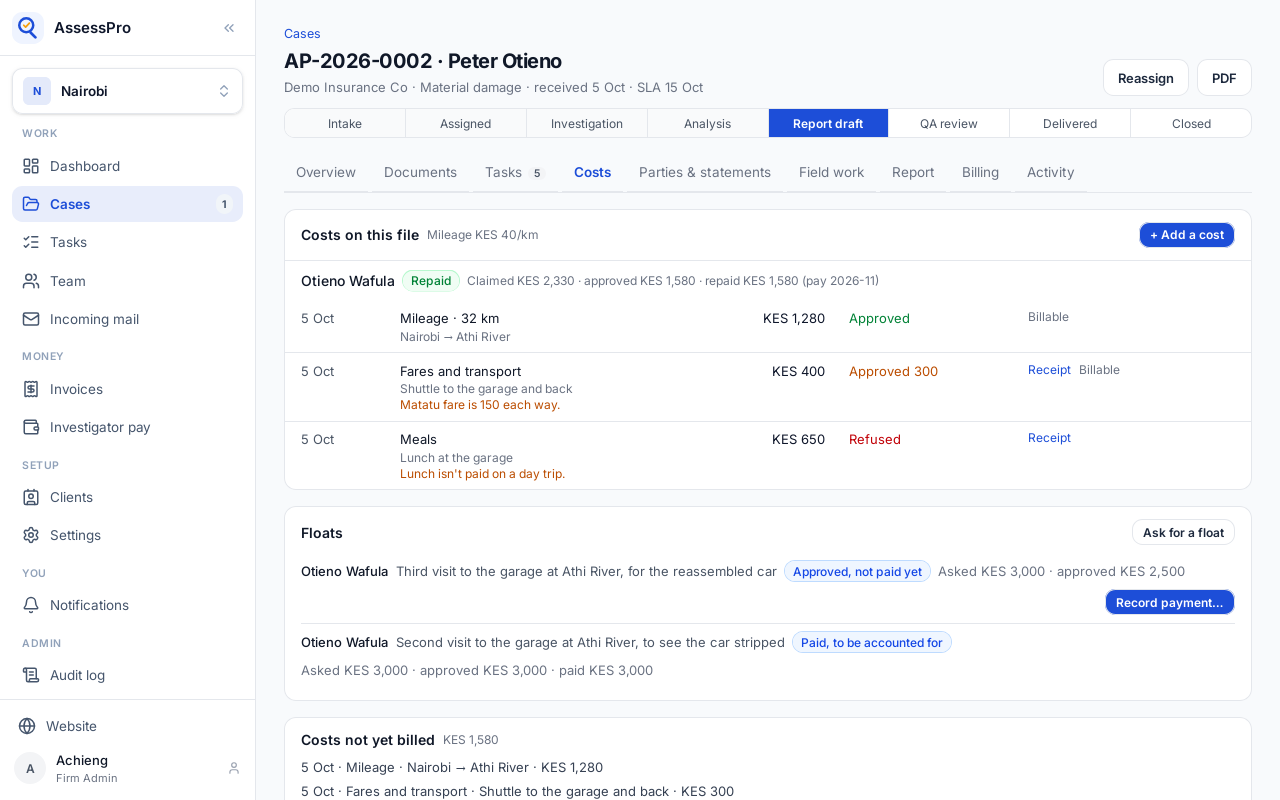
It is approved, and now waits for someone to pay it. On this branch, the admin who approves also pays.
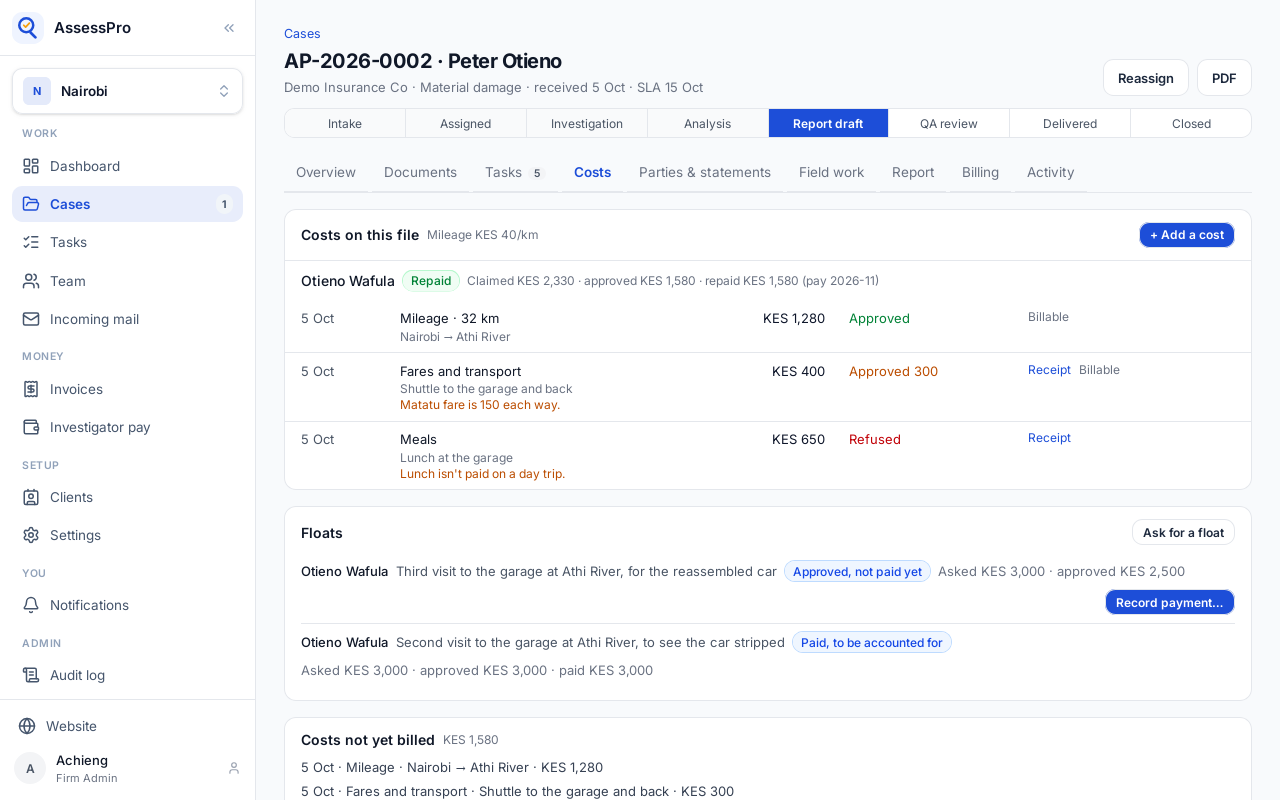
Once the money is sent, record the payment: how it went, and the reference.
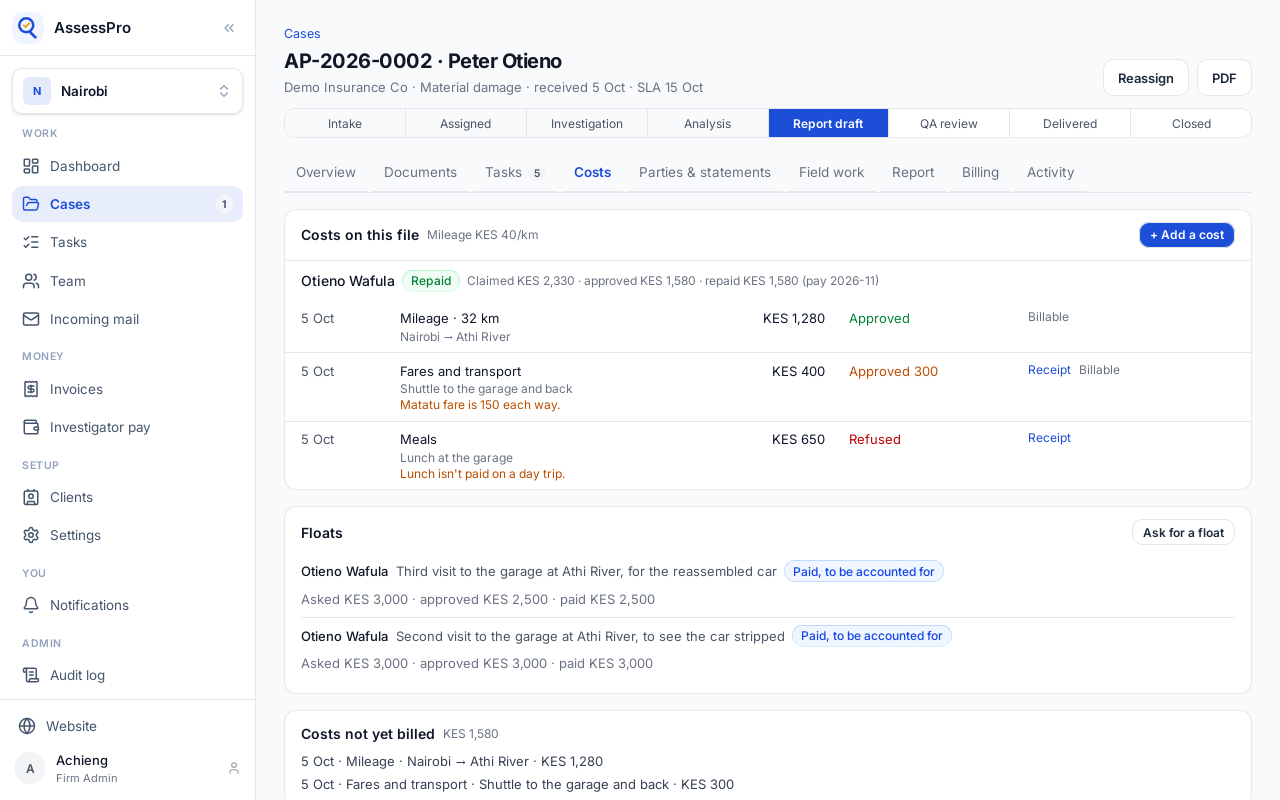
The float is paid, and the investigator now accounts for it with their costs on this file.
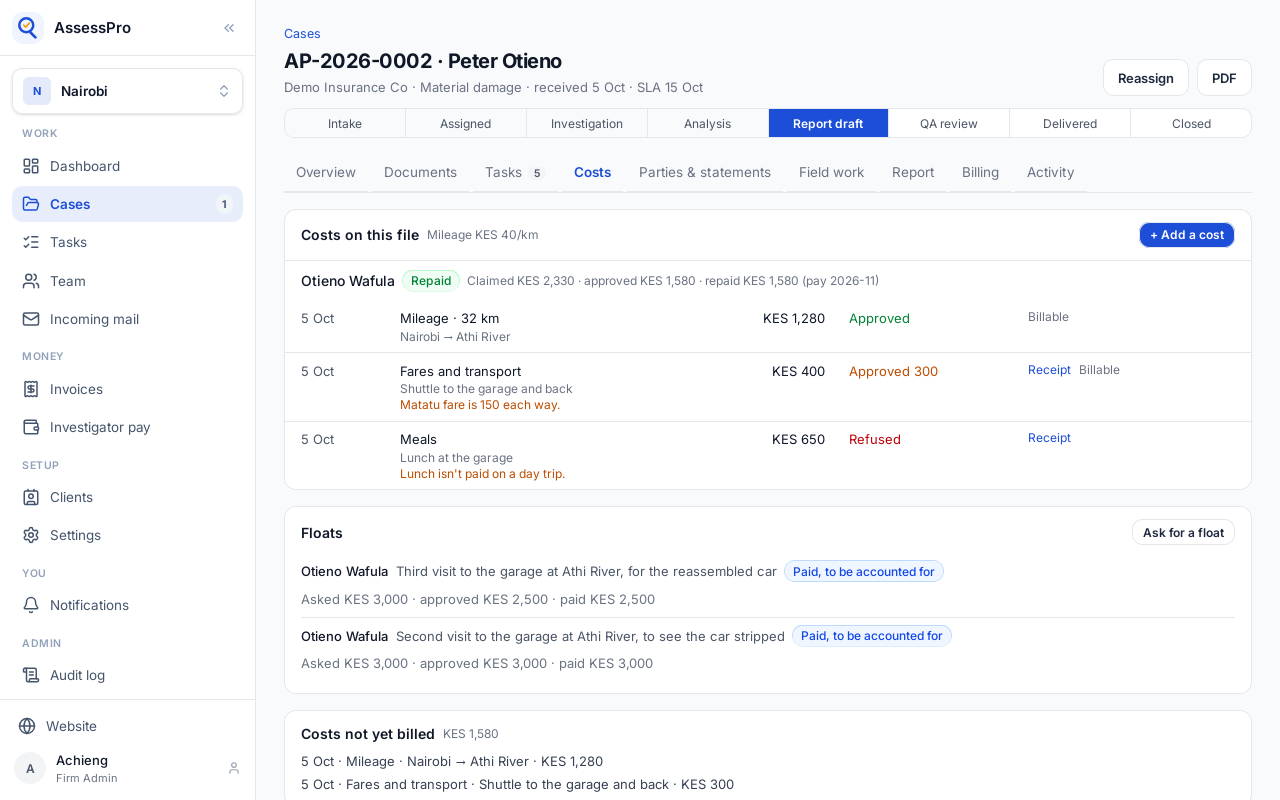
Whatever isn't spent shows here as money to come back. Record it with Money returned when it comes in.